VPN Private Connect is MacKeeper’s built-in Mac VPN client tool. VPN stands for Virtual Private Network; it provides an extra layer of security and privacy for your internet connection.
How VPNs protect your data
When you turn a VPN on, it makes it harder to track where the data you send comes from. The website you are visiting will see the data coming from a VPN, not from your actual device.
Furthermore, the data is encrypted so even if someone could look into it, they would be unable to see the raw data itself.
A VPN is a great way of protecting your sensitive information online.
- How to set up a VPN on Mac
- How to connect to a VPN on Mac
- Here’s how you can connect to a VPN quickly without opening the MacKeeper app
- Are there any requirements for using VPN Private Connect
How to set up a VPN on Mac
It’s easy to set up a VPN on Mac if you are using MacKeeper.
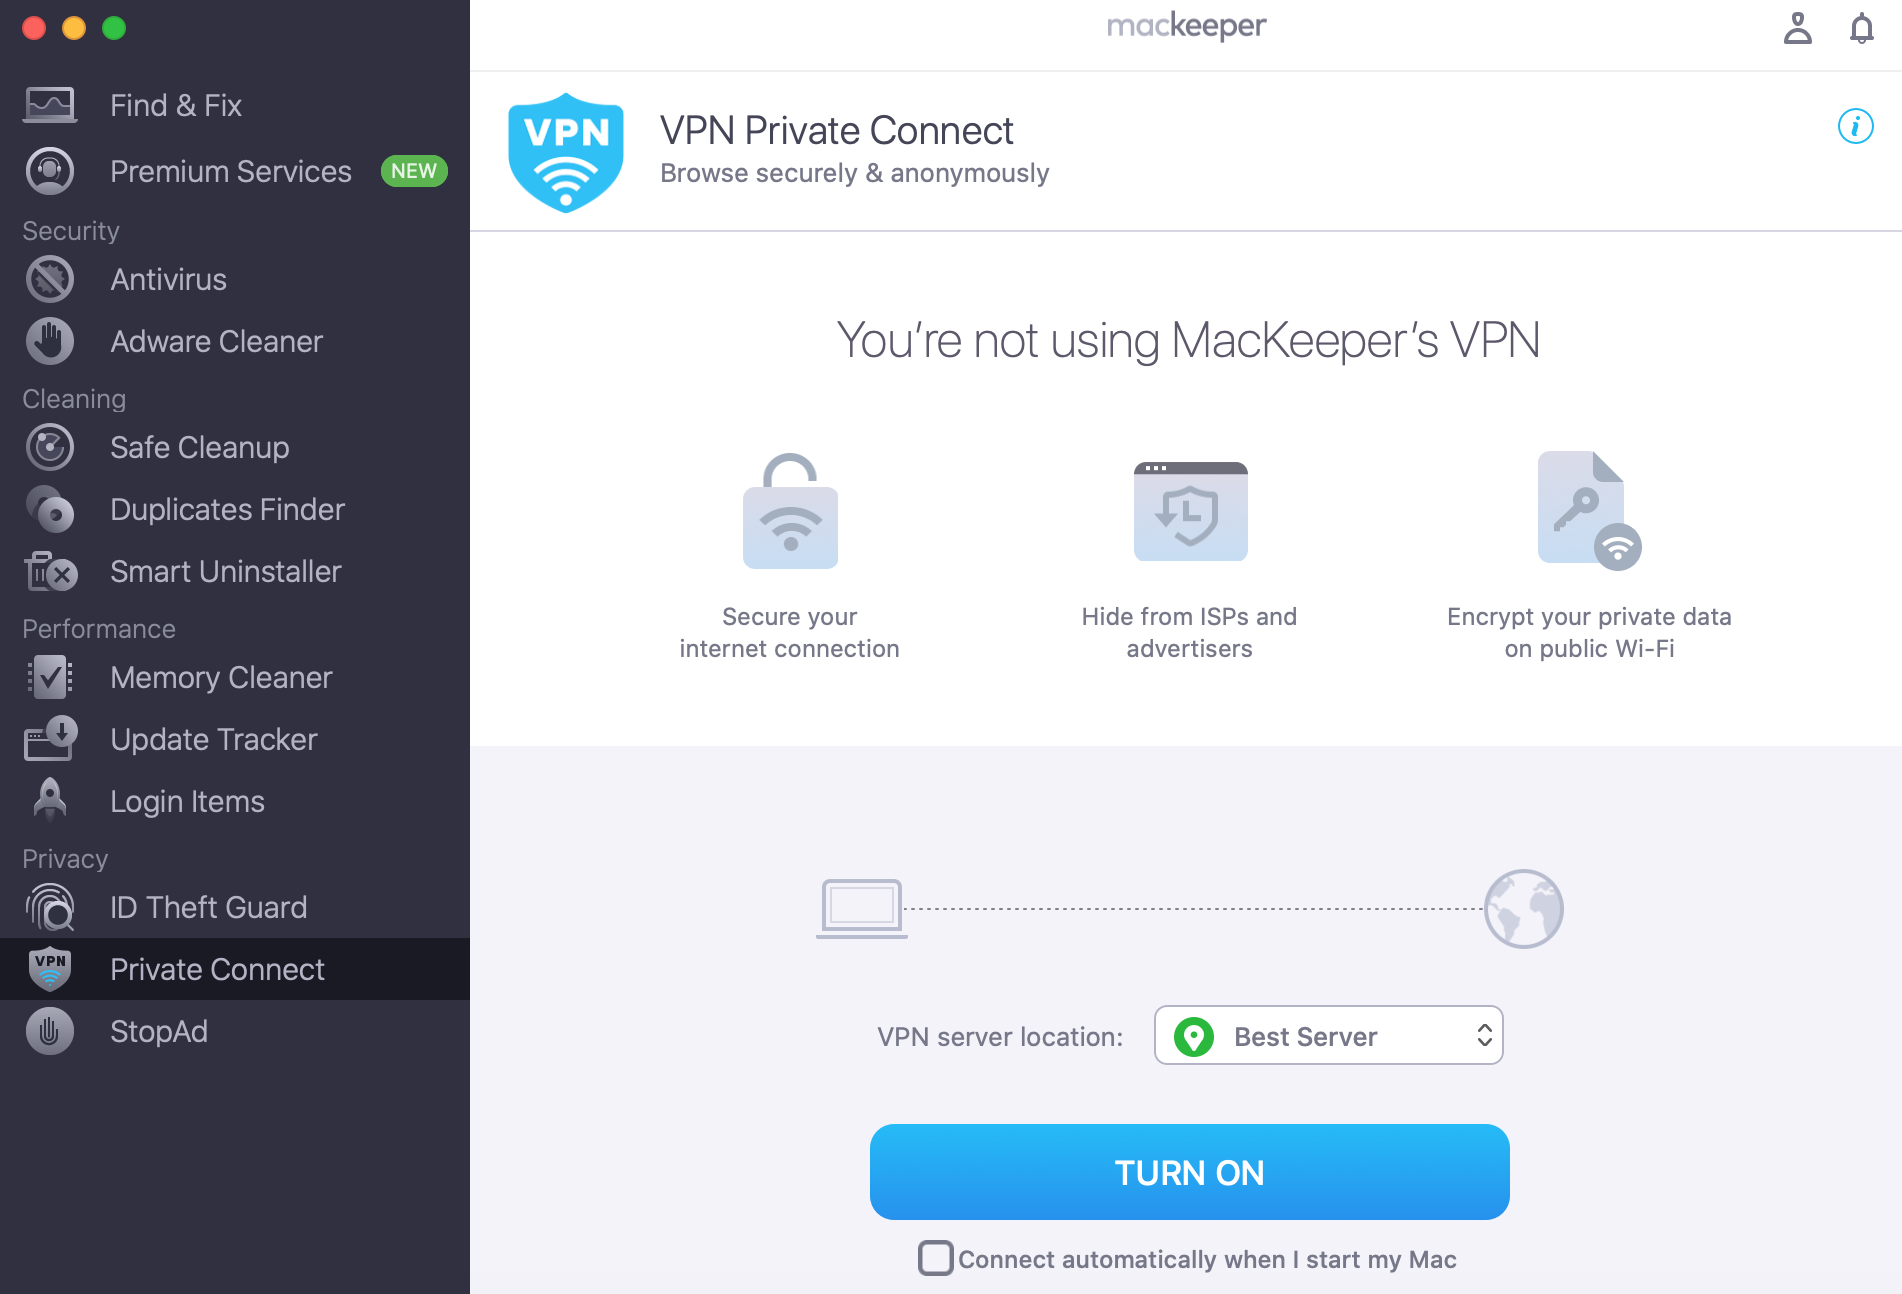
1. Open MacKeeper, then select Private Connect from the left sidebar.
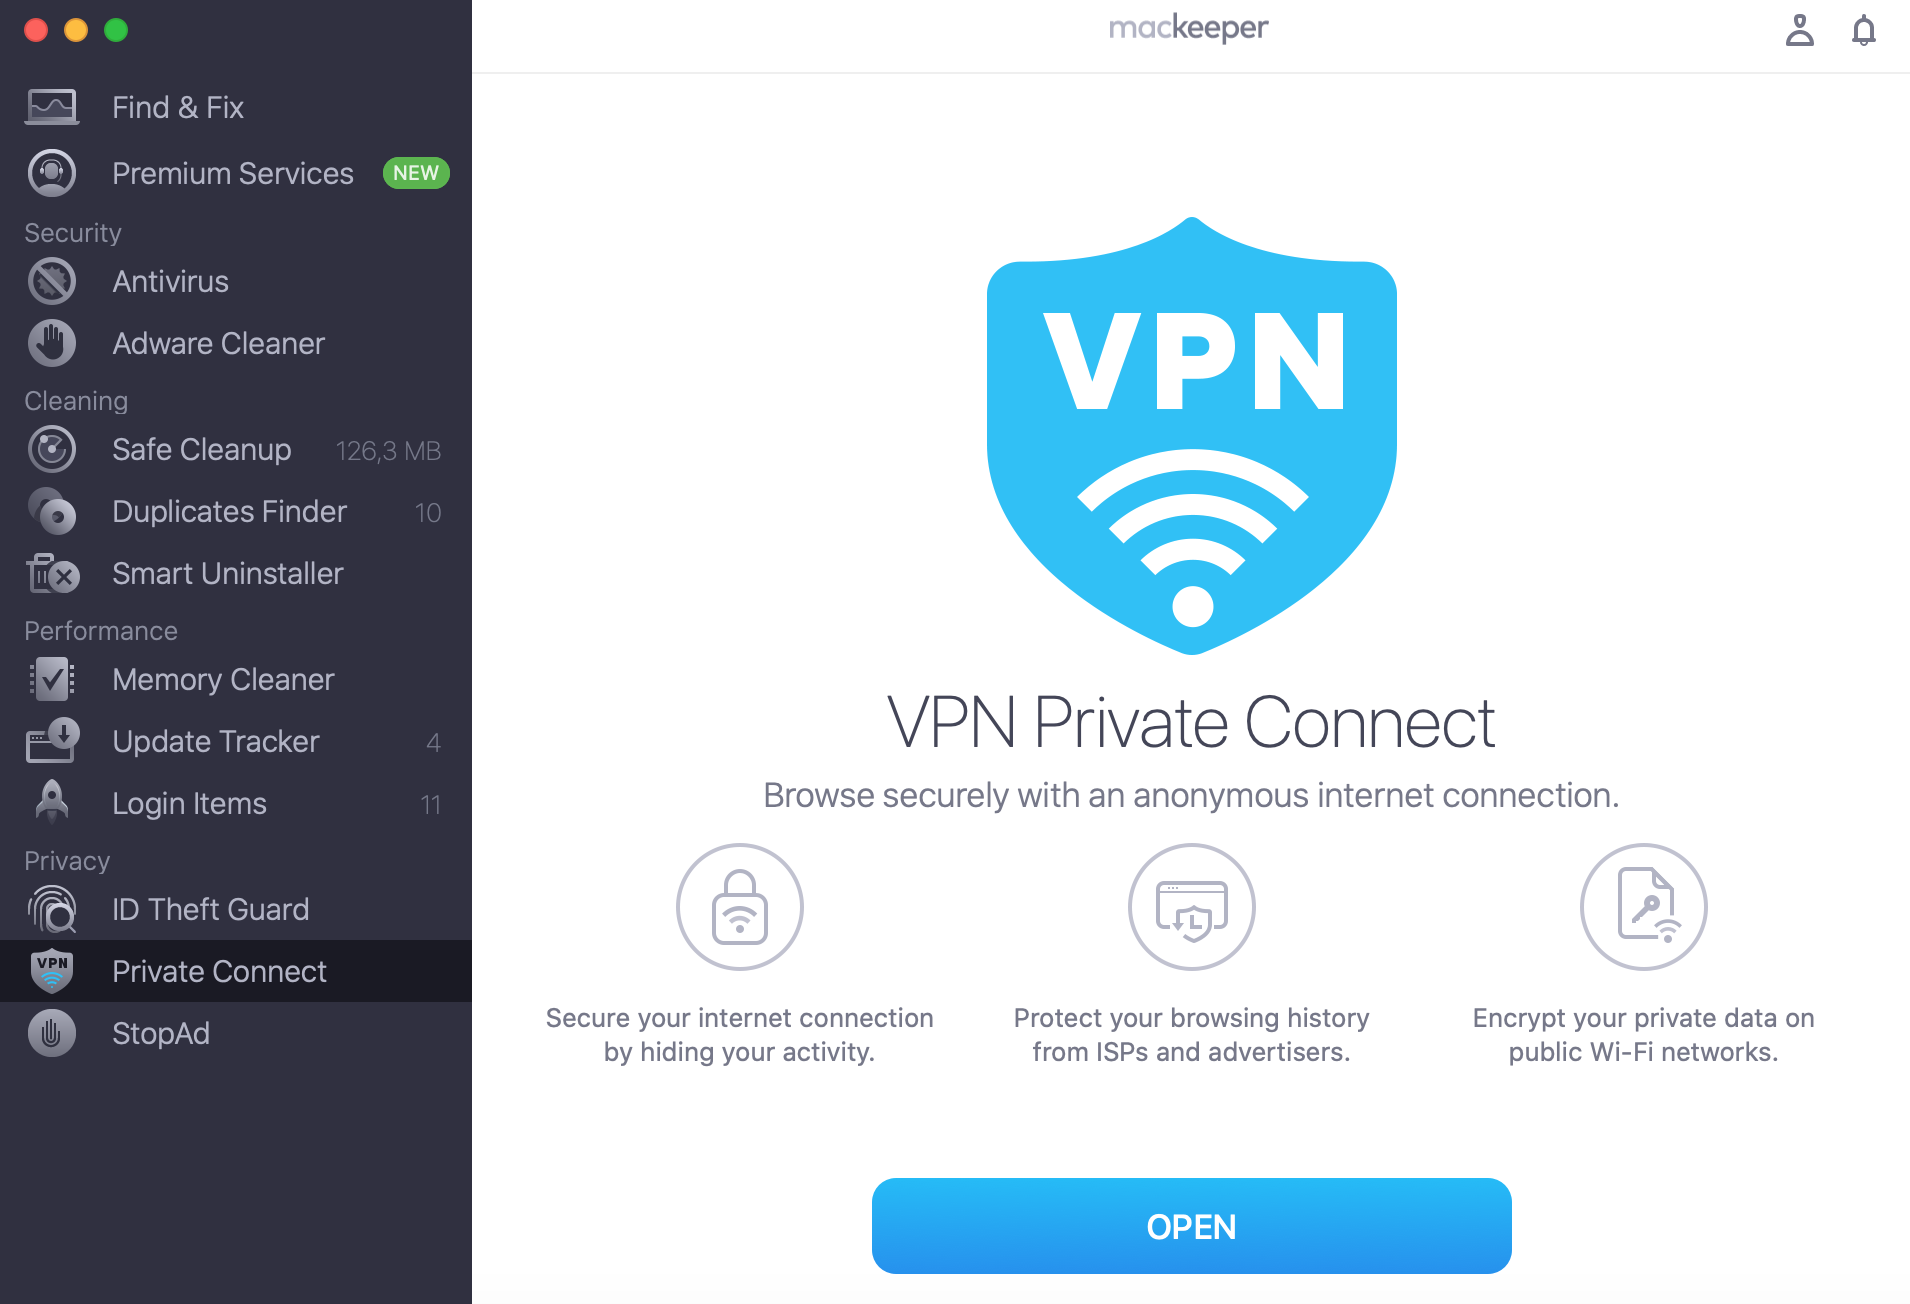
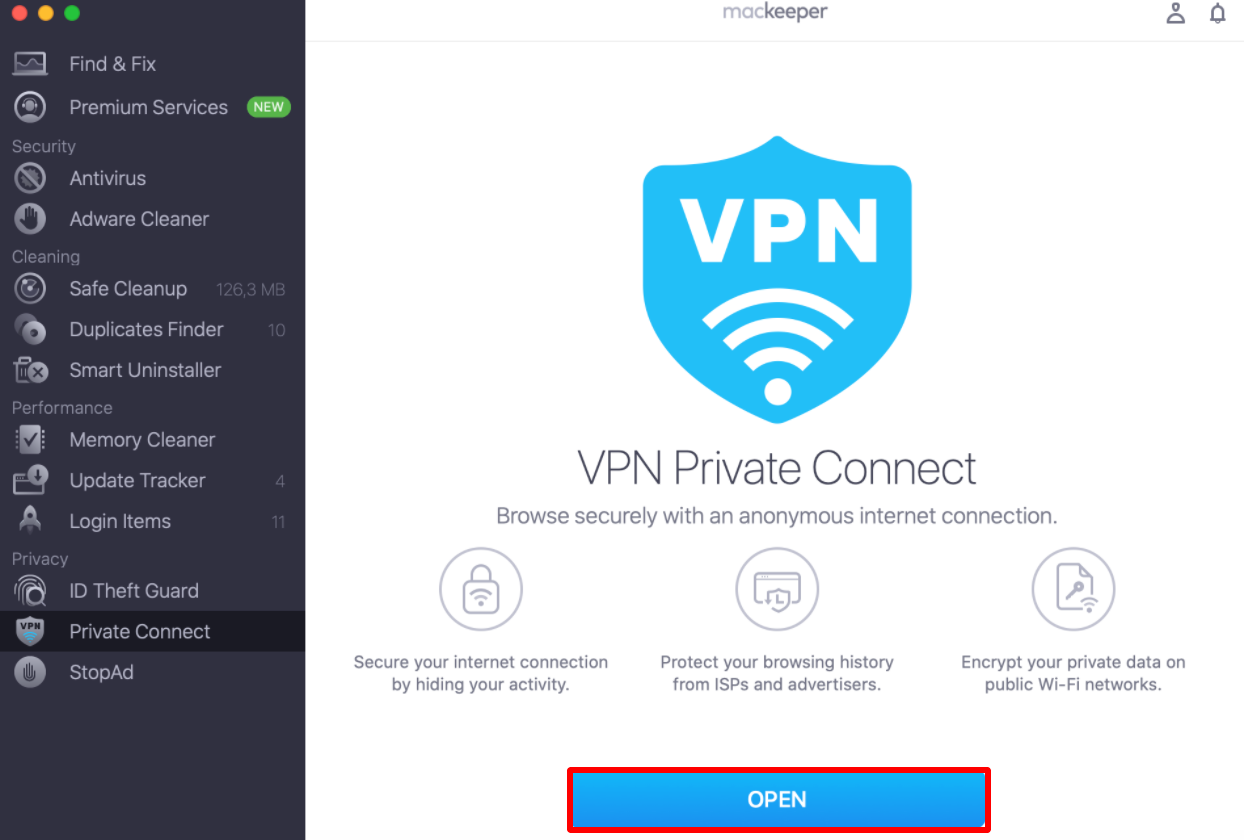
2. After you open VPN Private Connect, click Open to access more of the tool’s functions.
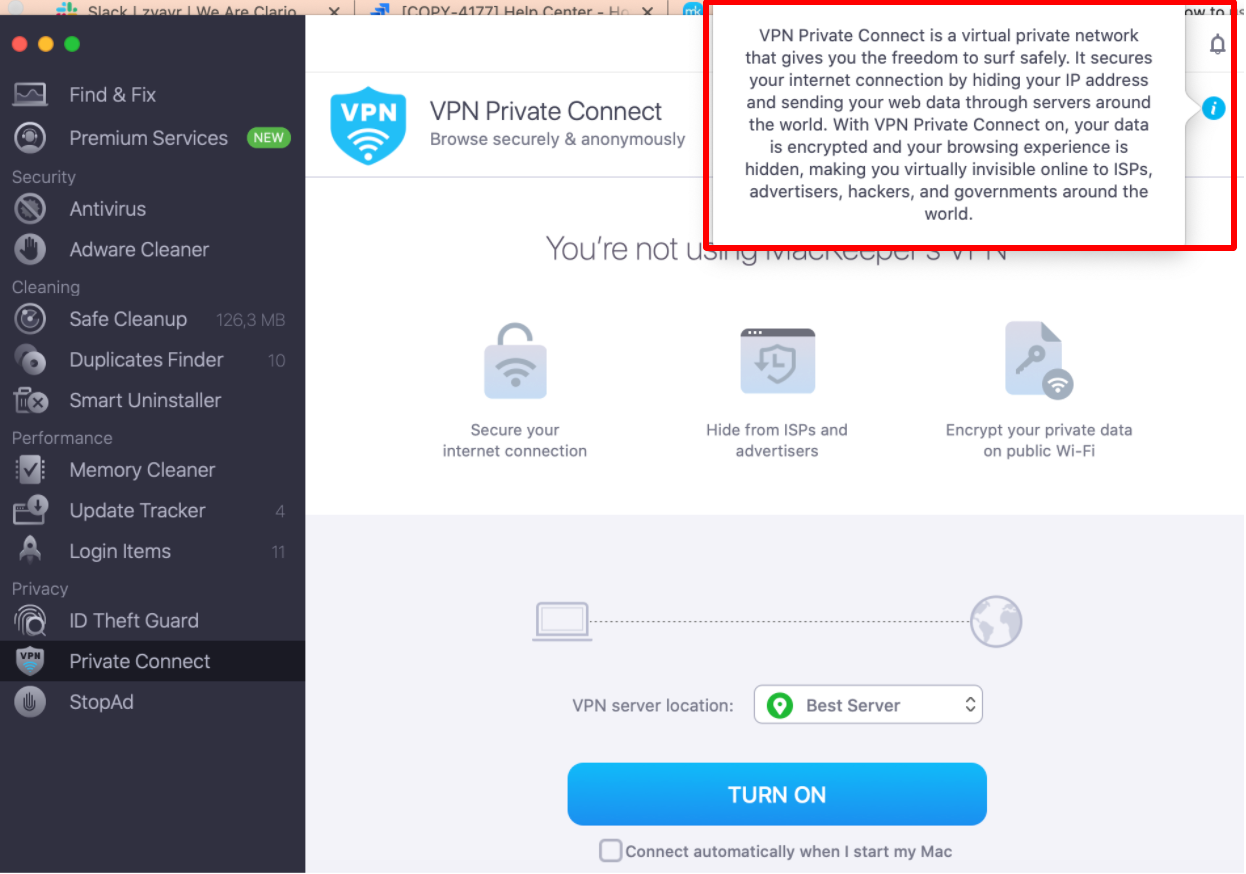
3. Click the white info circle to learn more about VPN Private Connect.
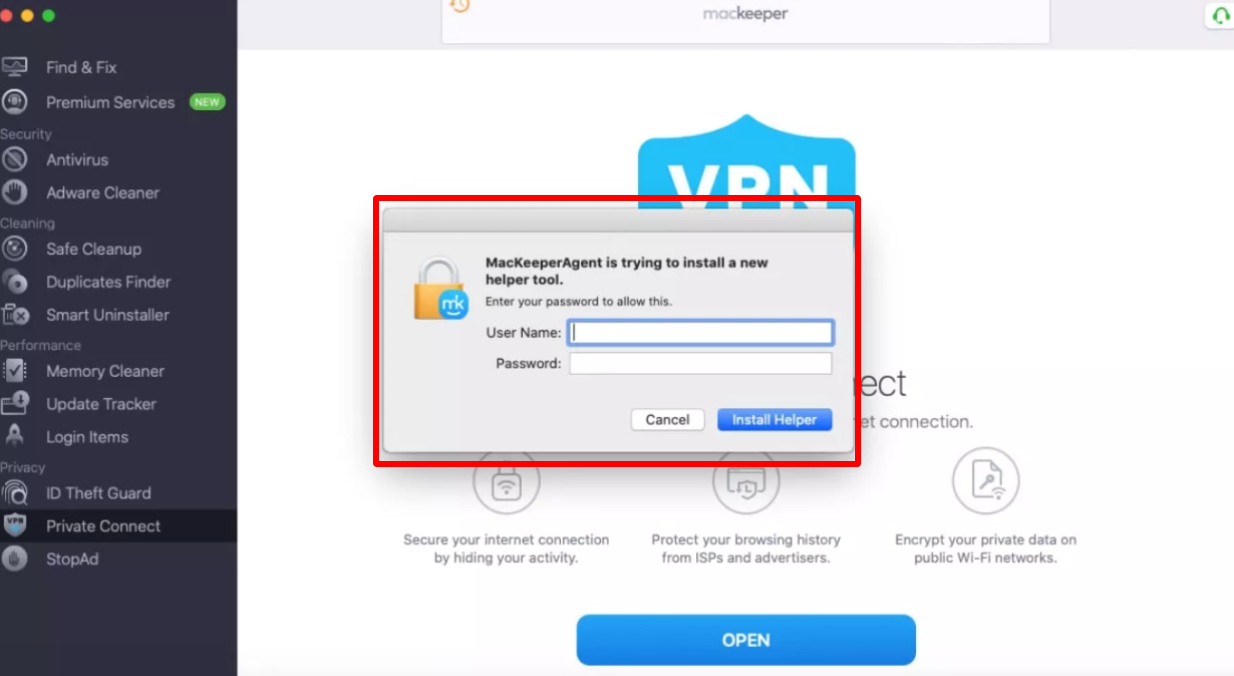
4. You may see a dialog window asking to install a new component — enter your username and password to allow the Mac VPN client software to install. Then click Install Helper.
5. Now VPN Private Connect is ready to use!
How to connect to a VPN on Mac
You can connect to a VPN on Mac by clicking MacKeeper on the menu bar or accessing the Private Connect tool in the MacKeeper app.
By default, you’ll be set to the Best Server location — a server with the least delay providing the fastest internet speed among all available servers. Open the MacKeeper app to select it if you need to connect to a server from a specific location.
1. Select Private Connect from the left MacKeeper sidebar.
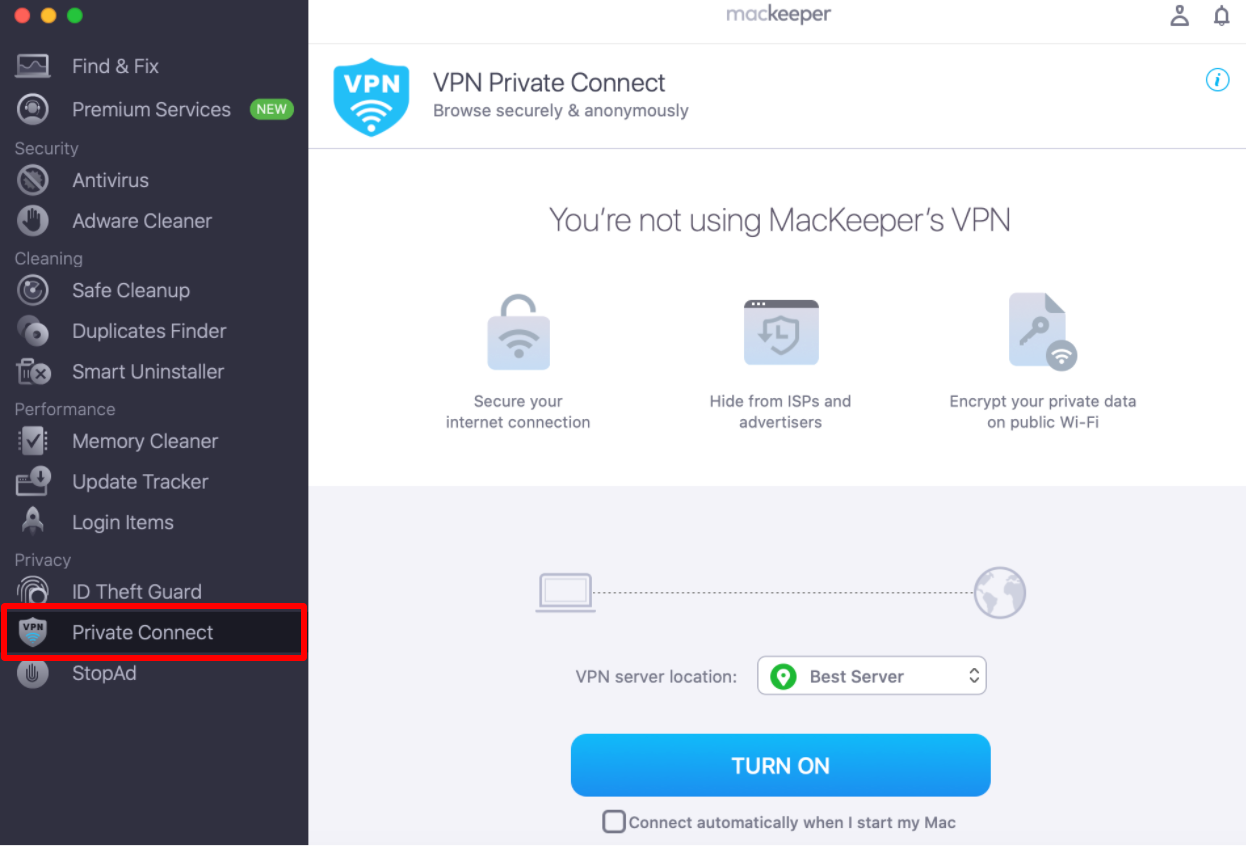
2. Select a VPN server location from the list.
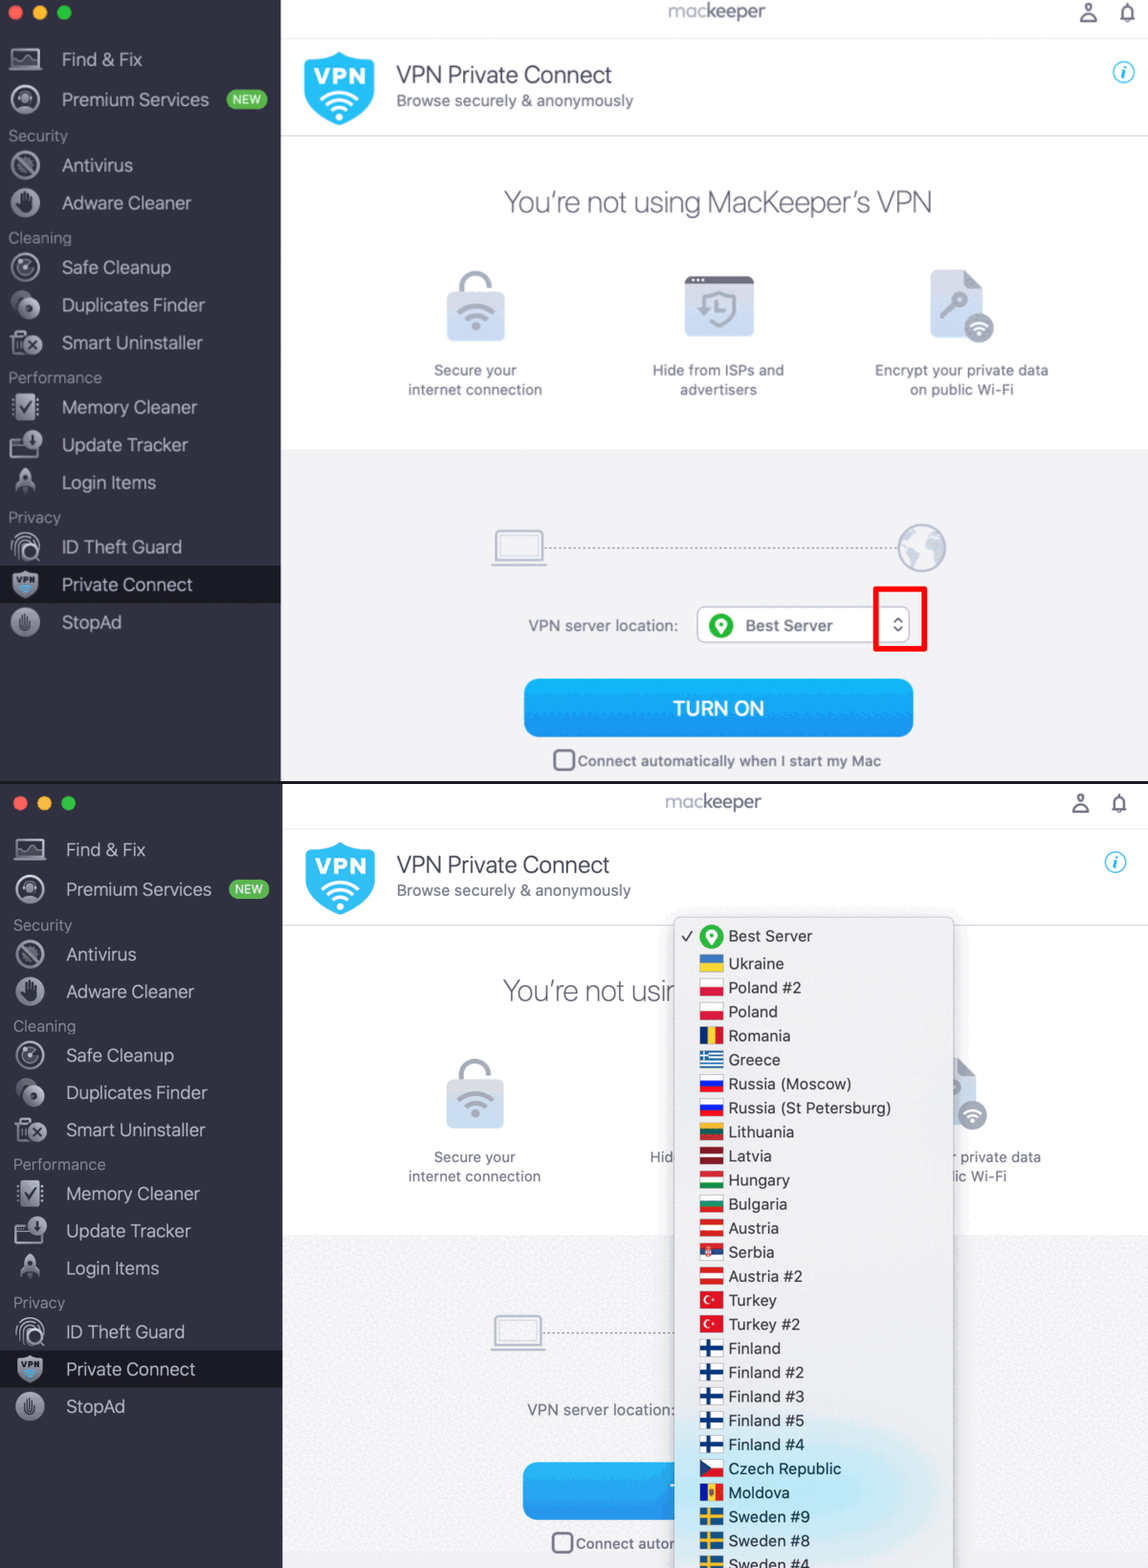
3. Click Turn On.
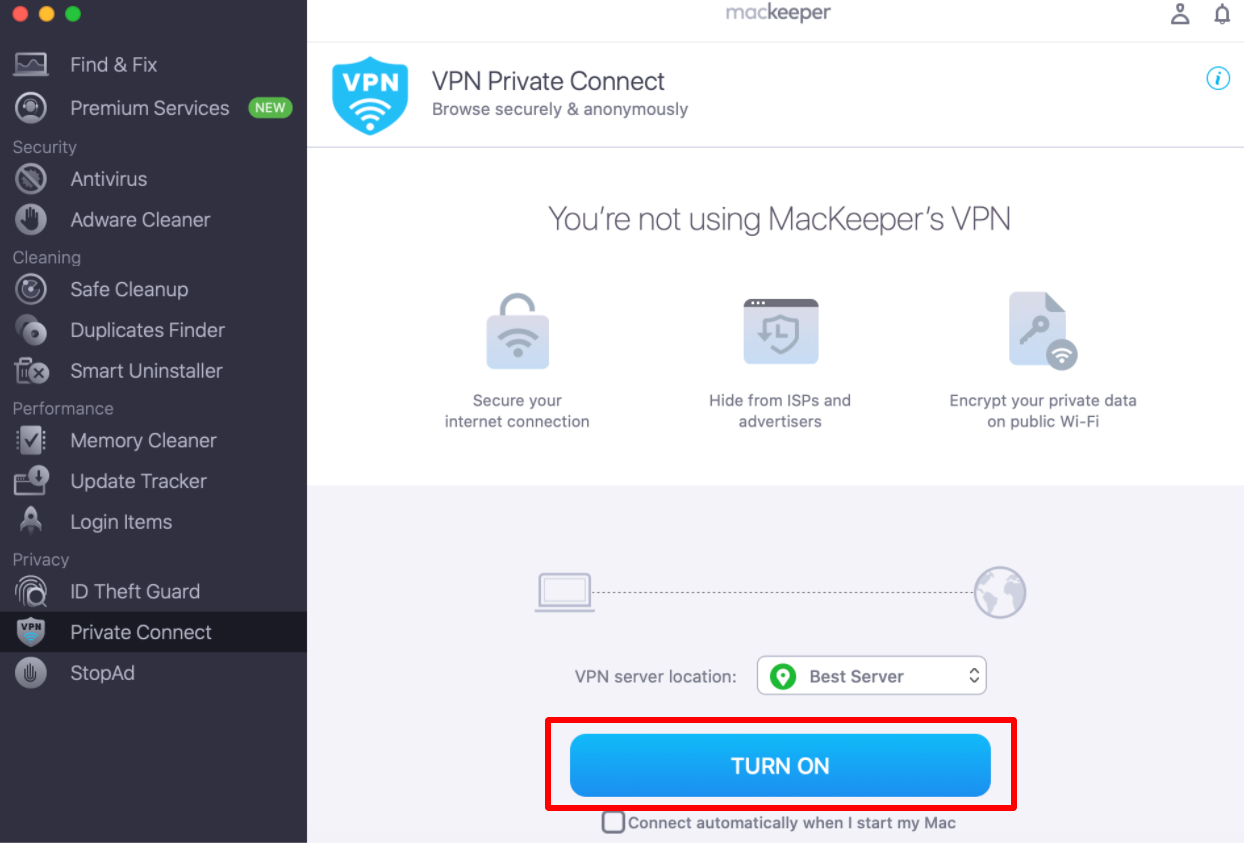
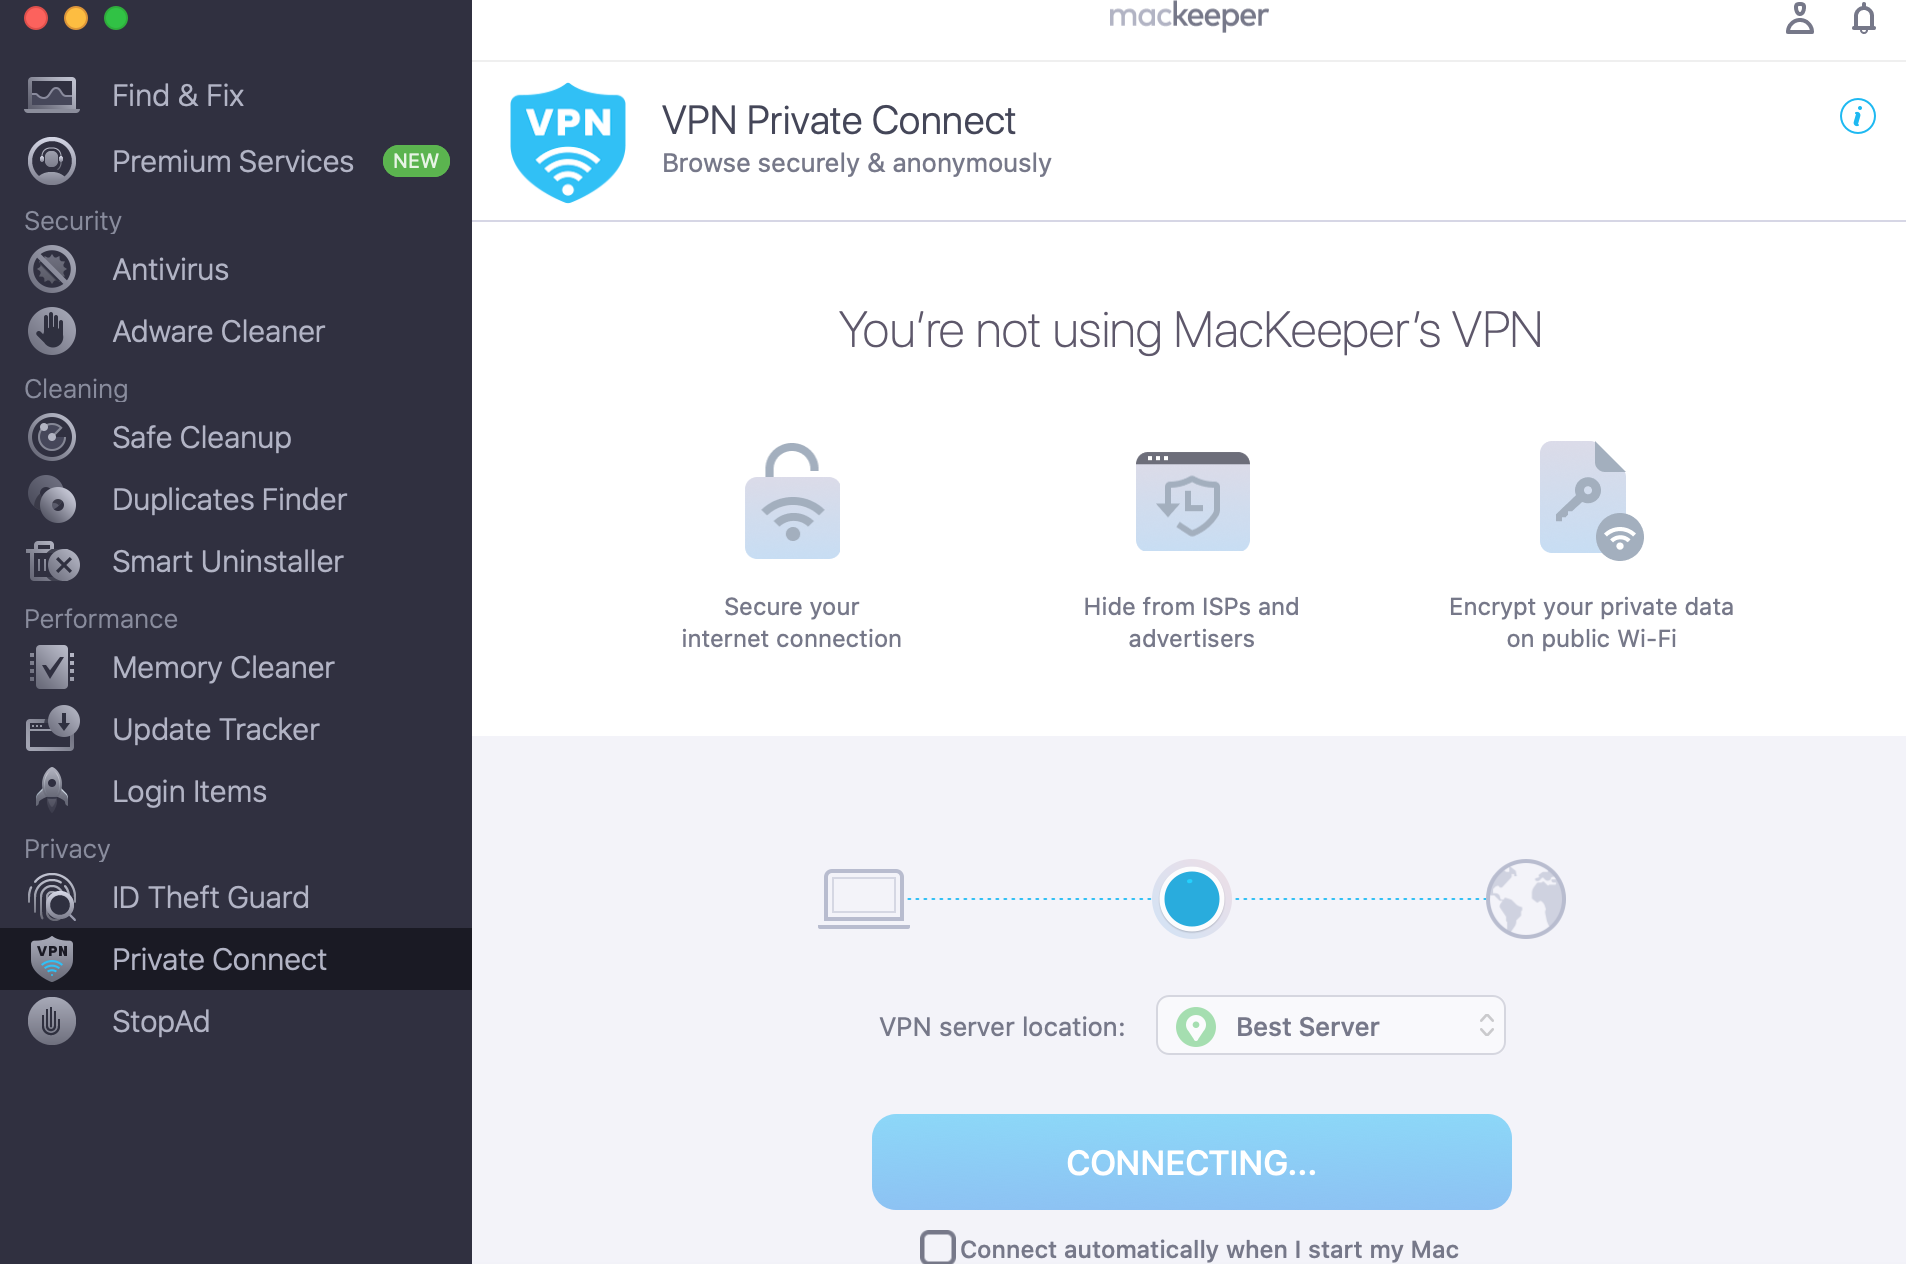
4. The VPN will then start connecting; it may take a few moments.
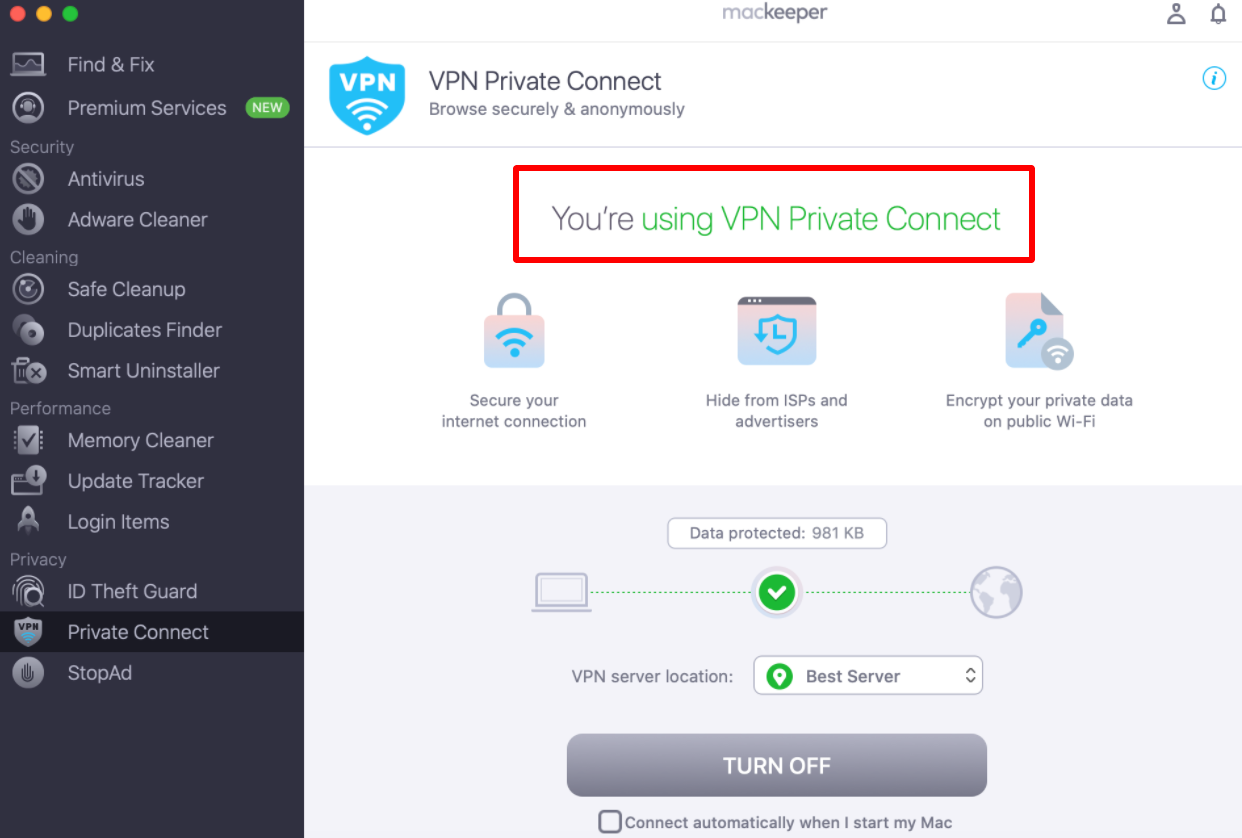
5. When your Mac is connected to the VPN, you will see a notification in the VPN Private Connect tab saying: “You’re using VPN Private Connect”.
6. If you have a MacKeeper logo on your menu bar, it will show a VPN mark. This means VPN Private Connect is on.

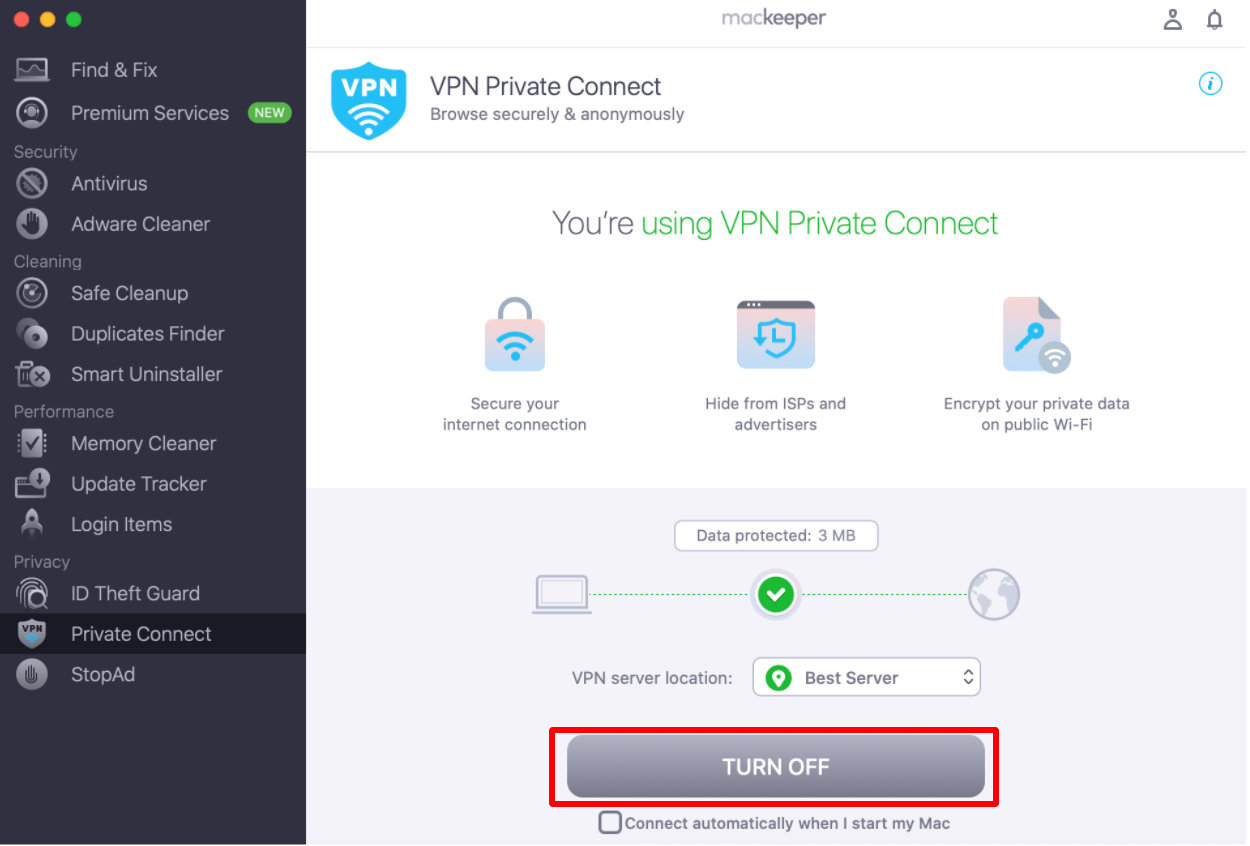
7. To turn off VPN Private Connect, click the blue Turn Off button in your MacKeeper app.
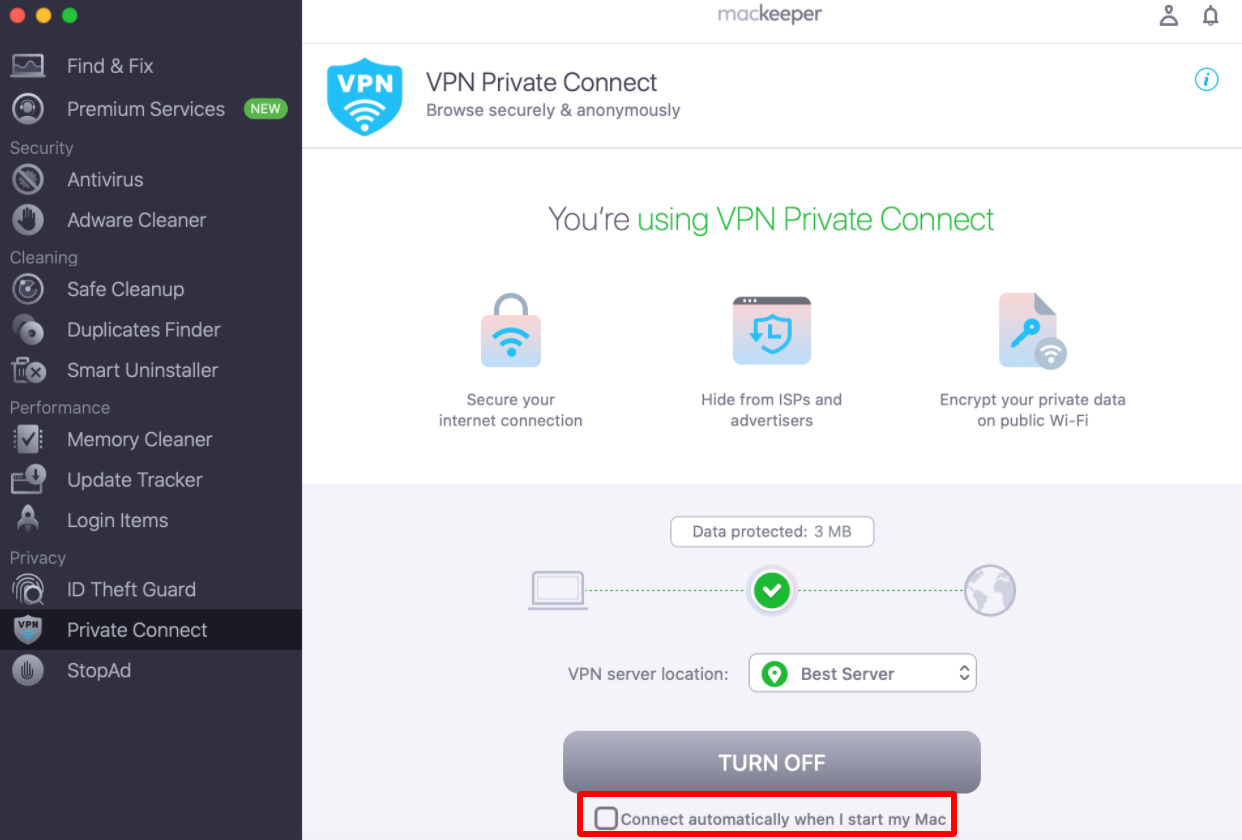
8. If you want to keep a VPN turned on all the time, select the Connect automatically when I start my Mac checkbox (it appears after using VPN Private Connect at least once).
Here’s how you can connect to a VPN quickly without opening the MacKeeper app
1. Click the MacKeeper logo on your menu bar.
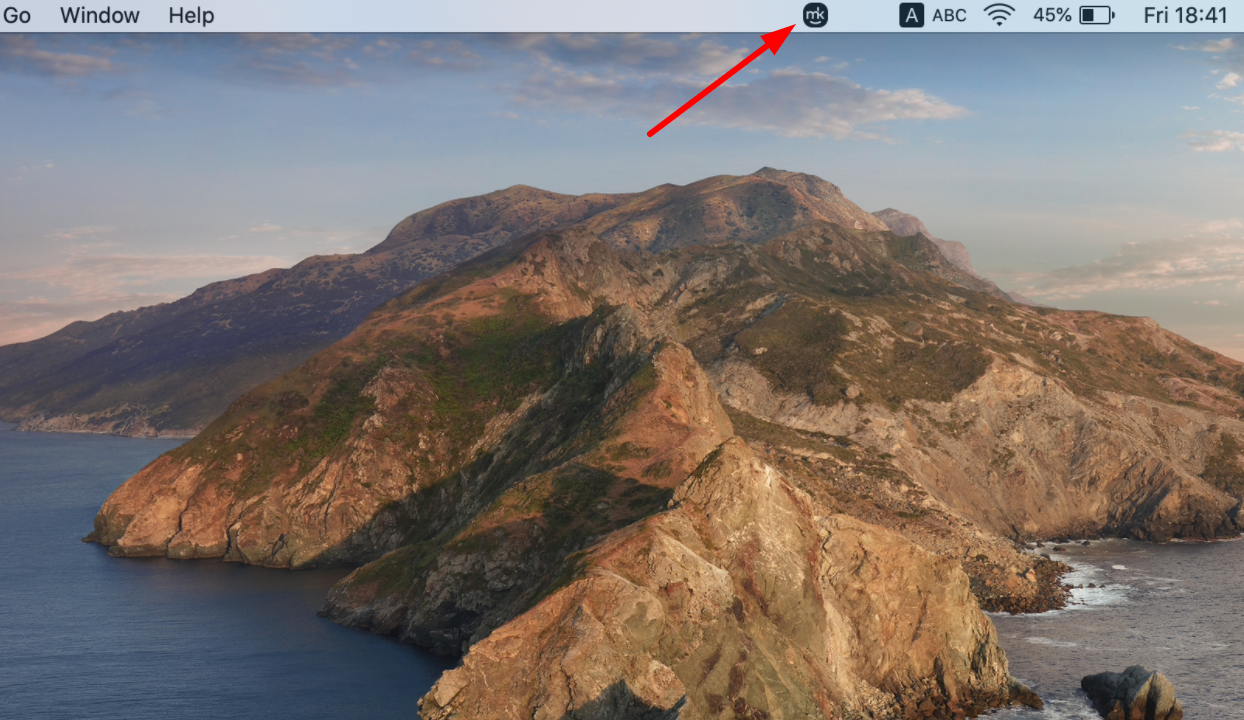
2. Click the round icon next to the VPN Secure Connection.
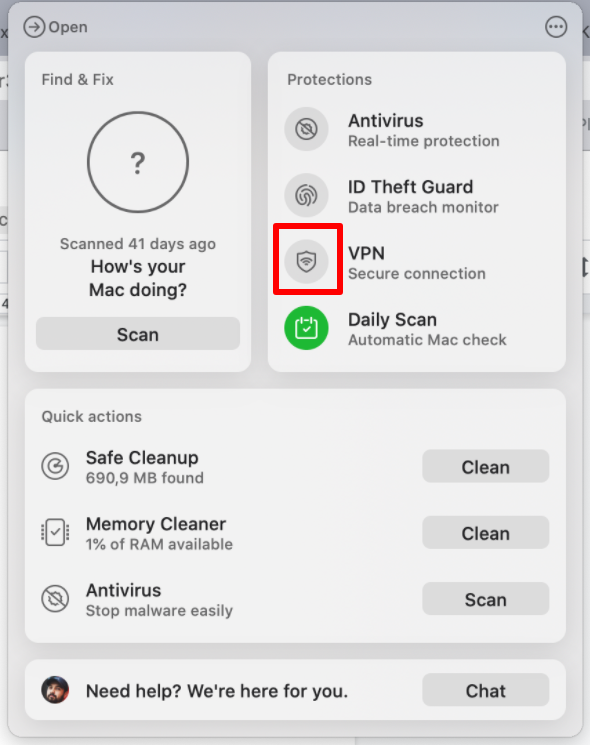
3. When VPN Private Connect is turned on, you will see the VPN mark on the MacKeeper logo on your menu bar — the server location will be indicated below.
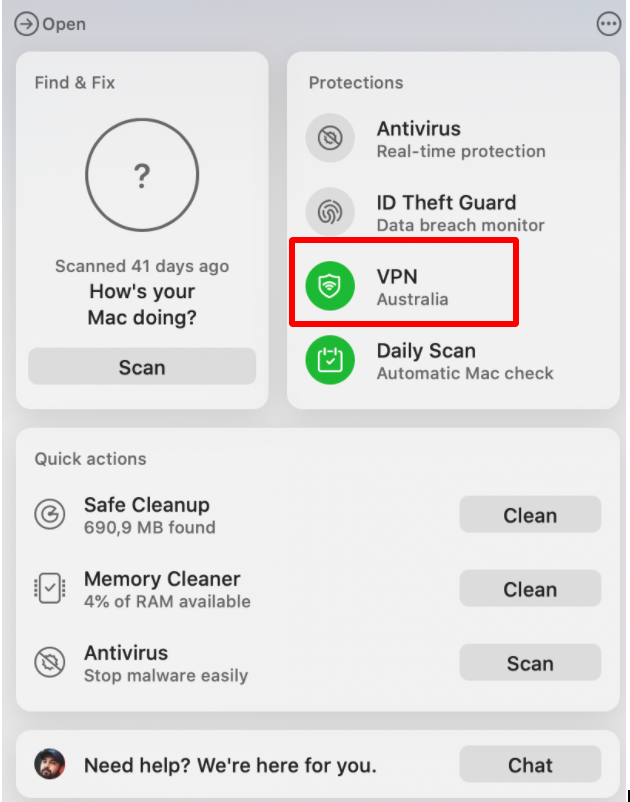
You will be connected to the server location selected in the Private Connect settings.
Are there any requirements for using VPN Private Connect?
You will need a sufficiently strong internet connection to run VPN Private Connect properly. The minimum internet speed should be 512 Kbps. However, we recommend a speed of at least 1 Mbps for the most comfortable internet surfing.
To avoid connection interruptions and slow-downs, we don’t recommend using multiple VPN apps or services at the same time.


