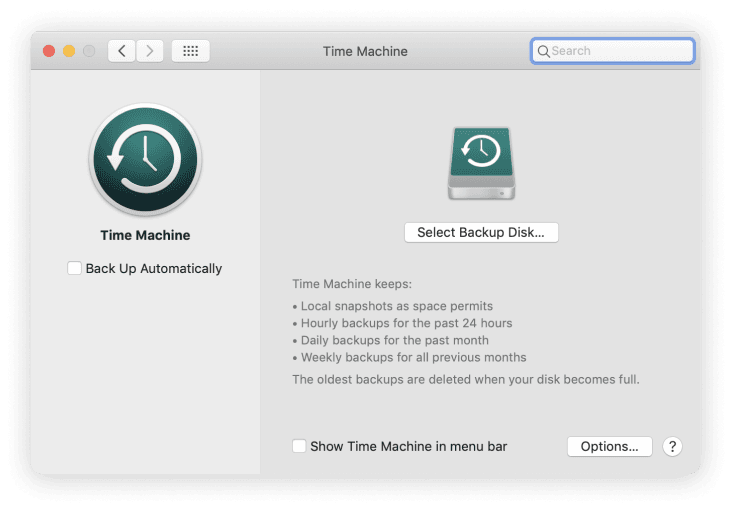
1. Get rid of Time Machine snapshots
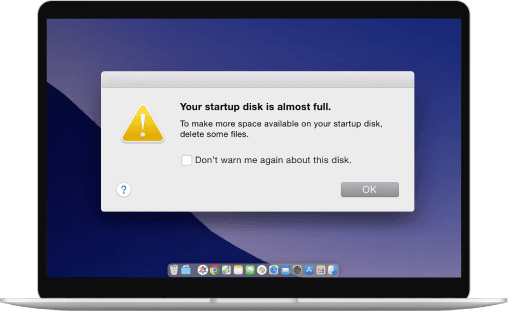
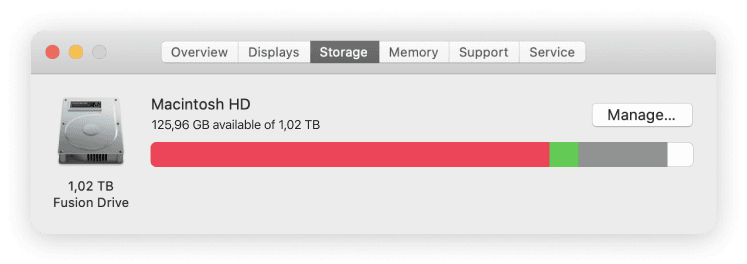
If the About This Mac window says a lot of space on your Mac is used up by System, Other, or Backup files, you might be able to get rid of them by simply backing up your Mac.
This is often the case if you normally use Time Machine to back up your Mac, but haven’t done so in a while. When this happens, your Mac saves numerous Time Machine snapshots to your startup disk, which it then transfers to your external drive the next time you complete a backup.
All you need to do is to connect your external Time Machine drive and go to System Preferences > Time Machine > Back Up Now.
2. Delete old iOS and iPadOS backups
You may also find that a lot of storage is being used by local iOS or iPadOS backups. If you don’t need these backups anymore—which might be the case if you now back up to iCloud—you can delete them using the About This Mac window.
Here’s how:
-
Click the Apple icon and select About This Mac from the top-left of the menu bar
-
Go to the Storage tab and click Manage
-
From the sidebar, select iOS Files to view all your iOS and iPadOS backups
-
Select any backups you don’t want to keep, then click Delete to get rid of them.
3. Upload or export your largest files
Most of the storage on your Mac’s startup disk is likely being taken up by your own personal files. This includes stuff like music, movies, photos, and documents.
Of course, you can’t delete most of these files, but you can free up space by moving them off your Mac.
There are two ways to do this:
-
Export these files to an external storage drive
-
Upload these files to a cloud storage service, like iCloud
To export files, connect your external drive, then drag the relevant files onto that drive using Finder. Once Finder finishes copying your files to the external drive, you can safely delete them from your Mac.
The best method to upload your files varies depending on the cloud storage service you choose, but iCloud is the most common one.
To upload your files to iCloud Drive:
-
Go to System Preferences > Apple ID and select iCloud from the sidebar
-
Open the iCloud Drive Options window and enable Desktop & Documents Folders
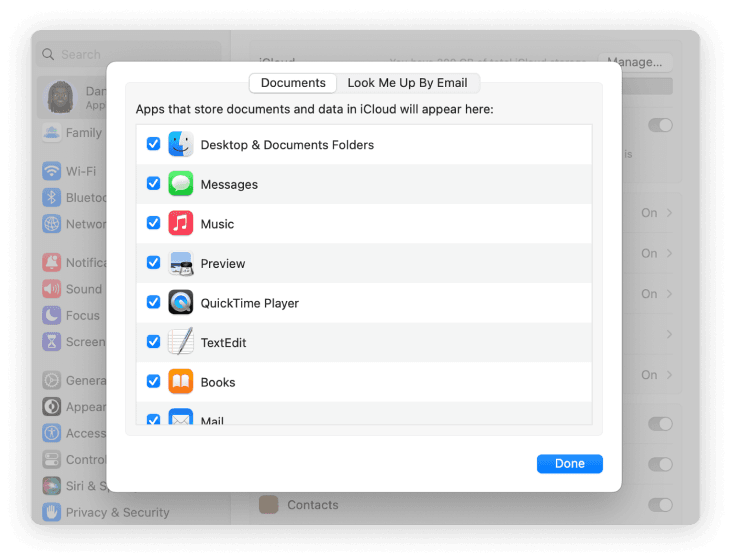
This will automatically upload all the files from your Desktop and Documents folders to iCloud Drive, freeing up lots of space on your Mac’s startup disk.
You may also want to enable Photos in the iCloud settings to upload your photos as well. To do that, just use one of the two methods below.
The first way:
-
Open the System Preferences app on your Mac
-
Click Apple ID
-
Check the box next to Photos to enable iCloud Photos
The second way:
-
Open the Photos app
-
Click Photos in the menu bar, then click Preferences
-
Click iCloud
-
Check the box next to iCloud Photos to enable it
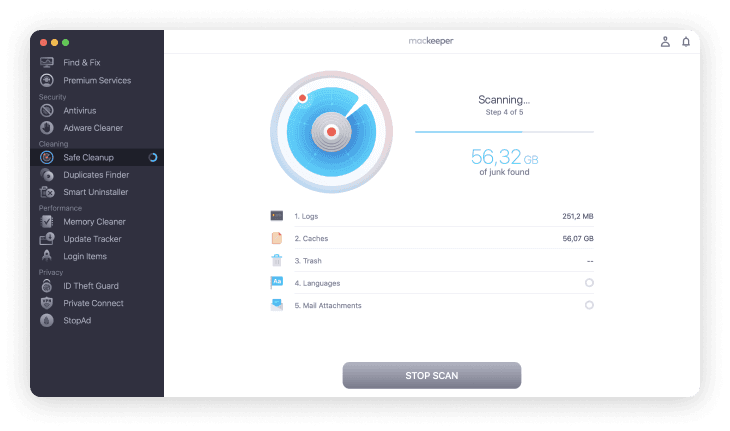
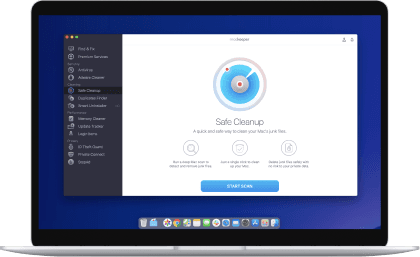
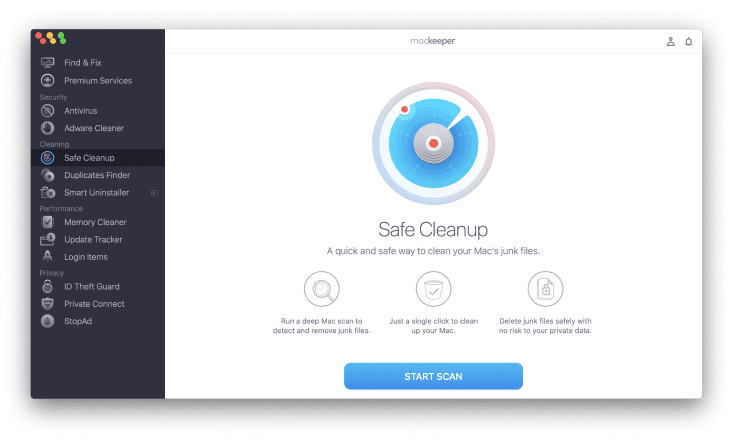
Please note that if you decide to go for a professional cleaning solution like MacKeeper, this doesn’t mean the app may delete something valuable to you—instead you can always look through the scan results and decide what you want to keep.
And to make the process even more efficient, MacKeeper offers the Autoscan tool. The app will automatically run a Safe Cleanup scan every 24 hours. If there’s anything worth your attention, the app will notify you so you can check the results.