In this article you will find the following:
You partitioned your MacBook’s hard drive to install a beta version of macOS and are now stuck with limited space. Fortunately, you can free up some in case you remove the hard drive partition on your Mac. This will also provide you with other benefits, such as a better-performing Apple device, especially if the lack of space causes your computer to slow down.
Before we start
You typically don’t think twice about downloading files, attachments, apps, and other software. After all, it’s usually a quick and easy process, depending on the size of your downloads. But something else you probably don’t pay attention to is the leftover files that come with all those downloads and installations. Those files add up and could eventually cause your computer to lag.
But it’s a tedious task to find and remove all those files, and you’d probably miss a bunch of them, too. Why not use software that’s designed to take care of that? We recommend using MacKeeper’s Smart Uninstaller tool. It’s the top solution to declutter your Mac by ridding it of unused apps, browser extensions, and other redundant data that may be weighing it down.
Start using MacKeeper’s Smart Uninstaller tool today:
- Download MacKeeper on your MacBook Pro or MacBook Air device
- Choose the Smart Uninstaller option in the sidebar and click Start Scan
- Once the scan is done, MacKeeper will show you the pre-selected files it has found and intends to delete
- Click the Remove Selected button to start clearing up your Mac.
If you’re looking to create more breathing room on your computer, delete the disk partition on Mac. We’ll show you the steps to get it done, so continue reading to unpartition a hard drive on your Mac device.
Deleting partition with Disk Utility
Regretting your decision to update macOS? Learn how to uninstall updates on Mac.
Without wasting any time, let’s get into how you can undo a partition on a Mac. It should be simple if you follow our guide carefully.
1. Open Disk Utility
To bring up Disk Utility:
- Hit the Command + space bar keys to bring up Spotlight search
- Enter “Disk Utility” in the search bar
- Select it on the list of results.
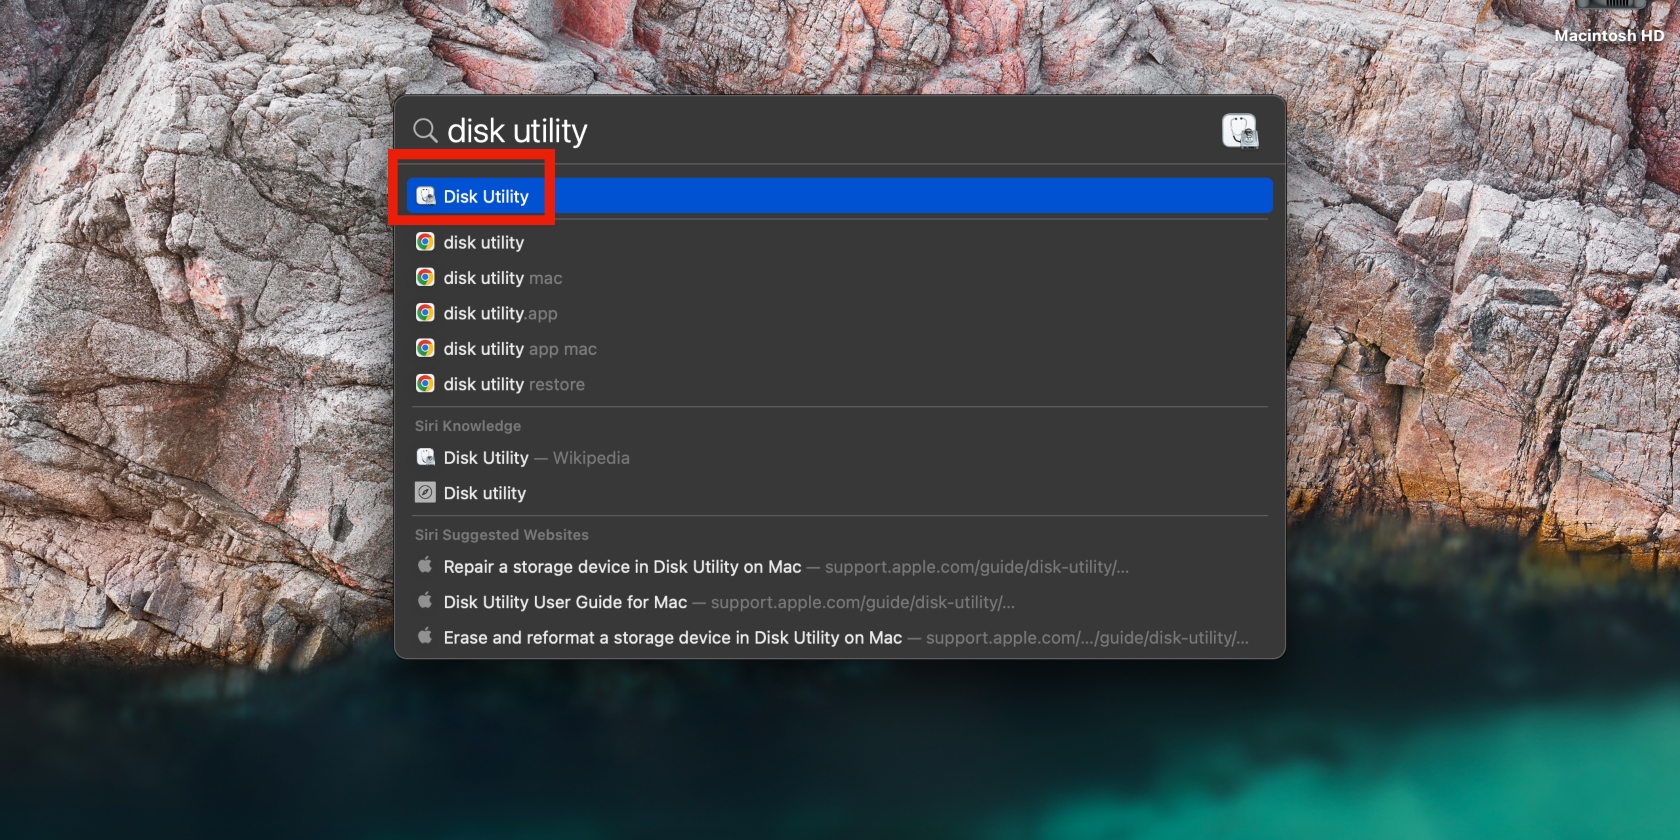
2. Select a disk that contains the partition you want to remove
Choose the disk you want to delete from the sidebar on the left of the screen.
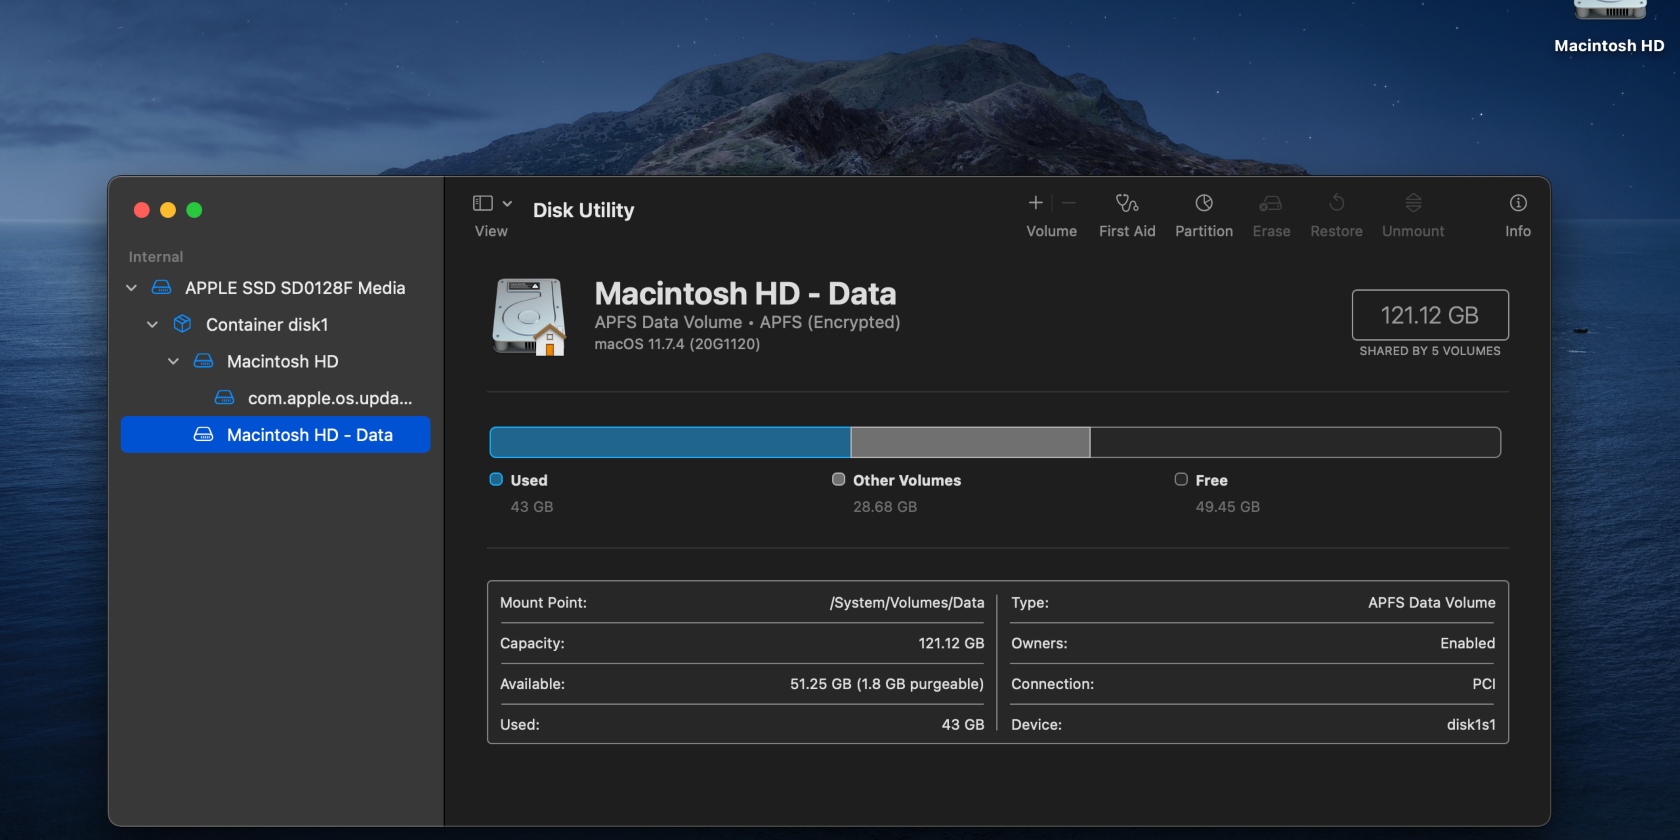
3. Select the partition icon and click the minus button
To delete the partition in Disk Utility:
- Navigate to the top of the window and click the Partition tab
- Choose the partition you intend to remove from the pie chart, and click the minus icon below the pie chart.
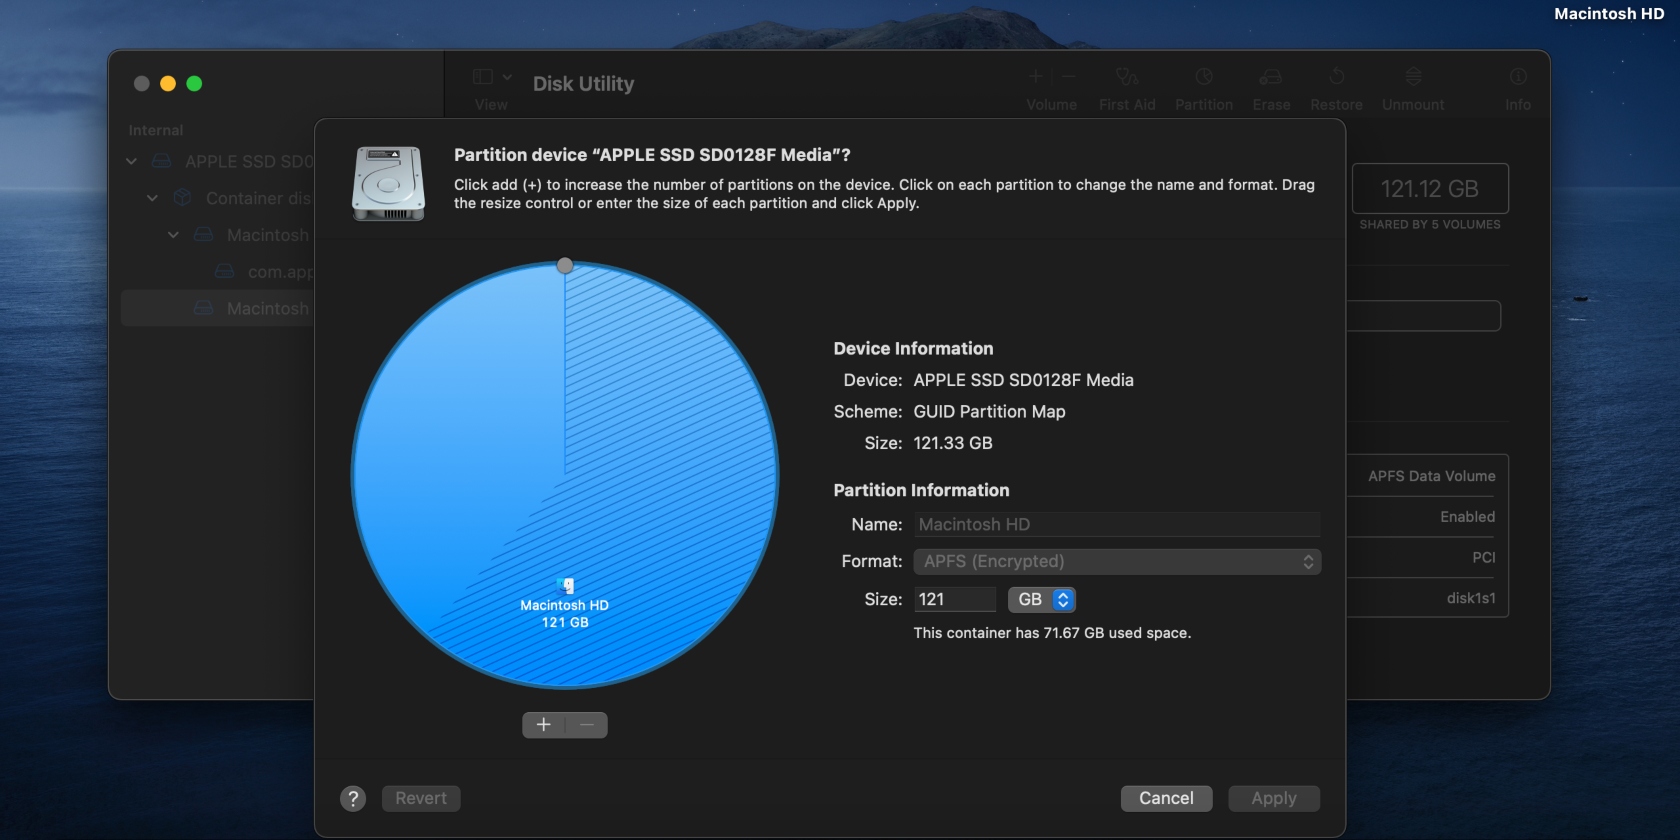
4. Apply changes
The pie chart will be updated. Click Apply and select Partition in the pop-up window that appears to confirm the action.
Removing disk partition using Terminal
While the method above should do the trick, it may not be sufficient. Fortunately, you have another option. Our experts suggest using Mac’s Terminal feature to completely erase the disk instead.
While it may be intimidating, Mac’s Terminal app isn’t that complicated to use when you know what to do. And you don’t have to be a tech buff to use it; just ensure you follow the steps properly to avoid making mistakes.
1. Open up Terminal
To access Terminal:
- Bring up Spotlight search by hitting the Command + space bar keys, enter “Terminal” in the search bar, and select it on the list of results
- You can also open Terminal in Finder by clicking the Finder icon in the bottom-left corner of your Mac, selecting Applications, opening the Utilities folder, and choosing Terminal on the list.
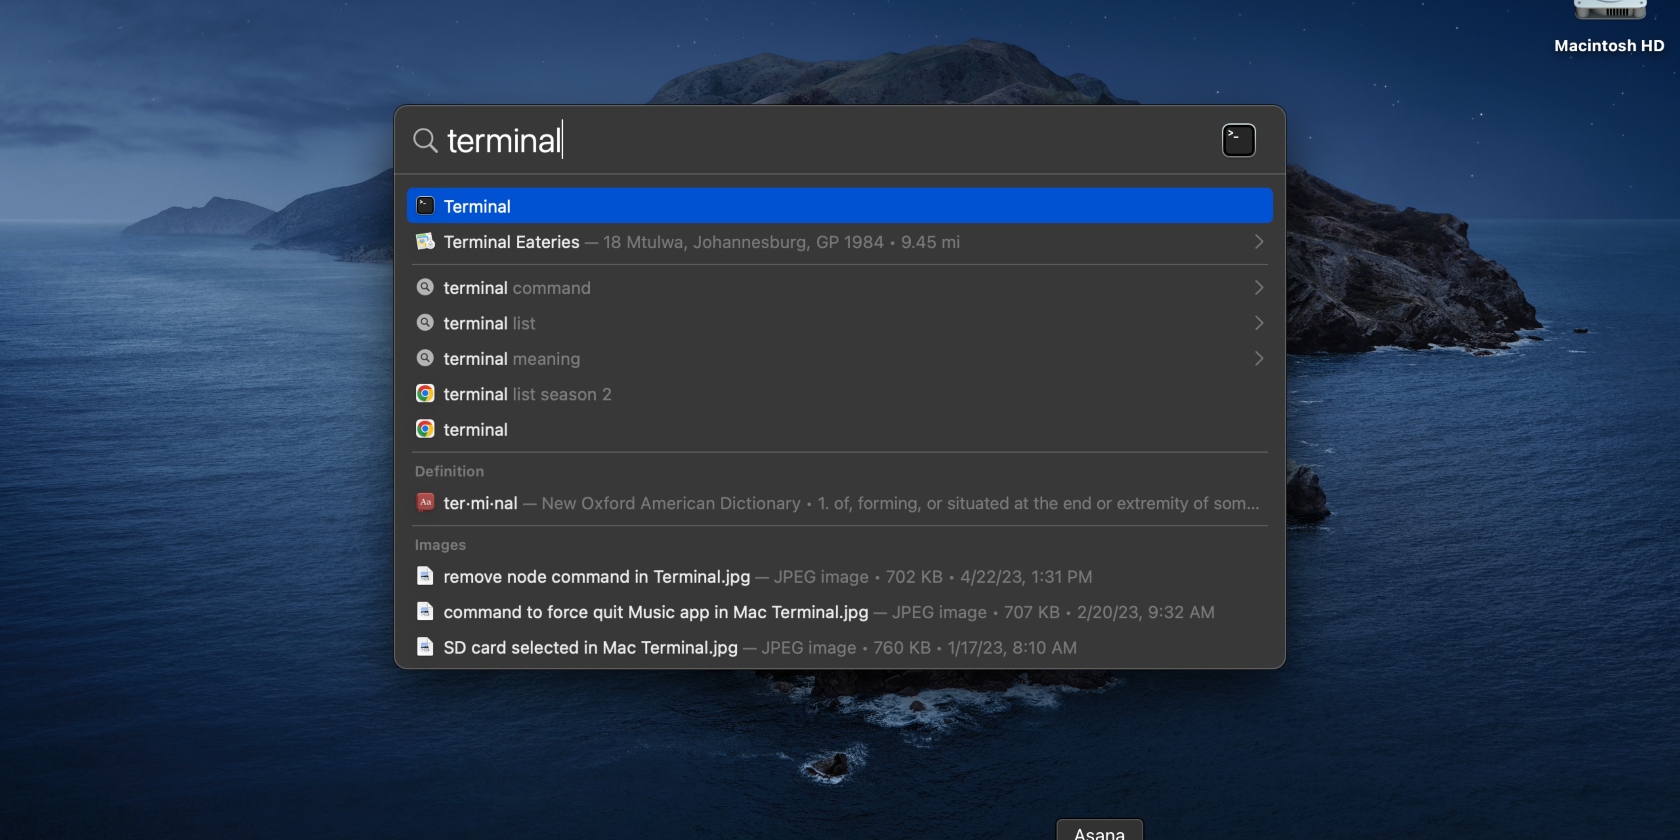
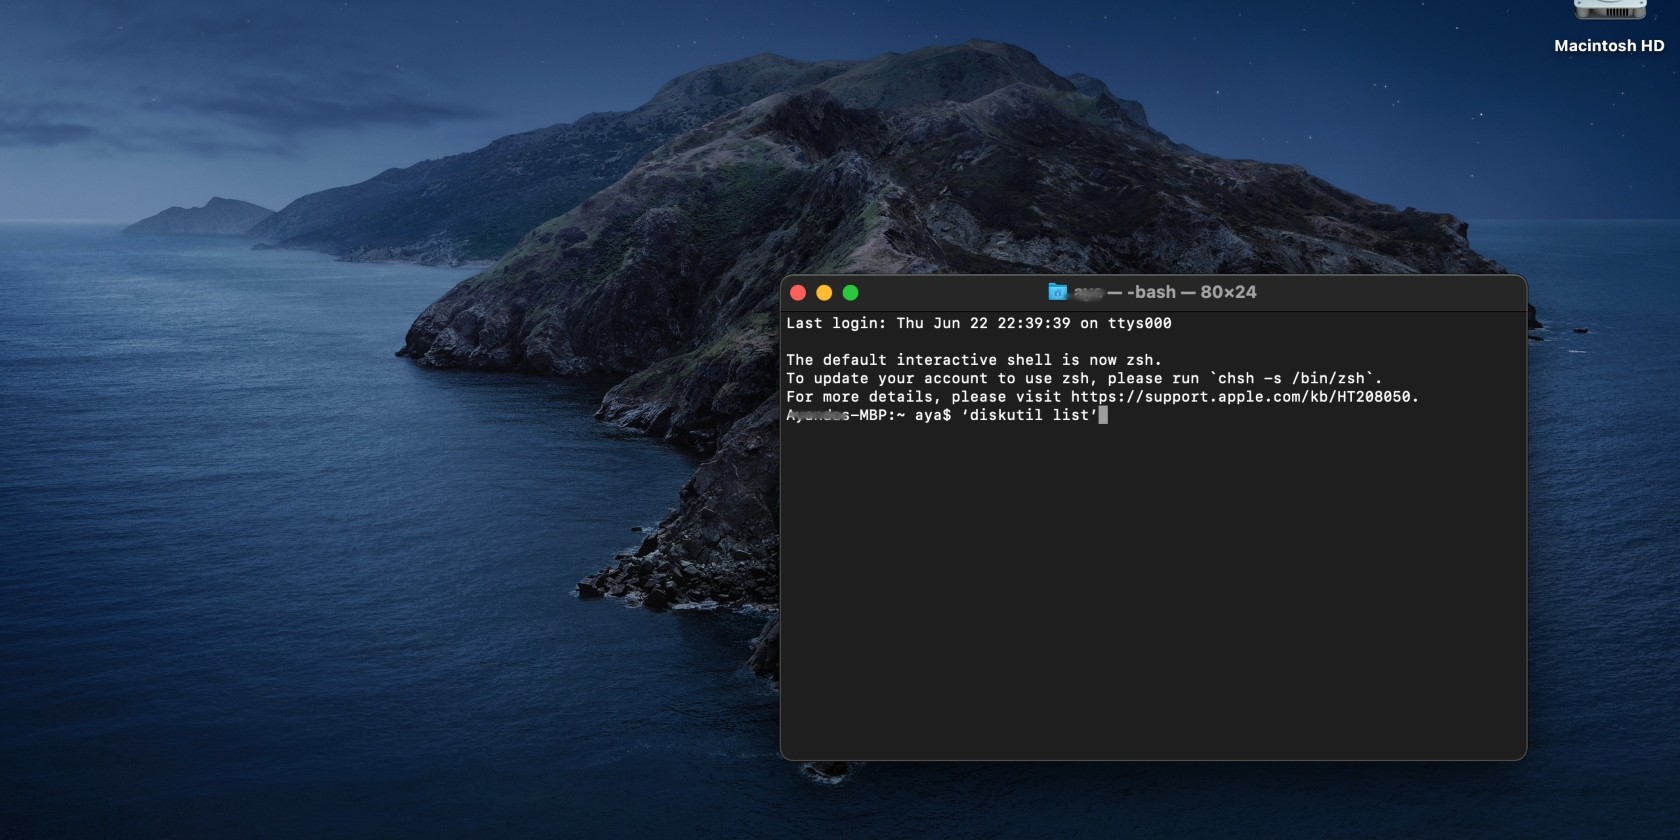
2. Punch in the command ‘diskutil list’
Type the command ‘diskutil list’ (without the quotation marks) and press Enter.
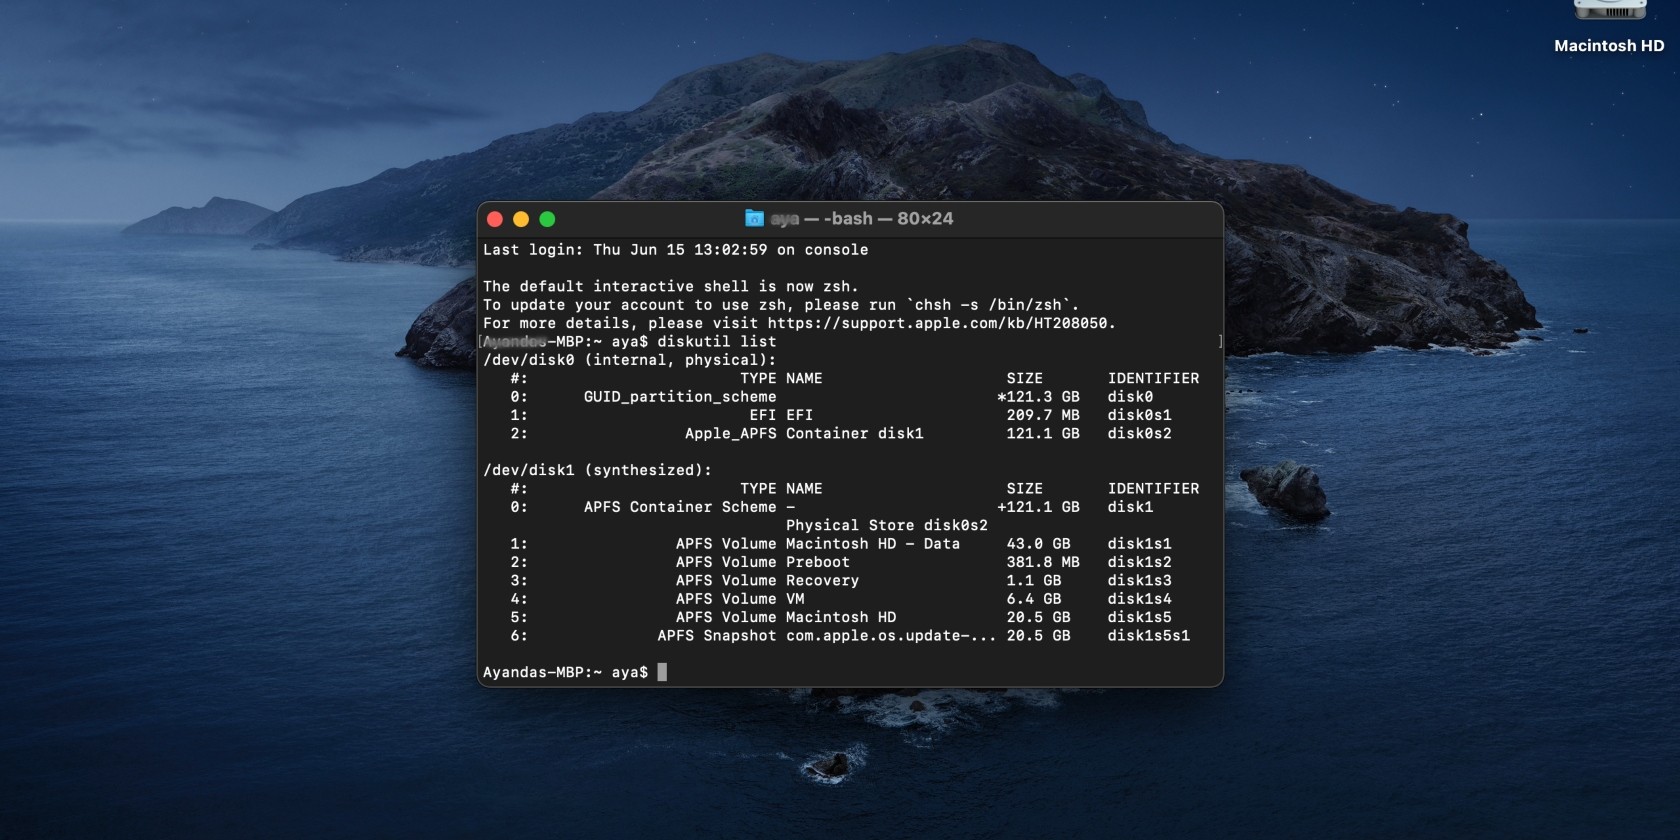
This will bring up your HDD or SSD partitions. For this step, it’s important to get the spelling correct, so it’s best to copy and paste it in Terminal to avoid any errors.
3. Choose the partition you want to delete and enter the command ‘diskutil eraseVolume jhfs+ drive /dev/X’
To erase the partition in Terminal:
- Terminal will show you a list of partitions. Find the one you want to delete and make a note of the identifier
- Enter the command ‘diskutil eraseVolume jhfs+ drive /dev/[identifier]’.
Note from our team:
Please, omit the quotation marks and square brackets while entering the command. It should look something like this: diskutil eraseVolume jhfs+ drive /dev/disk1s5.
4. Wait for the progress bar to be done and the message “Finished erase on X” to appear
A progress bar will appear on the screen; follow it to see the status of your partition in Terminal. When the process is completed, you’ll see a message letting you know. The message should say, “Finished erase on…”. This is confirmation that the departition is done.
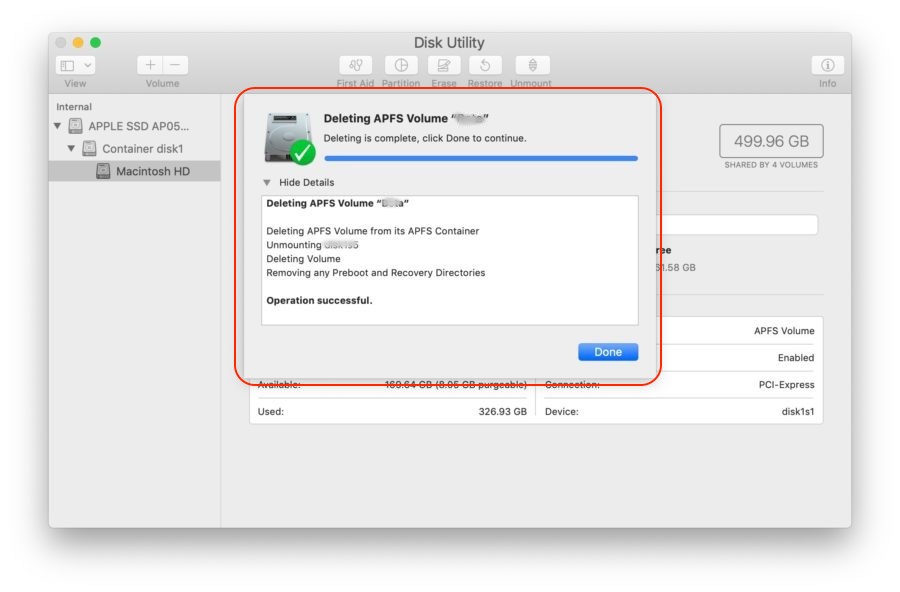
5. To finish up the process, go to Disk Utility and use the method above to remove the partition completely
To completely delete the partition in Disk Utility:
- Repeat the steps we provided above for deleting a partition in Disk Utility
- Open Disk Utility via Finder or Spotlight search, choose the disk that contains the partition you want to delete, and hit the partition tab at the top of the window
- Click the minus button and select Apply and partition.
How healthy is your hard drive? Learn how to check disk health to find out.
Successfully remove an unwanted partition on your Mac
Redundant files are a dime a dozen on a computer, and a partition is one of them. Fortunately, you can do something about it—remove partition on Mac. Deleting a partition is a straightforward process—simply select the intended drive in Disk Utility’s side panel, click the Partition tab, select the partition you want to delete from the pie chart, and click the minus icon, followed by Apply and Partition.
If that doesn’t work, you have one more trick up your sleeve: using Terminal commands to delete the partition and heading to Disk Utility to remove it there again. But why stop at removing the partition? We advise using MacKeeper’s Smart Uninstaller tool to professionally and spotlessly clean your Mac by removing any other redundant files that may be present on it.


