In this article you will find the following:
Live Photos, available on iOS, enable you to capture what is known as a "Live Photo." Essentially, they are similar to regular photos but include a few seconds of video footage before and after the image is taken. While they initially appear as still images, a simple action of holding down your finger reveals a delightful touch of motion.
But what if you took a video and really wished it was a Live Photo? Maybe you took some lovely footage at a friend’s wedding, or you took a funny video of your adorable dog. Whatever the video, thankfully, you can convert a video to Live Photo with some simple steps.
Keep reading and we’ll show you how using a few different methods to create some moving pictures.
Before we start
While the instructions given by our team below will likely help you convert your video to a Live Photo, what about those bothersome duplicate photos? MacKeeper’s Duplicate Finder offers an excellent solution for eliminating redundant copies of images and other files. This will spare you the need to manually sift through all your photos, ultimately saving you valuable time.
To use MacKeeper’s Duplicate Finder:
- Download MacKeeper and install it
- Open the Duplicates Finder tool located on the left panel
- Click on Start Scan and wait until it’s finished
- Now find the files you wish to delete and select Remove Selected.
How to change a video to a Live Photo
As Apple doen’t have a ready in-built tool for you to change a video into a Live Photo format, we advise you to use the third-party apps for this purpose.
Below, we’ve gathered the best tools you can benefit from while converting your video into a live photo. Continue reading our guide to learn the following:
- How to turn a video into a Live Photo using IntoLive
- How to convert a Live Photo into a video using iOS 13 or later
- How to make a Live Photo into a video with iOS Shortcuts.
1. How to turn a video into a Live Photo using intoLive
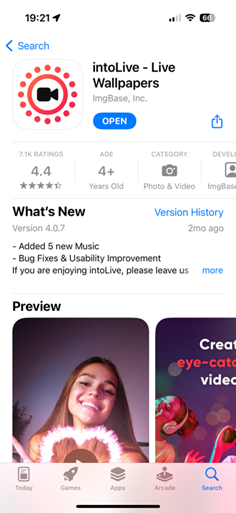
intoLive is a user-friendly video editor that lets you easily create videos for TikTok, Reels, and Shorts. You can even save your videos as Live Photos with just a few clicks.
Here’s how to turn a video into a live photo using the intoLive App:
- Go to the App Store and download the intoLive app. It’s a free app with a Pro version with more tools, but don’t worry, you won’t need these to make a video a live photo
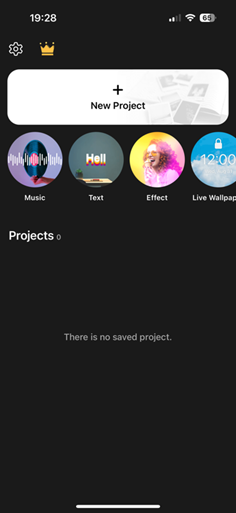
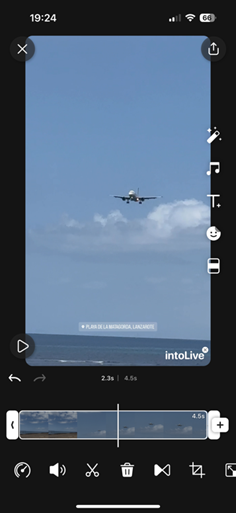
- Open the intoLive app, click New Project, and grant it permission to access your photo library
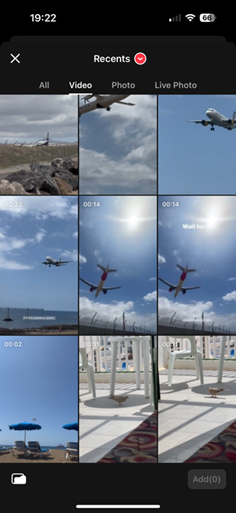
- You’ll now see all the files in your camera roll sorted by type. Choose the video you wish to convert into a Live Photo
- Next, the video editing page will appear. If your video exceeds the maximum duration, you can utilise the slider located at the bottom of the screen to choose the specific portion you wish to convert into a Live Photo. Additionally, below the slider, there are icons that allow you to apply color filters, rotate your video and effects as well as adjust the video speed, and more. Remember, some of these options will only be available with the Pro version
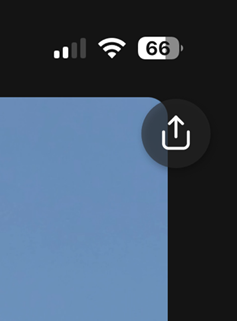
- Once you’ve got your video looking good, tap the Share button in the top right corner of the app
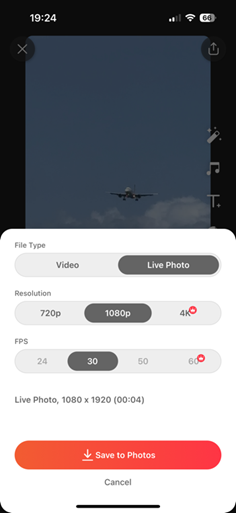
- A pop up menu will appear at the bottom of the screen, choose the file type Live Photo, and pick the Resolution and FPS you wish the Live Photo to be. Now, just click Save to Photos. Job done! You’ve successfully learnt how to change a video to a live photo.
Hint from our team:
While using intoLive, you can select videos of any duration. However, the free version of intoLive allows you to create live photo from video that are up to five seconds long. If you upgrade to the Pro version, however, you’ll be able to convert video to live photo with a maximum duration of 30 seconds.
2. How to convert a Live Photo into a video using iOS 13 or later
But you may be asking, what about the other way around? No problem. You can easily convert a Live Photo into a video with a few easy steps.
Here’s how to turn a Live Photo into a video:
- Open the Photos app on your iPhone
- Find the Live Photo in the Photos app. If you can’t find it, click Albums on the bottom bar and select the folder Live Photos
- Click the Live Photo you wish to covert to a video to bring it up on screen
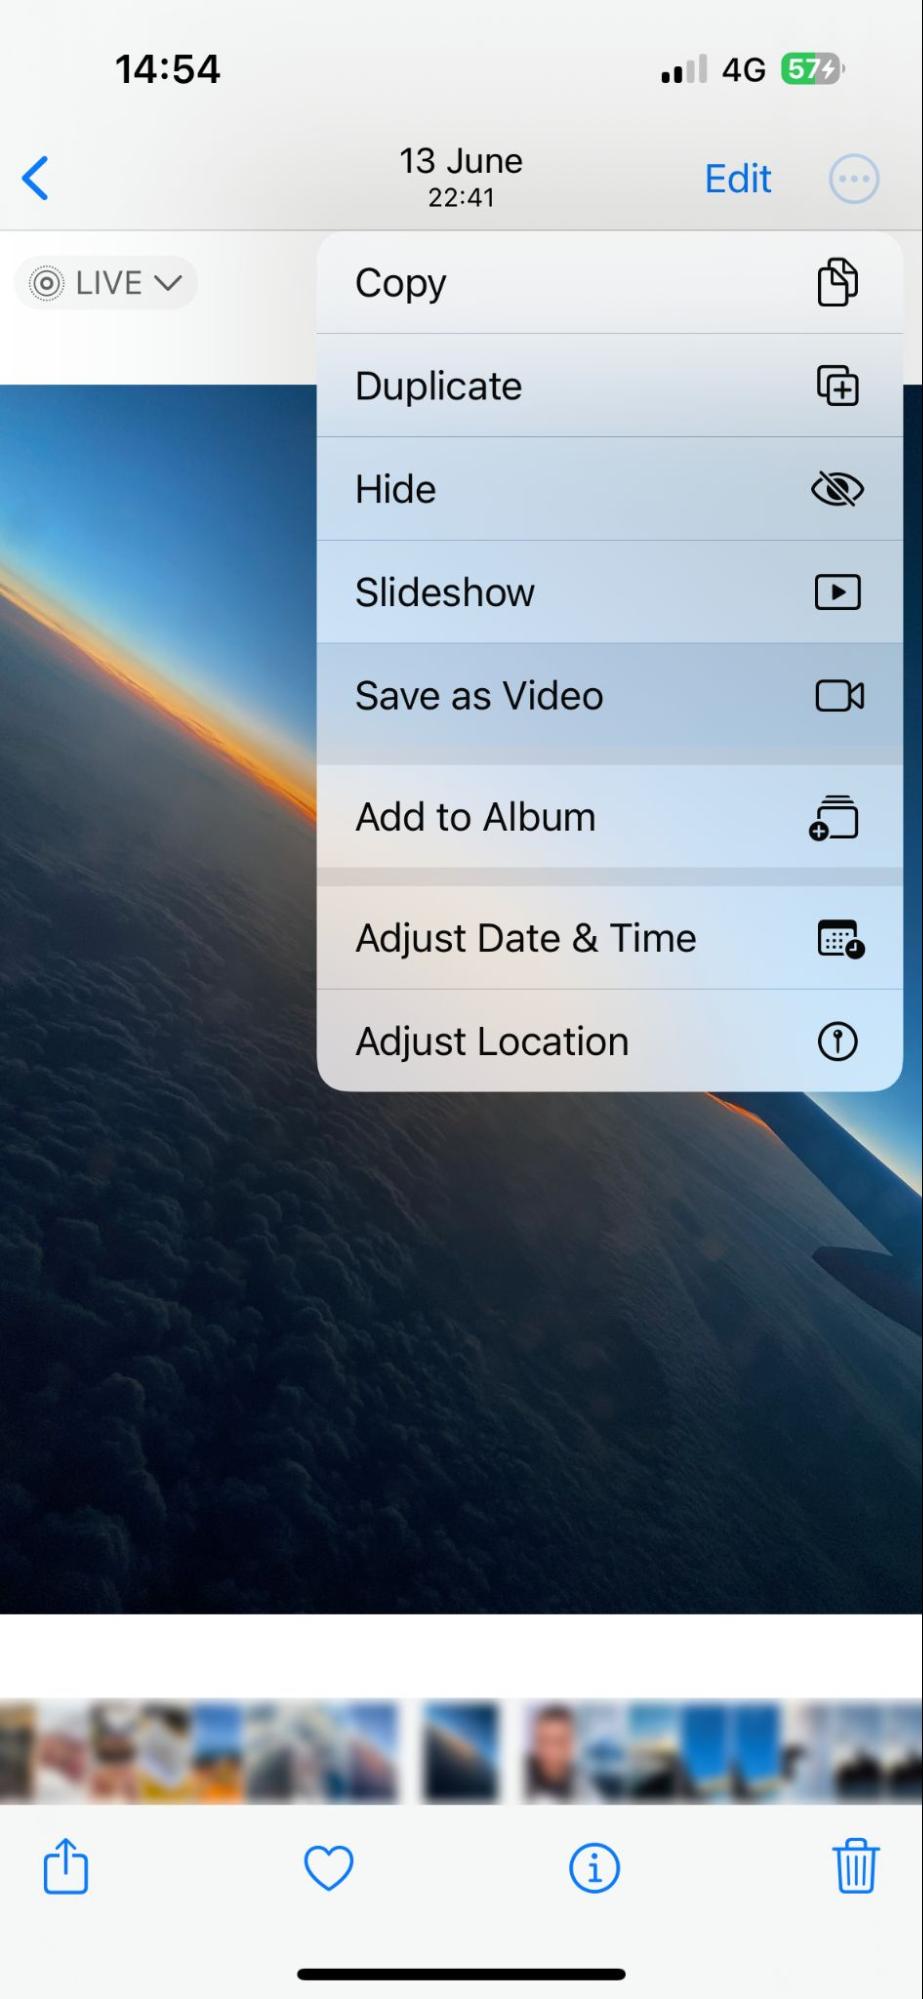
- Click the three dots in a circle icon in the top right of the screen, underneath your battery icon and next to the Edit button
- In the drop down, click Save as Video. You’ll now have a video in mp4 format in your Photo app.
3. How to make a Live Photo into a video with iOS Shortcuts
iOS Shortcuts is a feature available on iOS that allows users to create custom automations and workflows on their iPhone or iPad. With Shortcuts, you can automate various tasks and actions, such as sending messages, opening apps, adjusting settings, and even making your Live Photo a video.
Here’s how to make a live Photo into a video using iOS Shortcuts:
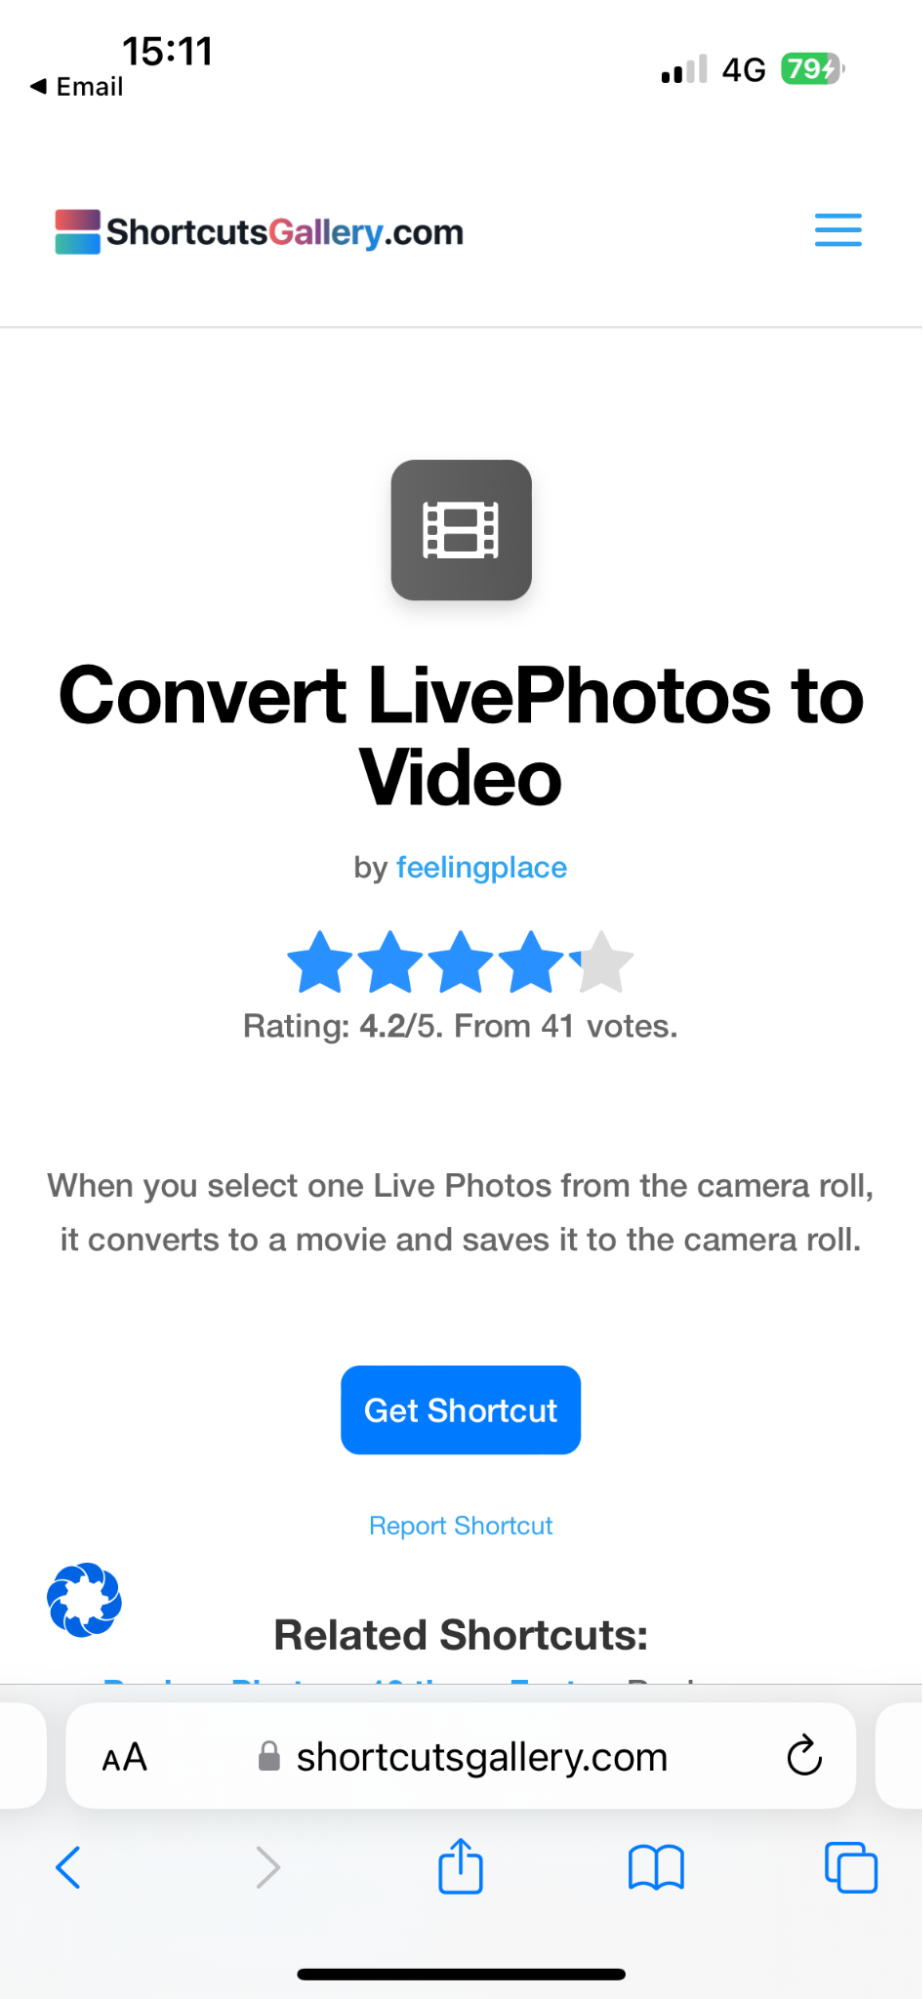
- Open Safari
- Head over to this ShortcutsGallery link
- Once the page loads, click Get Shortcut
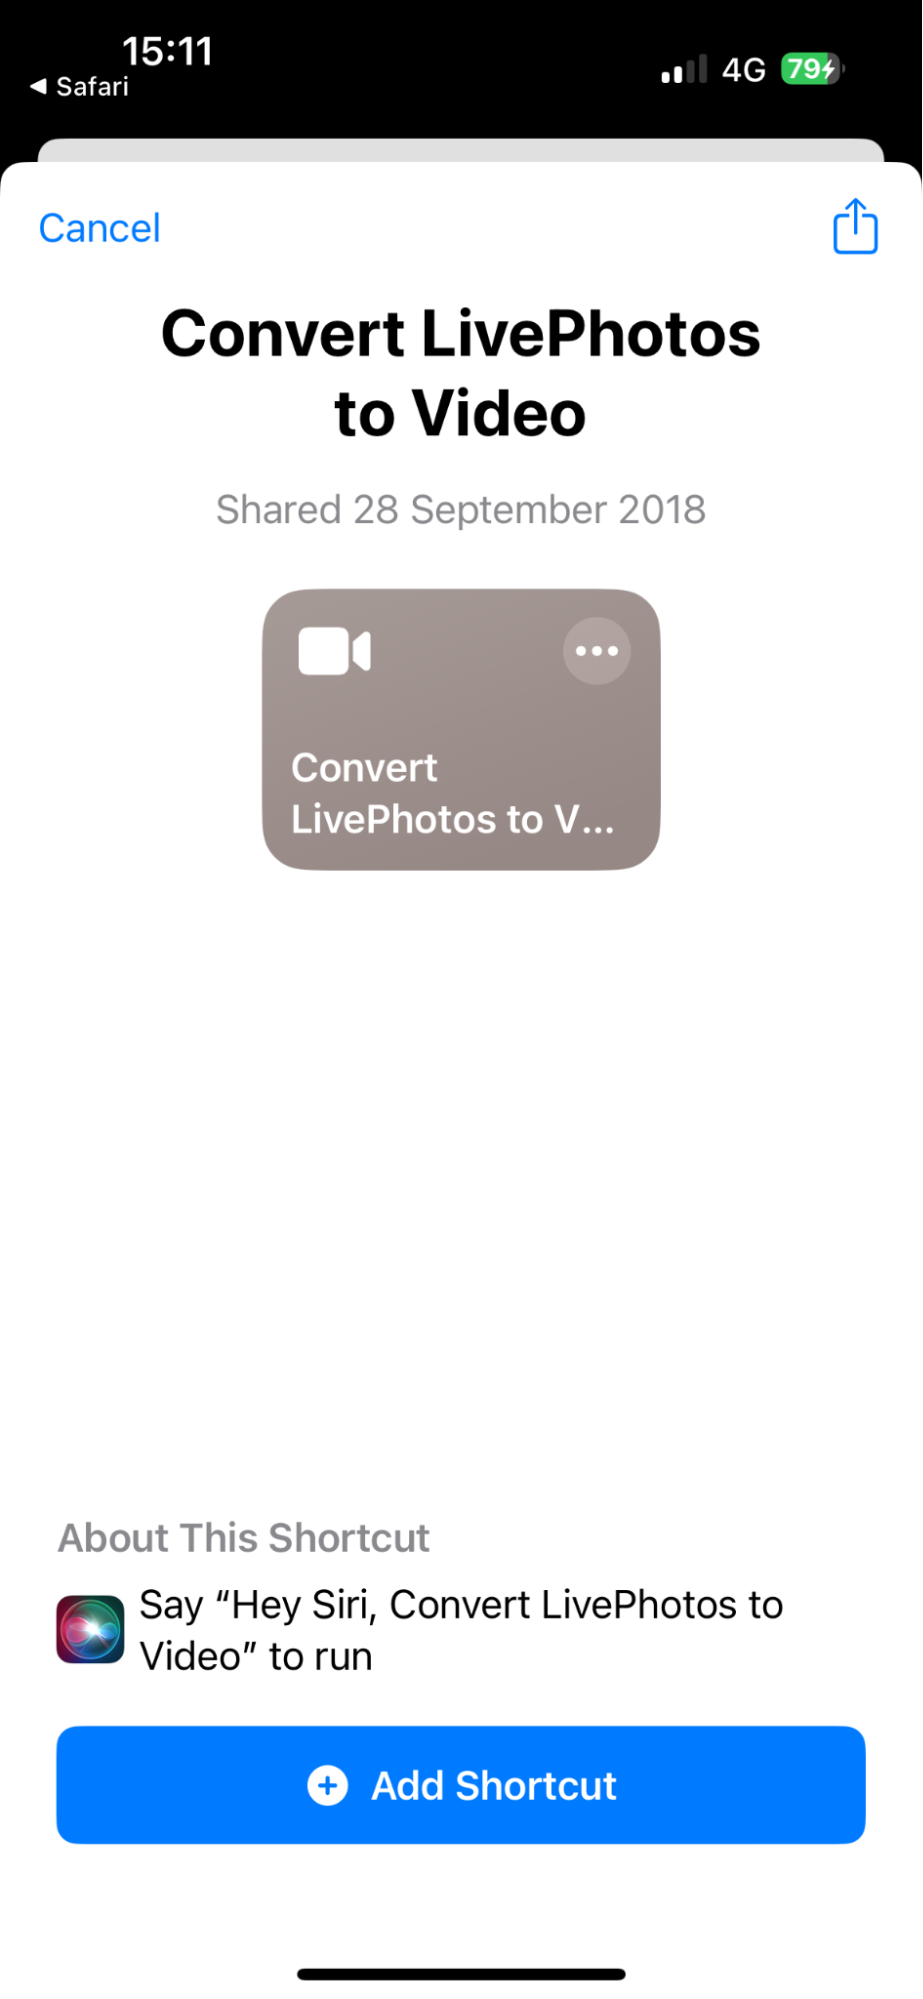
- This will take you to the Shortcuts app with the prompt to add the shortcut. Click the blue Add Shortcut at the bottom of the screen. The shortcut will now be in your Shortcuts gallery
- If you click the Shortcut, it’ll begin loading, and your media gallery will pop
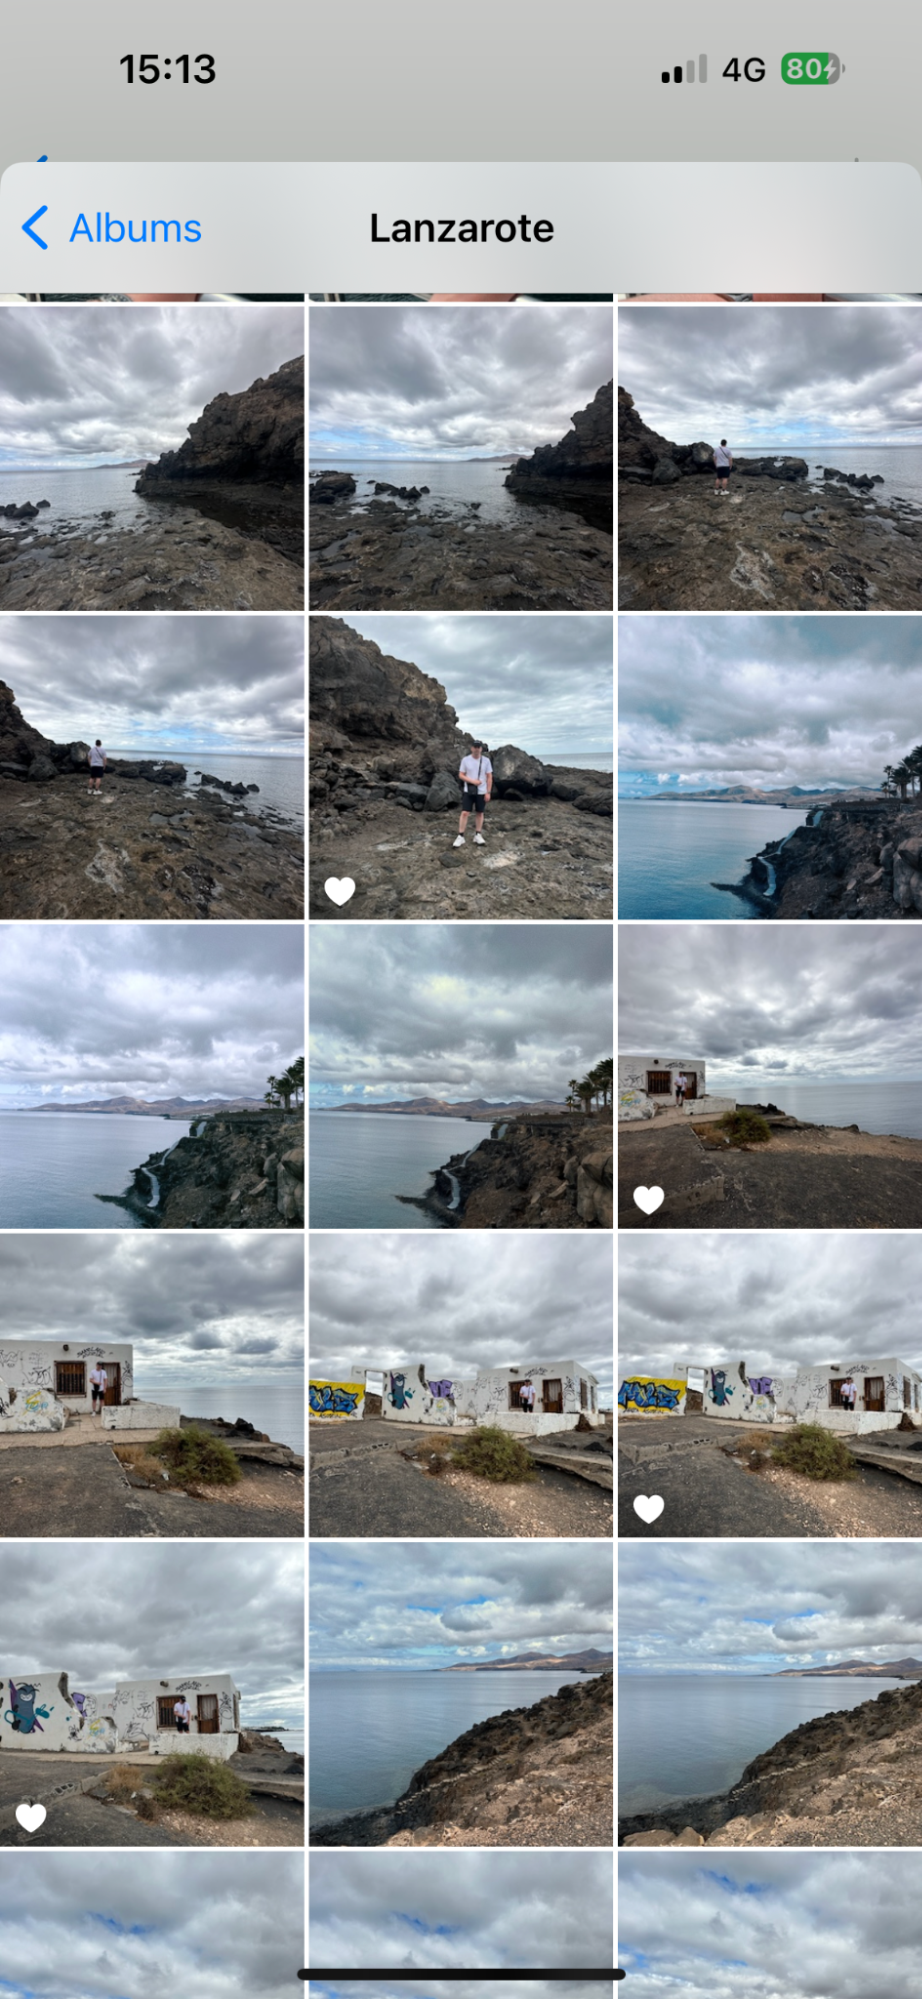
- Select the Live Photo you wish to convert into a video
- A popup will appear that asks if you wish to allow notifications for this shortcut. Select Allow so that you’re alerted when this shortcut completes
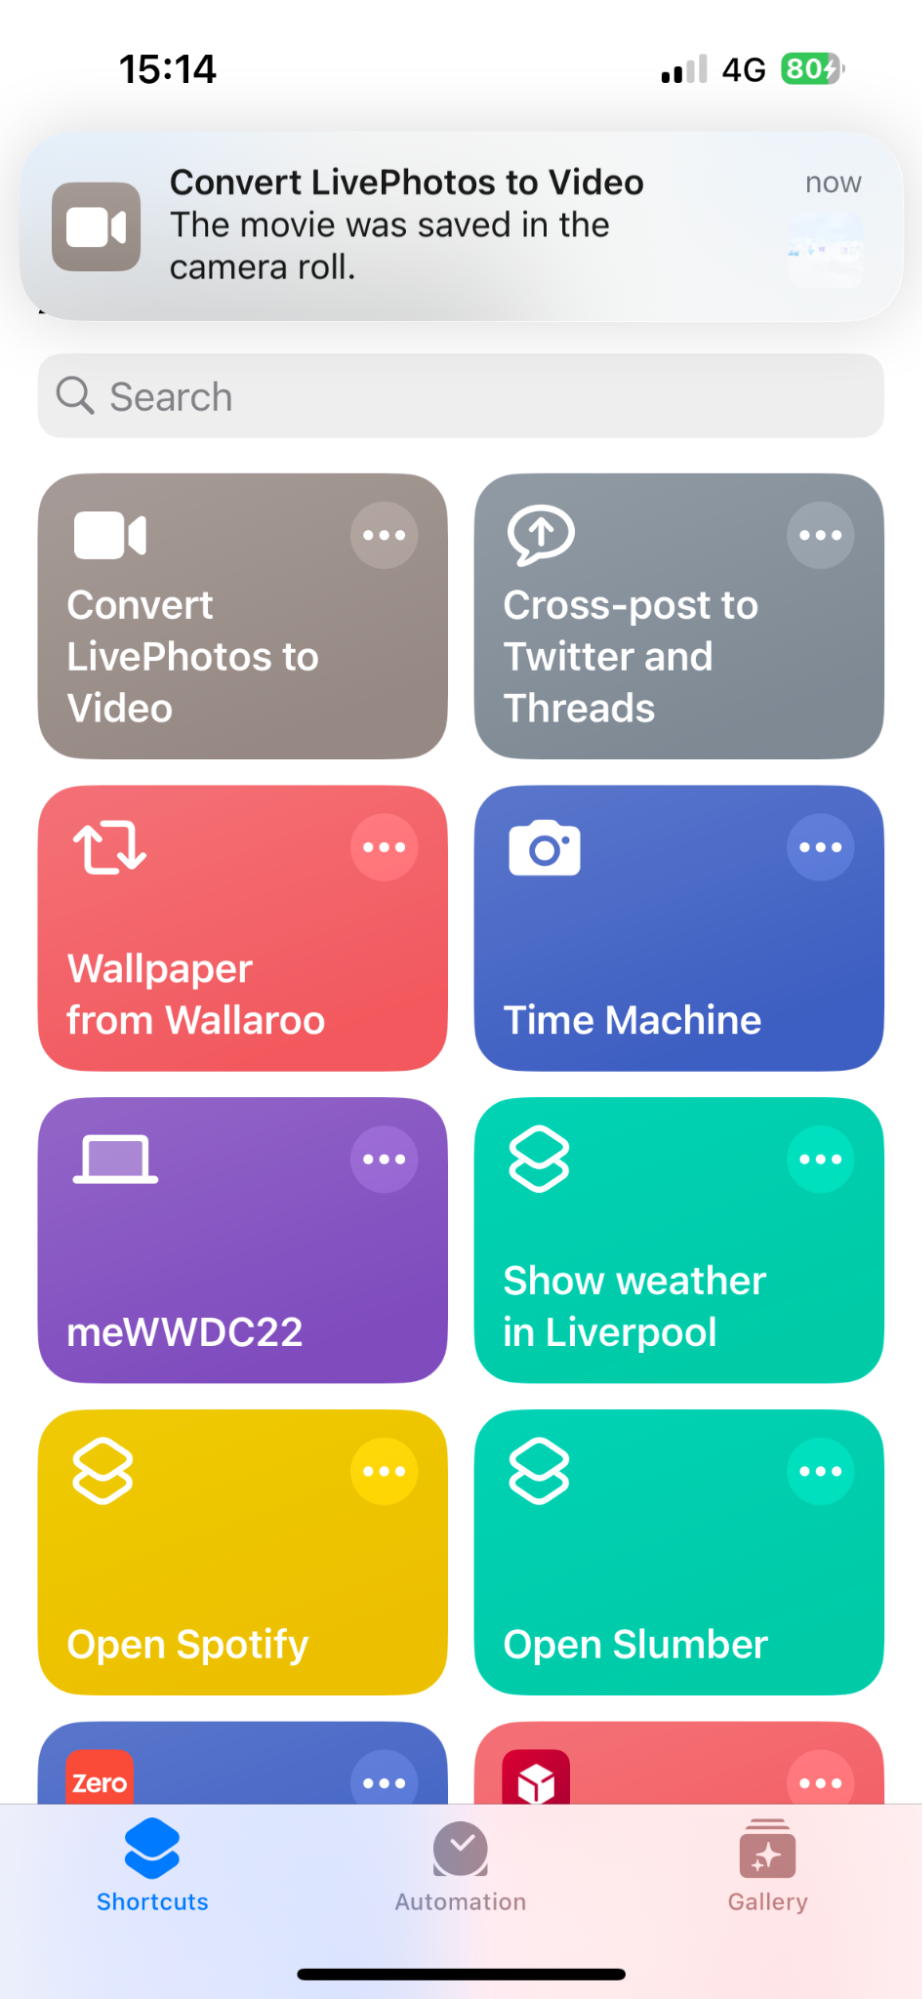
- You’ll then get a notification stating that the video has now been saved into your camera roll.
Whether you’ve recorded a fun video on your iPhone or recently learned to how to record a video on a Mac, you can convert the footage into a Live Photo. The same can be done with a GIF—read on.
How to convert a GIF into a Live Photo and vice versa
If you're interested in converting your GIF into a Live Photos, you'll require a third-party app such as GIPHY. This app isn’t only free of charge but also offers a seamless experience for handling GIFs. With its user-friendly interface, you can effortlessly transform your favourite GIFs into captivating Live Photos that come to life.
Now let’s discuss each method you can use to convert a GIF into a Live Photo below:
- How to turn GIFs into Live Photos with GIPHY
- How to convert a Live Photo into a GIF with iOS Shortcuts
- How to make a Live Photo into a GIF using Lively.
1. How to turn GIFs into Live Photos with GIPHY
Why make a GIF a Live Photo? It opens up a whole new world of possibilities with GIPHY’s fun editing tools.
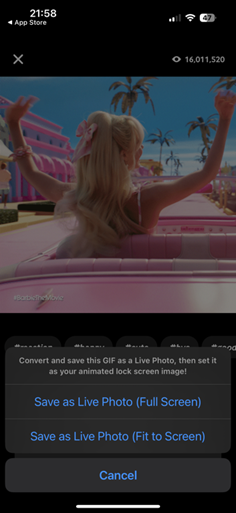
Here's how to convert a GIF into a Live Photo using GIPHY:
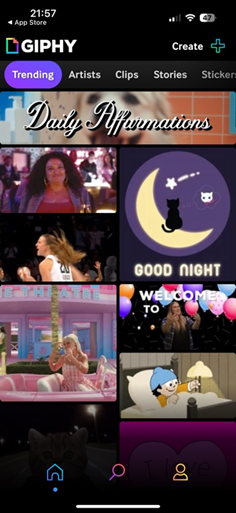
- Download GIPHY from the App Store and open it
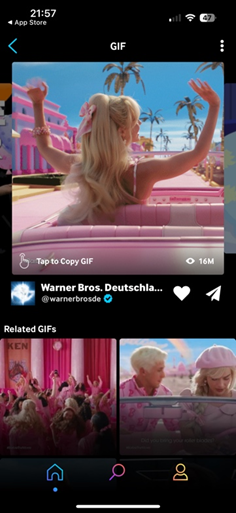
- Find your desired GIF through the search bar or GIPHY's collection, click it to open it
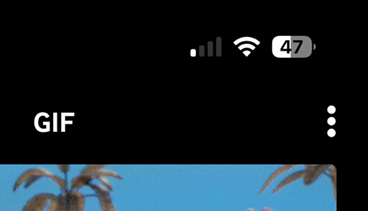
- Tap the three dots on the right
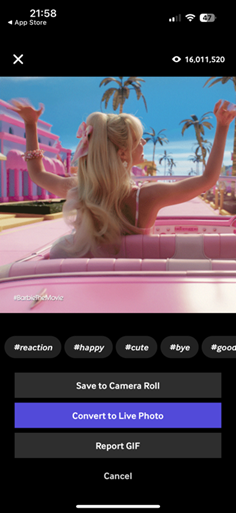
- Select Convert to Live Photo
- Choose fit-to-screen or full-screen (great for using as a wallpaper), whichever is your width and height preference.
After it’s done, you’ll find your new Live Photo in your Photos app.
2. How to convert a Live Photo into a GIF with iOS Shortcuts
If you have a Live Photo you wish to convert to a GIF, you can also use the Shortcuts app for iOS. This is a brilliant option as it allows the conversion with the click of a button.
Here’s how to convert a Live Photo into a GIF using the Shortcuts app:
- Open Safari
- Head over to this ShortcutsGallery link
- Once the page loads, click Get Shortcut
- This will take you to the Shortcuts app. Click the blue Add Shortcut at the bottom of the screen. If you click the Shortcut, it’ll begin loading, then your gallery will open
- Select the Live Photo you wish to convert to a GIF and select Allow in the pop-up window
- You’ll then get a pop up that asks if you want to Share or Save to Photos, choose the latter and your photo will be saved into your Photos app. If you want to have your GIF available to you when using your Mac, make sure to read how to transfer photos from iPhone to MacBook.
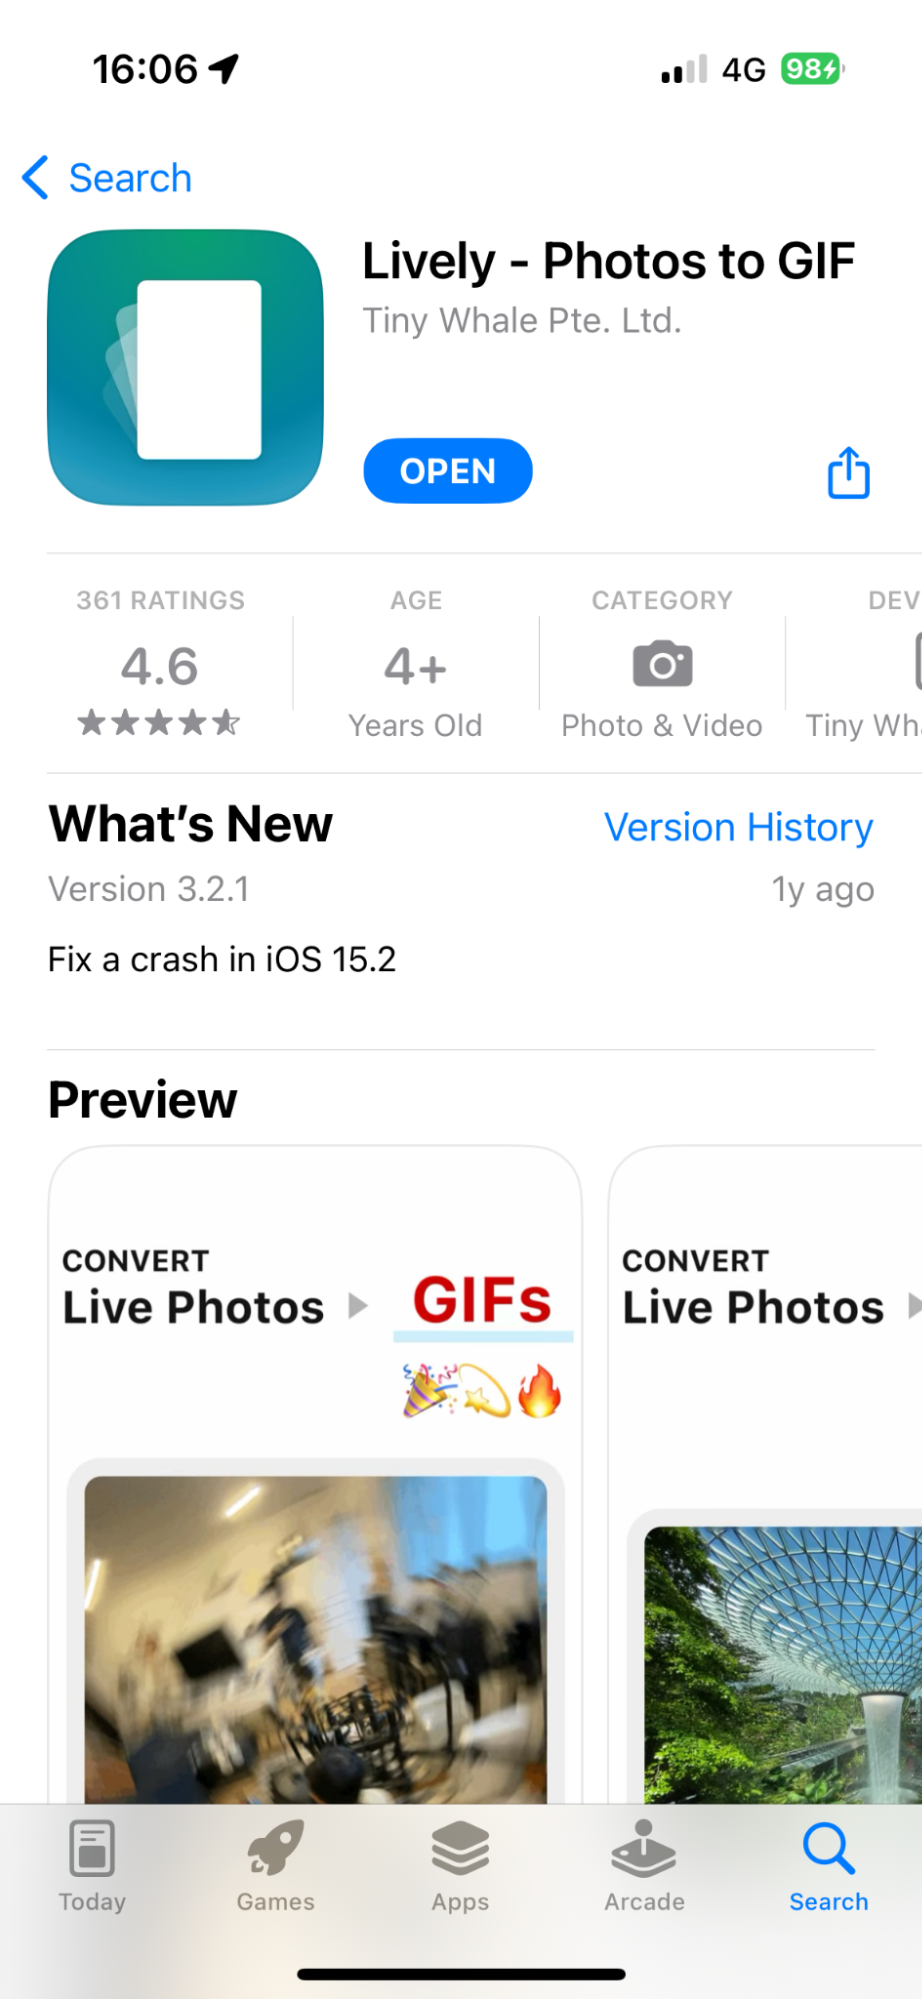
3. How to make a Live Photo into a GIF using Lively
Lively is a user-friendly converter app that transforms your Live Photo into various formats, such as GIFs. With Lively, you can easily customise your GIFs by adjusting playback speed and direction.
Here’s how to convert a Live Photo into a GIF using Lively:
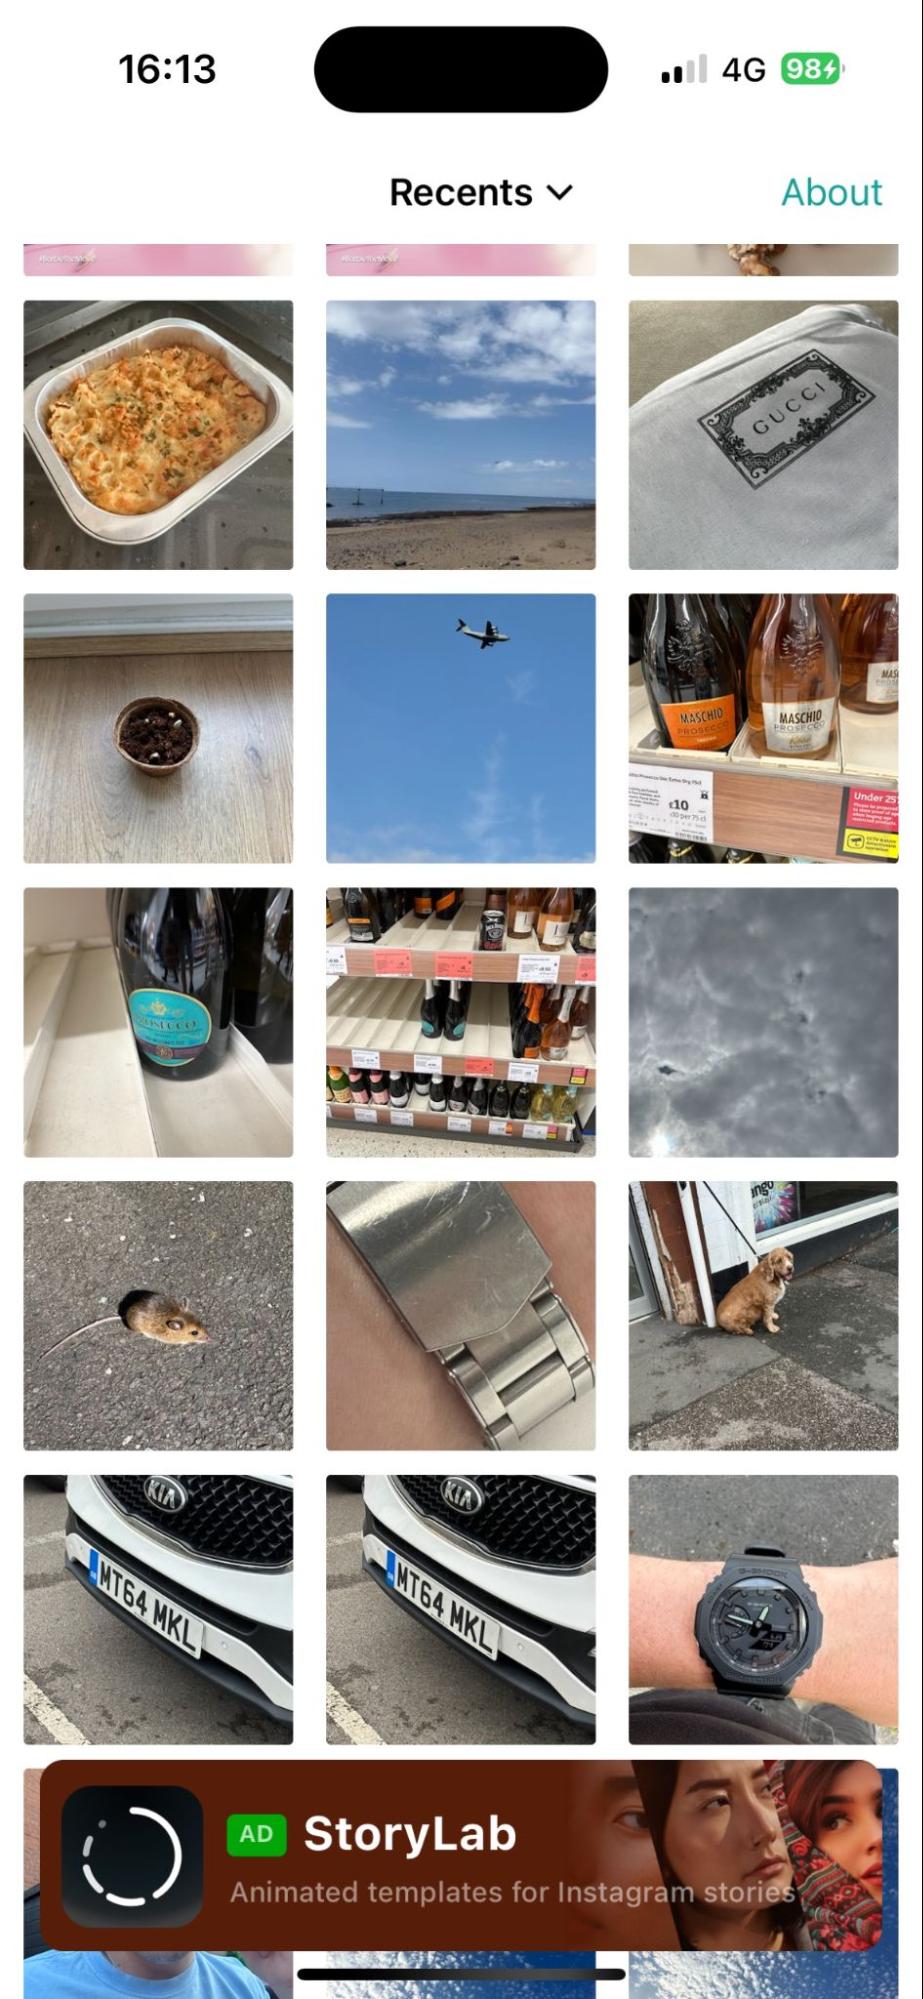
- Download Lively from the App Store, open it, and allow the app access to your Photos
- Your gallery will now be displayed. Select the Live Photo you wish to turn into a GIF
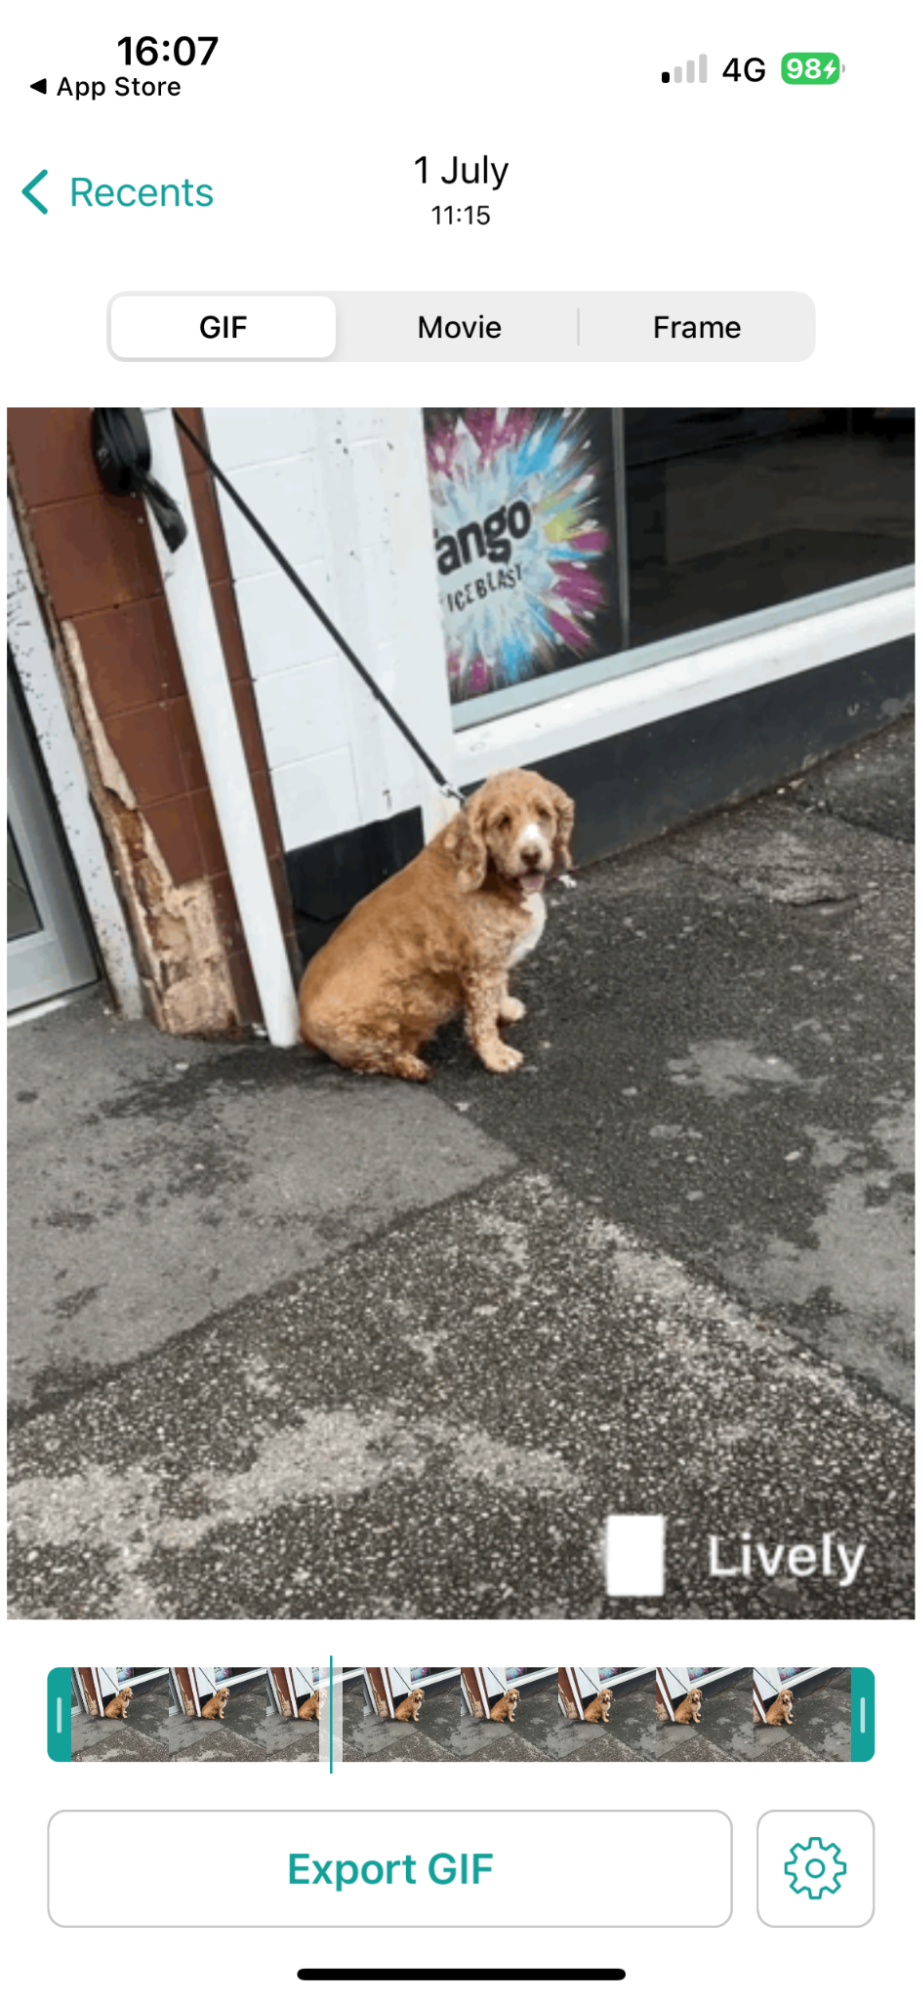
- On the next screen, you’ll be able to edit the length of the Live Photo as well as other edits under the cog icon in the bottom left corner of the app
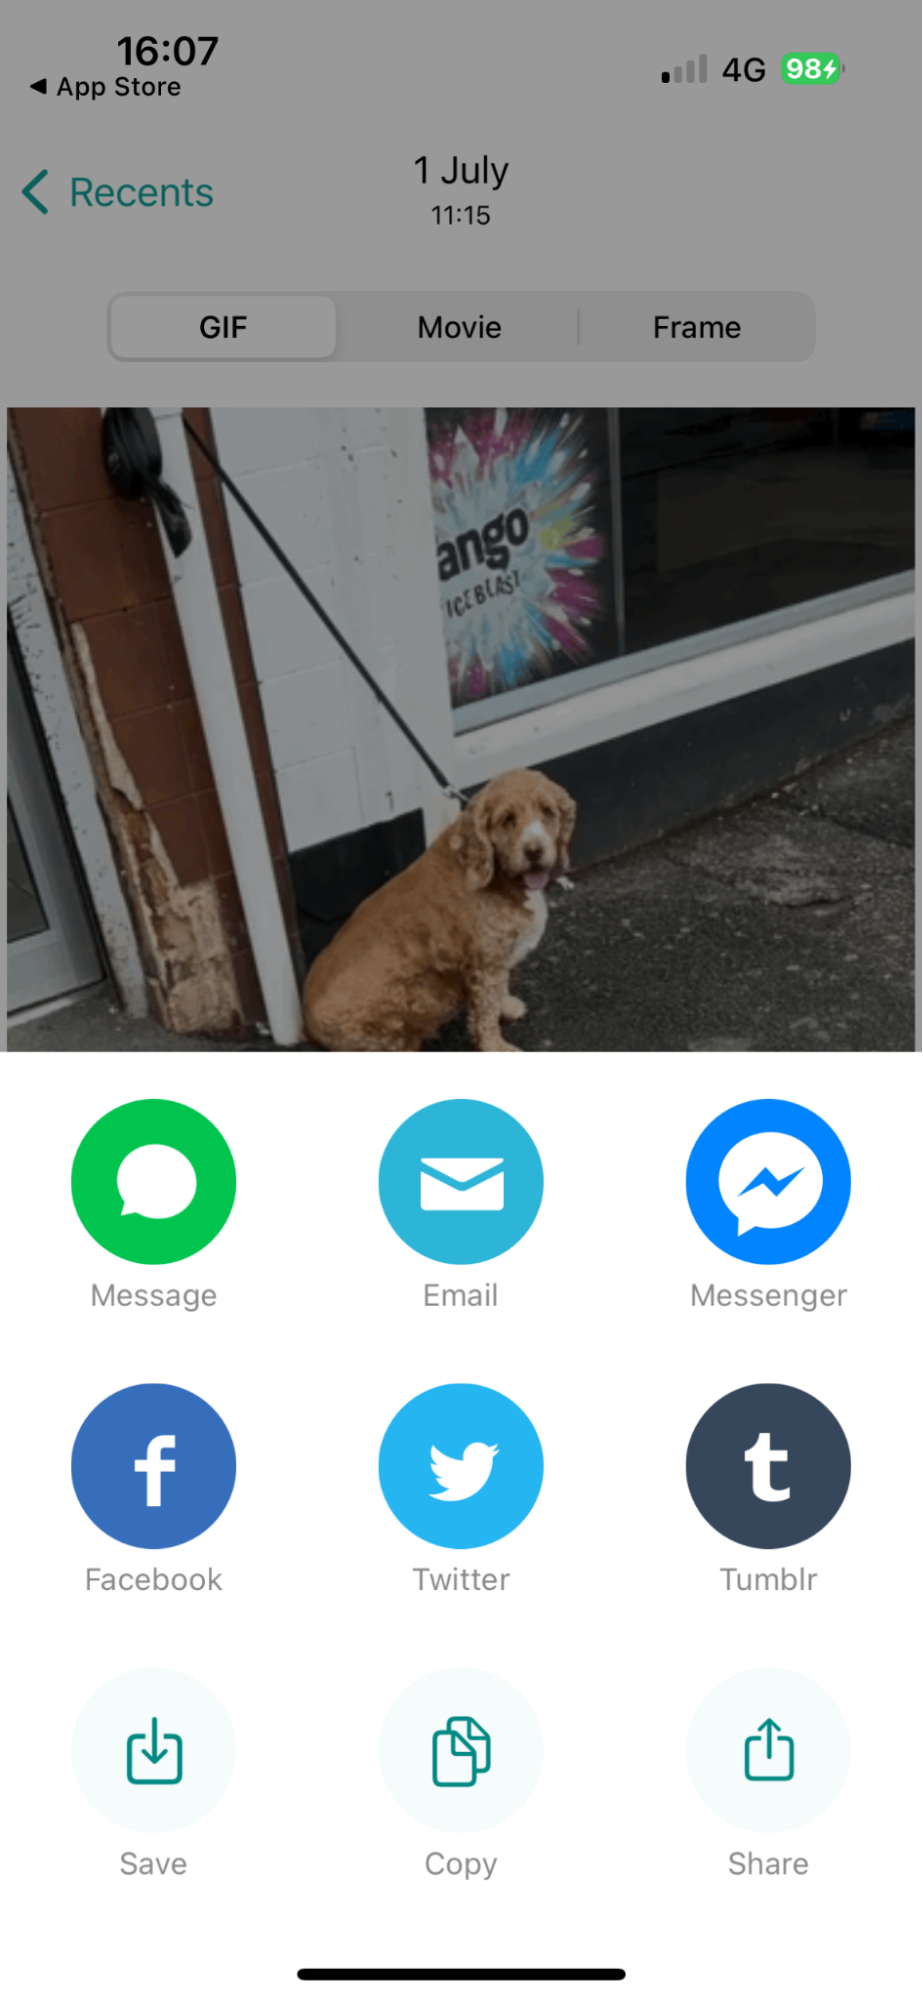
- Once you’re happy, click the Export GIF button and click Save.
Creative possibilities now unlocked
Whether you're an iOS user seeking to transform videos into captivating Live Photos, or looking to convert GIFs into Live Photos and vice versa, our above-listed methods and tools available online should help you on the way. Now you can accomplish your desired outcome with iOS’ clever Shortcuts app, creative content apps like Giphy. and our tips on how to make a slideshow on Mac. With just a few simple steps, you can change up your important memories and unlock a whole new realm of creative possibilities.
Editing your media can sometimes result in lots of duplicate files when you’re trying to get things right. To get rid of them, check out MacKeeper’s Duplicate Finder, an excellent tool for removing those redundant copies without manually trawling through your entire library.


