If you’re an avid Microsoft OneDrive user, or plan to start utilizing cloud storage, we recommend you sync and connect OneDrive to Mac Finder to help keep applications organised and your Macintosh clutter-free. MacKeeper’s Login Items tool can take your decluttering further, helping you to easily manage all your integrated apps that load upon startup.
Yes, you can add OneDrive to the Finder sidebar on Mac. The OneDrive app grants you access to add and connect OneDrive to your MacBook Finder alongside all its local files.
The location change is made possible because macOS supports Microsoft cloud integration, allowing OneDrive to appear as a visible, working folder right in your Finder sidebar. Many Apple users install Microsoft cloud storage, as they consider it one of the best online storage for Mac devices.
A note from our experts:
For a smoother computer experience, we encourage Apple users to declutter their devices to ensure they run uninterrupted and don’t get overloaded with demanding processes. Having MacKeeper’s Login Items feature in your toolkit, you’ll be able to scan your Macintosh to find out if there are any startup apps you can remove to boost your Mac’s working speed and stability.
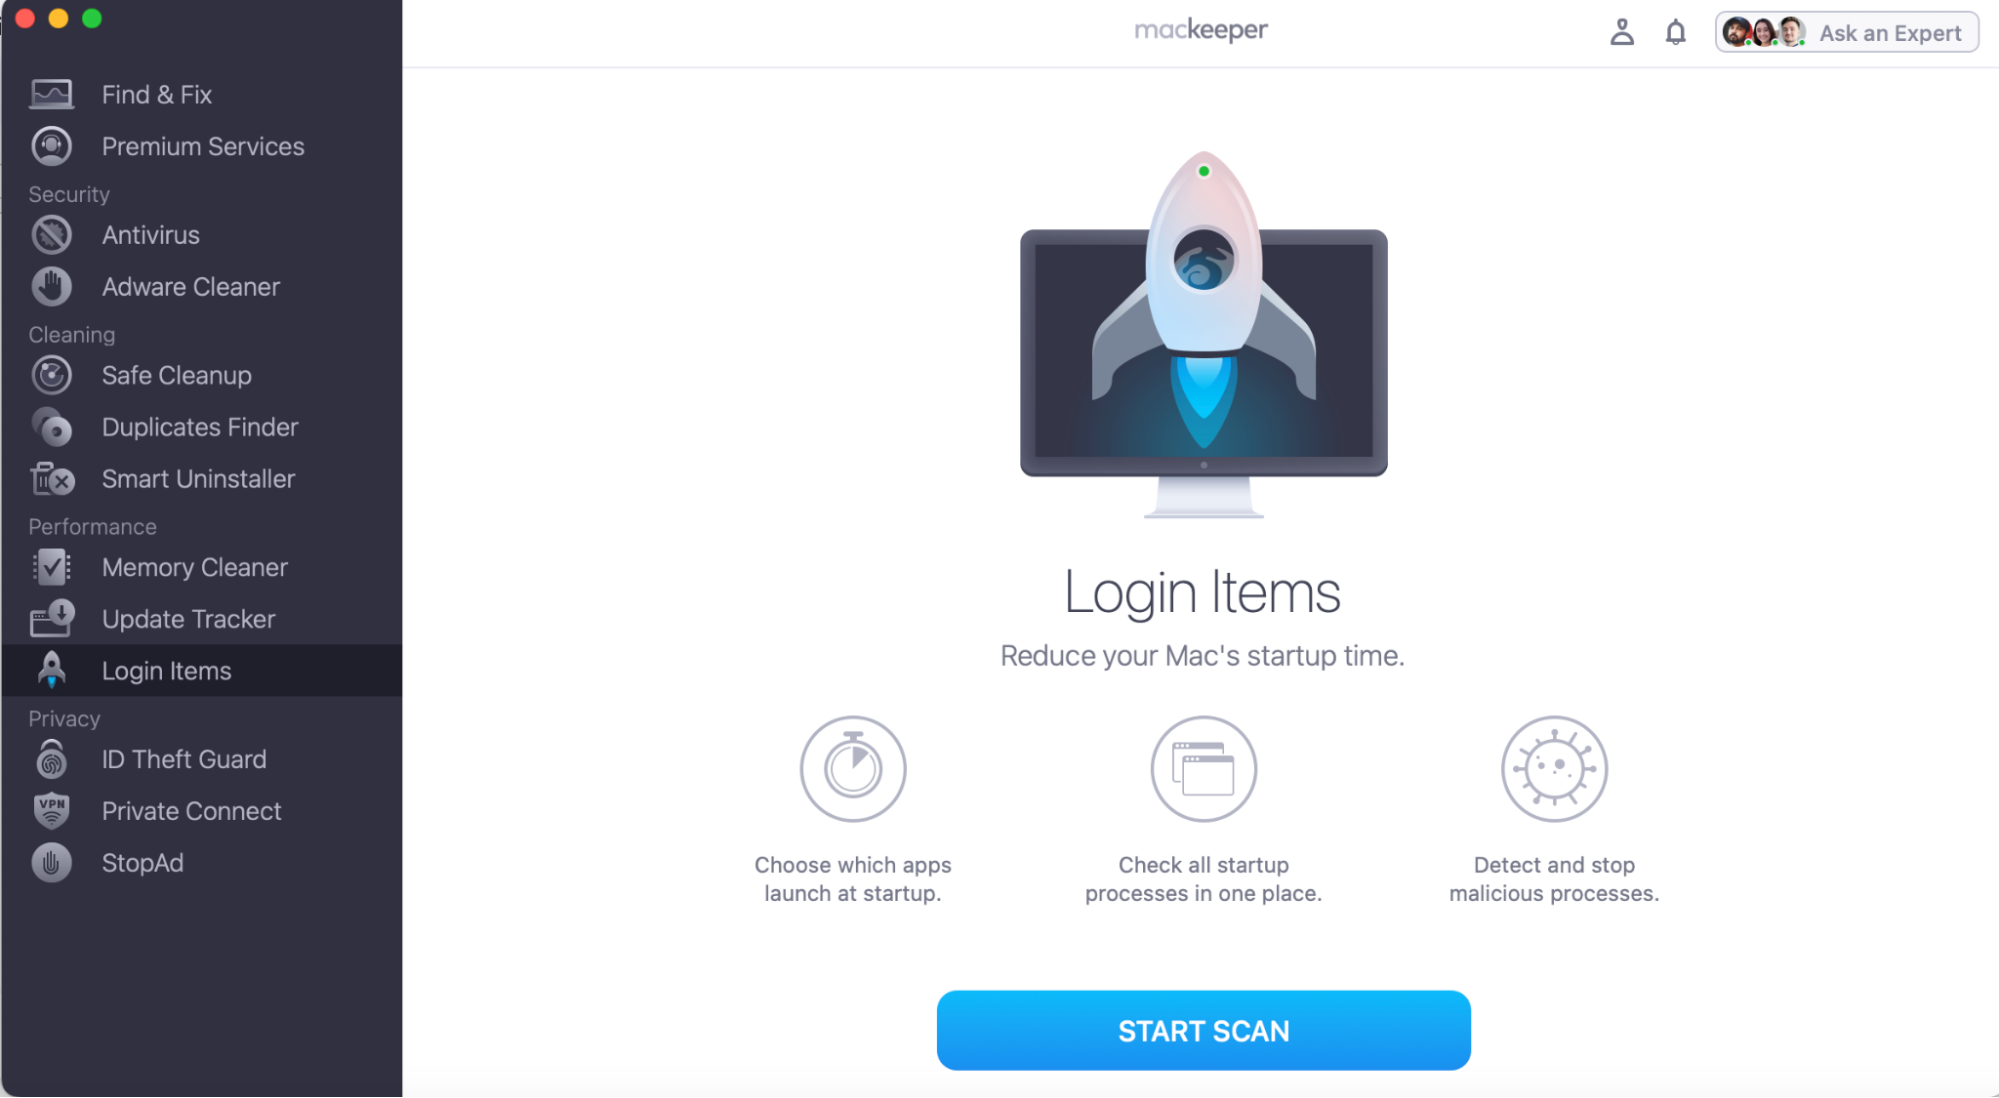
Here’s how to use MacKeeper’s Login Items feature:
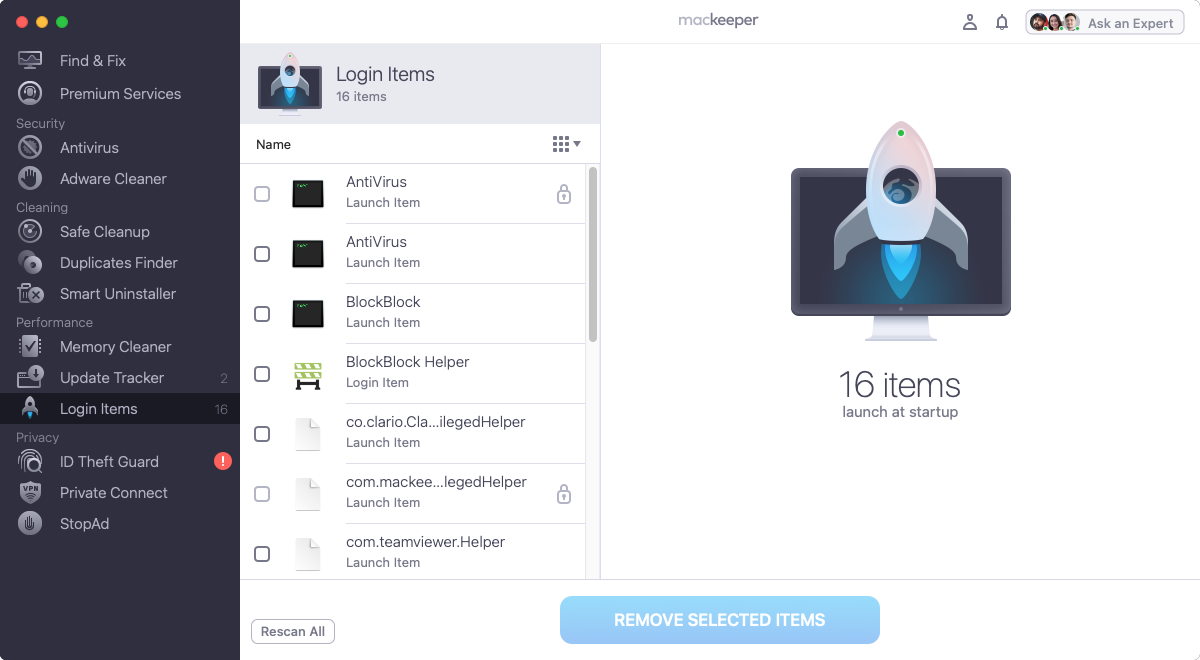
Review your Login Items, tick any you don’t want, and press Remove Selected Items.
Step 1. Open the MacKeeper app, click on Login Items, and press the Start Scan buttonStep 2. After your scan, review your Login Items and tick to remove any you don’t need
How to add OneDrive to Finder?
If you want to add OneDrive to Finder, there is a process we recommend following, which we’ll now walk you through step-by-step. This sequence avoids you running into the dreaded OneDrive not syncing on Mac issue.
1. Download and install the OneDrive application
To link Onedrive to Mac Finder, you will first need to download and install the app onto your MacBook.
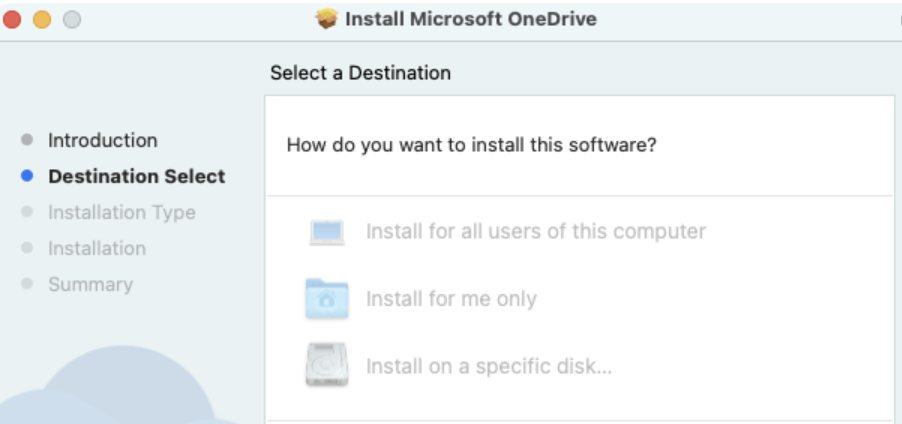
Here’s where to find the official OneDrive download and how to install it onto your Mac:
Right-click the OneDrive application and follow the setup prompts to install.
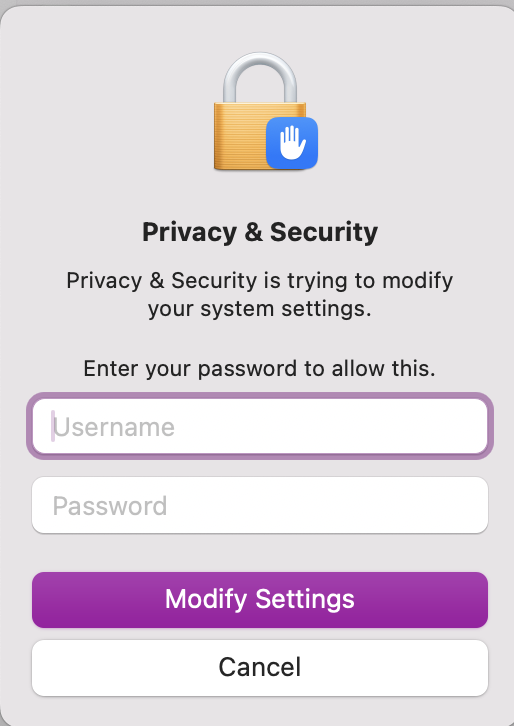
Enter your admin password.
Step 1. Go to the official Microsoft OneDrive website and click on Download OneDriveStep 2. Once the download is finished, follow the setup wizard prompts to install the app Step 3. Confirm your new installation by entering your Admin password if prompted
2. Sign in and configure your sync folder
Once you have OneDrive installed, you will now need to sign in to your Microsoft account and configure your syncing folder locations if you still intend to access OneDrive from Mac Finder.
Let us show you how:
Open OneDrive.
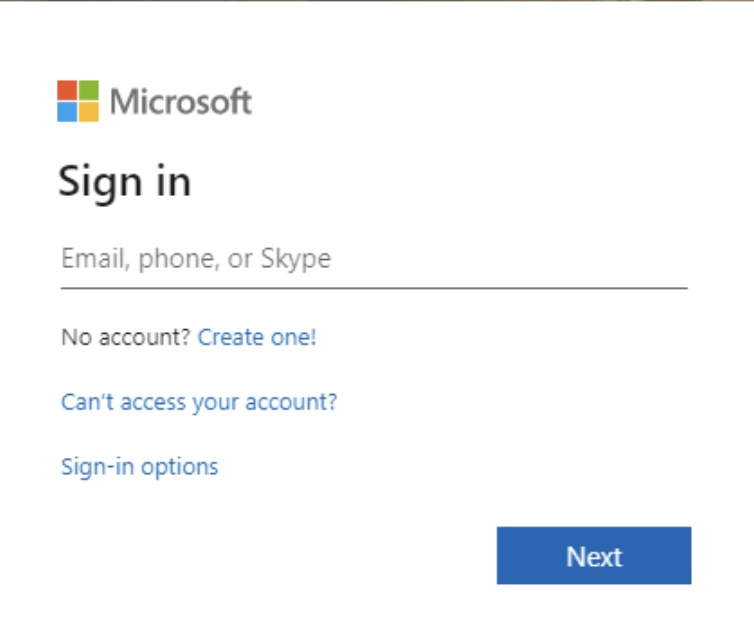
Sign in to your account.
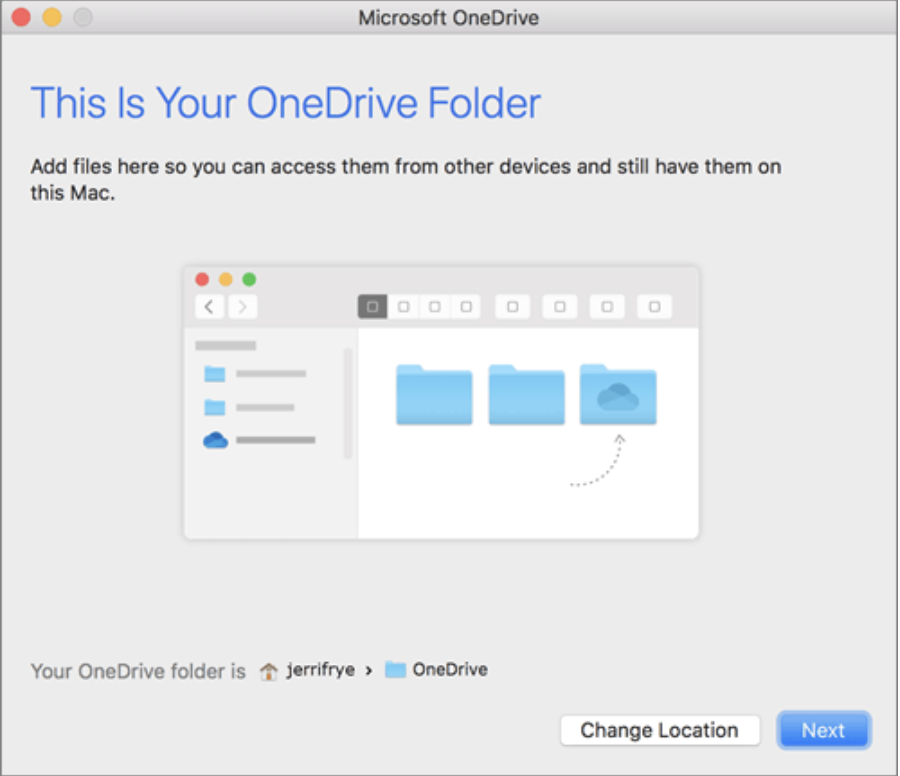
Choose your preffered local sync folder location.
Step 1. Open OneDrive and sign in to your accountStep 2. Choose your preferred local sync folder location
3. Ensure Cloud Storage is enabled in Finder Sidebar settings
Once the configuration is finished, you’ll want to access your Finder Settings to make sure that your selected location will show OneDrive in Finder.
Here’s how to access Finder’s Settings and confirm OneDrive is in Finder:
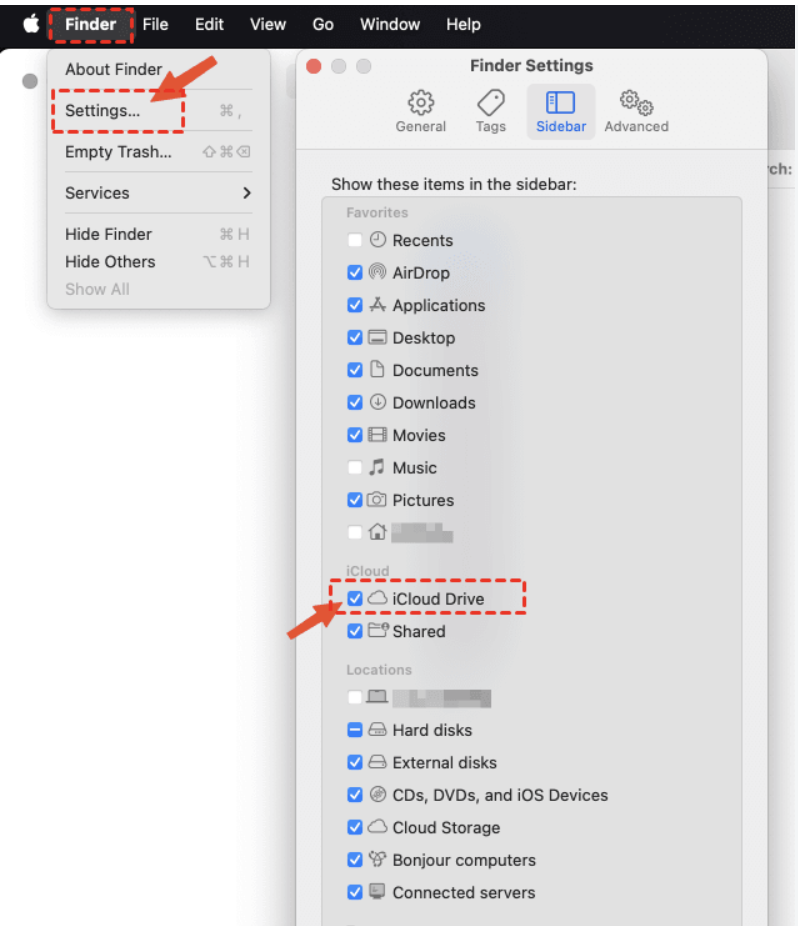
Open Finder.
Click on Settings.
Press Sidebar, and check OneDrive is under Locations.
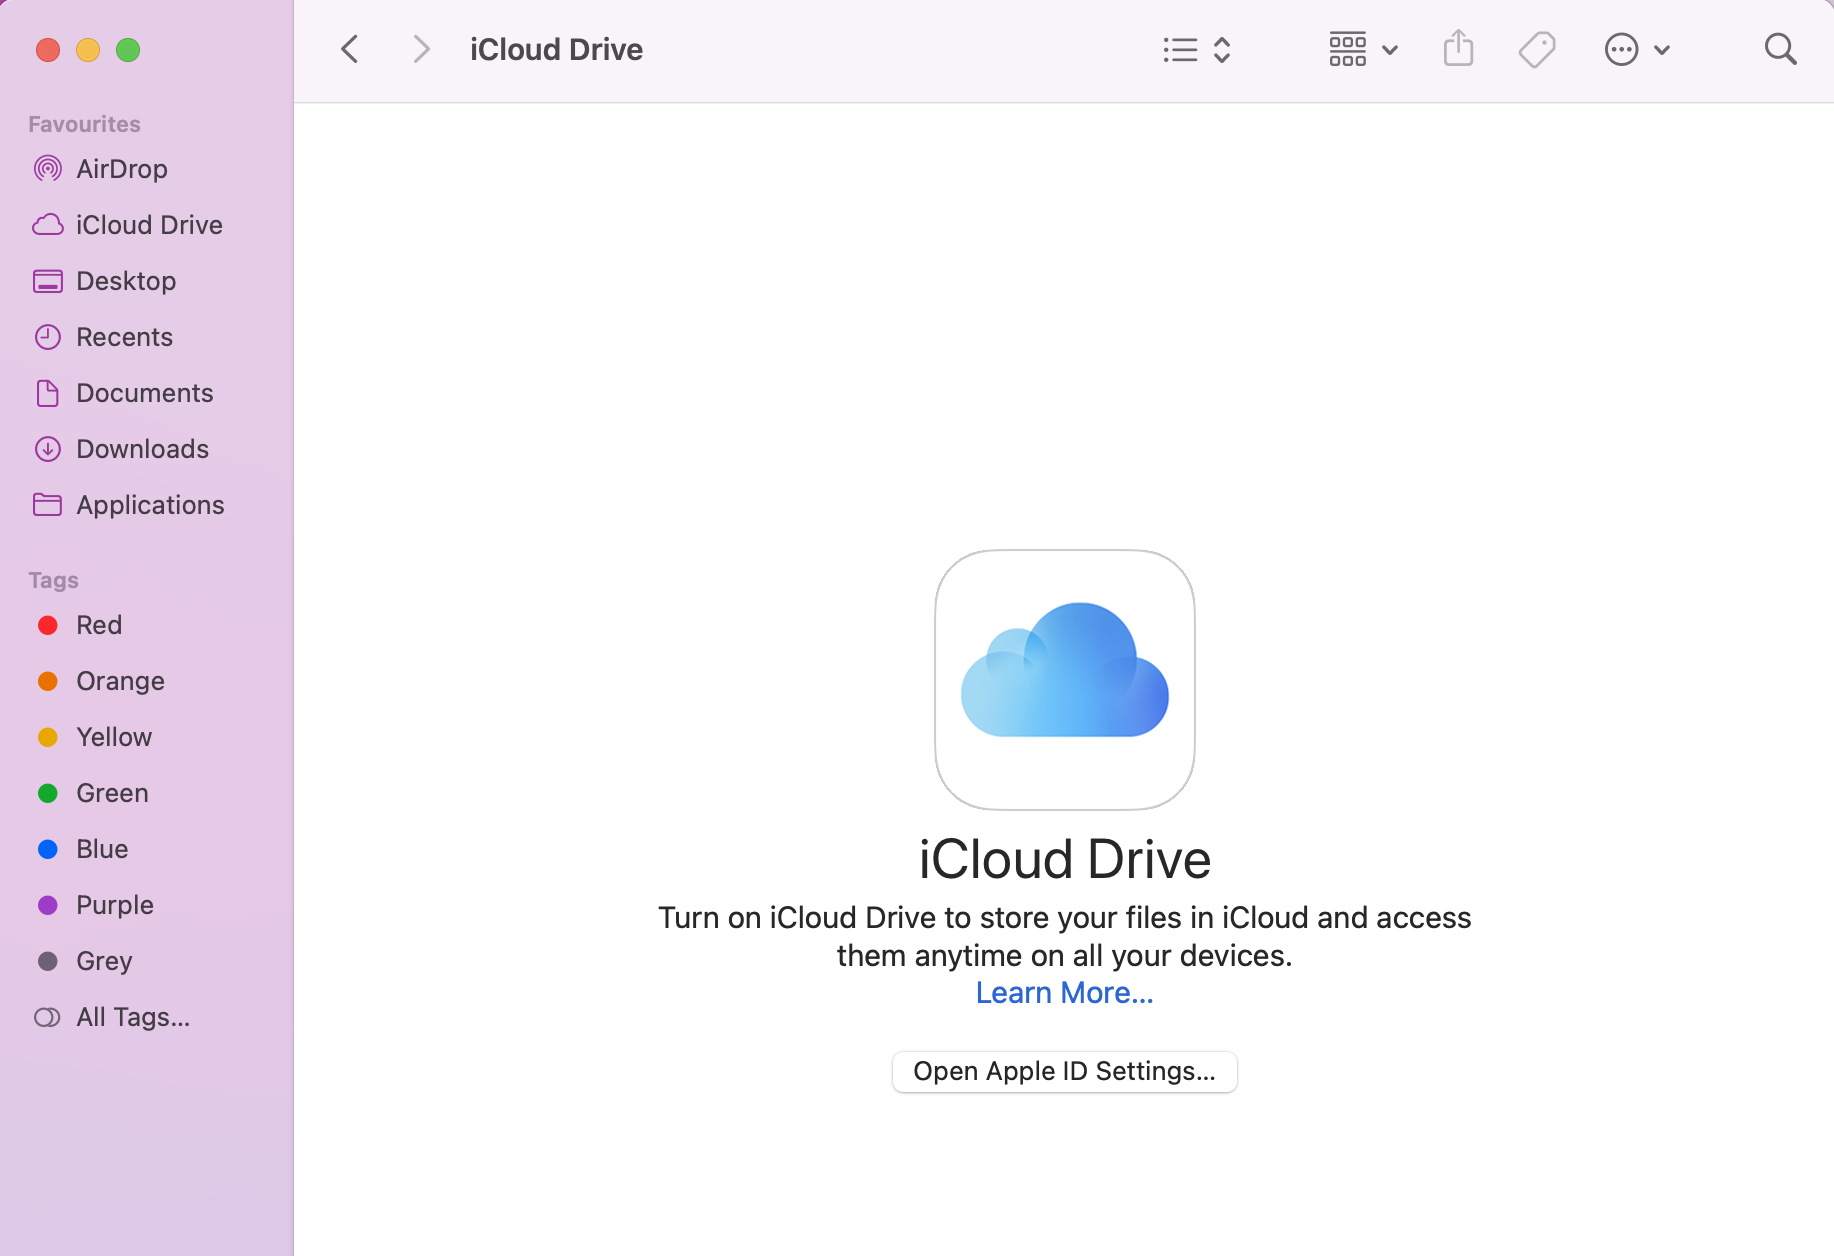
Open Finder settings and, in Sidebar, look to see if iCloud Drive is ticked under Locations
4. Access OneDrive in Finder Locations sidebar
Now you should be able to see the folder as you open Finder. If Finders’ not showing sidebar, we recommend checking back to your previous steps in case it needs to be ticked.
Here’s how to find OneDrive in Finder Sidebar:
Open Finder.
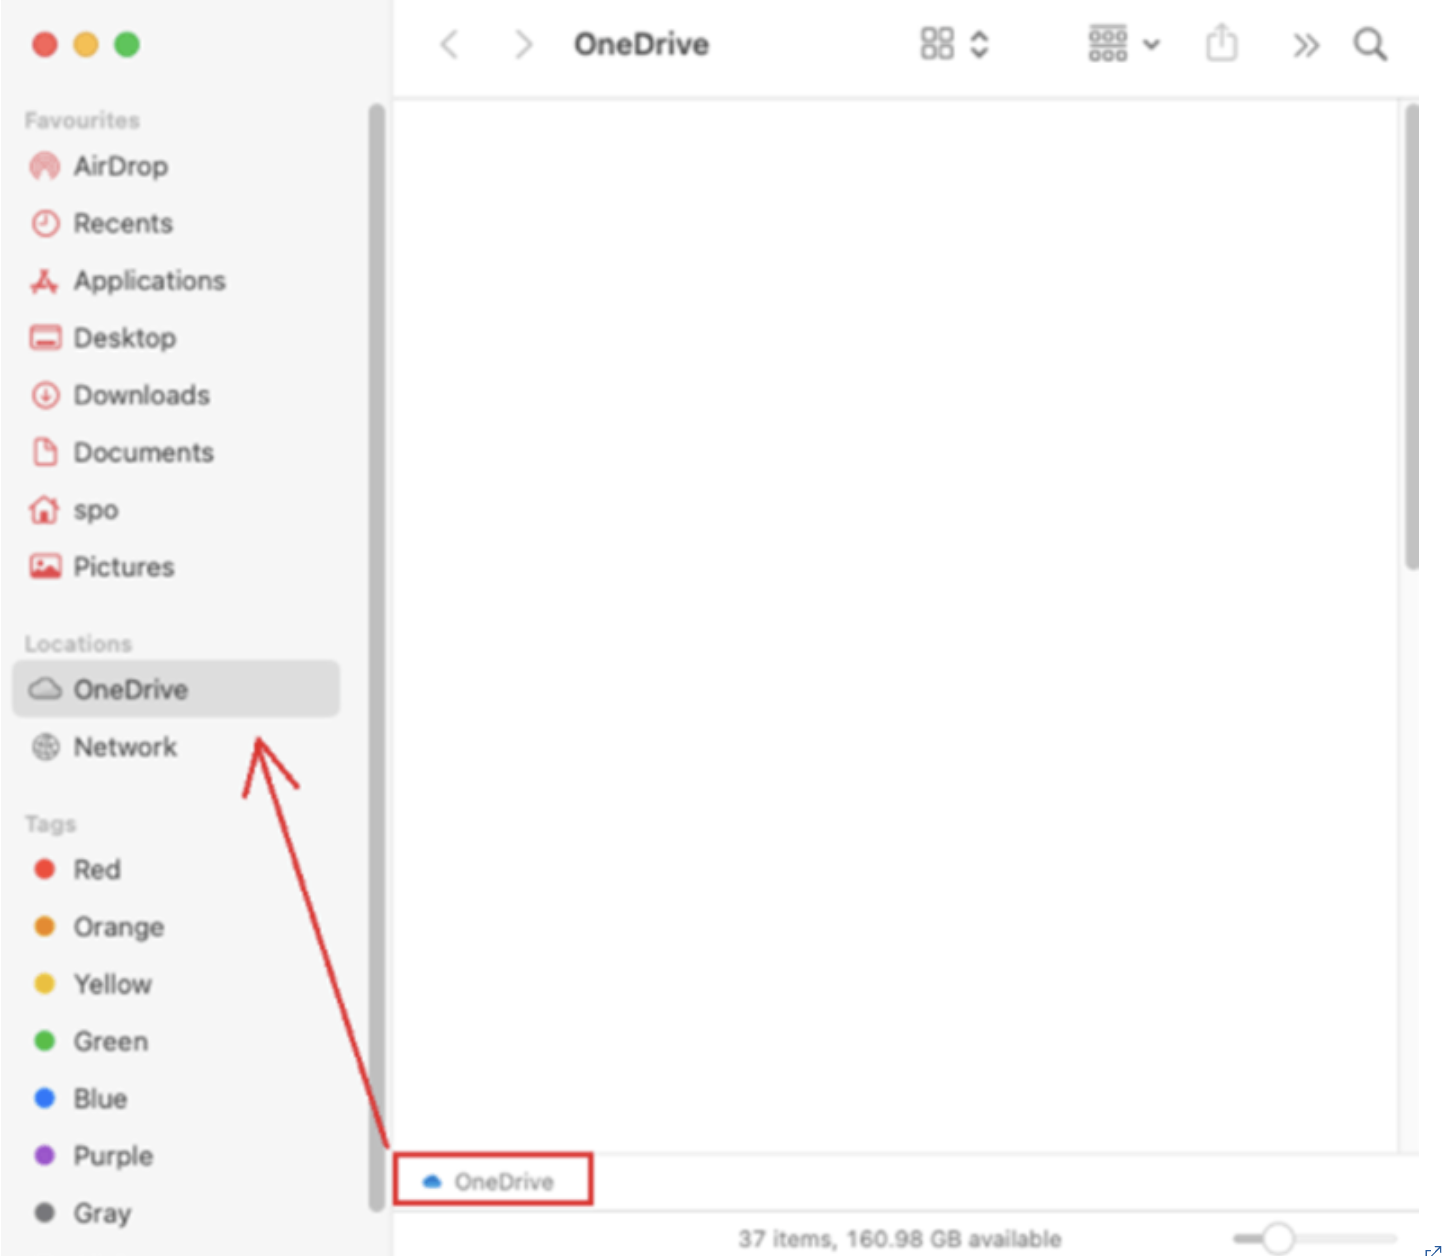
On the left-hand side, look for Onedrive (or iCloud Drive) under Locations.
In Finder, look under Locations for OneDrive
5. Add OneDrive to Finder Favorites
To make accessing OneDrive even quicker, drag OneDrive from Locations into Favourites.
Here’s what to do:
In Finder’s sidebar, under Locations, look for OneDrive.
Drag OneDrive into Favourites.
In Finder’s Sidebar, drag Onedrive (iCloud Drive) into Favourites
What to do if OneDrive is not showing up in Finder?
If OneDrive is still not showing up in Finder, there might be an app issue that requires you to reset Onedrive on macOS. We suggest you check the following:
OneDrive is ticked as a location in Finder Settings.
Your version of OneDrive is up-to-date.
OneDrive is manually added using Finder's Go to Folder: ~/Library/CloudStorage.
Adding OneDrive to Finder, one step at a time
It should be straightforward to add OneDrive to Finder. You must install the latest version of the app and set Finder as the Location Folder to sync data correctly. Thankfully, macOS software makes this integration simple, as it's well within its capabilities to add Cloud storage to Finder.
If you’re worried about this causing lag, check that you don’t have OneDrive set to open at startup; if it is, it’s unnecessary. MacKeeper’s Login Items can help you keep track of all your login apps so your Mac doesn’t get weighed down by unnecessary processes. Be sure to check it out!
We respect your privacy and
use cookies
for the best site experience.
Privacy Preferences Center
We use cookies along with other tools to give you the best possible experience while using the
MacKeeper website. Cookies are small text files that help the website load faster. The cookies we
use don’t contain any type of personal data meaning they never store information such as your
location, email address, or IP address.
Help us improve how you interact with our website by accepting the use of cookies. You can change
your privacy settings whenever you like.
Manage consent
All cookies
These cookies are strictly necessary for enabling basic website functionality (including page
navigation, form submission, language detection, post commenting), downloading and purchasing
software. The website might malfunction without these cookies.