In this article you will find the following:
Have you ever seen other MacBook owners use fun, interesting fonts and wondered how that was possible? The answer is simple: they downloaded and installed them—and you can, too.
Fortunately for all Mac users, adding fonts to Apple computers is relatively easy. No need to be a tech guru—some simple guidelines will help you download, install, and enable the fonts you want on a Mac.
Before we start
Many of us enjoy spending time personalizing our Macs. Just make sure you don’t clog your device up with unnecessary stuff—in many cases, it results in your Mac performing badly.
With MacKeeper, you’ll never have to worry about that again. MacKeeper’s Safe Cleanup tool allows you to keep your Mac up and running, operating at its best. It helps to clean junk from your Mac and drive in a couple of clicks to free up storage.
Try it now yourself:
- Download MacKeeper and click Safe Cleanup in the sidebar.
- Hit the Start Scan button and wait a few moments.
- Click on Clean Junk Files when the scan is completed.
Now, catch our instructions on how to install fonts on a Mac and manage them effectively.
How to preview fonts on a Mac
With an endless number of Mac fonts available, it’s hard to choose the right one for your work or school project. That's when font preview comes in handy.
The best way to see installed fonts on a Mac is to use the Font Book app:
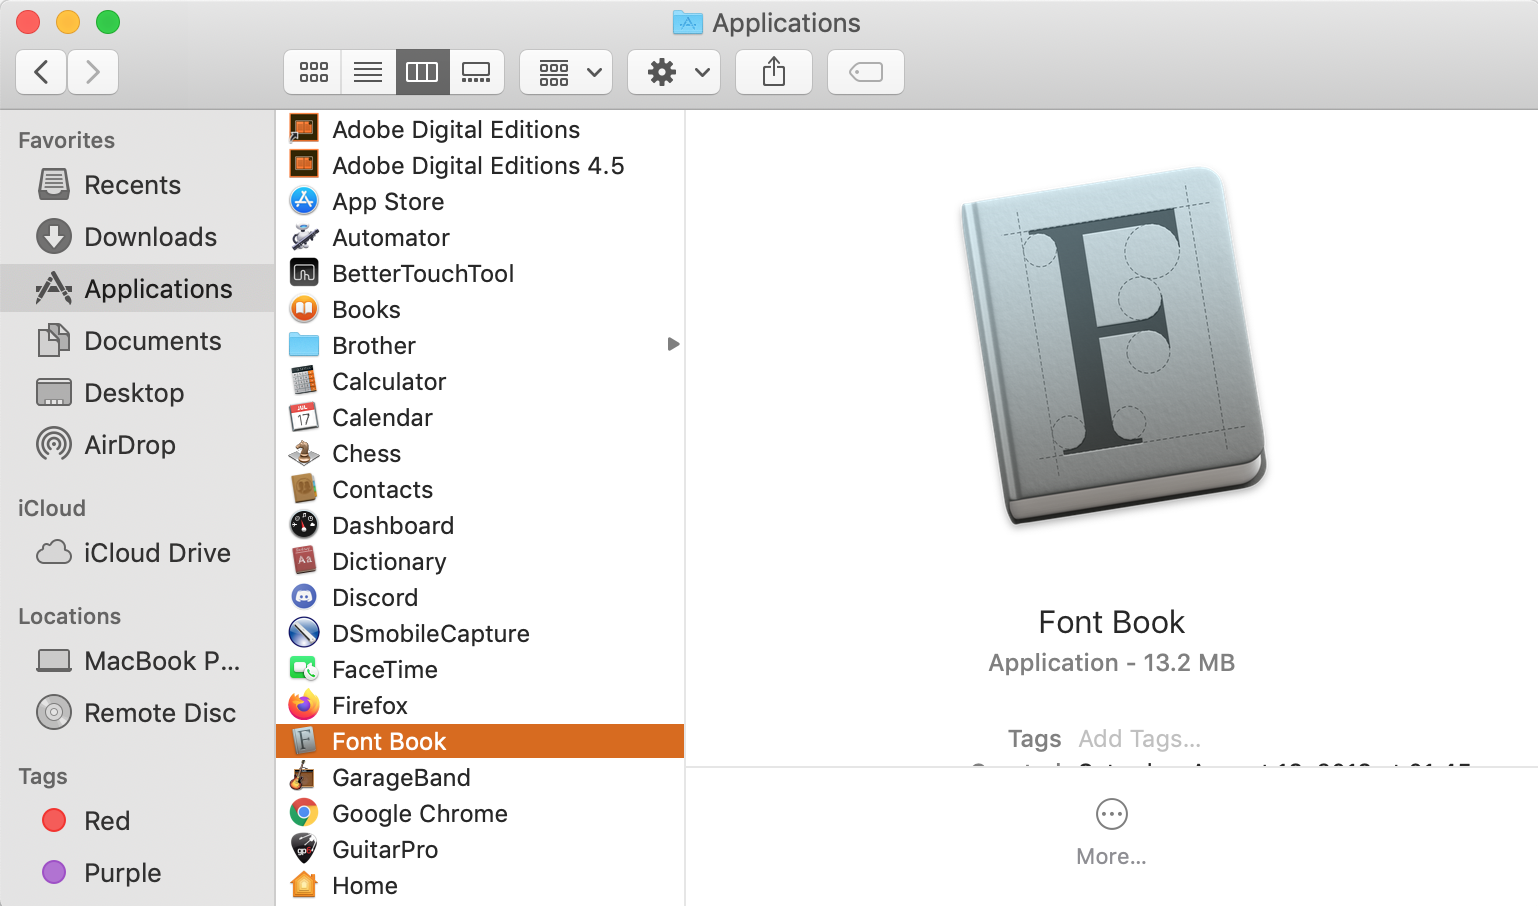
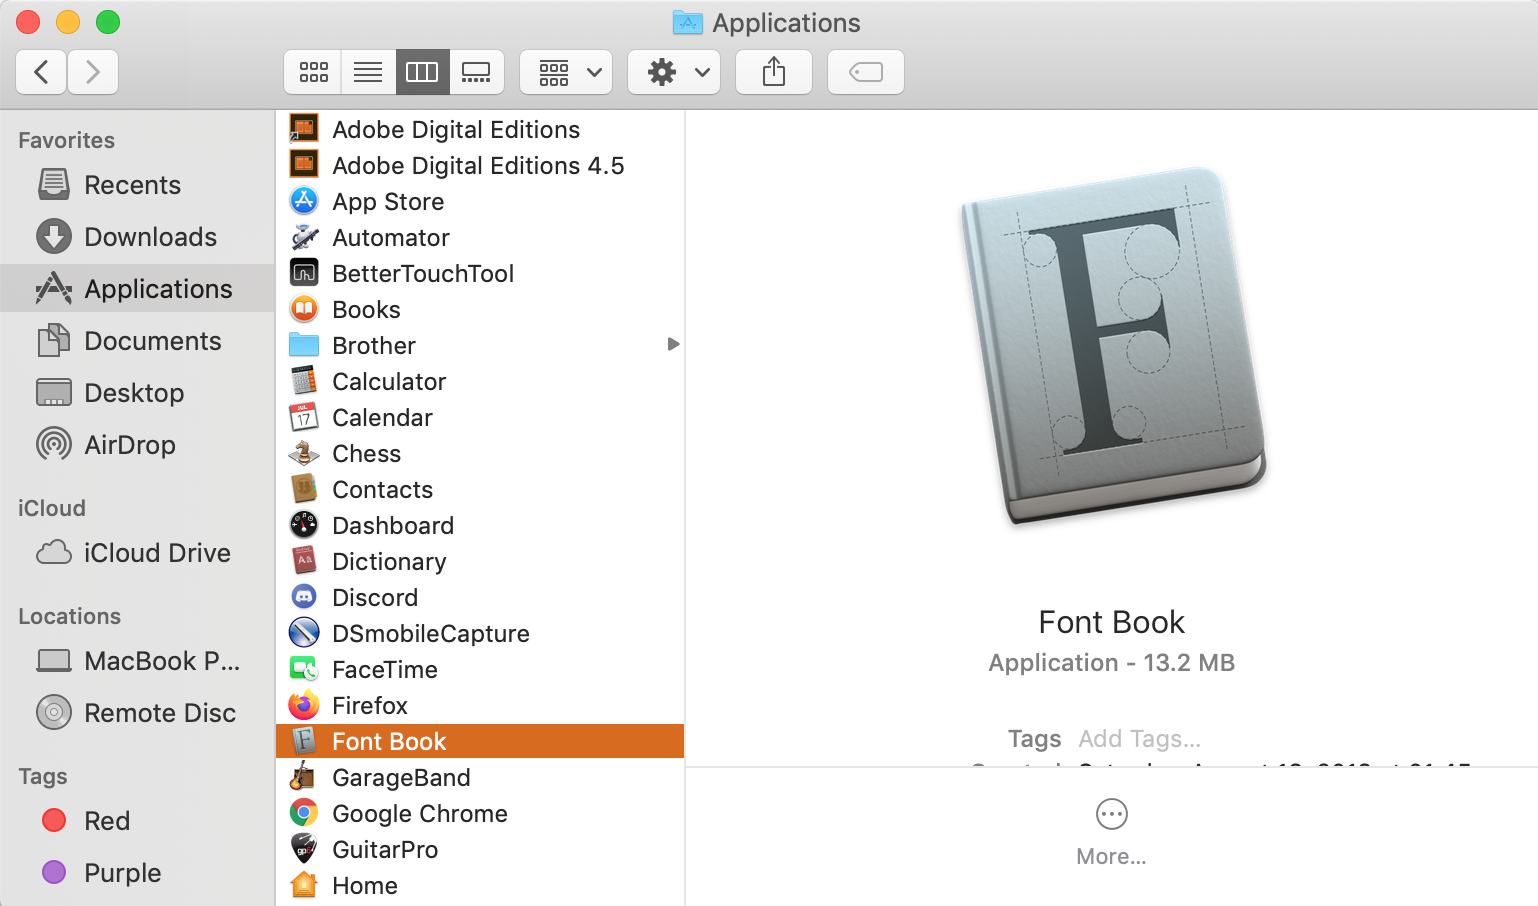
- Go to Finder → Applications → Font Book, or use Spotlight to find and run Font Book.
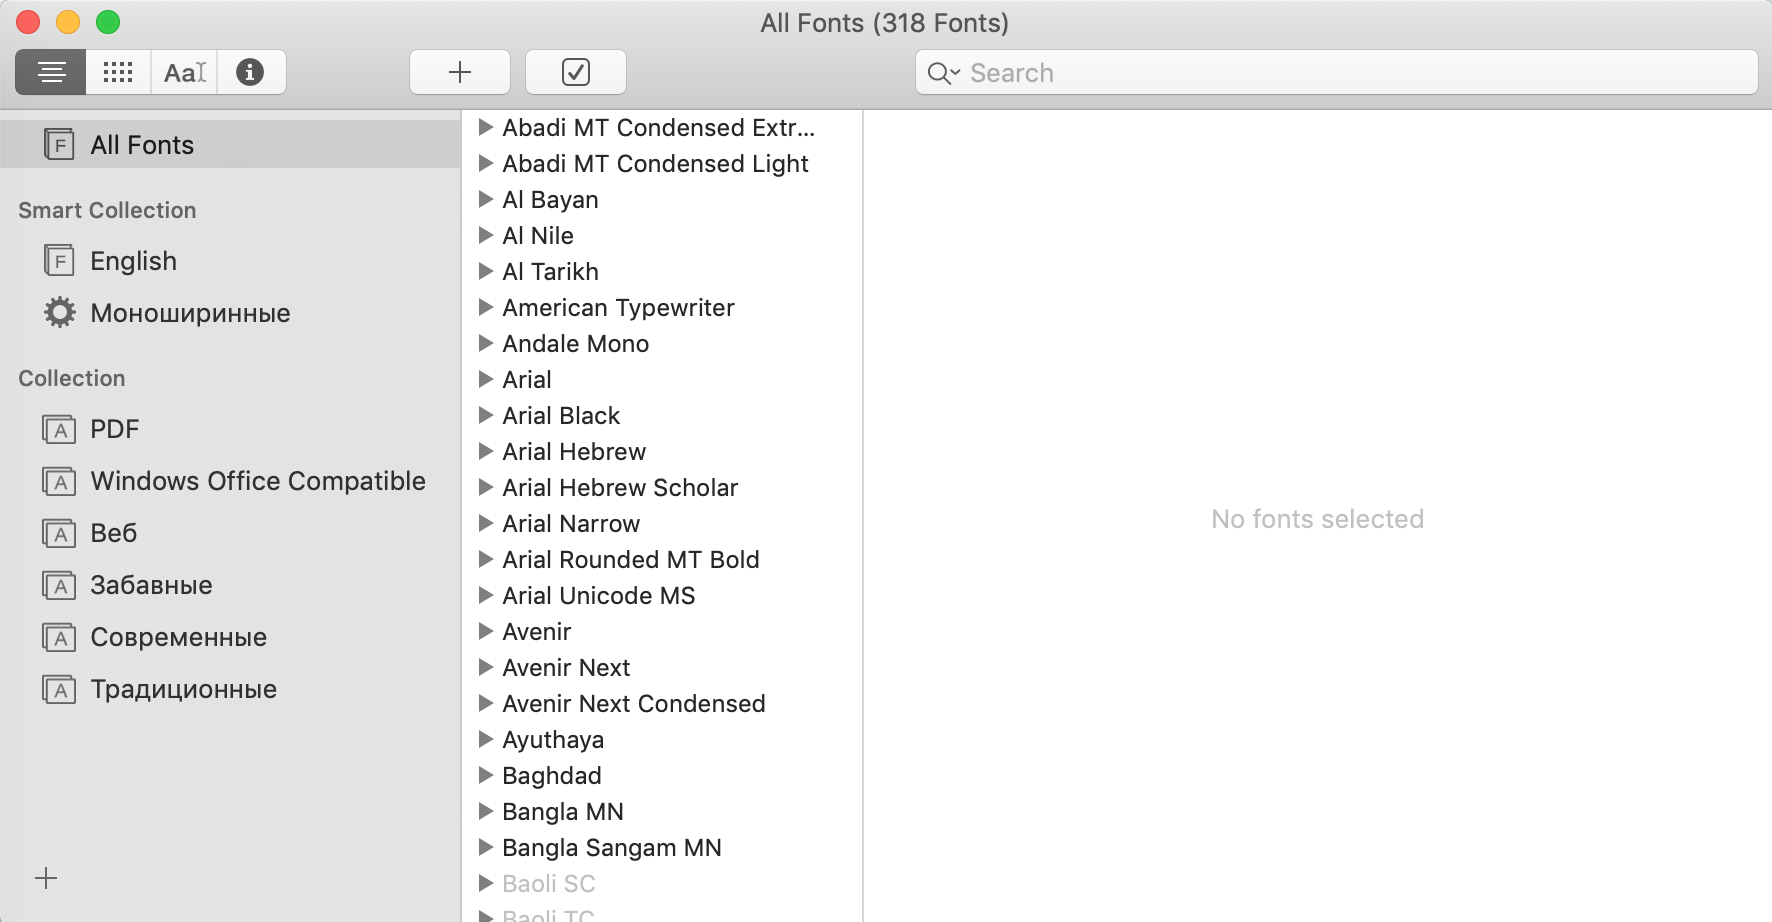
- Click on the font you want to preview (fonts are listed in the center column of the window).
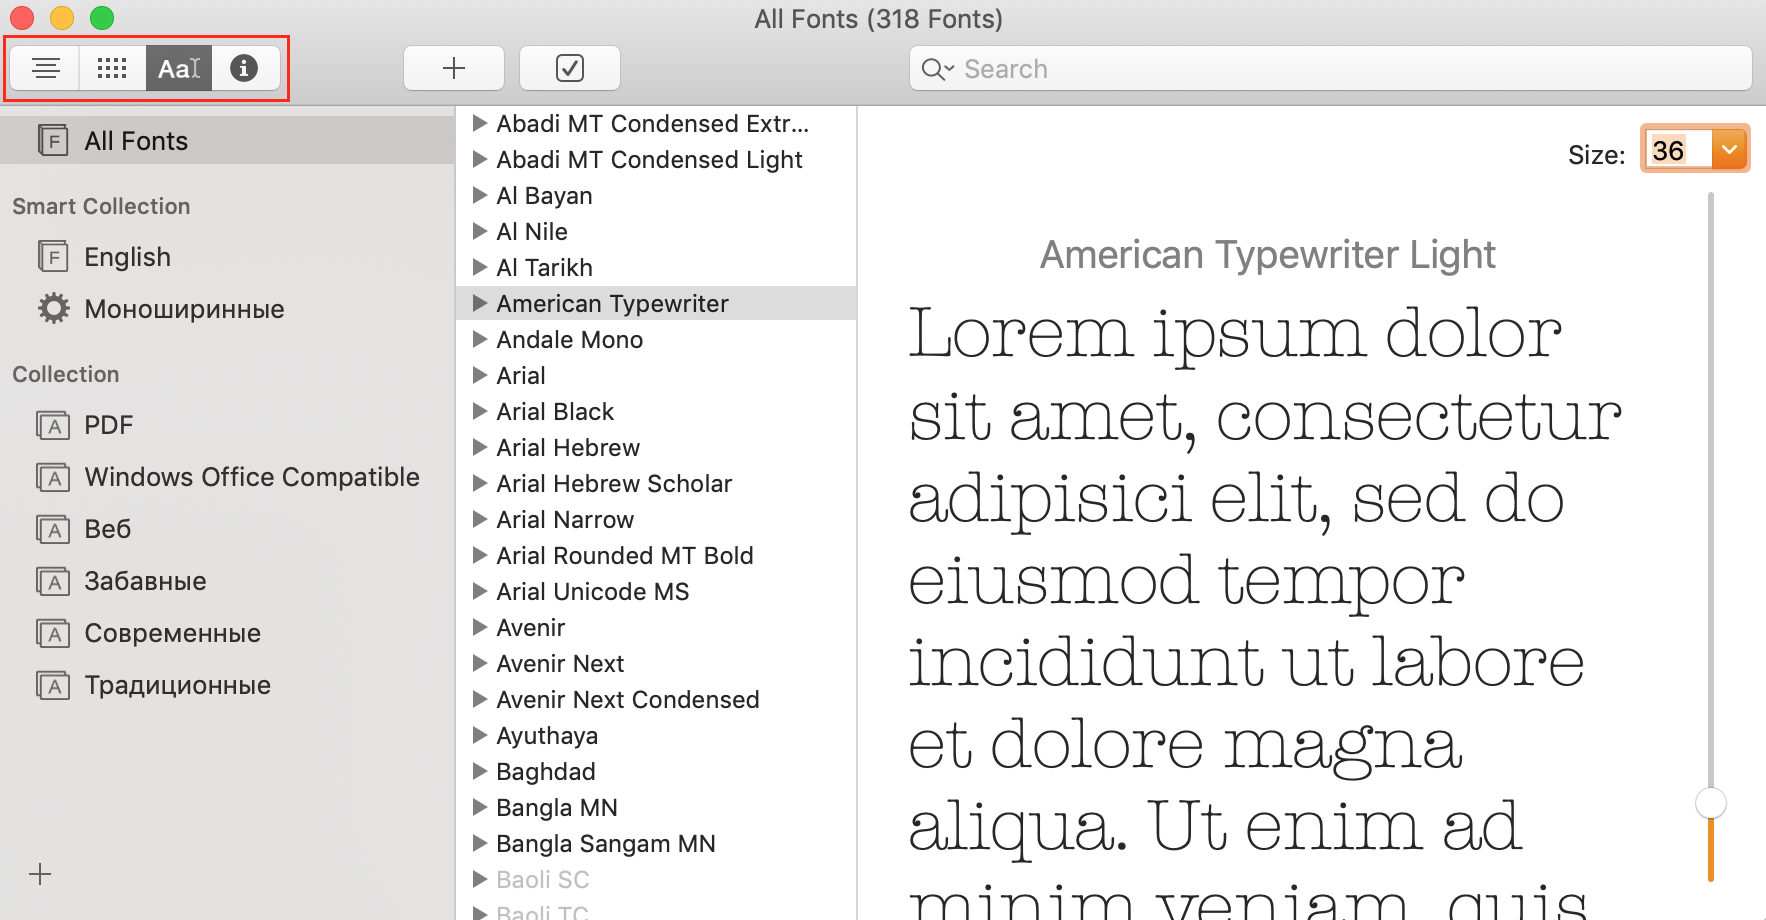
- The preview will show up in the right part of the window. To switch between different preview modes, click on the lines, grid, letter-like, or information icons at the top of the window.
How to download and install fonts on Mac
Mac comes packed with hundreds of fonts, which you can manage right in the app. With Font Book, you can edit, add, and remove fonts so you have a personalized collection that works for you. You can also download and install more fonts that you like. Find the relevant instructions below.
1. Install fonts on a Mac using Font Book
If you wonder how to add fonts to your Mac, we recommend that you start with Font Book as the easiest way to achieve that goal. Font Book is a free font management app that is already pre-installed on all Macs. This app allows you to install fonts either for your account only, for all accounts on your Mac, or for the entire network.
Depending on what you need, the process will be slightly different, and below we’ll go through each one of them.
1.1. Add fonts for your Mac account only
If you need to install new fonts solely for your Mac account, follow these steps:
- Open Finder and locate the folder in which your new Mac font is downloaded.
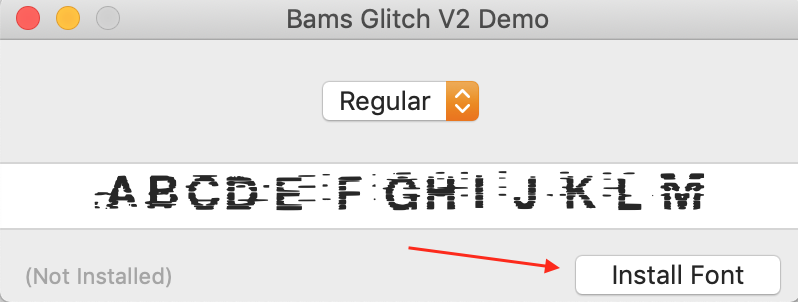
- In this folder, find a file ending with ".ttf" or ".ttc" or ".otf" and double-click on it. This will automatically open Font Book for you.
- In the pop-up window, click Install Font. Voila! That is all it takes to install a new font for your Mac account.

1.2. Install fonts for all accounts on a Mac
In case there’s not only one account on your Macintosh, and you wish to share your downloaded fonts on all these accounts, you’ll also need to take a few extra steps.
Here's how to install fonts on your Mac system-wide:
- Open Finder or Spotlight, search for Font Book, and launch it.
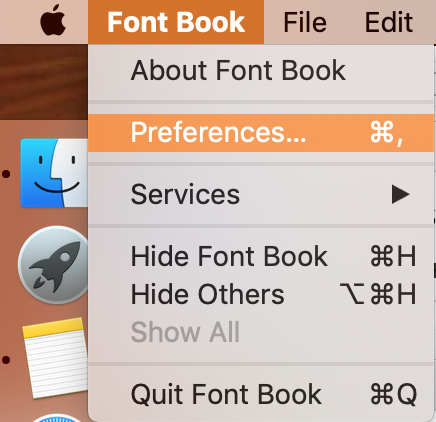
- In the top corner, click on the app menu bar and choose Font Book → Preferences.
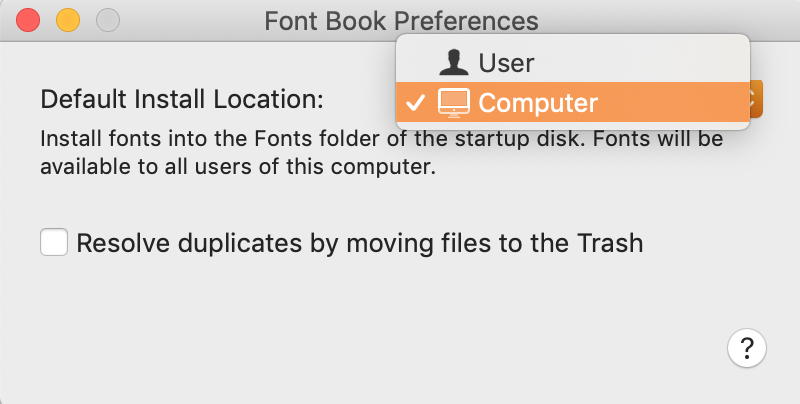
- Use the drop-down to change the default location from User to Computer.
- Find and open the folder that has the new font you want to add. In this folder, double-click on a file ending with ".ttf" or ".ttc" or ".otf."
- On the Font Book pop-up window, click the Install Font button. Great! You’ve just added the new font to the Mac Fonts folder. In other words, you’ll be able to use it from any account on your Mac.
1.3. Download fonts for all network users
To install fonts for everyone on your network, you must either be a network administrator yourself or ask this person to do it for you.
As a network admin, you’ll have to follow these steps:
- Copy the desired font files you want to install for all network users.
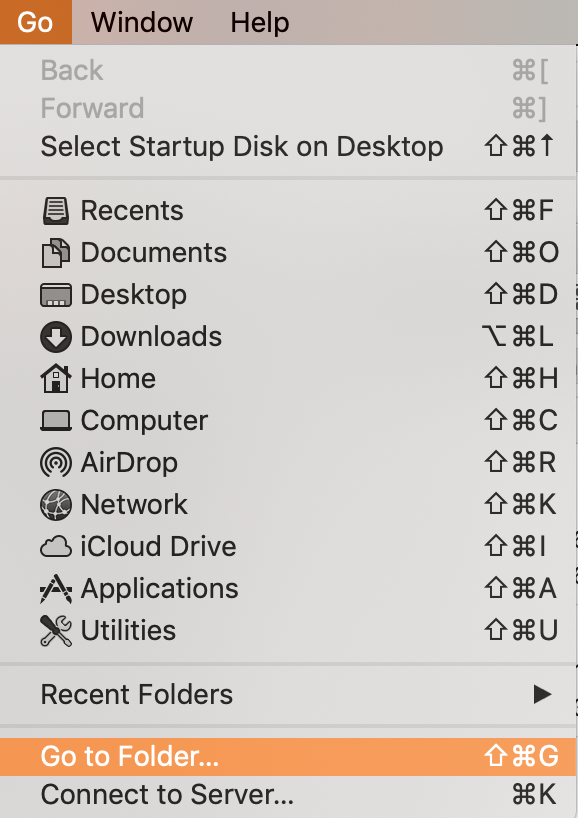
- Open Finder and click on the Go section in the upper menu, followed by Go to Folder in the drop-down menu, and click on it.
- Type Network/Library/Fonts in the pop-up window, press Go, and paste the font files into this folder. That’s it! The fonts are now installed for all your network users.

Heads-up from our experts:
Sharing your Mac with your family is completely fine and sometimes inevitable, but sharing personal data on your Mac with anyone else could have negative consequences. To prevent any data breaches, install MacKeeper, and let it protect all your data. Its ID Theft Guard tool will notify you about any suspicious emails or websites and help you monitor your passwords, identifying if they’ve been breached.
2. Download fonts on Mac from the Web
Before installing fonts on a Mac, you'll need to find and download them first. Most of the online sources offer free fonts. But there are some truly rare and awesome and may cost you a few bucks.
Here’s the list of font sources our design team uses and strongly recommends:
- MyFonts: offers hundreds of fonts for Mac (royalty-free and not).
- Google Fonts: has a vast collection of free fonts.
- FontSquirrel: lets you search and review hundreds of free fonts.
- 1001 Free Fonts: offers stunning fonts, free for personal use.
Important:
When downloading free fonts, read the license agreement for details on how to use downloaded fonts. In case it says "for personal use only," legally, it’s not allowed to use the font for your commercial projects.
When searching new fonts for your Mac, check if the ones you choose are compatible with your current macOS—check out the macOS list here. Simply look at the file name, and if it ends with ".ttf" or ".otf” or ".ttc", then you're fine.
Once you find fonts that suit your taste, download them like any other files. Usually, fonts come compressed in .zip files you can unzip with a double-click. After the files with the new fonts are downloaded on your Mac, it's time to install them using one of the previously described methods.
3. Add fonts on a Mac manually
You don't necessarily have to use Font Book to install Mac fonts. You can easily do this manually by copying font files to Library/Fonts. Unfortunately, starting from OS X 10.7 Lion, the Library folder and its subfolders have been hidden from users’ sight. Therefore, you'll need some extra effort to locate it:
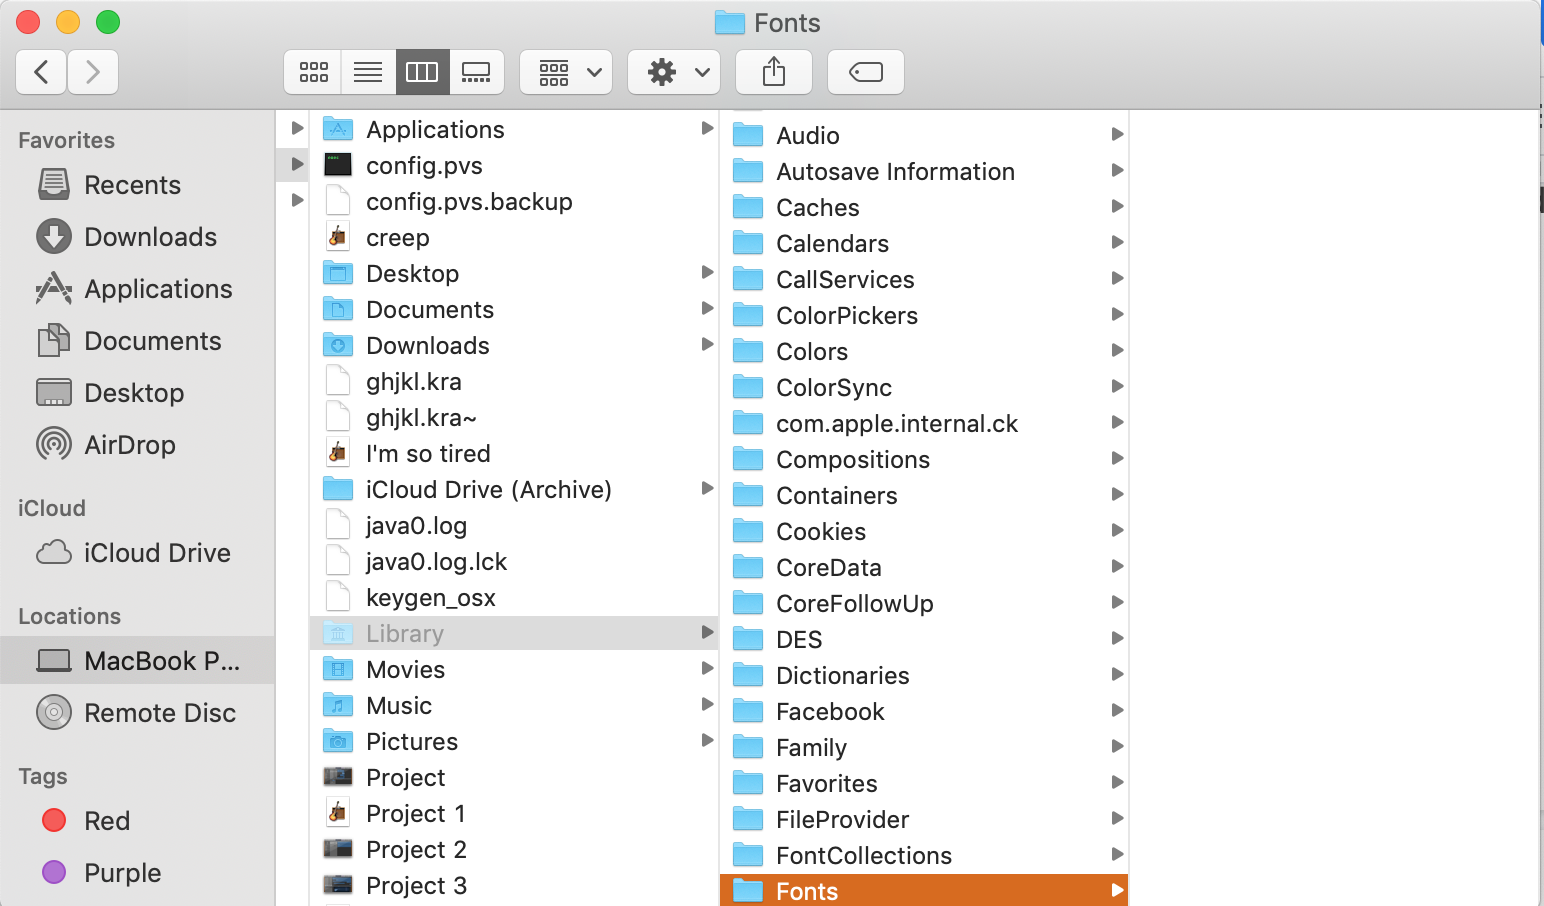
- Open Finder and click on the Go section in the upper menu, then select Go to Folder in the drop-down menu and click on it.
- Type ~/Library/Fonts in the pop-up window and click Go. The Fonts folder will show up.
- Copy and paste (you can also drag and drop) all the unzipped font files into the Fonts folder.
Installing fonts manually for the first time? Watch our YouTube tutorial to simplify this task!
Hint from our experts:
if something doesn’t work out with locating a Library folder, check out this guide on finding hidden Mac files.
How to disable and remove fonts on a Mac
Having a good set of fonts for Mac offers a comprehensive list of stylistic options. However, it gets harder and more time-consuming to choose the right one with too many of them. Plus, it clutters your computer. That's why knowing how to effectively manage fonts on a Mac is just as important as knowing how to install them.
To avoid system clutter, we suggest you disable or completely remove the fonts you don't use, but the thing is you can’t do it with the system fonts. You can delete those fonts you’ve added yourself. As for the fonts you’ve installed, you have two options: disable and delete. Deleting fonts from a Mac means removing them from your system. If you need a removed one later, you'll have to reinstall it.
To remove fonts on a Mac, do this:
- Launch Font Book.
- Pick the font/fonts you want to remove, press the Delete key, and click Remove in the pop-up window.
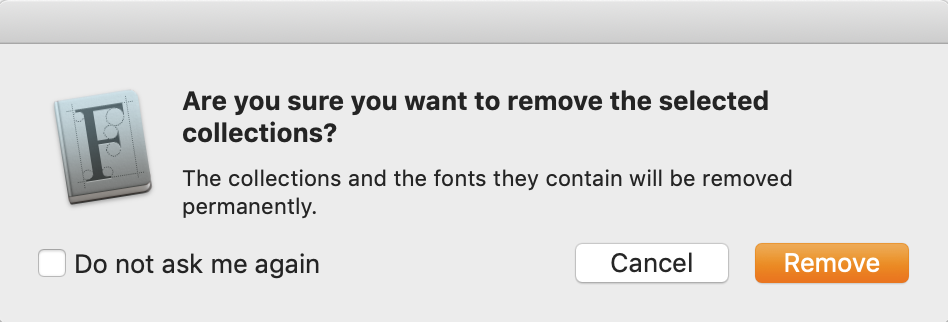
On the other hand, disabling fonts on a Mac means that they'll remain in your system, but they’ll no longer be listed in apps or the Fonts windows.
To disable fonts on Mac, do this:
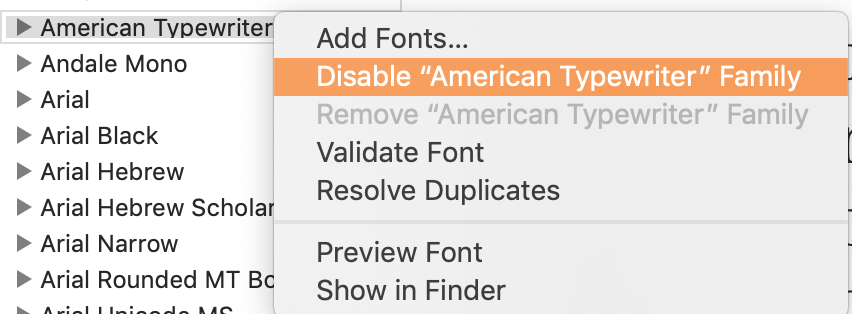
- Launch Font Book and pick the font/fonts you want to disable.
- Find the Disable button at the top and click on it, then click Disable on the pop-up window.
What to do if the installed fonts won't show up on a Mac
Most of the time this happens due to a trashed Font Book database. Without getting into technical details, all you need to do is:
- Back up all your data.
- Restart your Mac and hold down the Shift key to boot into the safe mode. macOS will ask you to log in.
- Wait till your Mac finishes booting to desktop, then restart normally.
That’s it, this will clear Font Book’s database and the cached files.
Enjoy new fonts on your Mac
Now you know everything you need to download, install, and effectively manage your new package/suite of fonts on a Mac. We hope you enjoyed this article, and that it gave you more room for creativity and experiments. Now you can learn how to type special characters on Mac.
Remember: downloading items from the internet and attachments from your emails can clog up your Mac and cause performance issues. Avoid this by maintaining your device with MacKeeper’s Safe Cleanup tool. It keeps your Mac clutter-free and optimized by ridding it of unnecessary junk files. It also helps you to permanently clear deleted font files in a fraction of the time. Moreover, MacKeeper has a myriad of tools to help you keep your Mac clean, safe, and secure, including an Antivirus tool.
FAQ
1. How to transfer fonts from one Mac to another
Are you switching to another computer and don’t want to leave your fonts behind? You can take them with you by exporting them. Before you do, click on the Info button at the top of the window and read the license information.
Now, follow these steps to transfer your fonts to another Mac:
- Open the Font Book app on your device and choose the fonts you want to export.
- Select File > Export.
- Choose the location where you want to save your fonts, then click Open.
Do you need to free up some storage? Learn more about Other in Mac storage, so you can free up space more focusedly.
2. How to install fonts on Mac Word
To add a font to Word for Mac, all you need to do is:
- Install the font as described above.
- Open Font Book.
- Drag and drop your font/fonts into the Windows Office Compatible (you can find it in the left sidebar).
After restarting your Mac, your font should be available in Word for Mac.
3. How to import fonts into PowerPoint on Mac
Fonts can make or break your PowerPoint presentations. Import your fonts into PowerPoint to create impressive presentations. Here’s how to do it:
- Find the font file you want to install and drag and drop it into the Font Book app.
- Open the PowerPoint presentation you want to add the fonts to.
- Click on the Format tab, select Fonts, and choose the font you’ve just installed.
4. How to install multiple fonts on Mac
Have you downloaded multiple fonts? Install them simultaneously to save time.
Follow these steps below to install multiple fonts at once on a Mac:
- Start by unpacking the zipped folder.
- Open Font Book and the folder with the fonts that you want to install (ensure these are OTF or TTF files). If your fonts are spread across different folders, find them using the search function in the upper-right corner of the window (enter .ttf or .otf in the search bar).
5. How to validate and check fonts for errors on a Mac
When you’re adding fonts to a Mac, they’re automatically validated. However, if the font isn’t displaying, you can validate it additionally and check it for errors by following the steps below.
- Open Font Book.
- Select a font, then from the toolbar, choose File > Validate Selection. Alternatively, select File > Validate File, then locate the font file in the Finder.
- Click the arrow next to a font in the Font Validation window to get more information:
- Green icon: This means the font is good and passed the review
- Yellow icon: This means the font has a few issues that need to be resolved
- Red icon: This means the font has failed
- To resolve the issues, select the checkbox next to the font, then click Install Checked.


