Trying to uninstall QuickBooks on Mac, but the app keeps leaving files behind? Dragging it to the Trash won’t remove everything. MacKeeper’s Smart Uninstaller finds every leftover file and clears it in one click, so nothing unnecessary lingers on your Mac. Here’s how it works—and how to do it by hand.
What happens to your company files and subscription after uninstallation?
Before you get rid of QuickBooks, here’s some reassuring news—deleting the app won’t affect your accounting records. Removing QuickBooks Desktop only clears the application and its related files from your Mac. It doesn’t touch your Intuit account, your online subscription, or the company files saved in the cloud.
Your local company files stay right where you left them, usually in your Documents folder. QuickBooks is a big accounting program, so if you ever want to reinstall it or switch between versions, your data will be waiting. In short, deleting the app affects your Mac’s storage, not your books. Here’s a quick look at what the uninstall clears and what it leaves untouched.
A note from our experts:
The situation where you’d like to switch from one app to another is common in our life, and Mac users are no exception. So if you’d like to quickly and safely install the redundant software like QuickBooks from your MacBook, we immediately recommend you trying MacKeeper’s Smart Uninstaller instead of reading all the guide ahead. Nevertheless, you can do both.
You can uninstall QuickBooks manually, but dragging the icon to the Trash isn’t enough. QuickBooks scatters preference files, caches, and support folders across macOS, and those leftovers take up space or cause trouble if you reinstall later. The manual method works much like when you remove apps from Mac in general—you clear the app first, then track down everything associated with it.
Below, we’ll walk you through the five steps to fully delete QuickBooks from Mac and every file tied to it.
1. Quit QuickBooks and kill background processes
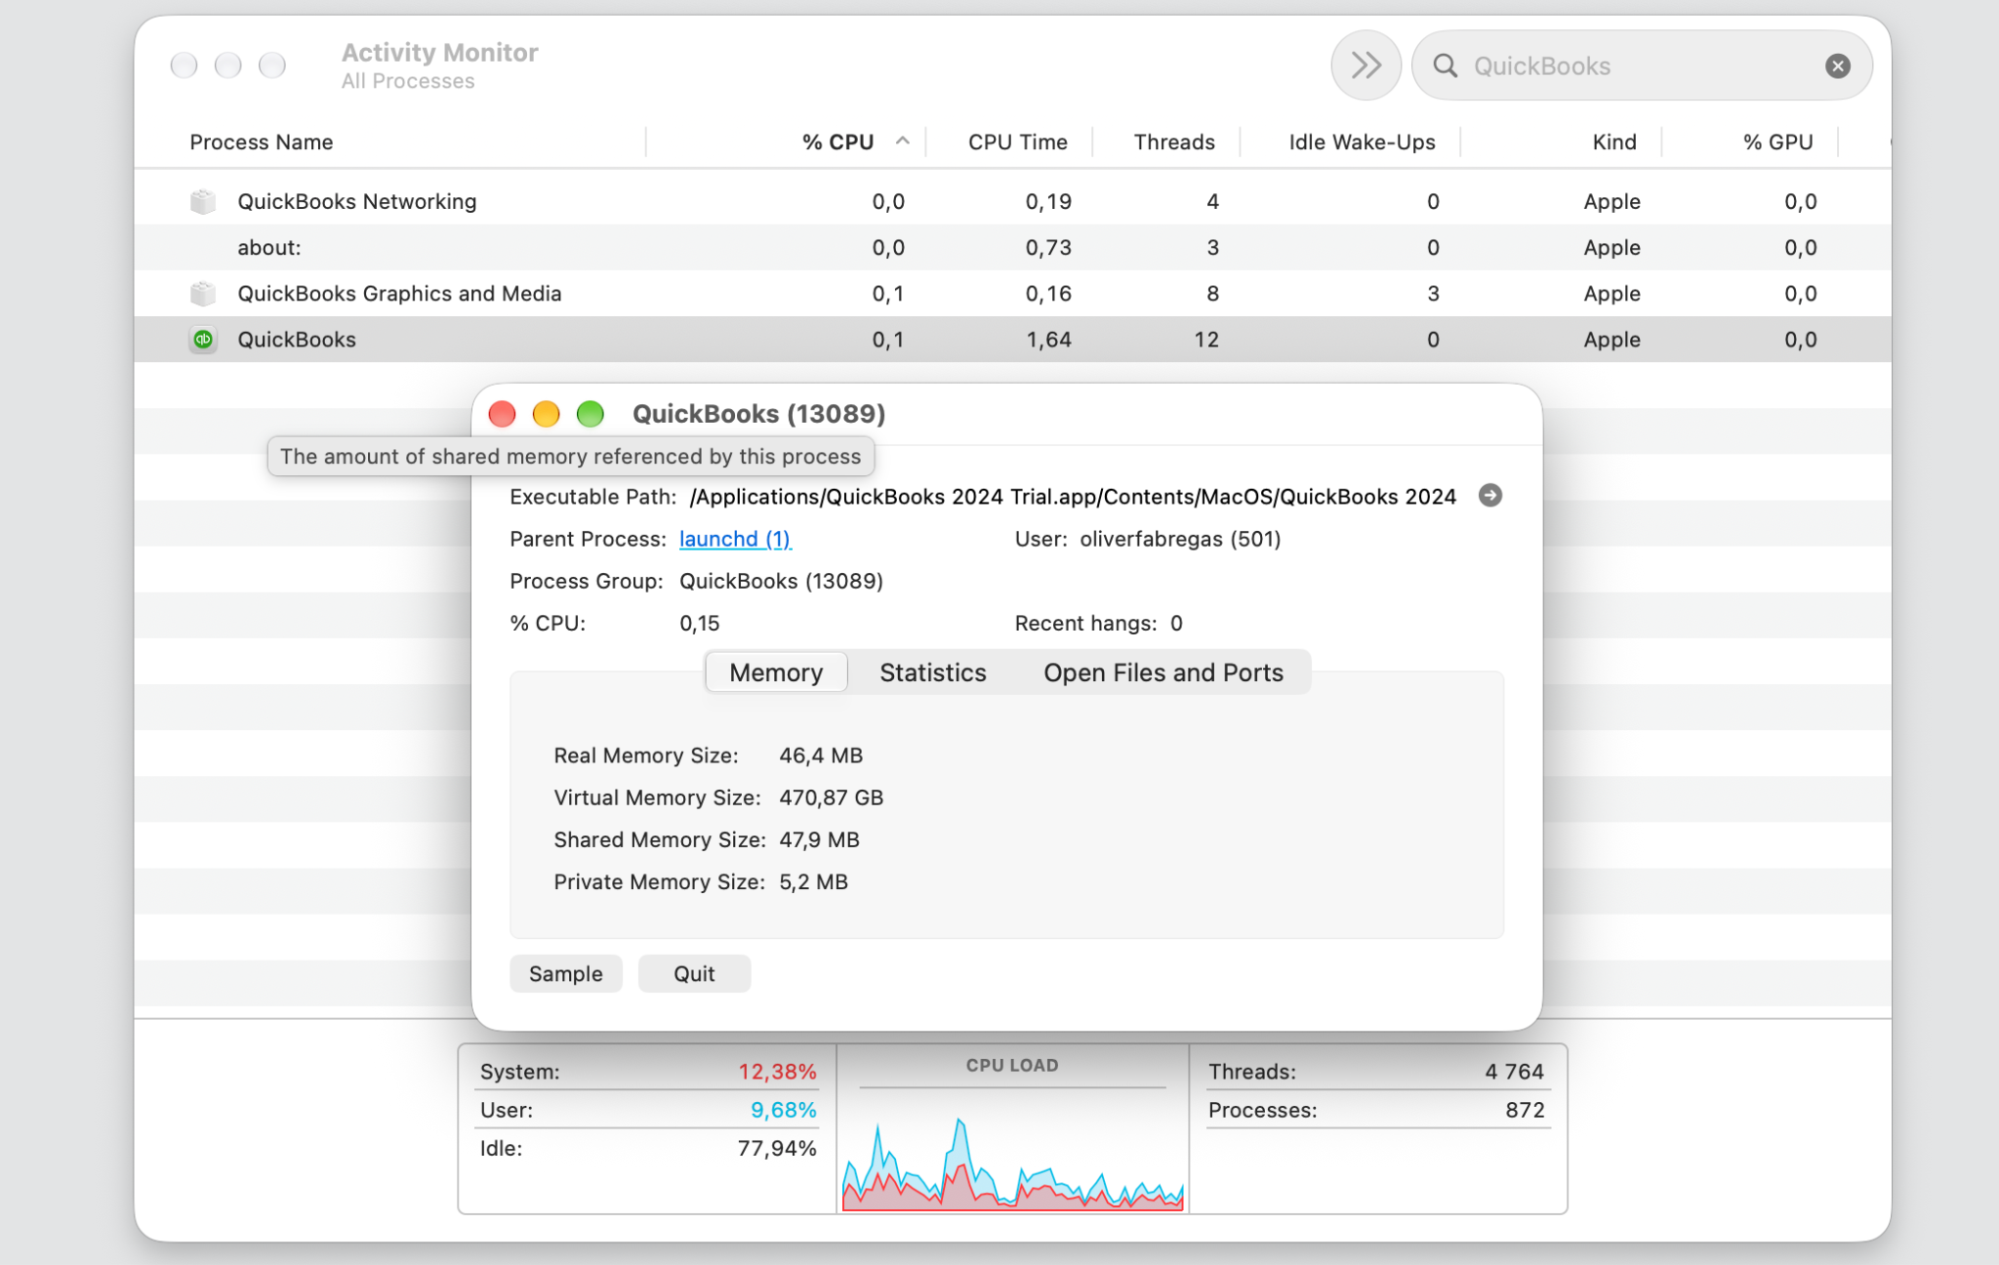
QuickBooks can keep running quietly in the background, and macOS won’t let you delete a file that’s still in use. Before we touch anything else, we’ll quit the app and stop background process on Activity Monitor so nothing is left running.
Let’s shut everything down first:
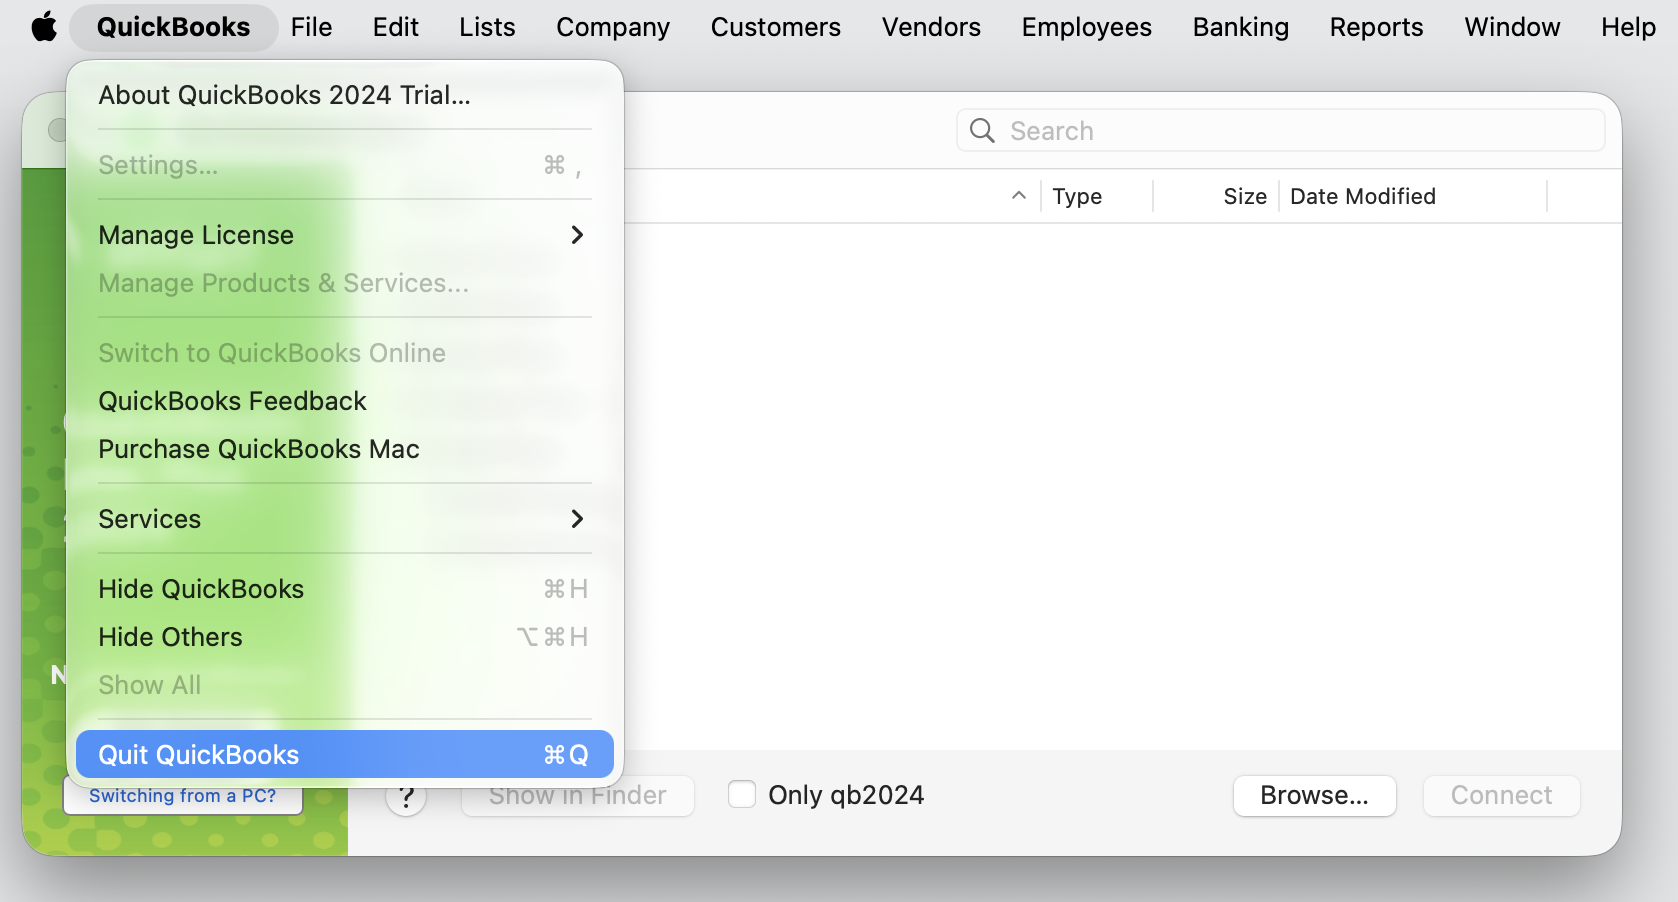
Open QuickBooks, click QuickBooks in the menu bar, and choose Quit QuickBooks.
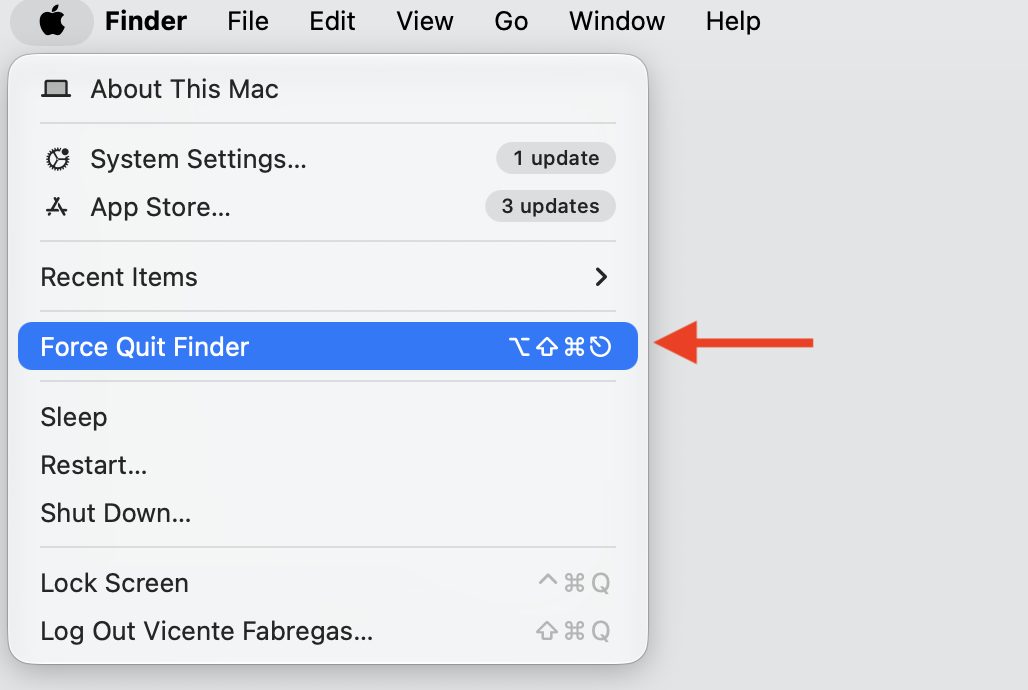
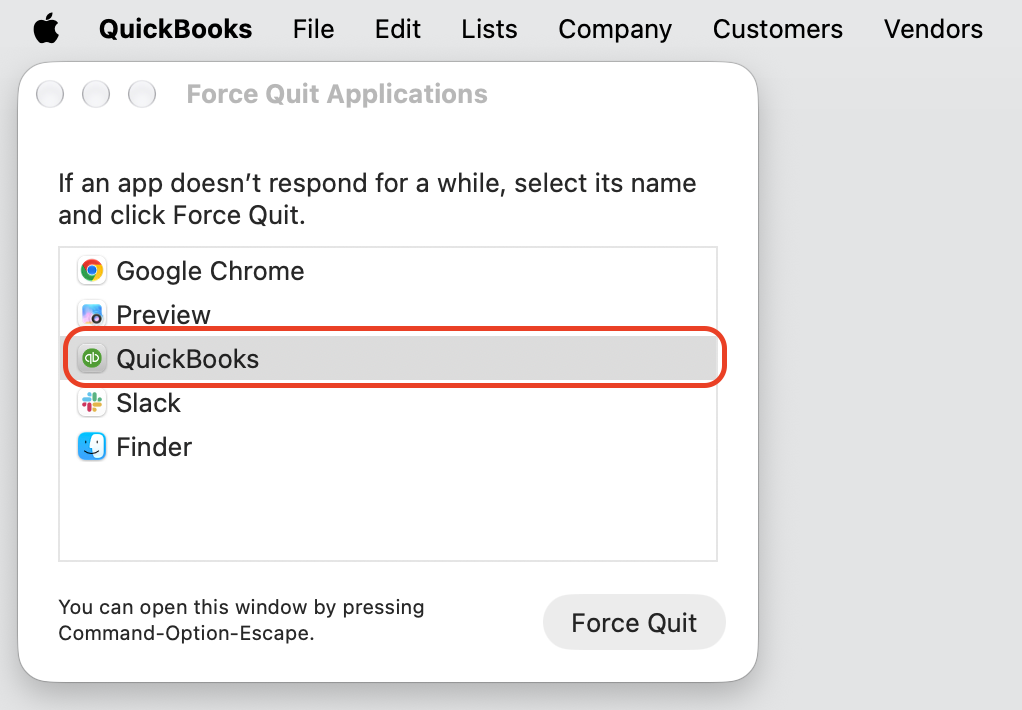
If the app won’t respond, press Cmd + Option + Esc, select QuickBooks, and click Force Quit.
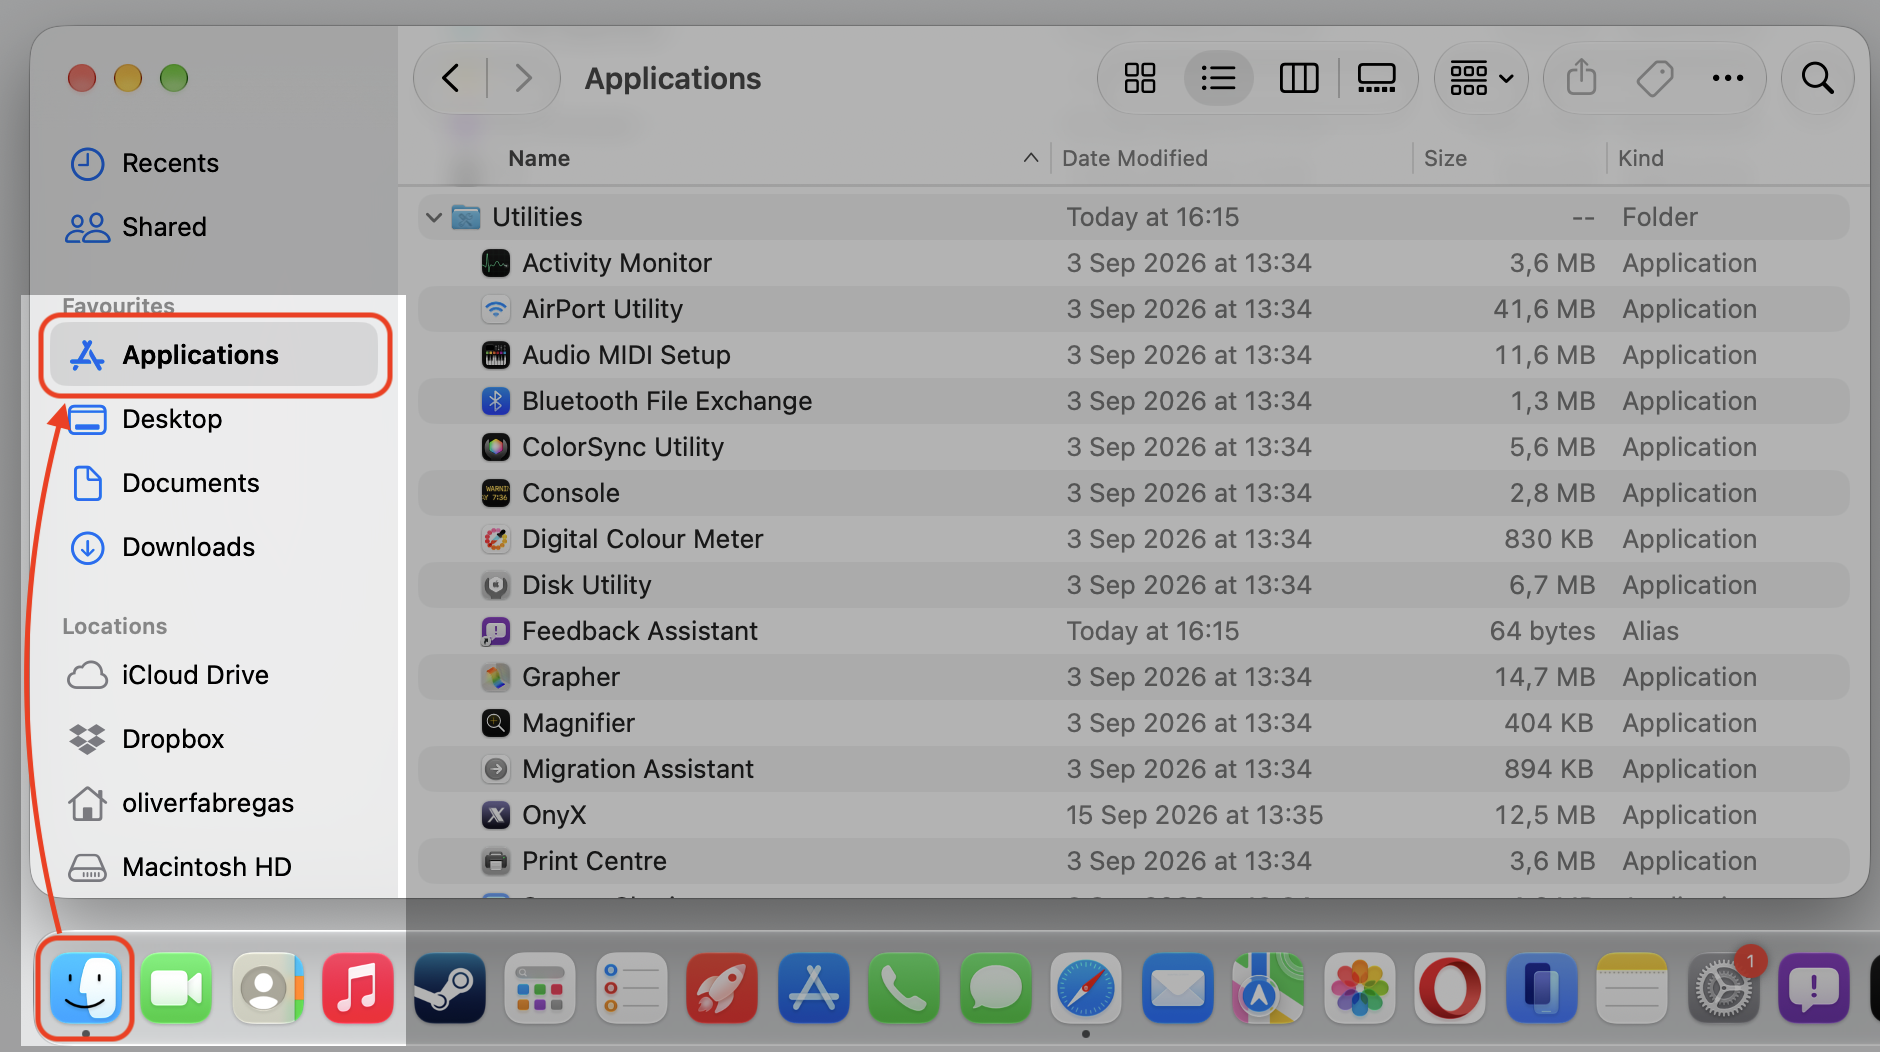
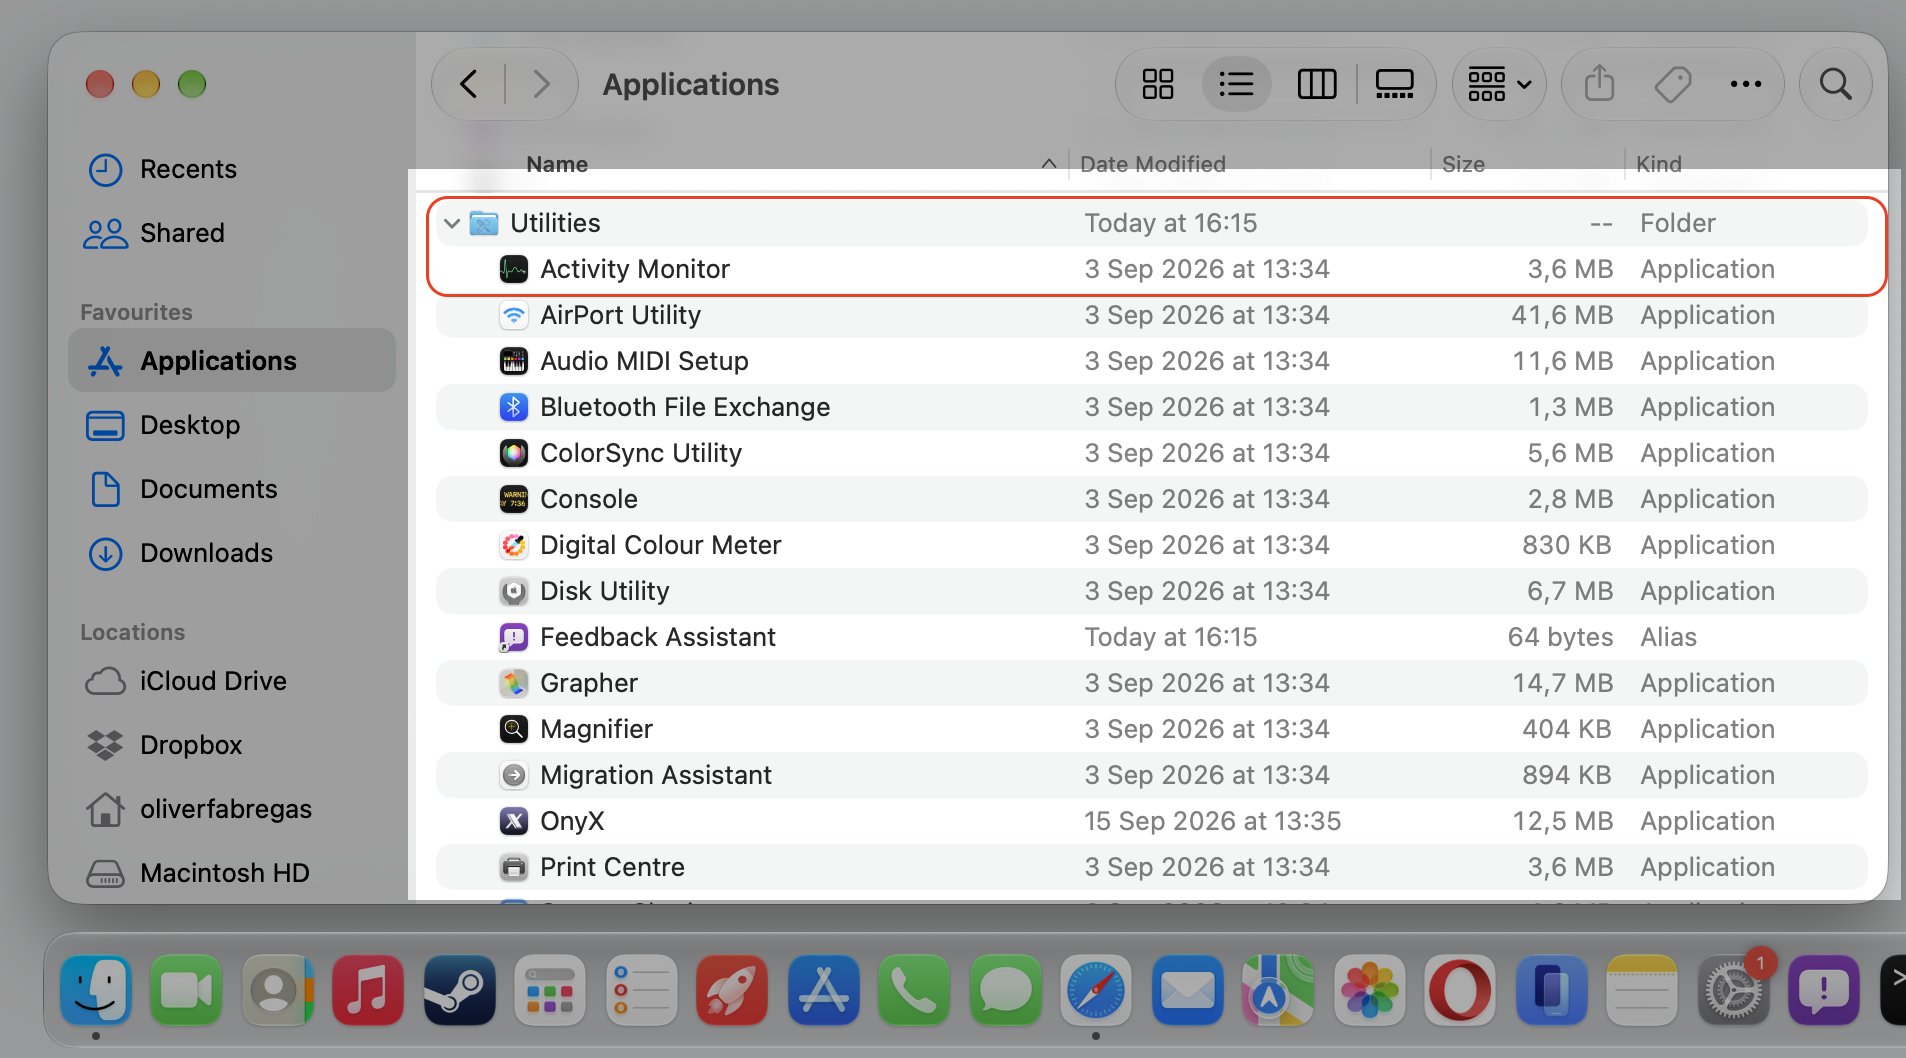
Open Activity Monitor from Applications > Utilities to catch any hidden services.
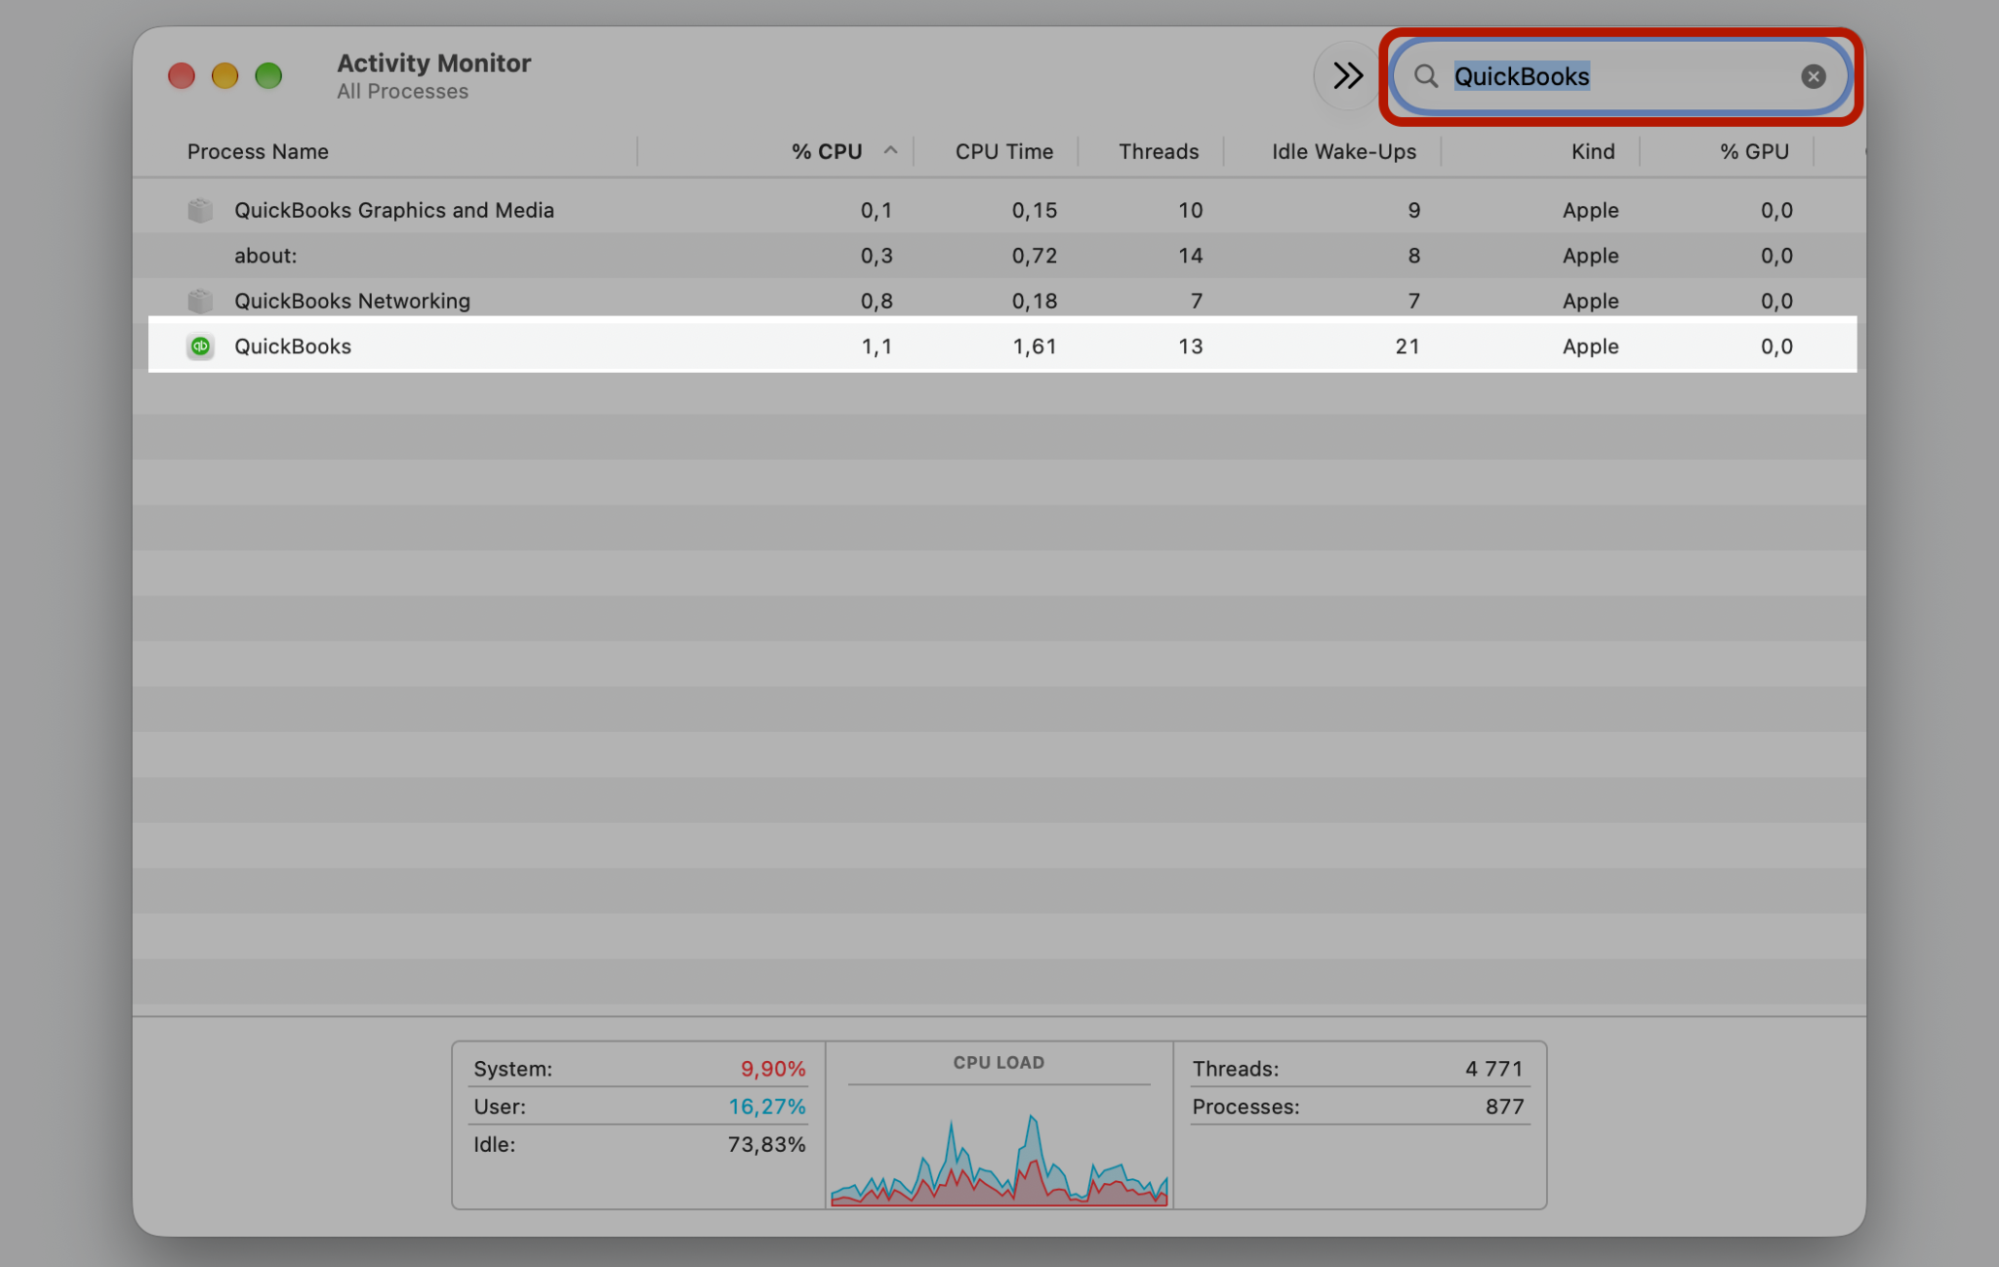
Type QuickBooks in the search box, select each related process, and Quit by Control-click.
Step 1. Go to QuickBooks preferences and select Quit the applicationStep 2. Or Go To Apple Logo and select Force QuitStep 3. Select QuickBooks, and click Force Quit Step 4. Go to Finder > ApplicationsStep 5. Select Activity Monitor from Utilities folderStep 6. Type QuickBooks in the search boxStep 7. Double-click on QuickBooks related processes and select Quit
2. Move QuickBooks to Trash
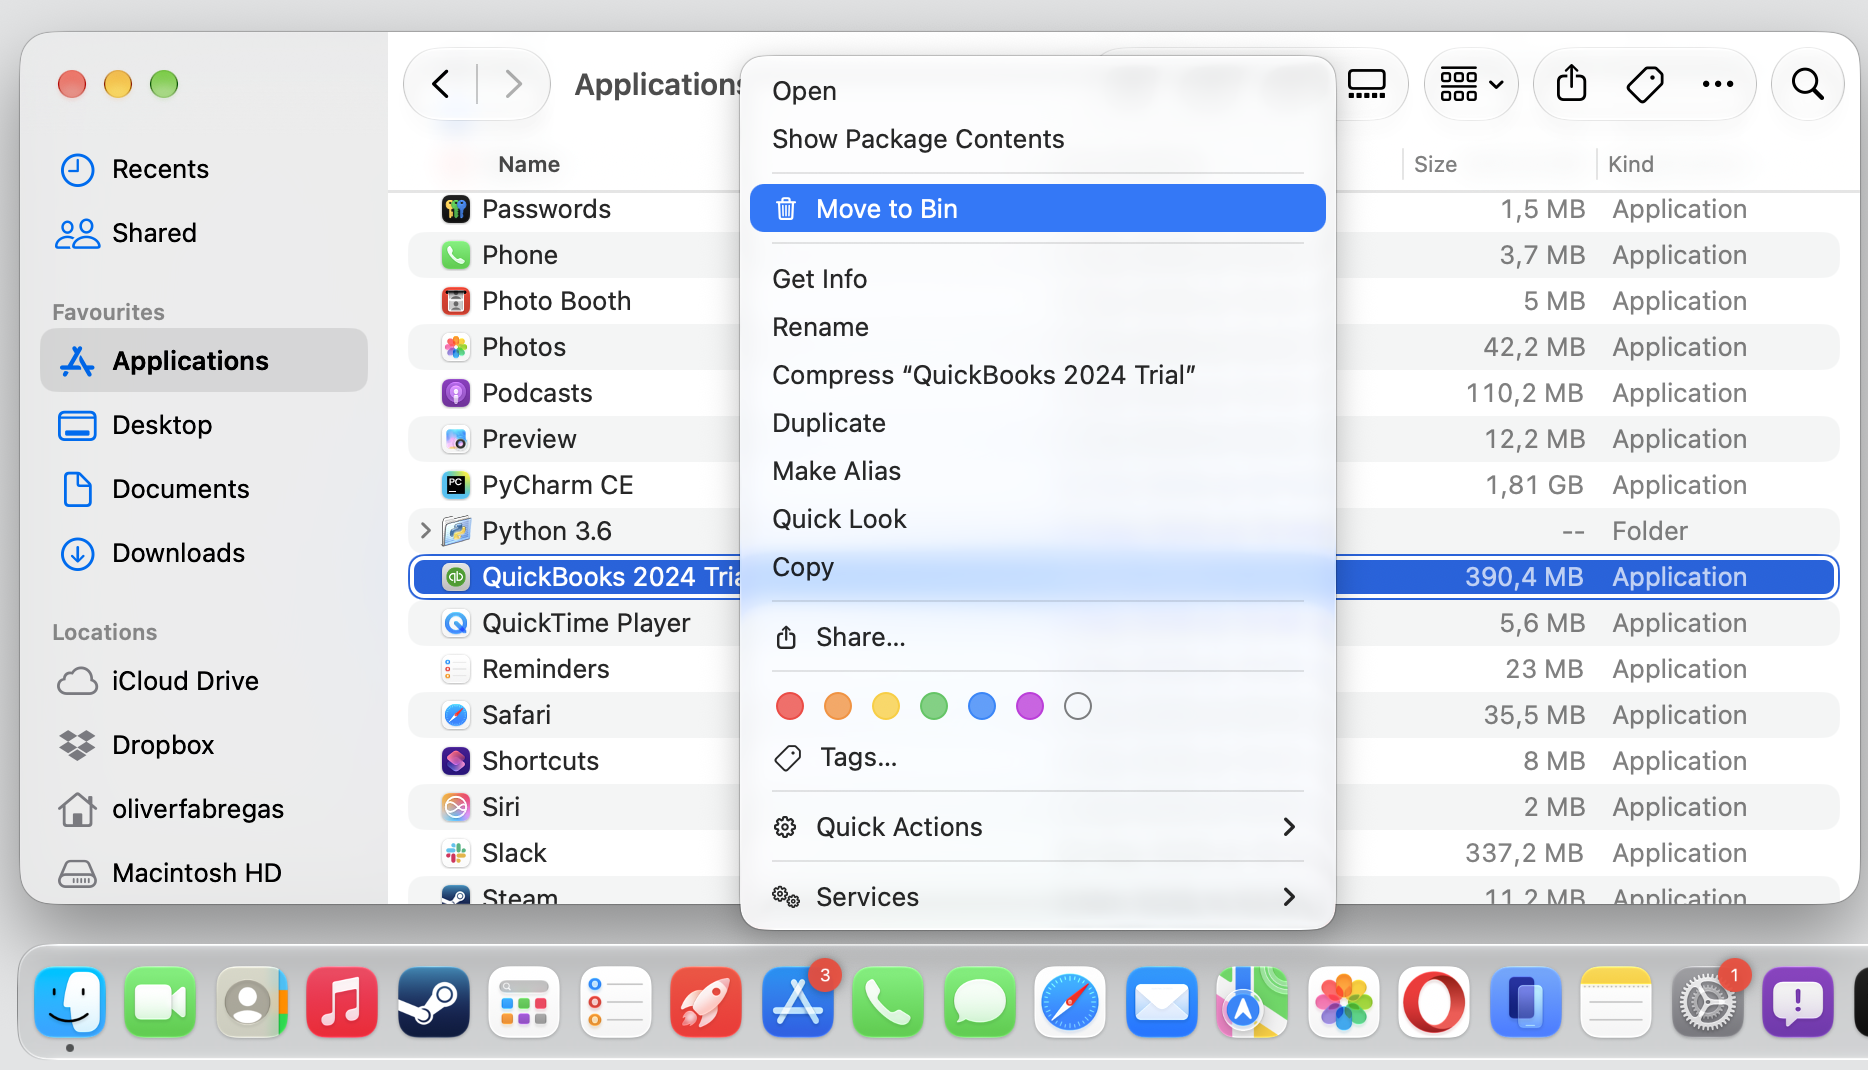
With the app quit, we can remove the main QuickBooks file. You can access Trash on Mac right from the Dock, which keeps this step quick. Just remember it’s only the first move, not the whole job.
Now, send the app to the Trash:
Open Finder and click Applications in the sidebar.
Locate the QuickBooks icon in the list.
Drag it to the Bin in your Dock, or Control-click and choose Move to Bin. This clears the main executable file.
Step 1. Select QuickBooks from Finder > Applications and Move to BinStep 2. Empty the Bin
3. Remove user and system PLIST preference files
PLIST files store the app’s settings, and we’ll find them in two hidden Library folders—one in your user account and one on the Macintosh HD system drive.
Next, clear the leftover preferences:
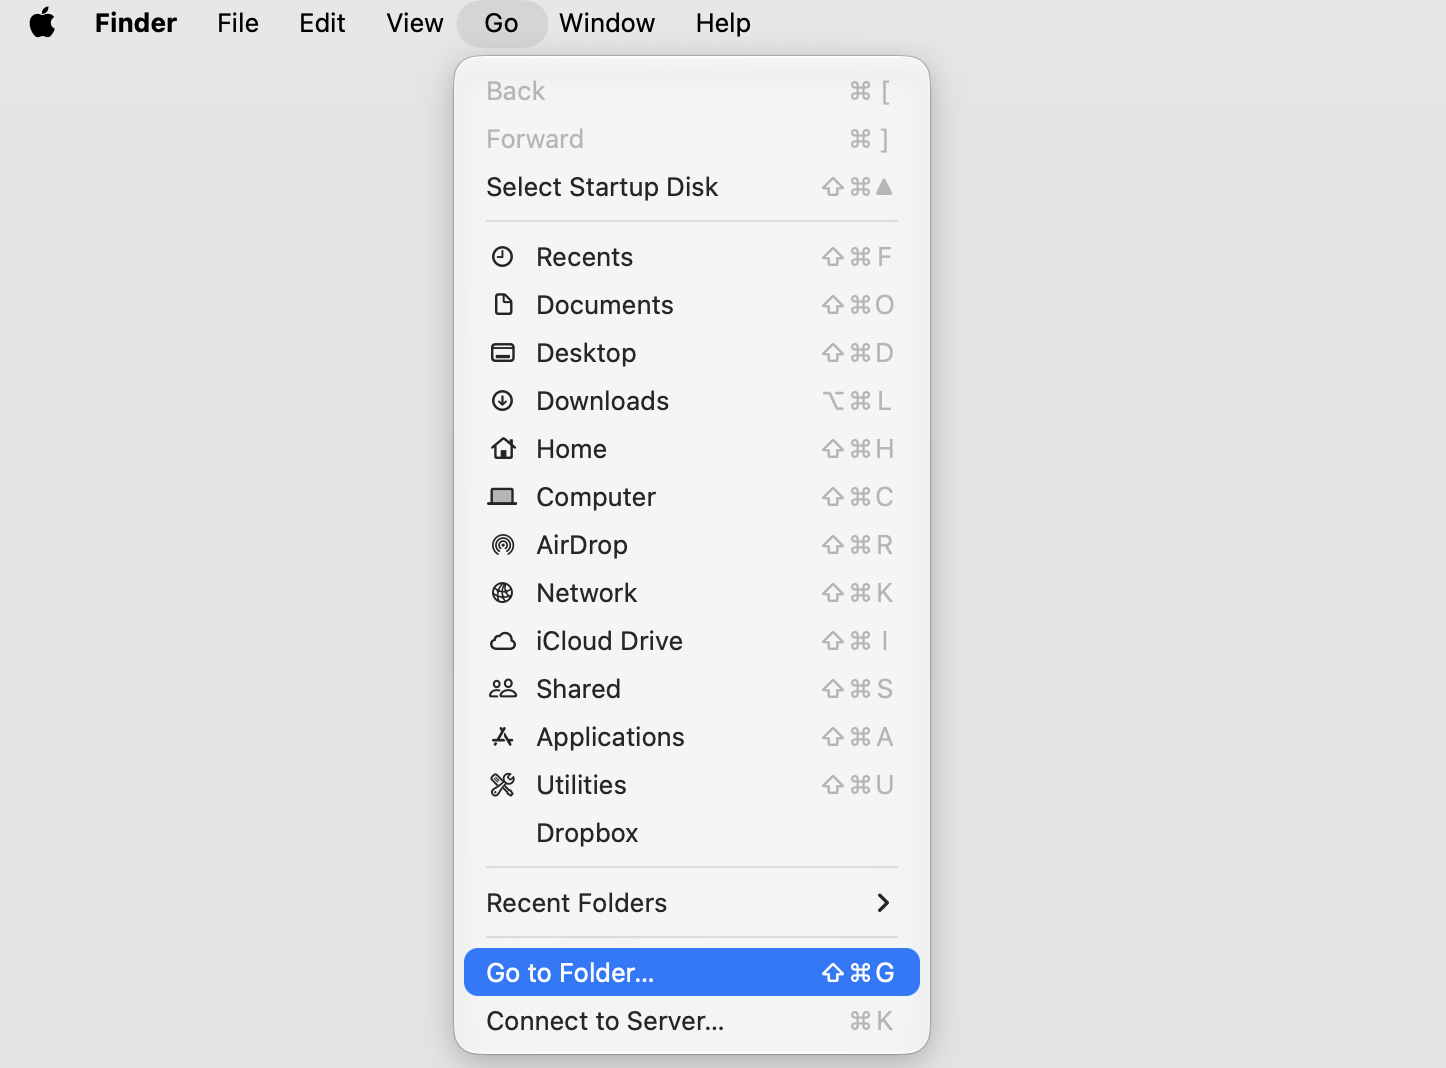
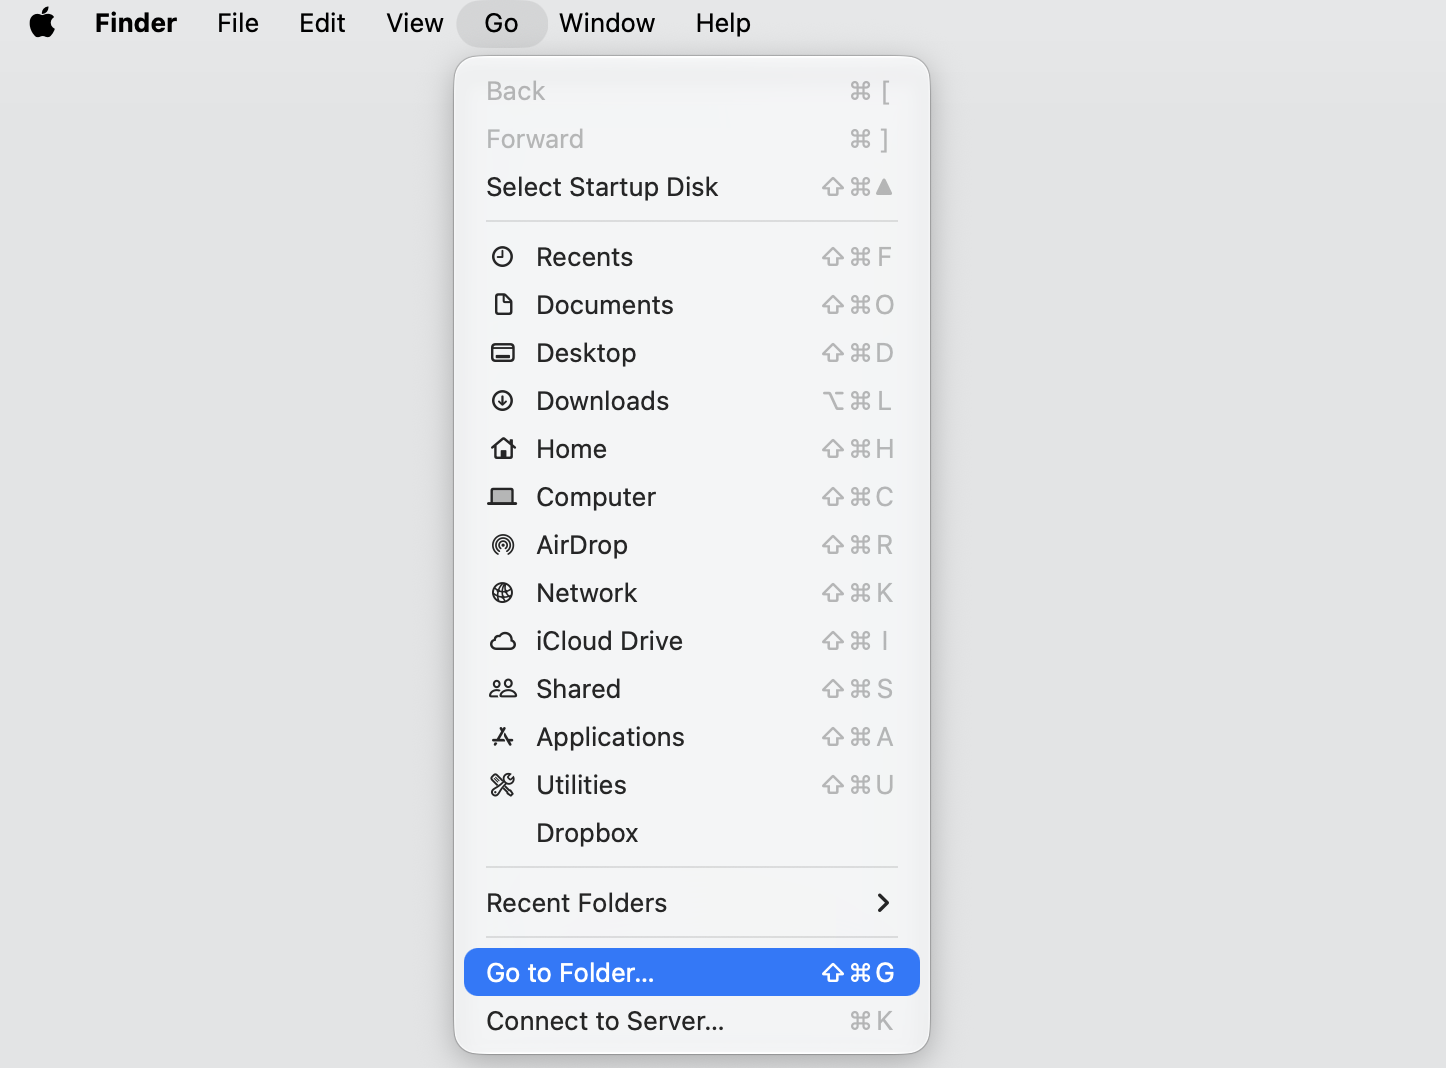
In Finder, press Shift + Cmd + G to open Go to Folder.
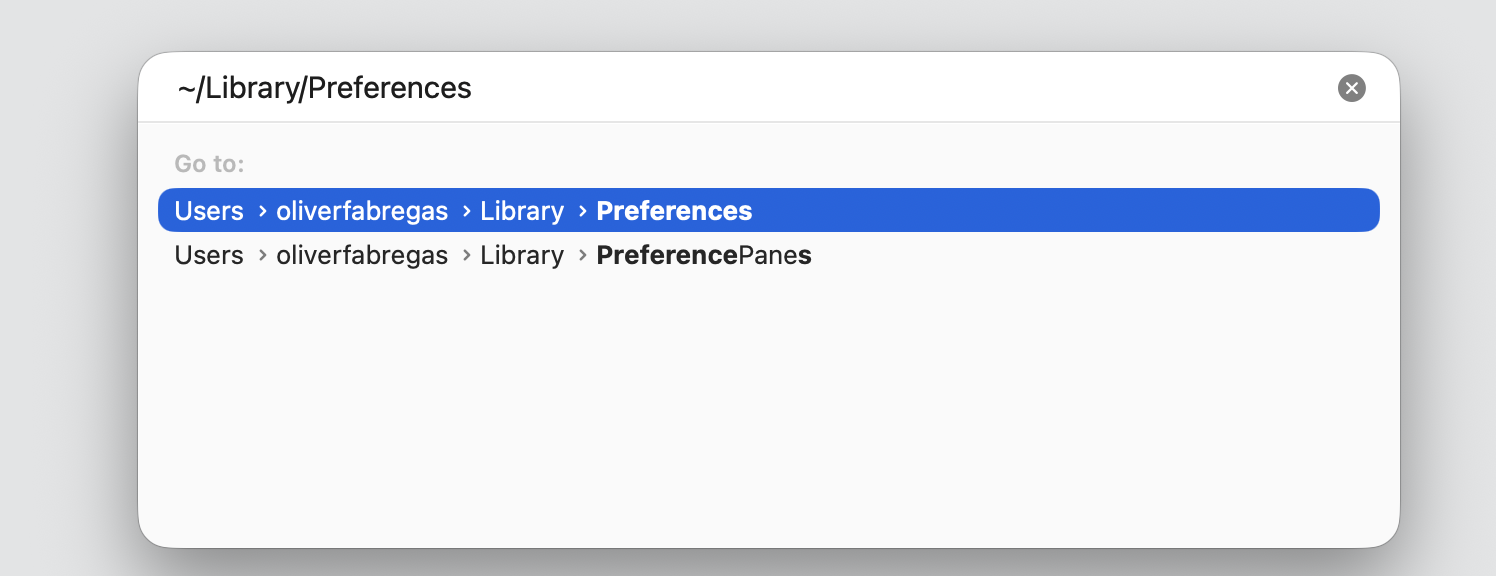
Type ~/Library/Preferences and press Return.
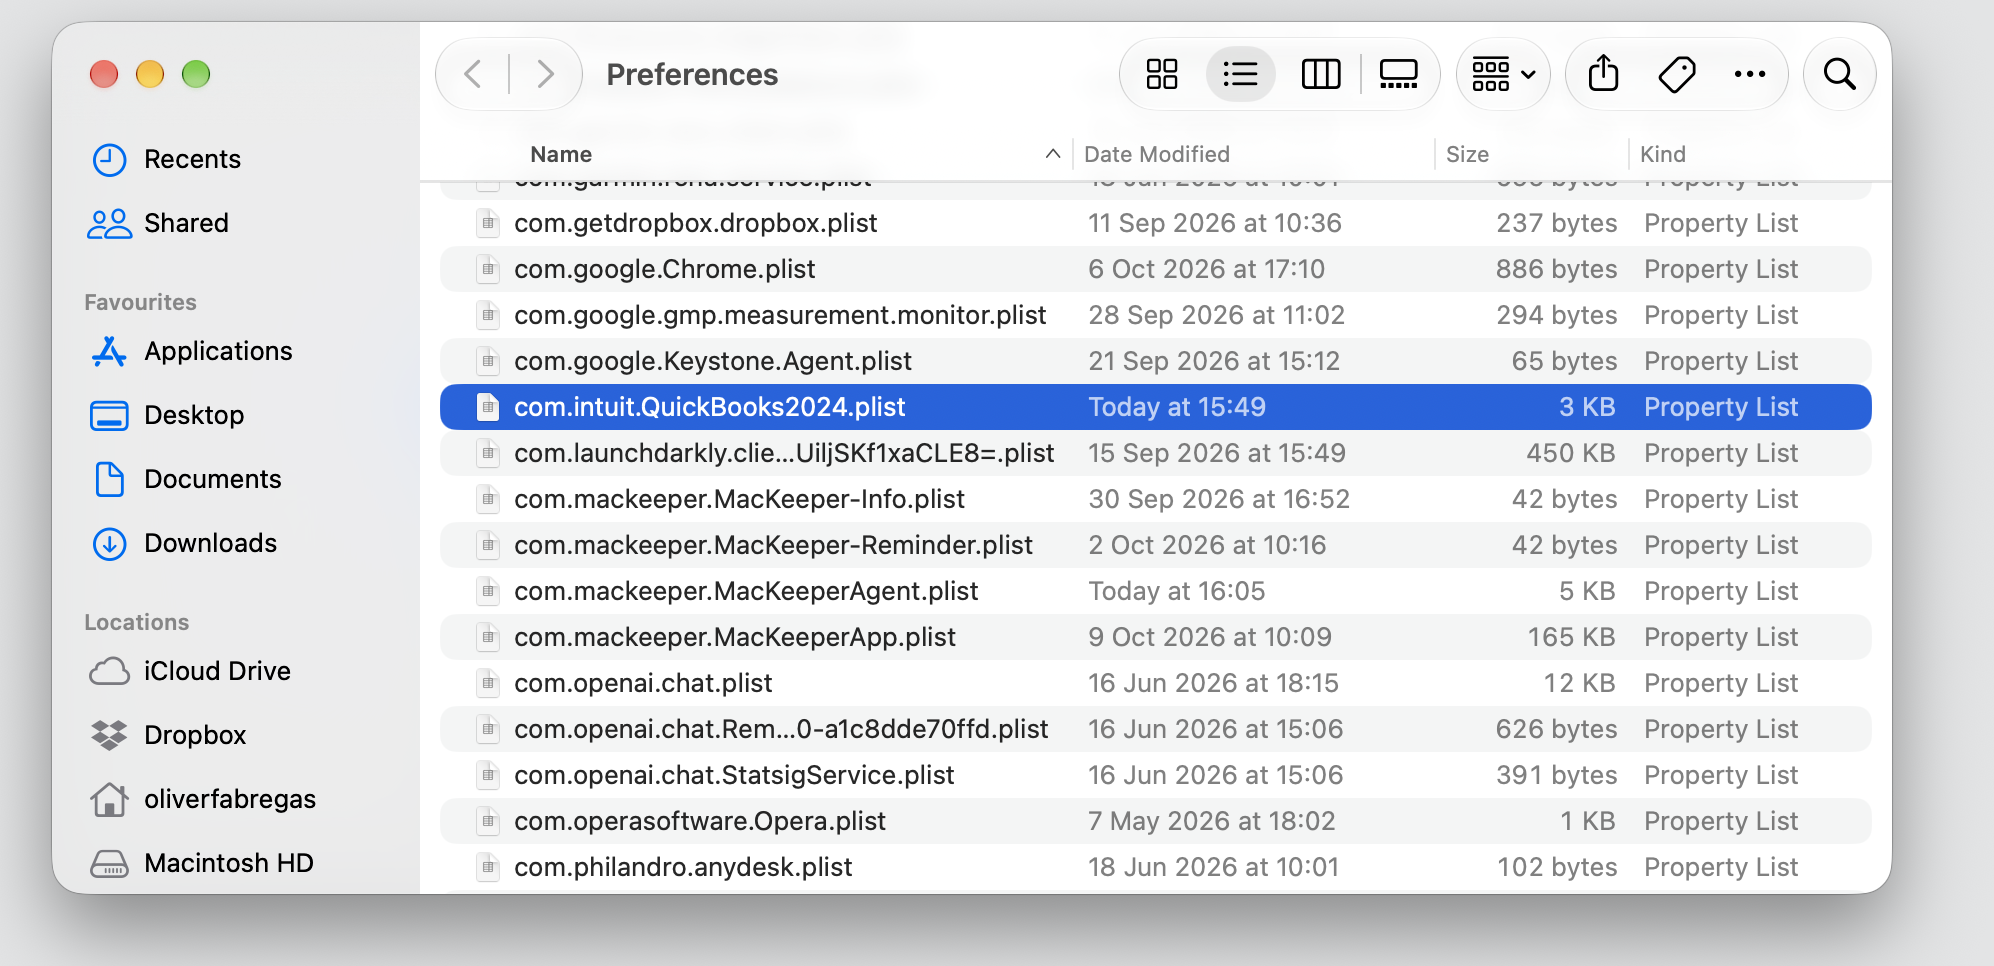
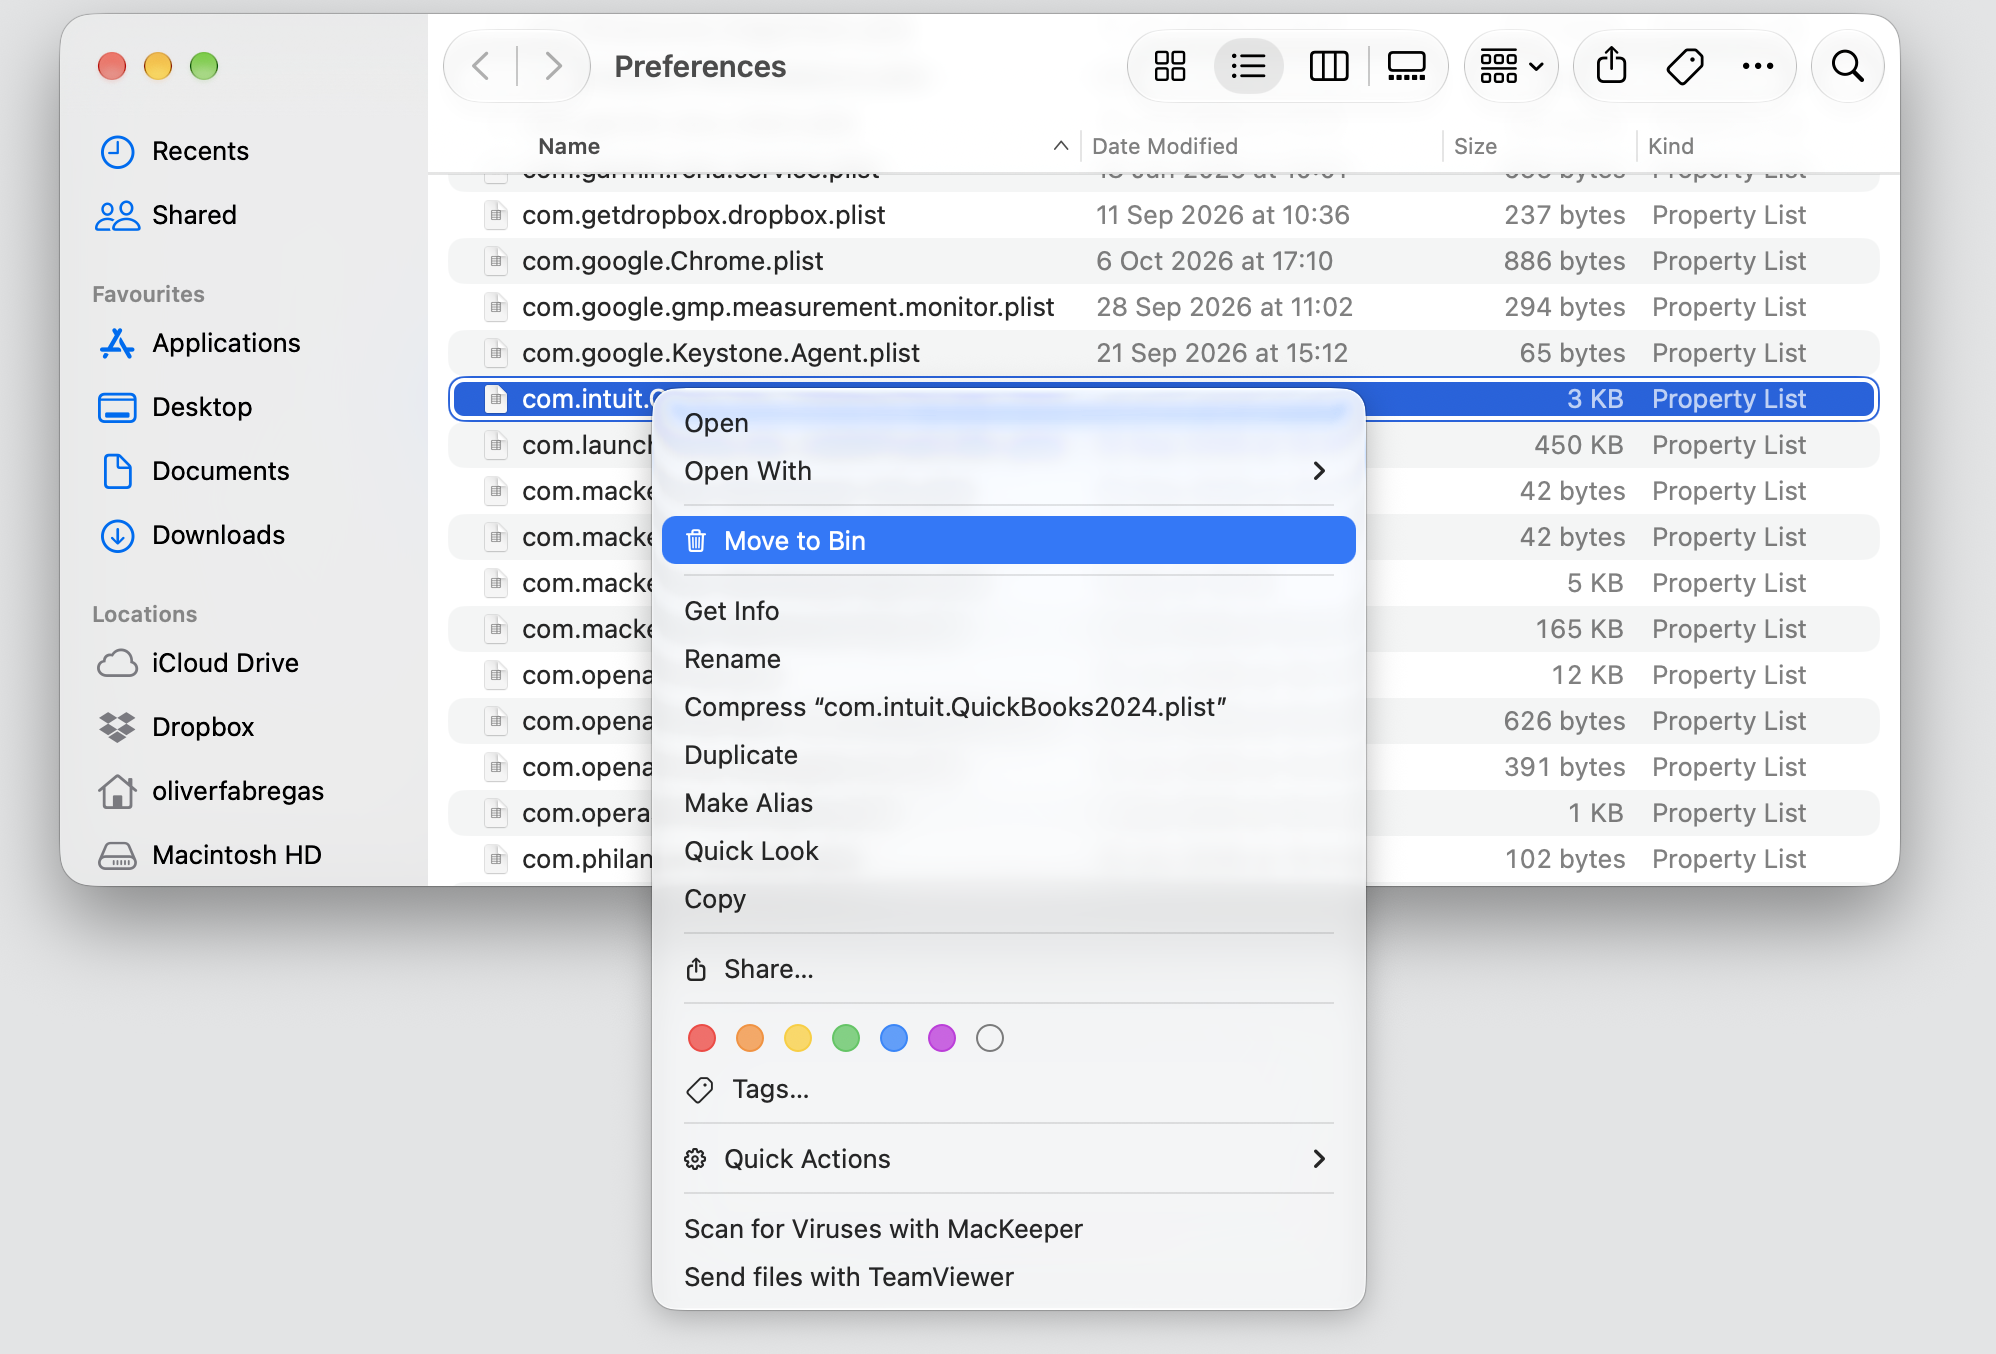
Locate any files that start with com.intuit.quickbooks and drag them to the Bin.
Repeat with the system path—type /Library/Preferences and remove any matching Intuit files.
Step 1. Go to Finder > Go to FolderStep 2. Type ~/Library/Preferences and press ReturnStep 3. Locate any files that start with com.intuit.quickbooksStep 4. Move them to the Bin with control-clickStep 5. Empty the Bin
4. Delete remaining application caches and support files
Next, we’ll clear the temporary caches, logs, and support folders QuickBooks builds up over time. Tracking down these folders lets us delete all application files on Mac that the app left behind, which frees up space and keeps a future reinstall clean.
Let’s track down the last few folders:
Open Go to Folder again with Shift + Cmd + G.
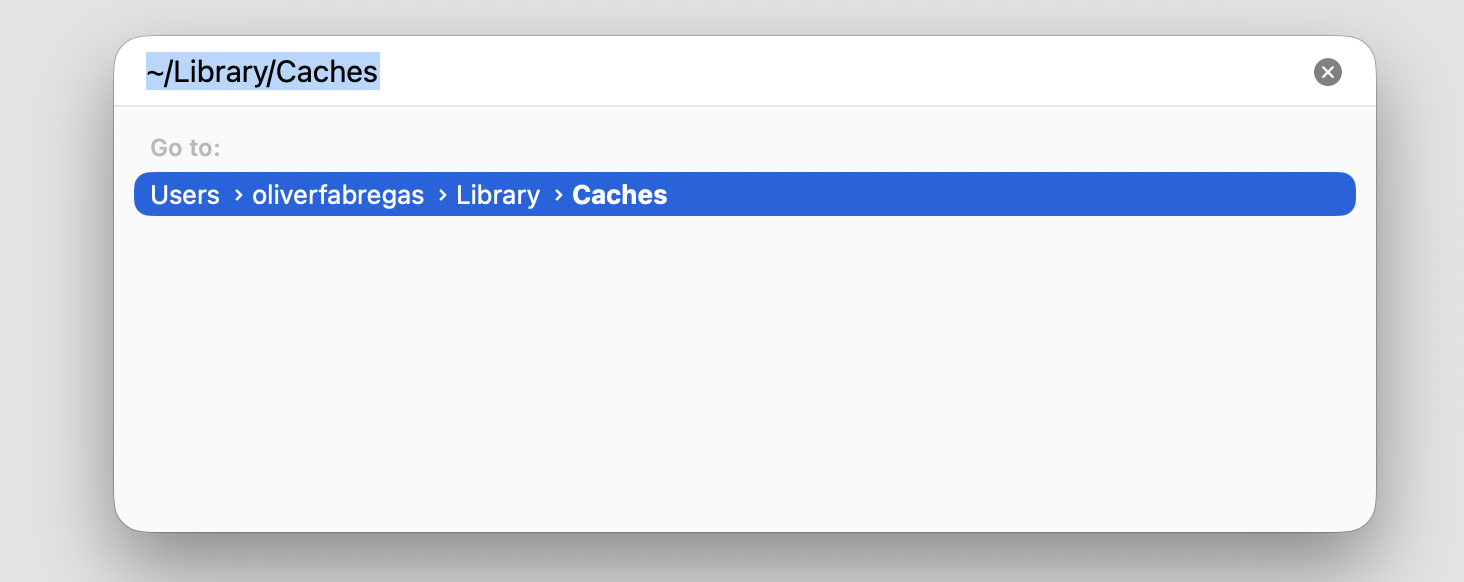
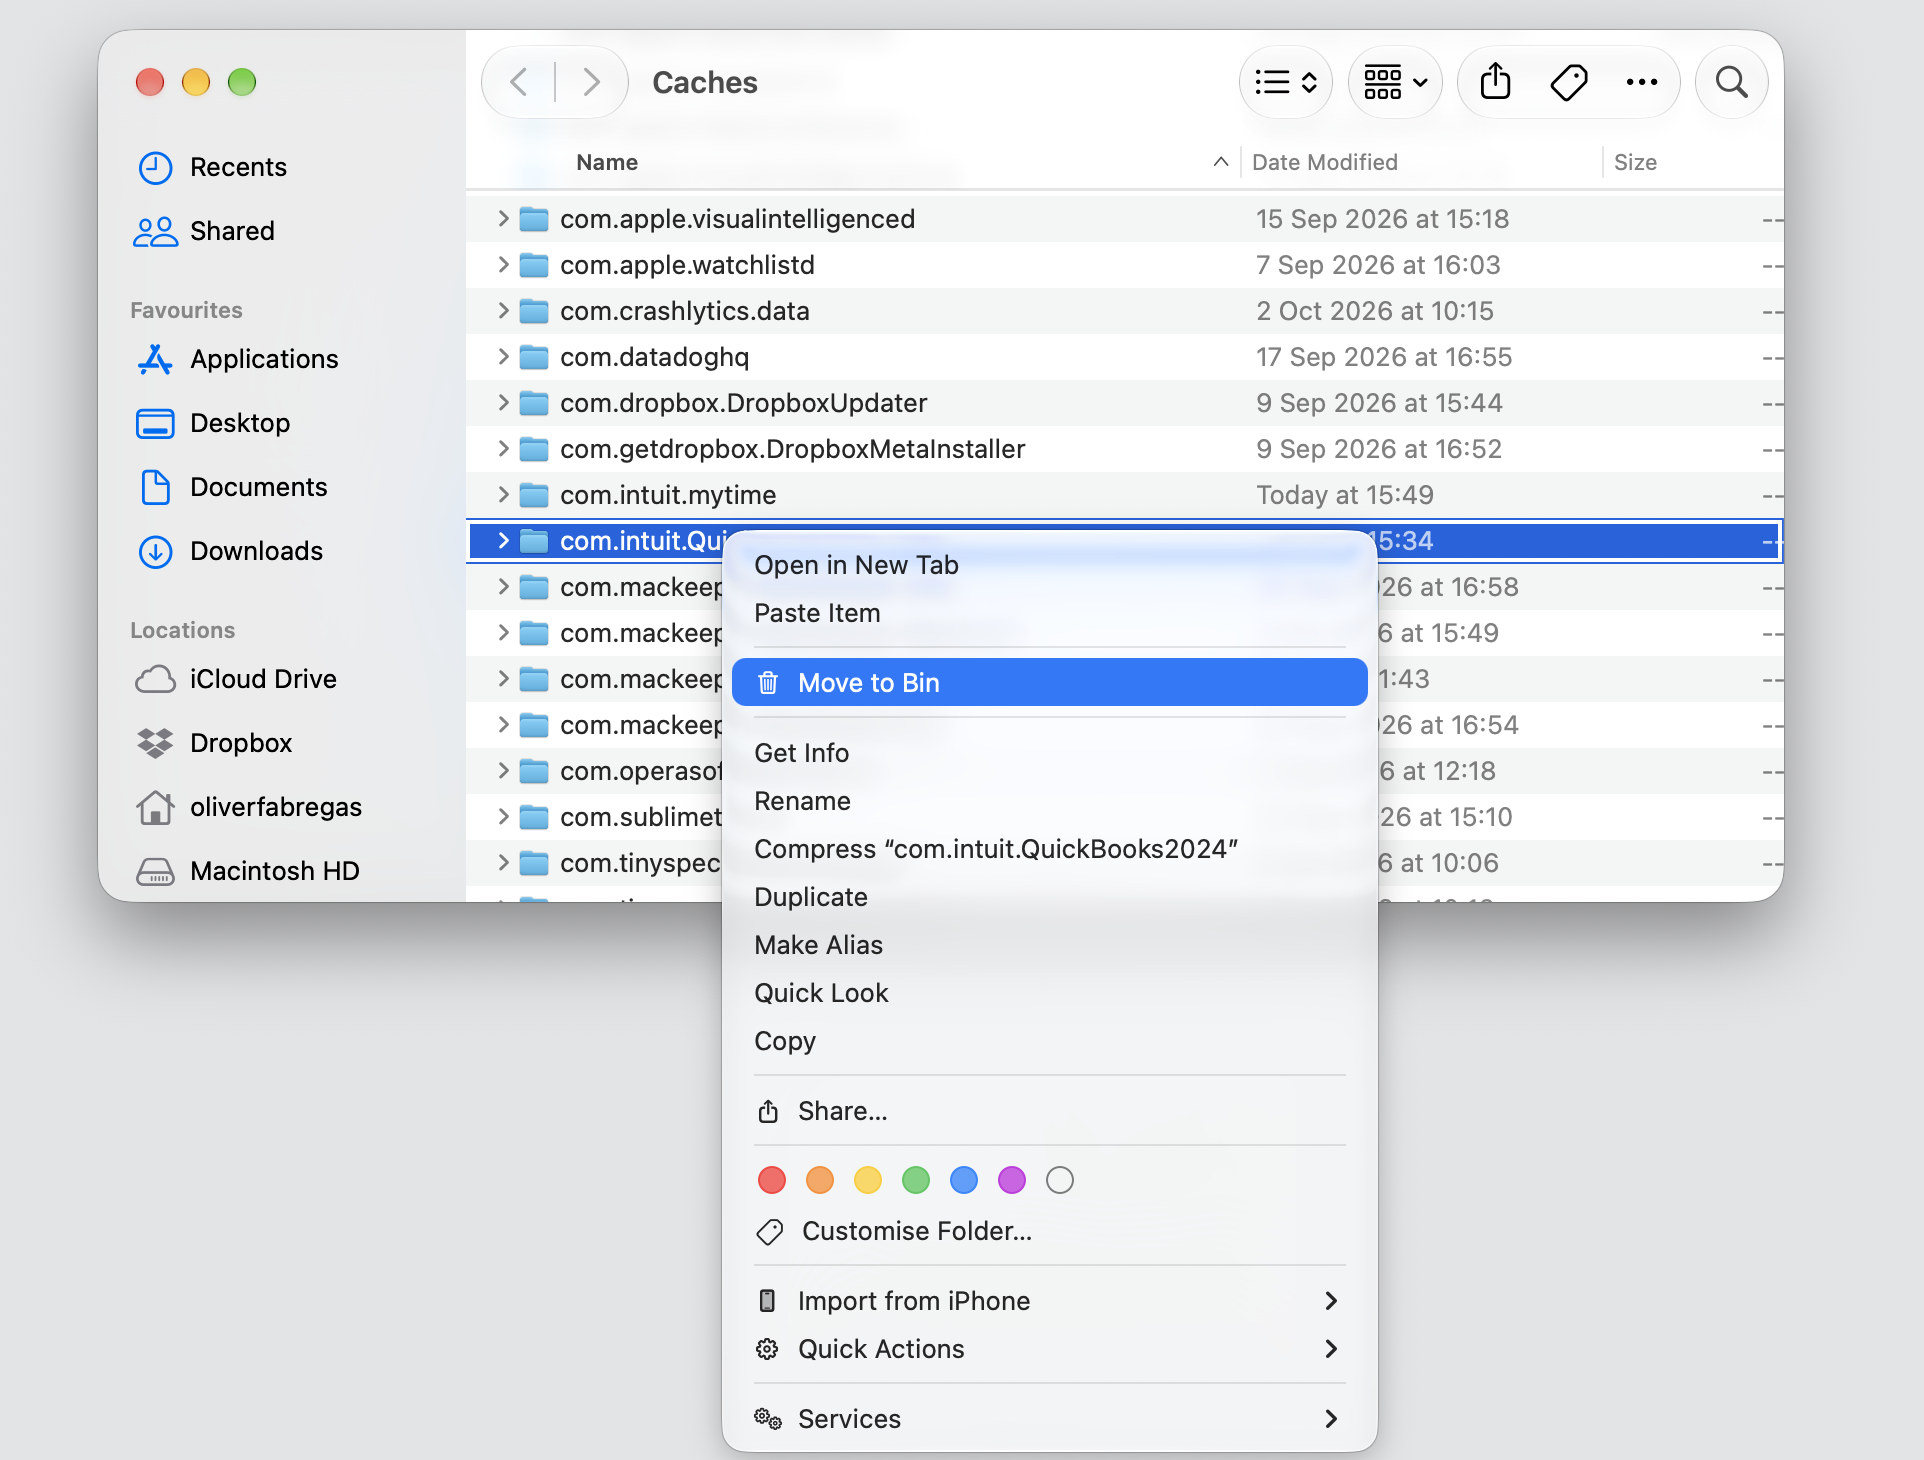
Visit ~/Library/Caches and delete any folder named after Intuit or QuickBooks.
Check ~/Library/Application Support and remove the QuickBooks folder there too.
Look in ~/Library/Logs for related items and clear those too.
Step 1. Go to Finder > Go to FolderStep 3. Type ~/Library/Caches (repeat with each location)Step 3. Select the file or folder which start with com.intuit.quickbooks and Move to the Bin
5. Empty Trash and restart your Mac
Files in the Trash still take up room until we empty it, and once it’s clear, we’ll reboot MacBook to clear any leftover items from memory. This is the last step that finalizes the removal.
Finish up with a clean restart:
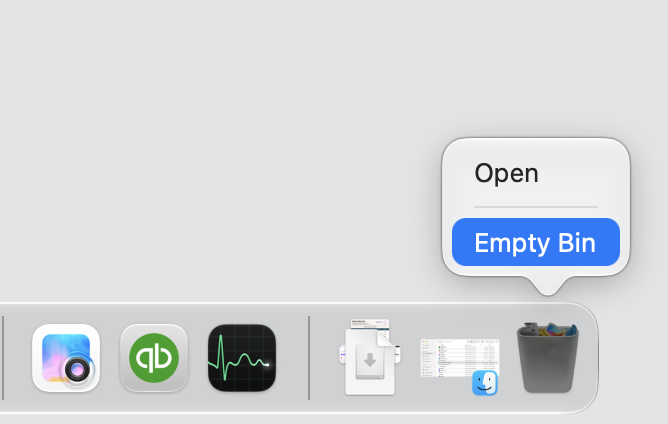
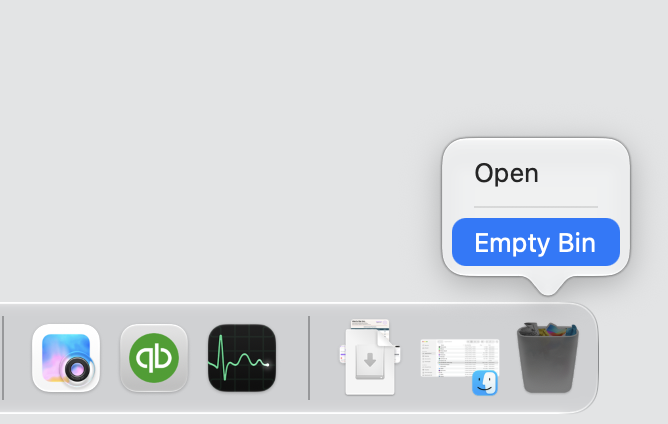
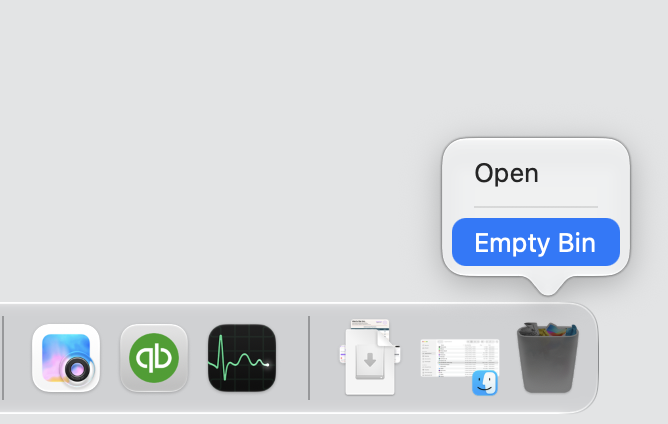
Right-click the Trash icon and choose Empty Trash (or Empty Bin).
Confirm when your Mac asks—this permanently removes the files and frees the space.
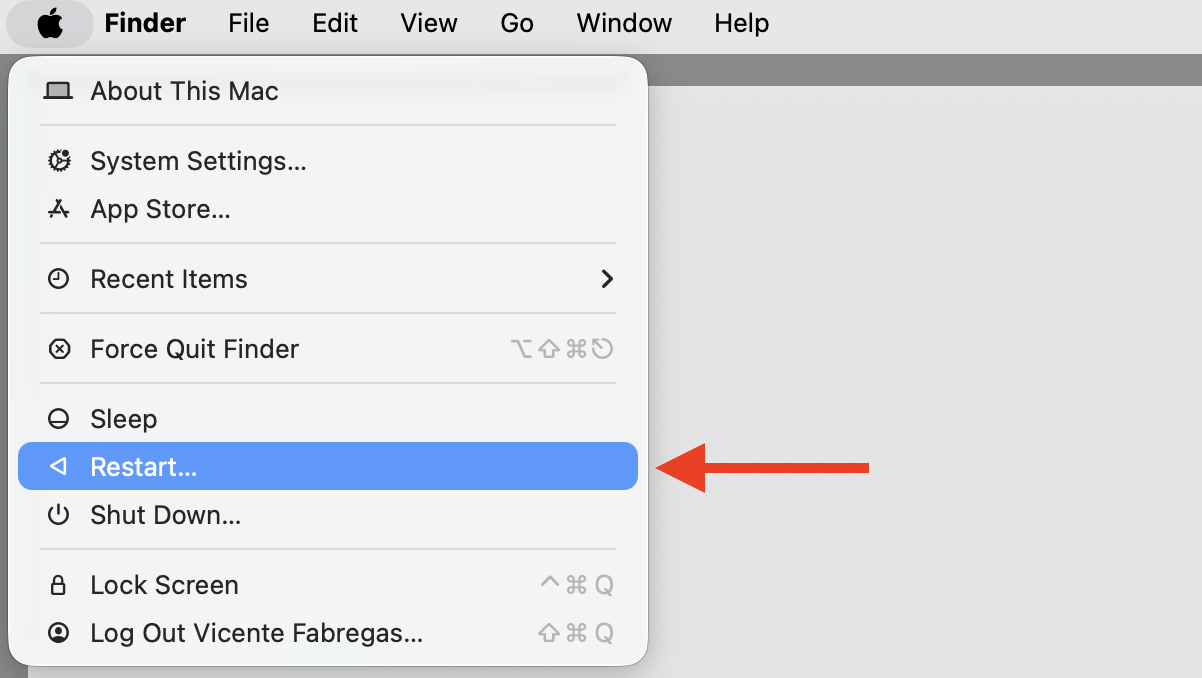
Click the Apple menu and choose Restart to reboot your Mac.
Once your Mac starts up, QuickBooks and its leftovers are gone.
Step 1. Empty the BinStep 2. Restart your Mac Form Apple Logo
How to automatically uninstall QuickBooks with dedicated tools?
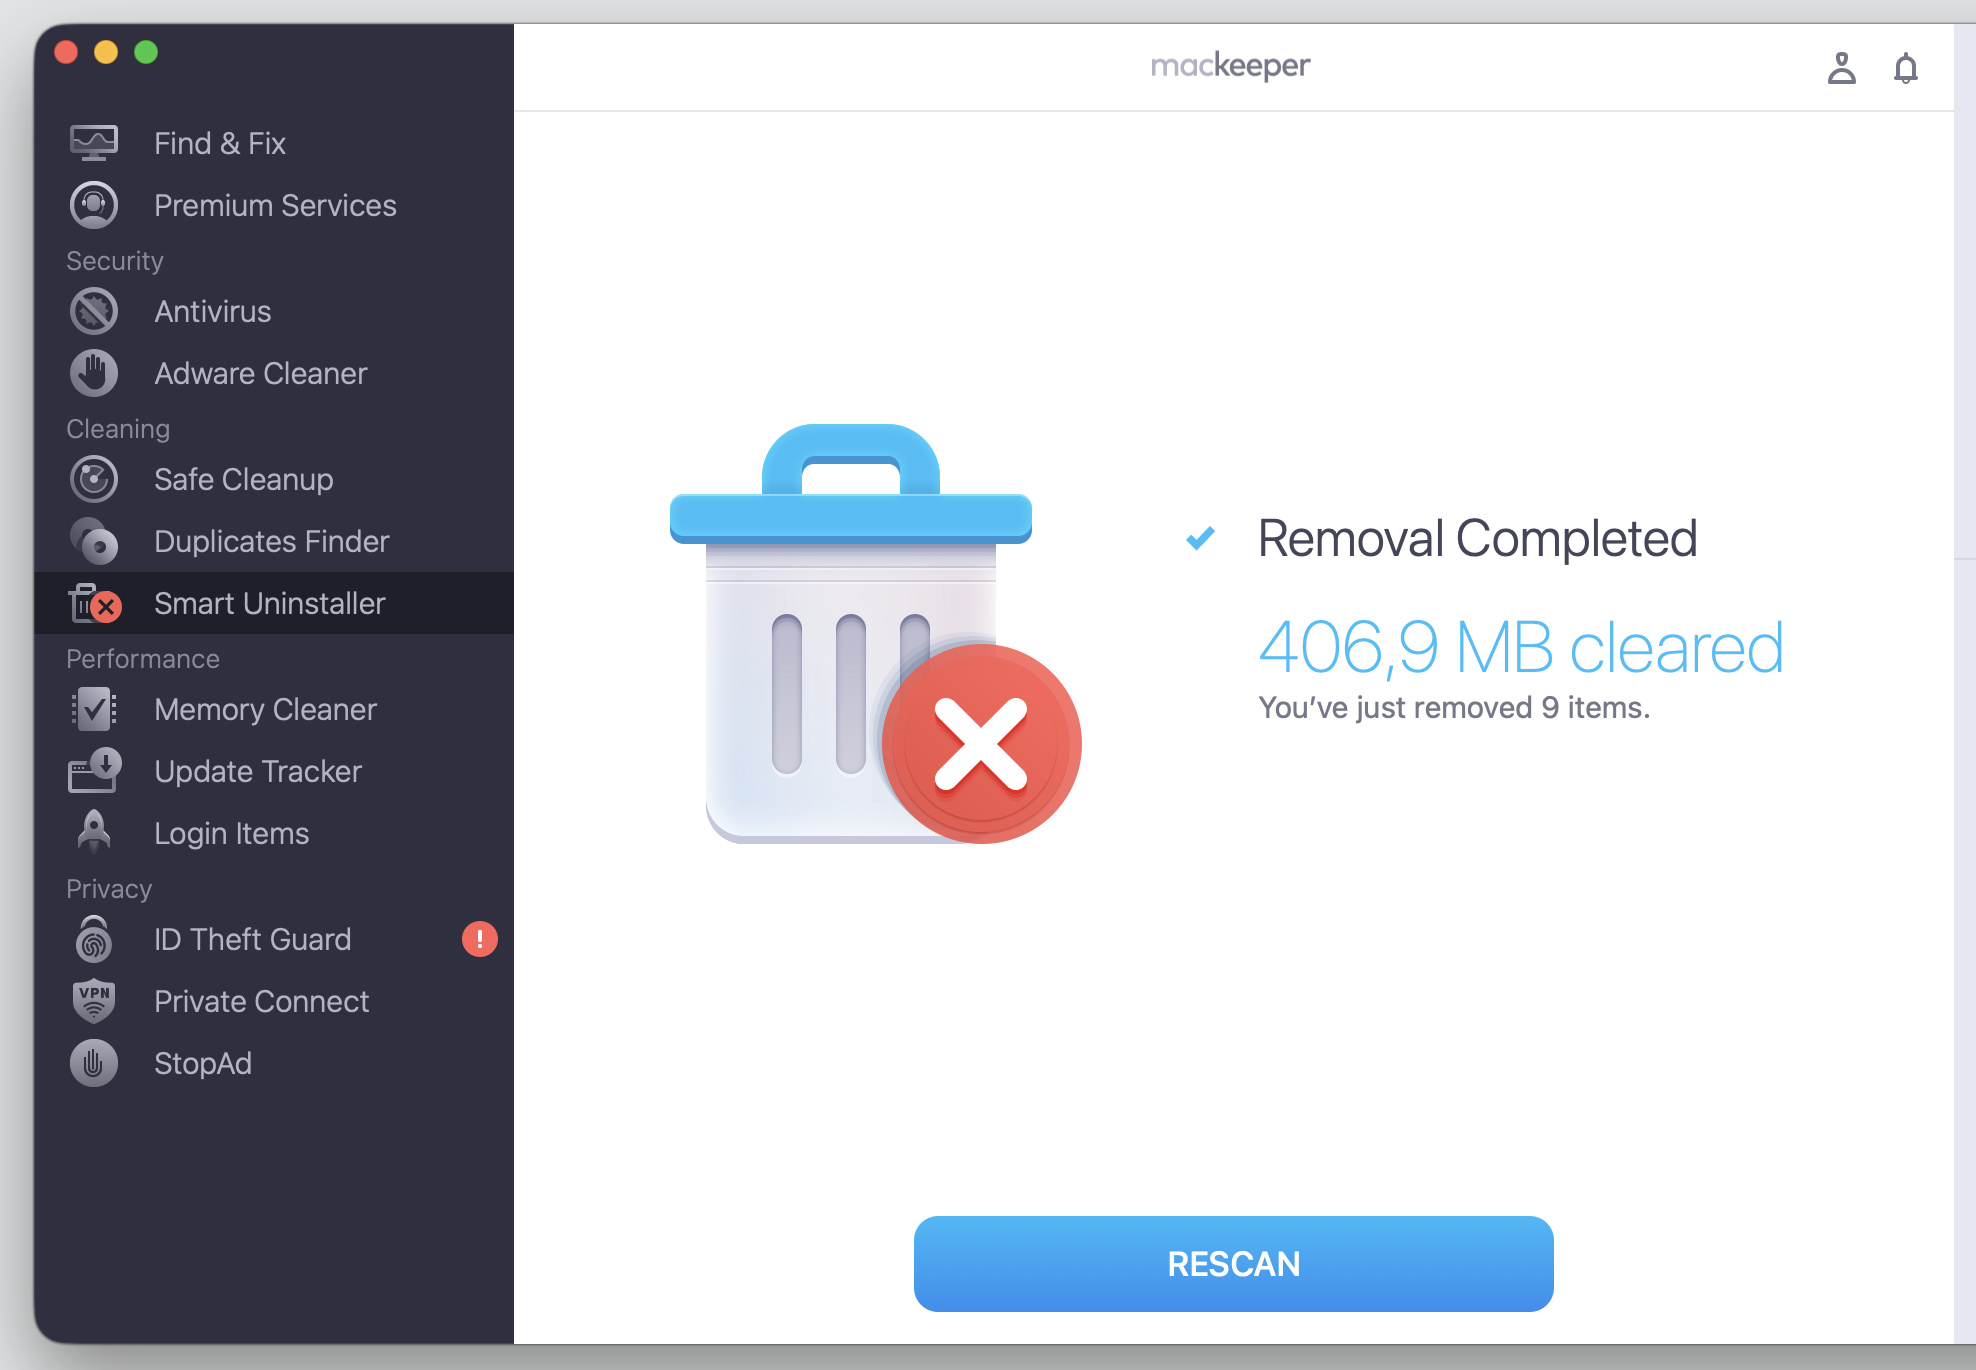
If hunting through hidden folders sounds like a lot, a dedicated uninstaller can do the work for you. A utility like MacKeeper’s Smart Uninstaller scans your Mac, finds QuickBooks along with every associated file, and removes them together—no file paths or hotkeys required.
It’s a fast, reliable way to get rid of QuickBooks without leaving anything behind. The app automatically groups leftovers, plugins, and support files so you can clear them in a single click. For anyone who’d rather not dig through the Library by hand, it’s a simple, safe choice.
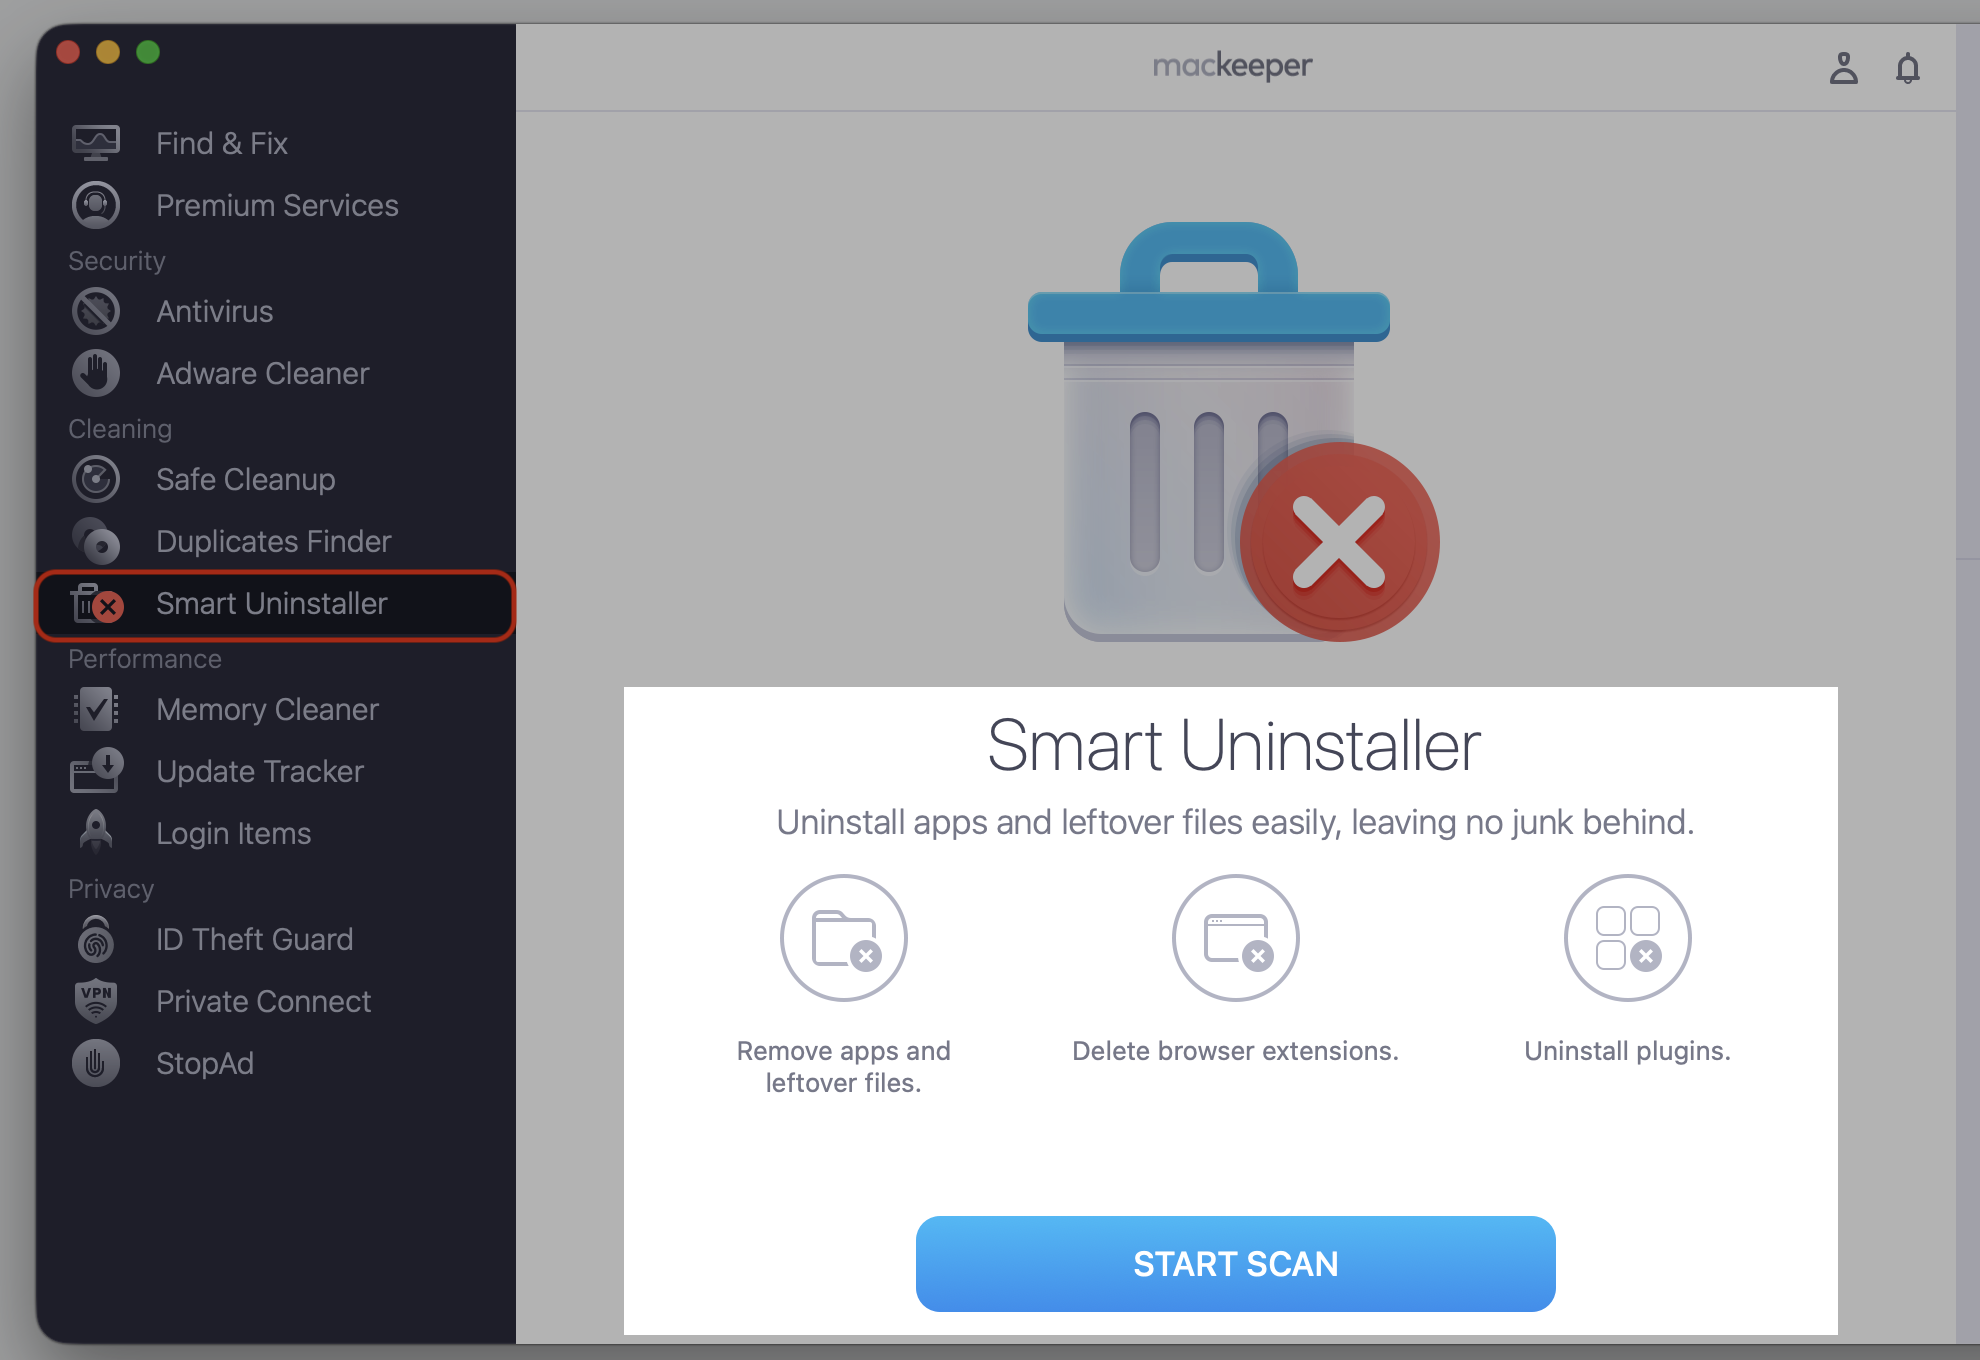
With MacKeeper’s Smart Uninstaller, the cleanup takes just a few clicks:
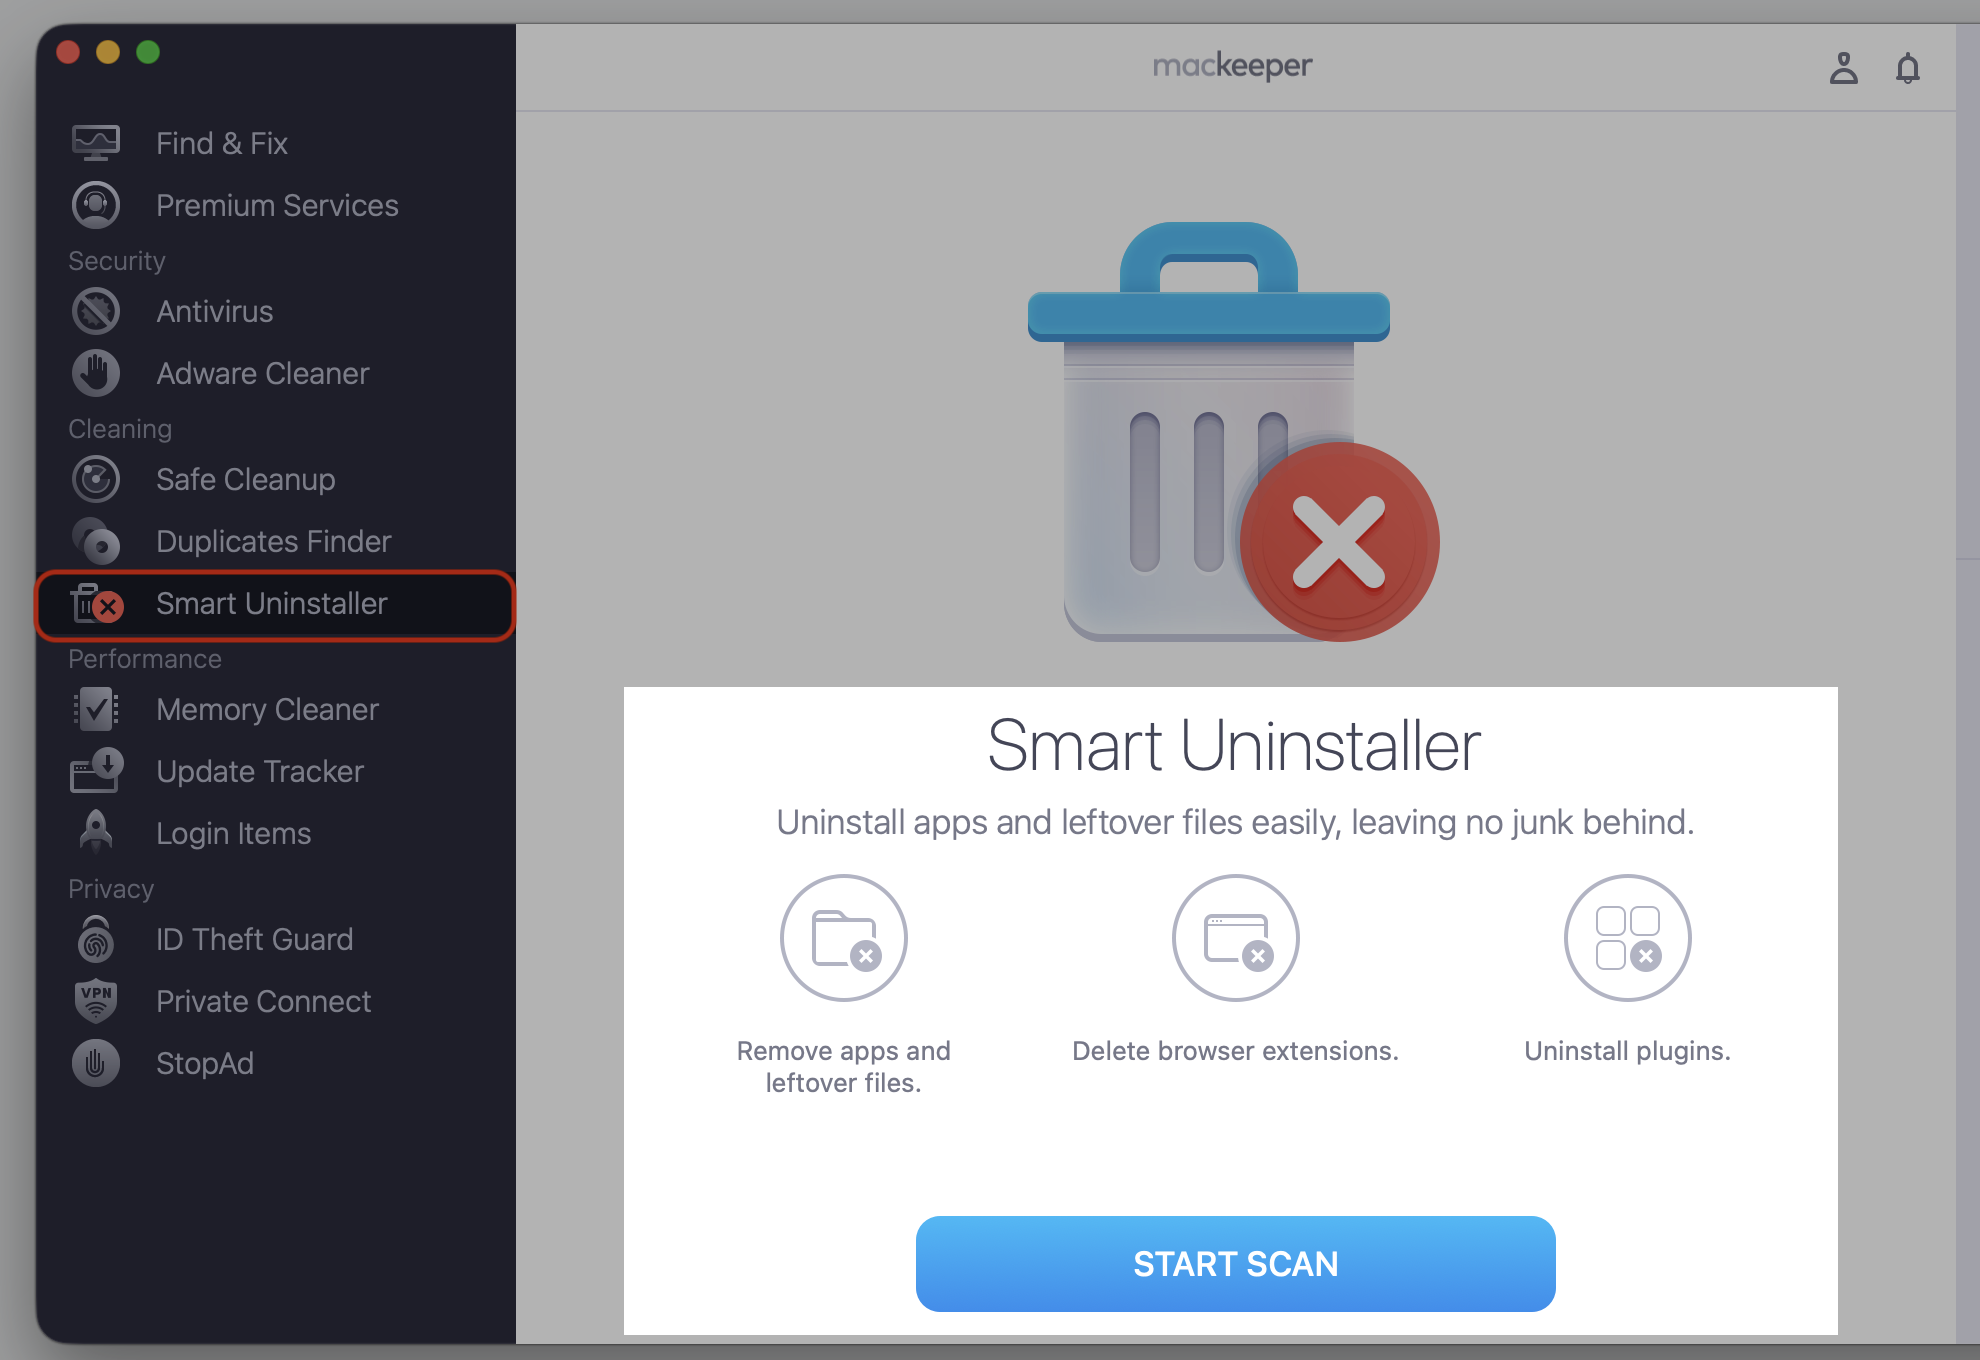
Open MacKeeper and select Smart Uninstaller in the sidebar.
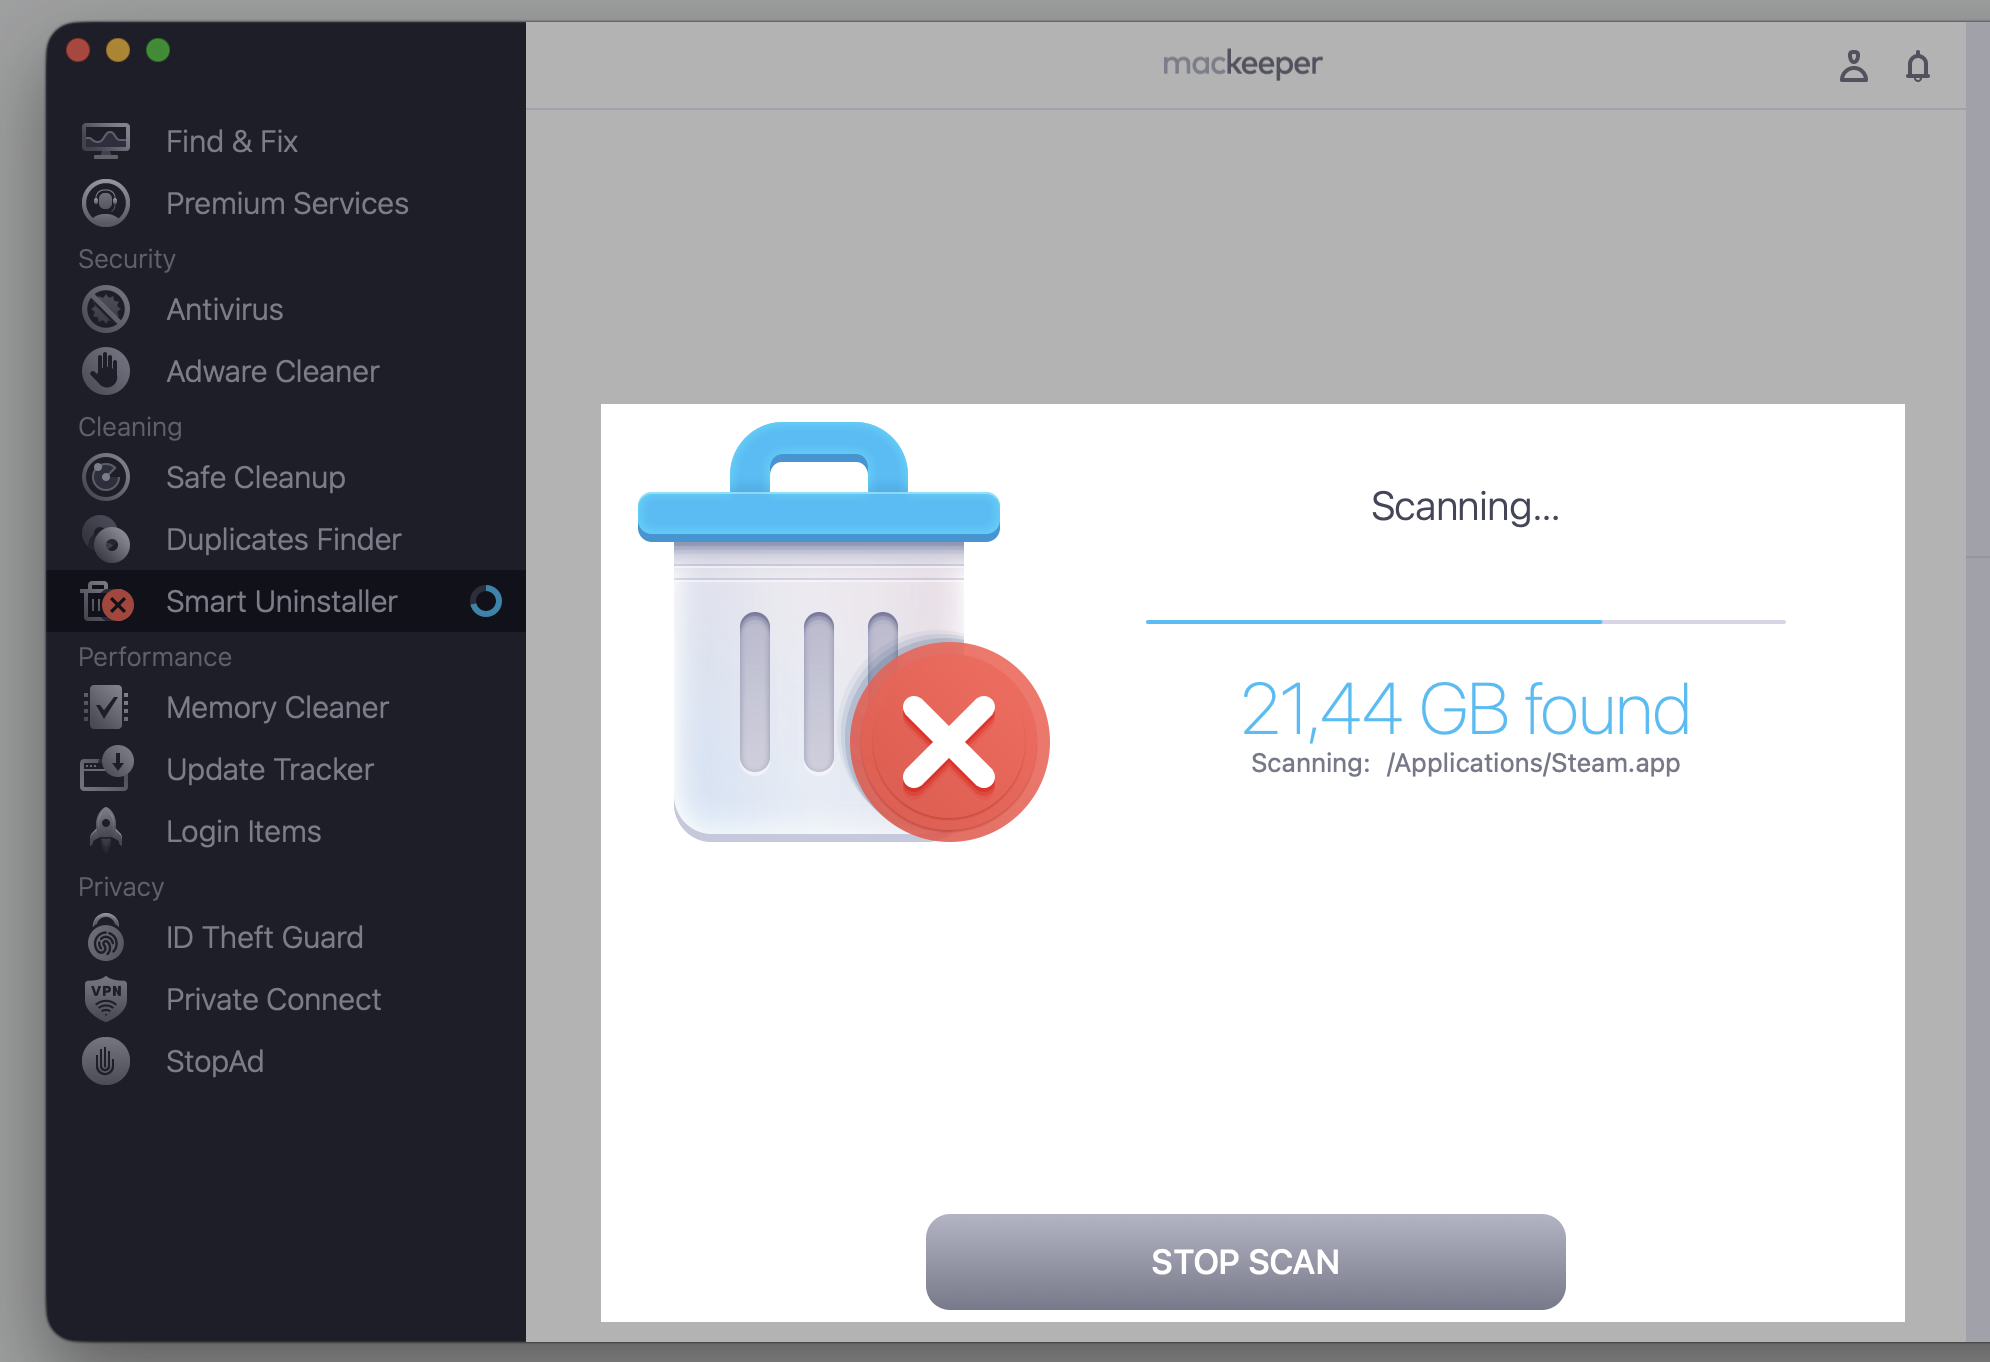
Click Start Scan and let the app find every application on your Mac.
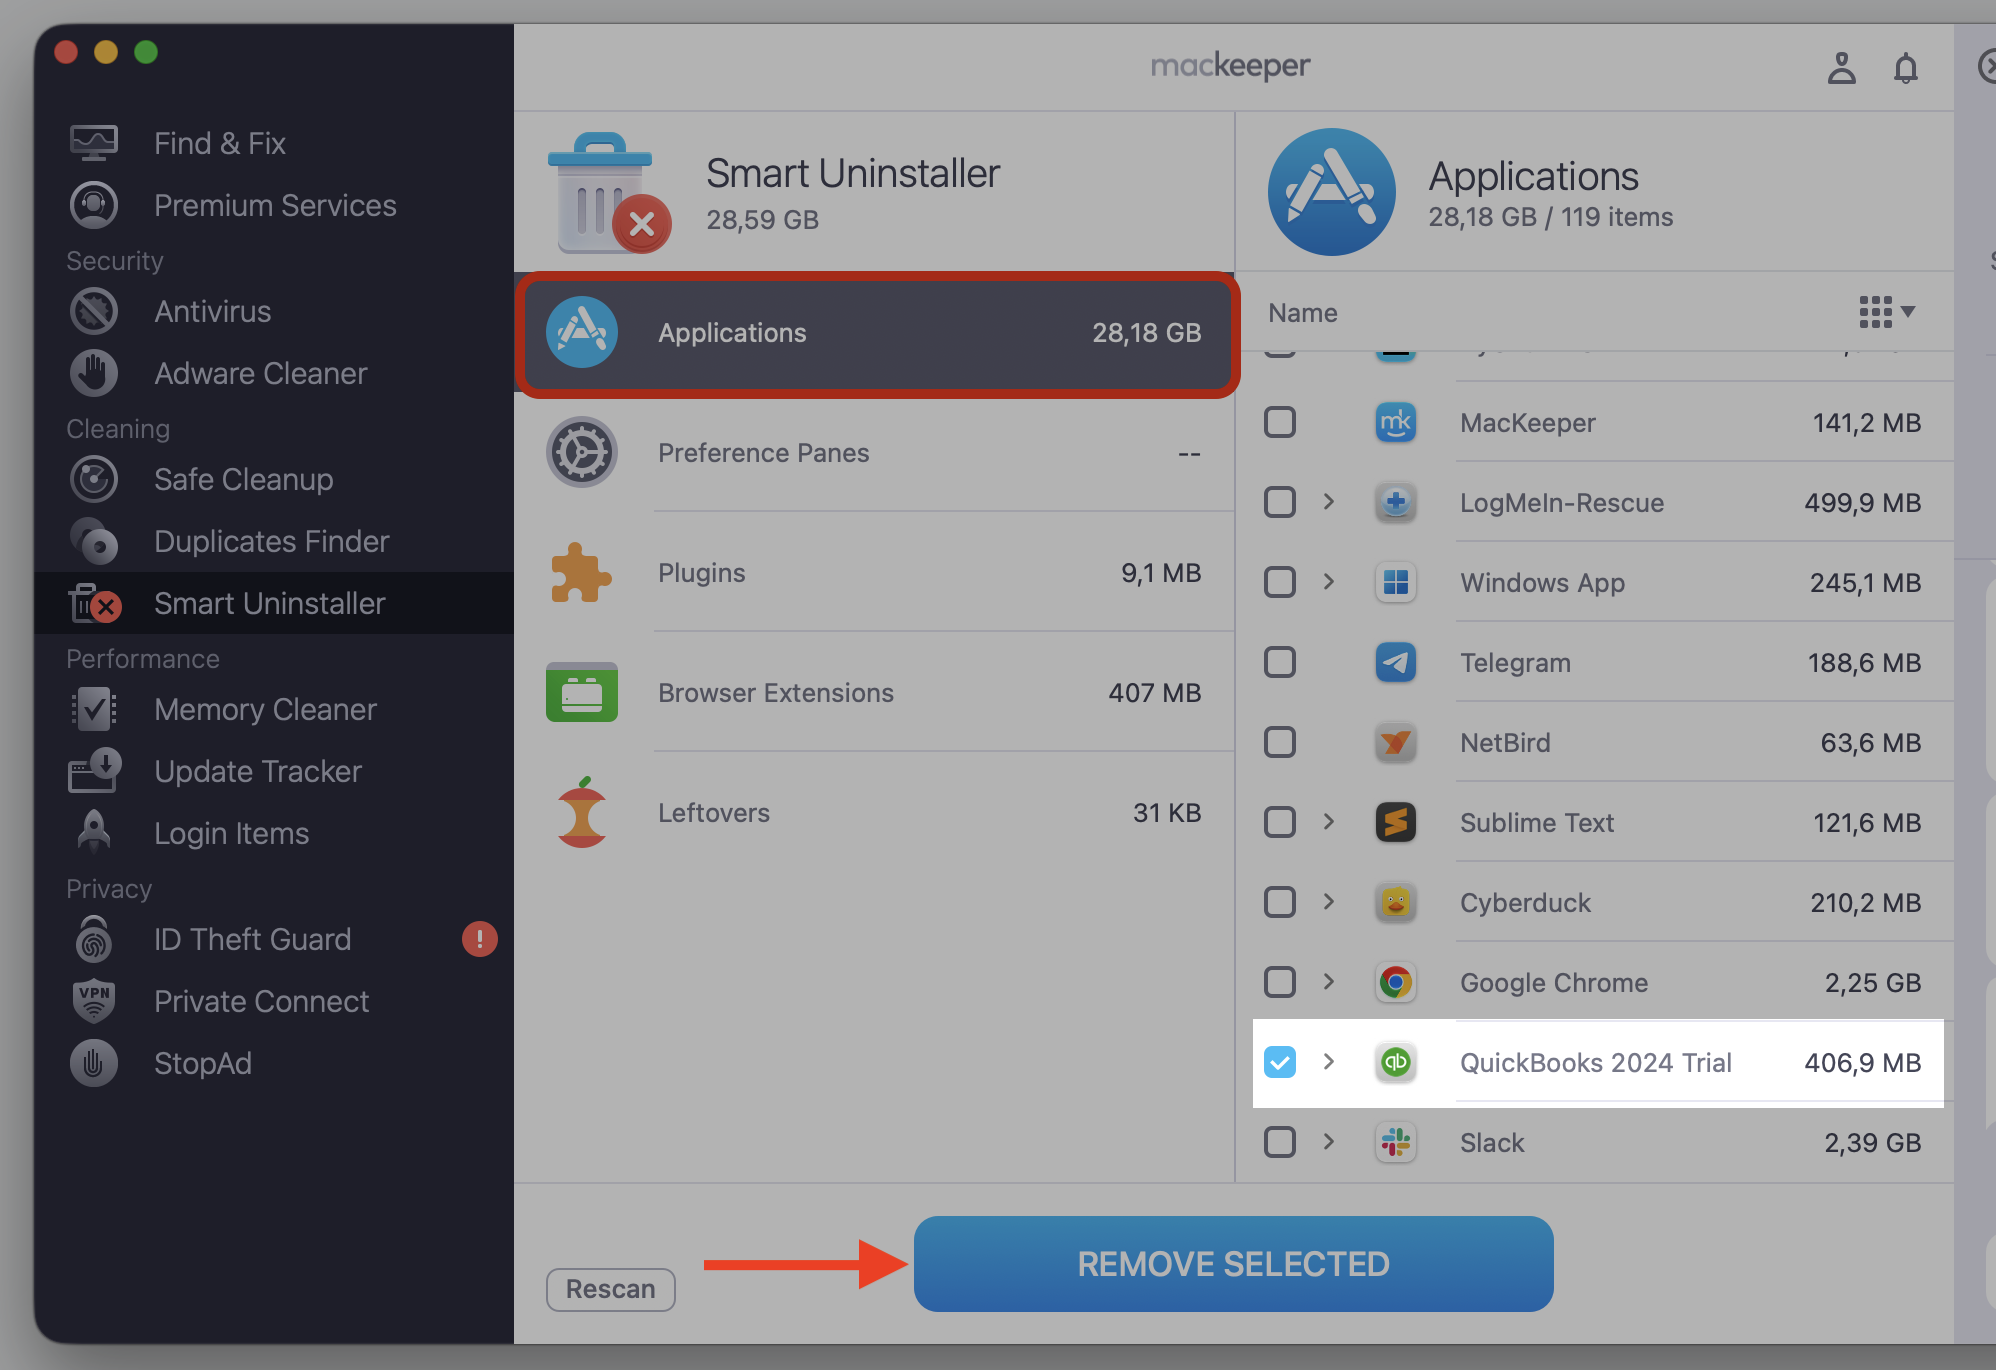
Select Applications in the results, then find QuickBooks in the list.
Select the checkbox next to QuickBooks to include it and all of its associated files.
Click Remove Selected, then confirm to delete QuickBooks from Mac for good.
Step 1. Go to MacKeeper > Smart Uninstaller > Start ScanStep 2. Wait until the scan is finishedStep 3. Go to Applications, select the QuickBooks and press Remove SelectedStep 4. Check the result
Conclusion
Uninstalling QuickBooks on Mac takes more than a quick drag to the Trash. To free up storage and keep your Mac running clean, you’ll want to clear the app’s PLIST files, caches, and support folders too. Whether you remove QuickBooks from MacBook by hand or let a tool handle it, wiping those leftovers is what makes the removal clean.
If the manual route feels tedious, MacKeeper’s Smart Uninstaller can delete QuickBooks from Mac and every file tied to it in one click—no guesswork, no leftovers. Give it a run whenever you’re ready to clear the clutter for good.
We respect your privacy and
use cookies
for the best site experience.
Privacy Preferences Center
We use cookies along with other tools to give you the best possible experience while using the
MacKeeper website. Cookies are small text files that help the website load faster. The cookies we
use don’t contain any type of personal data meaning they never store information such as your
location, email address, or IP address.
Help us improve how you interact with our website by accepting the use of cookies. You can change
your privacy settings whenever you like.
Manage consent
All cookies
These cookies are strictly necessary for enabling basic website functionality (including page
navigation, form submission, language detection, post commenting), downloading and purchasing
software. The website might malfunction without these cookies.