Here’s how to clear space on Mac for Monterey:
- Use Apple’s built-in tool to get recommendations to optimize your Mac device.
- Clear cache data.
- Empty the trash.
- Remove unused apps.
- Clear files from downloads
- Delete large files that are taking up space.
- Delete hidden duplicate files.
- Delete backups you don’t need.
Your Mac is slowing down, freezing, and performing like it’s on its last leg. This could be happening because macOS Monterey’s disk is full. Your device is weighed down and can’t keep up with day-to-day demands and simple tasks like it used to. Naturally, it needs cleaning up. To that end, several solutions may be required.
These are the reasons why you need to optimize storage on macOS Monterey:
- Your MacBook’s fan is louder than usual.
- The hardware overheats.
- Browser pages and tabs take forever to load.
Freeing up space on OS X Monterey will speed up its performance and allow you to update and install your applications.
Continue reading to learn in more detail how to free up space on Mac.
Before we start
You could be doing something important on your Mac. The next thing you know, it has stopped cooperating with you. This can continue until you do something about it.
One of the easiest and cheapest solutions for a slow Mac is freeing up space. MacKeeper’s Safe Cleanup tool can help you achieve this by cleaning up your device’s storage. Designed for Apple devices, it’s one of the best cleaning solutions, as it’s thorough and gets the job done fast, saving you valuable time.
Here’s how to use MacKeeper’s Safe Cleanup tool:
- Download MacKeeper on your MacBook Pro or MacBook Air and select Safe Cleanup in the sidebar.
- Click the Start Scan button. The scan should take a few moments, depending on your storage.
- When it’s complete, click the Clean Junk Files button and enjoy a clean Mac.
In this article you will find the following:
What are macOS Monterey features?
Below are the features included in macOS Monterey:
- Mail Privacy Protection
- Hide My Email
- Shortcut updates, like automating everyday tasks
- AirPlay to Mac
- Quick Note and Notes tags and mentions
- Focus
- Safari Tab Grouping
- FaceTime updates, like spatial audio, voice isolation, wide spectrum, portrait mode, grid view, etc.
Pros of macOS Monterey | Cons of macOS Monterey |
| Straightforward user interface | Not compatible with older Mac devices, including MacBook Pro and MacBook Air devices from 2013 and earlier, the 2014 iMac desktop device, and the non-Retina 2015 MacBook |
| Access to free Mac apps | Plagued by issues like a noisy fan, overheating, and performance issues |
| The ability to play media like videos and music in messages | |
| A new Focus feature that helps you get things done undisturbed | |
| Privacy features that hide your IP address while browsing and in the Mail app |
There are plenty of reasons to upgrade to Monterey. However, you should be aware of how it affects MacBook disk space.
So, the key question to ask yourself before the upgrade to Mac Monterey is how much space does macOS take on your machine. Let’s calculate together. First, you need space for the Monterey installer, which weighs in at around 12.16GB. That’s already pretty big, but it ends up taking around 15.24GB once the files are all unpacked and installed.
Also, based on our research, what can significantly change the amount of space required for the upgrade on Mac is your current macOS version installed. For instance, to upgrade from macOS Sierra or later, you’ll need at least 26GB of free storage, giving the installer plenty of room while also leaving enough space for macOS to operate properly. If you’re using anything older than Sierra, you’re going to need around 44GB of free space.
Not sure if you’ve got enough storage left on your Mac to install macOS Monterey? There are several ways to check your Mac’s storage, including System Settings, Disk Utility, and Terminal. Use whichever method works best for you, and then go back to our piece to continue.
How to free up space on MacBook Air/Pro for Monterey
Below are the options to free up space on macOS for Monterey:
1. Use Apple’s built-in tool
Here are the steps to use Apple’s built-in storage optimization tool:
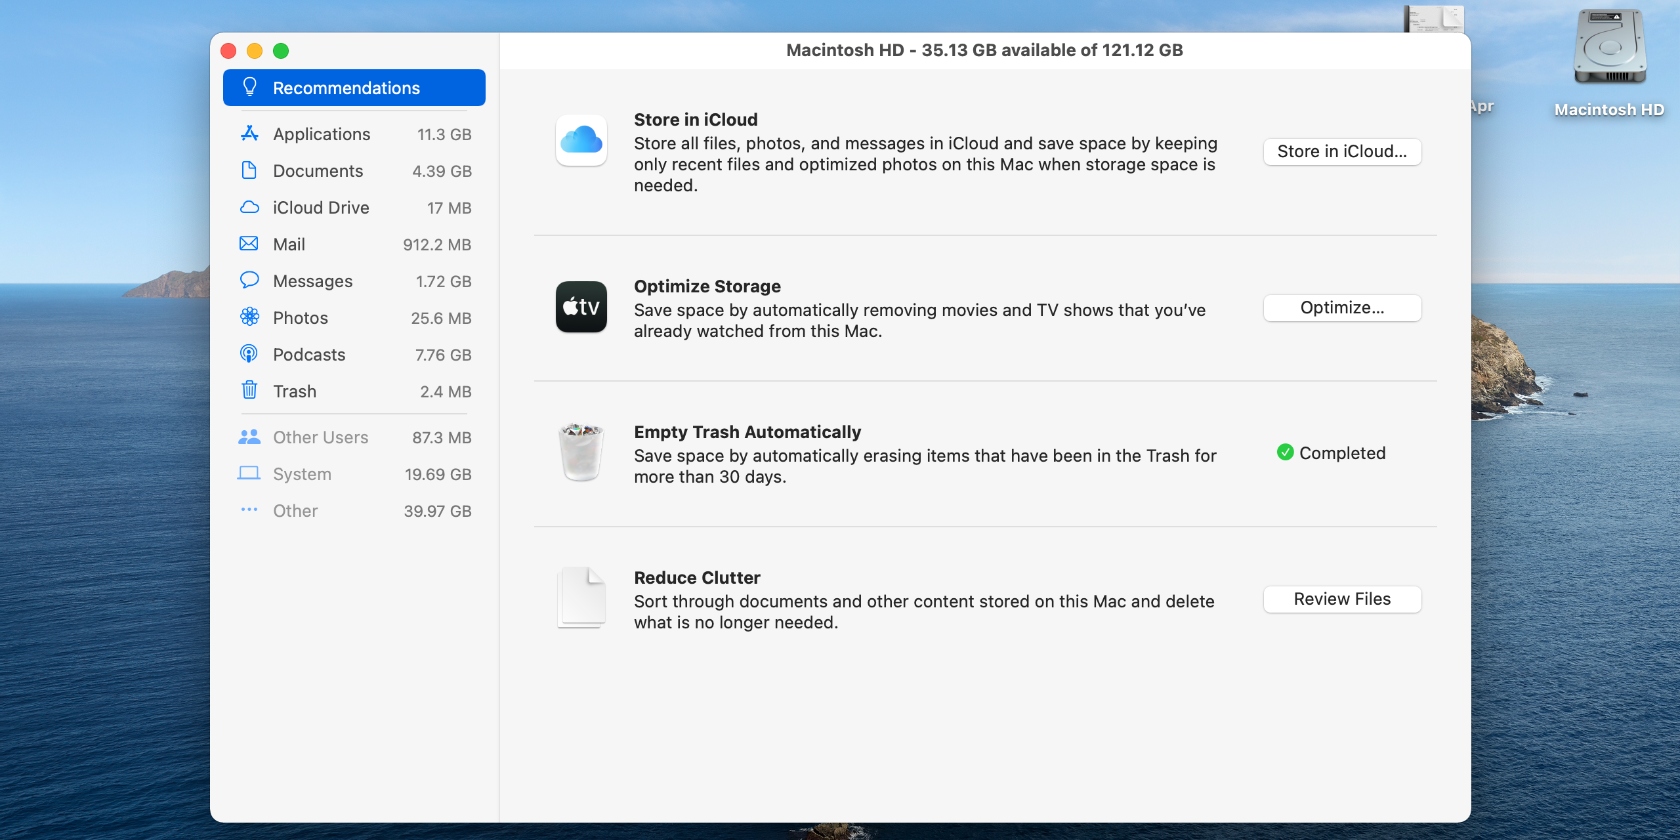
- Go to the Apple menu, click the About This Mac option, select the Storage tab at the top of the window, and click the Manage button.
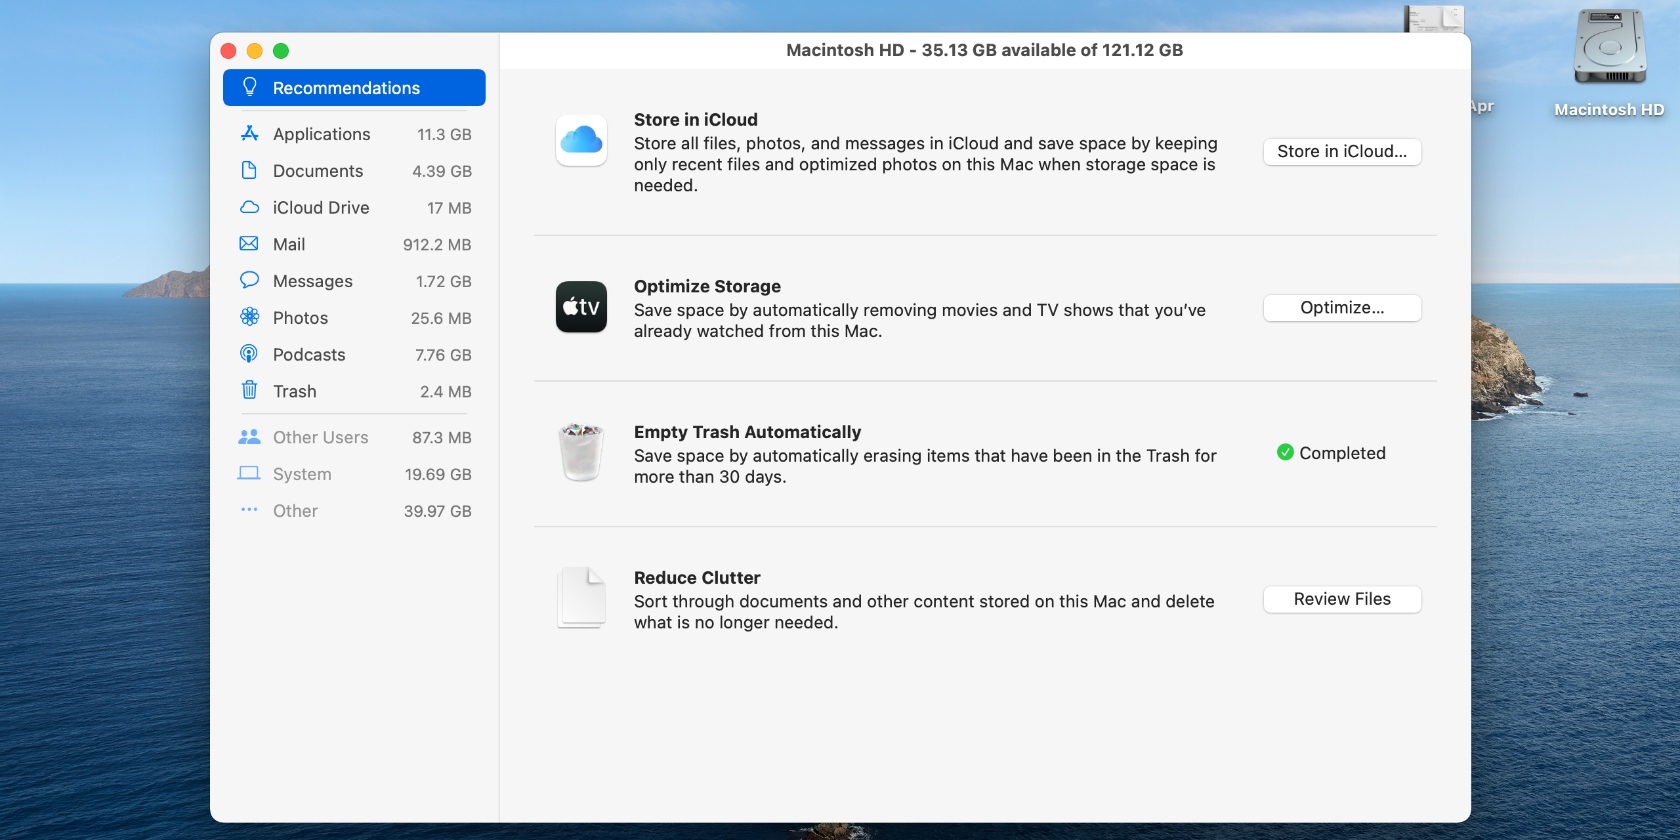
- Here, you’ll find various recommendations from Apple to help you reclaim much-needed space on your Mac device. Follow each of the suggestions to optimize your computer.
2. Clear cache
You can clear cache on a Mac by following these steps:
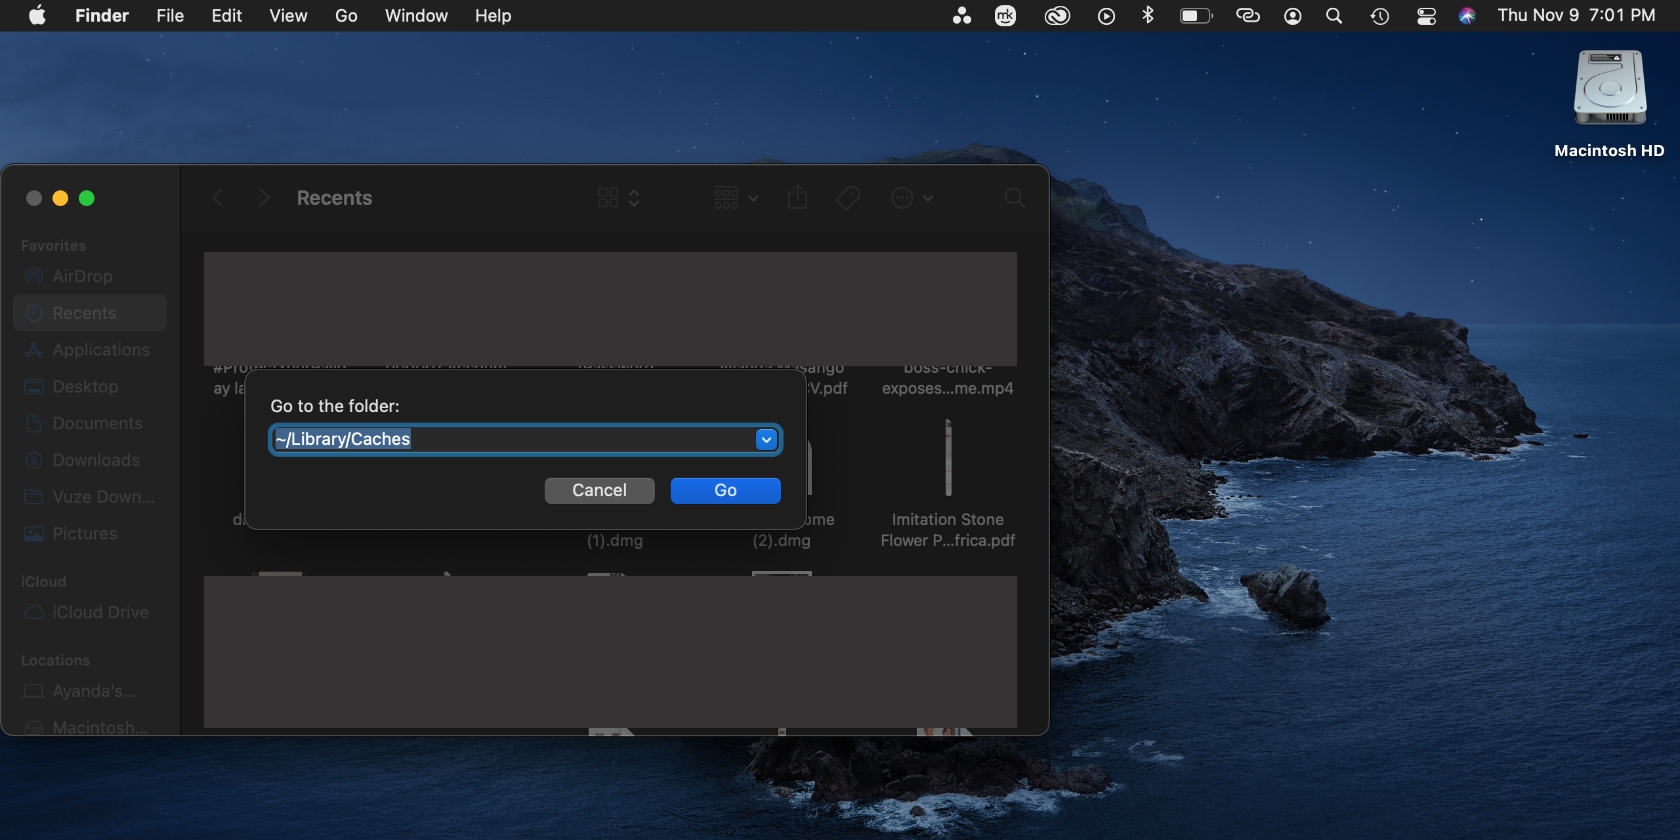
- Open Finder and press the Shift + Command + G keys.
- Enter the text ~/Library/Caches and hit Go.
- Open the folder of the relevant browser and drag the files to the Trash.
3. Empty trash
Here’s how to empty the trash on macOS:
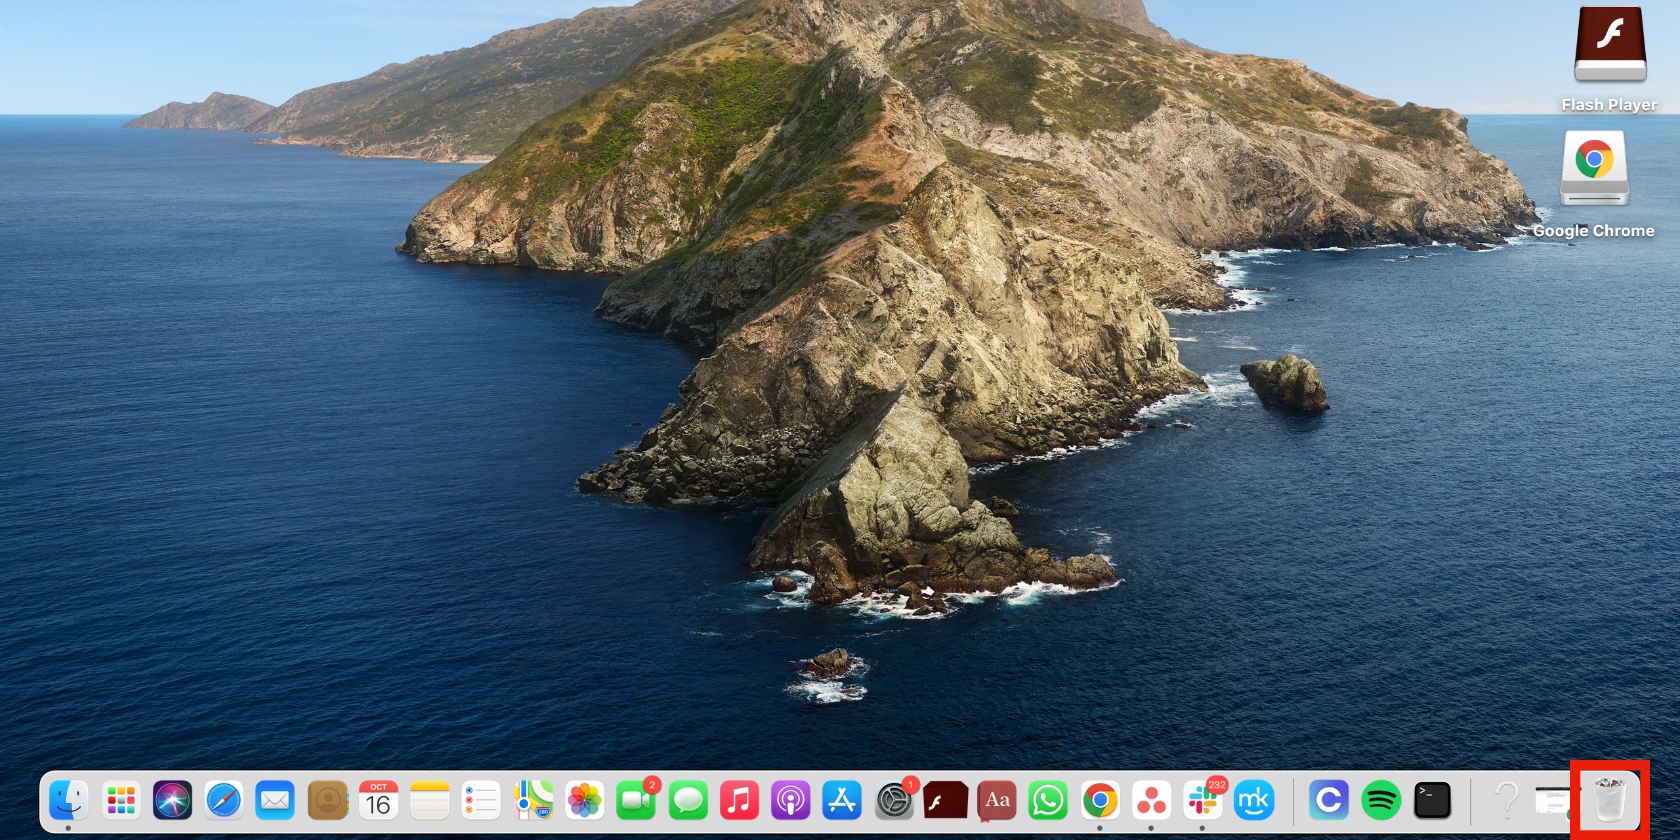
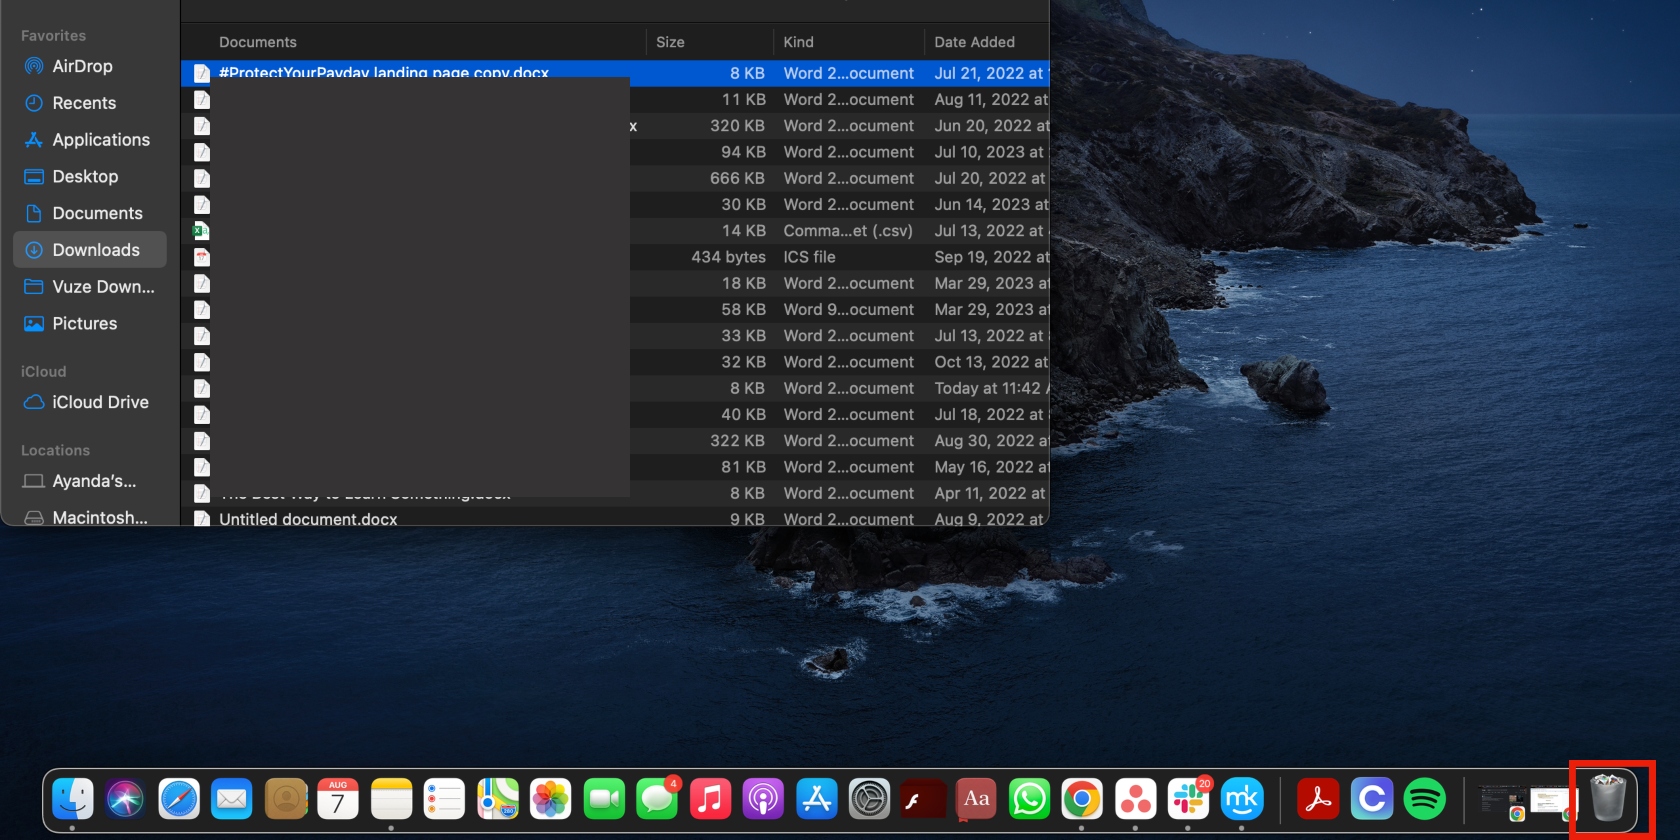
- Long-press the Trash icon in the Dock and choose the Empty Trash option that appears.
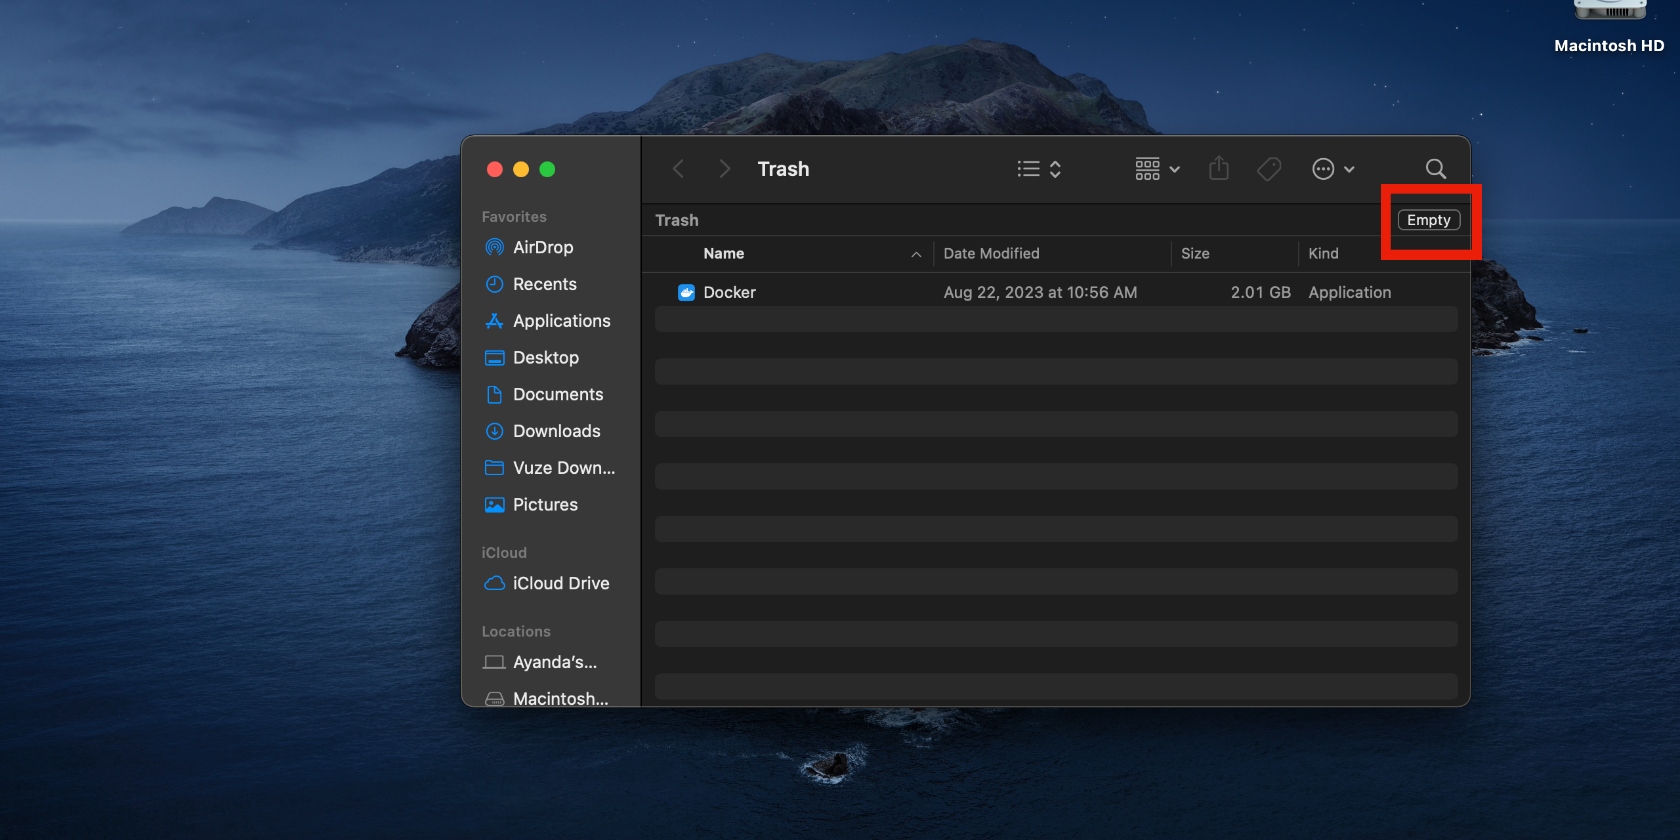
- Alternatively, open the Trash and click the Empty button in the upper-right corner of the window.
4. Remove unwanted apps
Delete unwanted apps from your MacBook device in this way:
- Click the Launchpad icon.
- Hold down the Option key or click and hold any app until all the apps jiggle, then press X on the ones you want to delete.
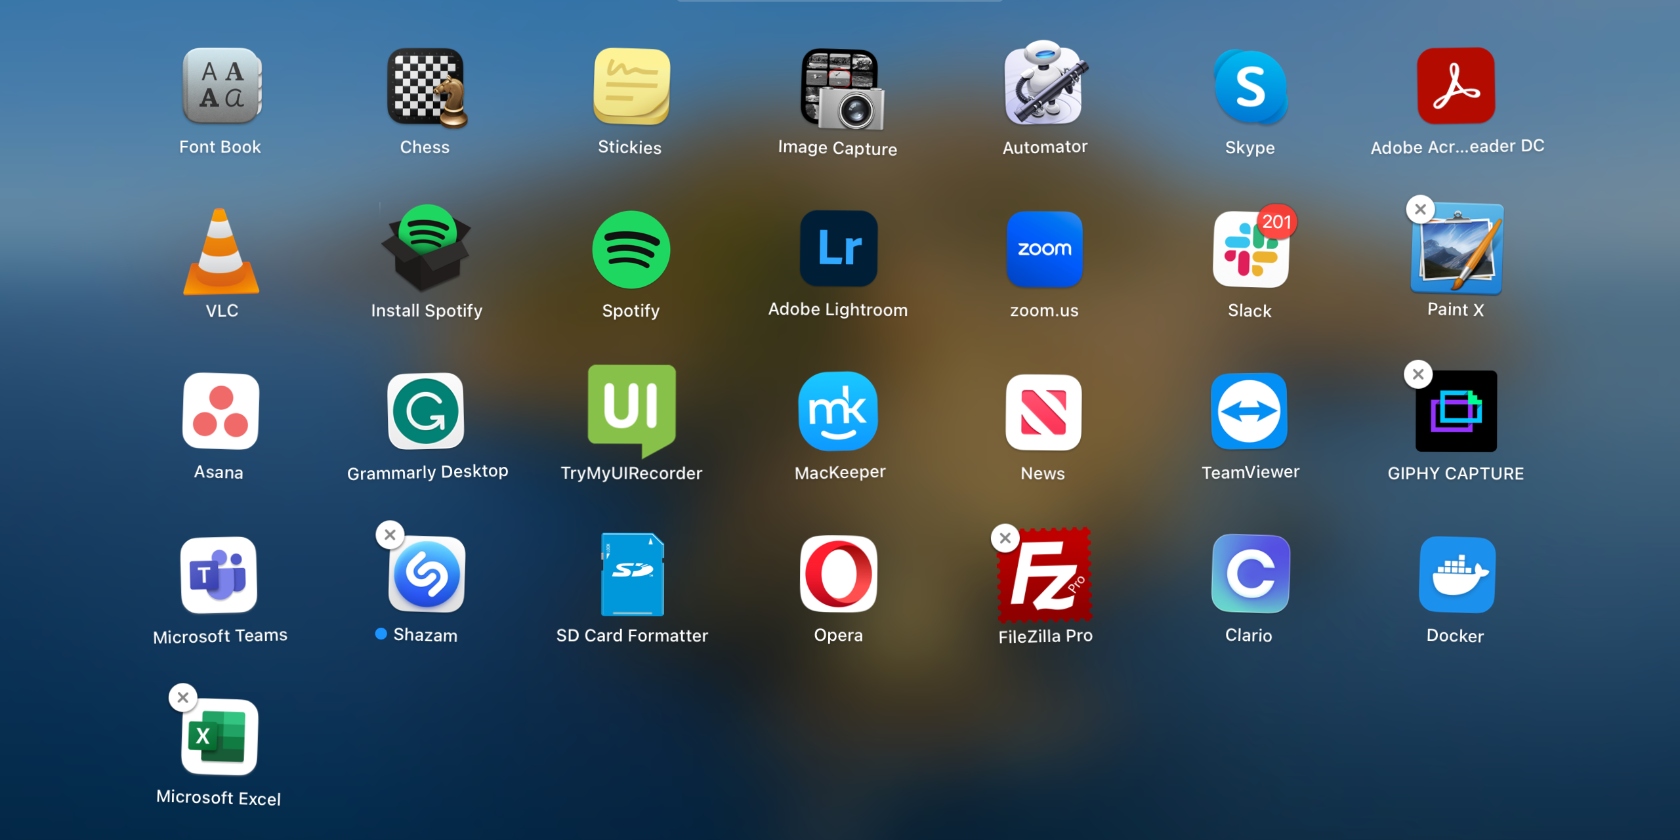
You can also uninstall Mac apps more thoroughly to properly get rid of them and their leftover files.
5. Clear files from downloads
Here’s how to delete downloads from your Mac device:
- Open Finder in the Dock and select the Downloads tab in the sidebar.
- Check the list of downloaded files and drag all redundant files to the Trash in the Dock.
- Once that’s done, empty the Trash to permanently delete the items.
6. Remove large and old files
Follow these steps to find and delete large files and folders on a Mac:
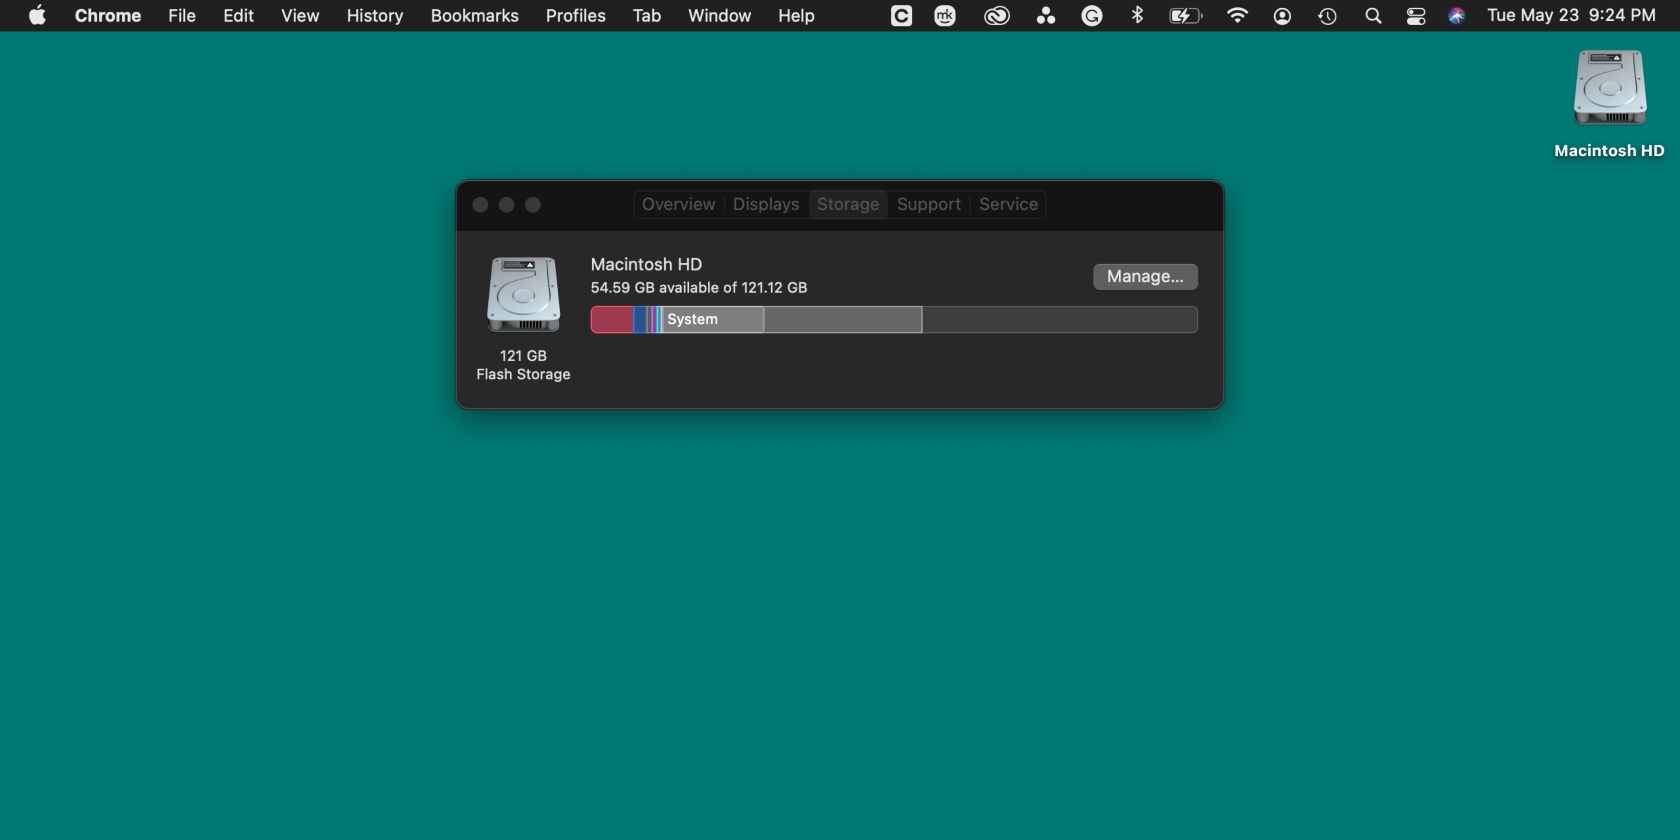
- Click on the Apple menu, select the About This Mac option, then click on the Storage tab and hit the Manage button.
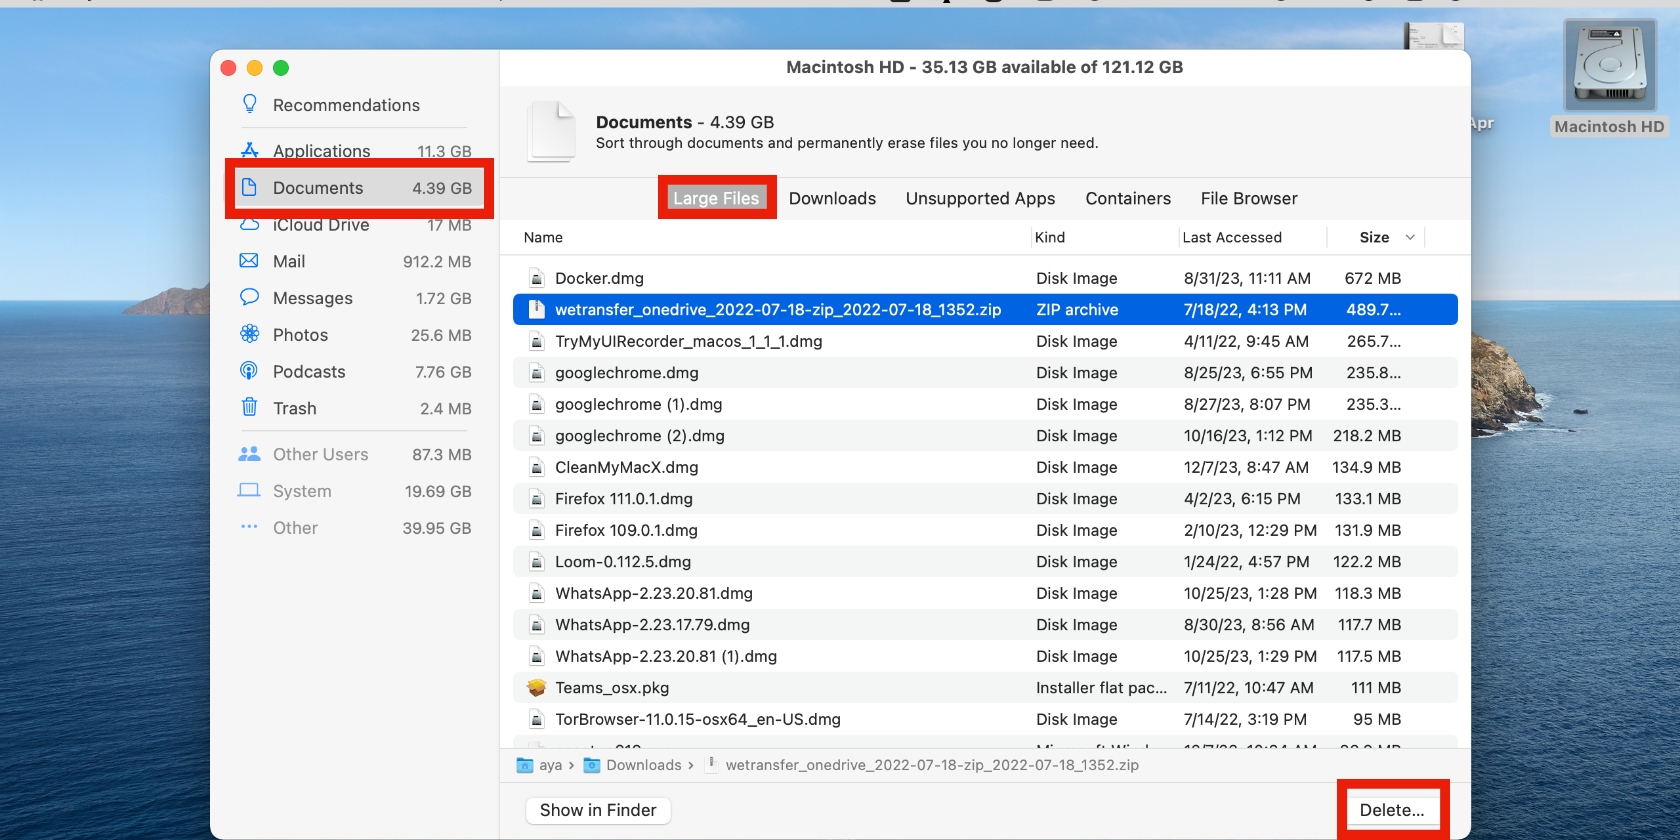
- Click the Documents category in the sidebar, hit the Large Files tab, select the files you want to remove, and click the Delete button.
7. Delete duplicate files
Here’s how to remove duplicate files from your Mac:
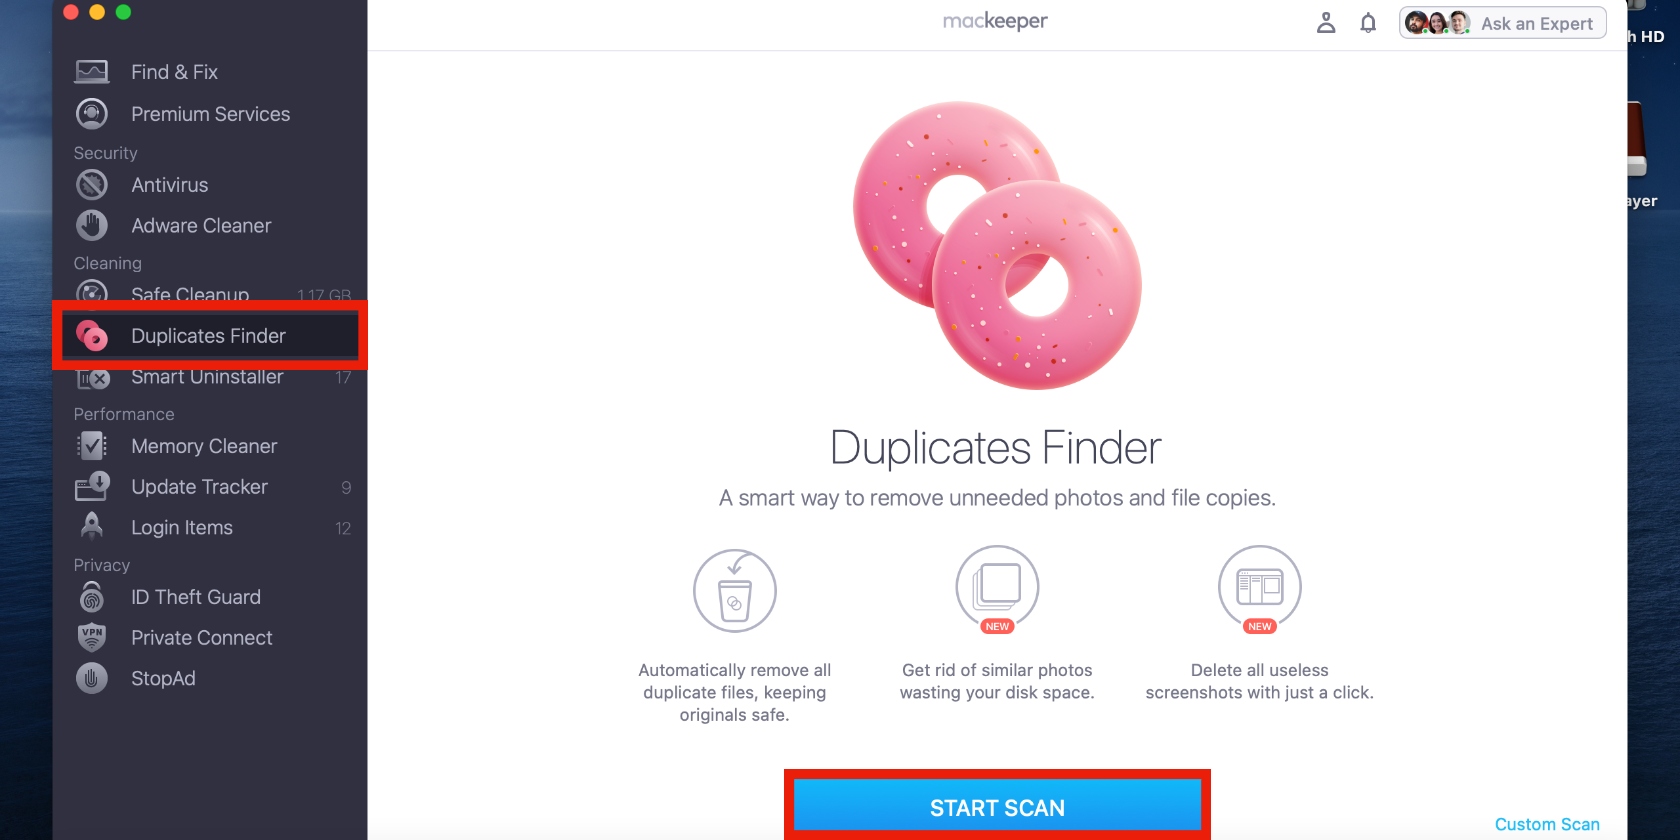
- Open the MacKeeper app on your MacBook device, select Duplicates Finder in the sidebar, and click the blue Start Scan button at the bottom of the window.
- MacKeeper will show you the duplicates it found. Review them and click Remove Selected.
8. Delete backups stored on Mac
Now, learn how to delete backups on your Mac:
- Go to Finder > Applications > Utilities > Terminal, enter the command tmutil listlocalsnapshotdates, and hit Enter.
- Enter the command tmutil deletelocalsnapshots [backup name] and press Enter.
![Deleting backups is one more way to free up storage on macOS Monterey. To do this, go to Finder > Applications > Utilities > Terminal. Enter the command tmutil listlocalsnapshotdates and hit Enter. Now enter the command tmutil deletelocalsnapshots [backup name] and hit Enter. Deleting backups is one more way to free up storage on macOS Monterey. To do this, go to Finder > Applications > Utilities > Terminal. Enter the command tmutil listlocalsnapshotdates and hit Enter. Now enter the command tmutil deletelocalsnapshots [backup name] and hit Enter.](https://static-cdn.mackeeper.com/mk-blog-upload/images/new_51f0a34a70.jpg)
How to manage space on macOS Monterey
How to manage space natively on macOS Monterey to clear up system storage:
- Open the Apple menu, click the About This Mac option, select the Storage tab at the top of the window, and click the Manage button. This will take you to your Mac device’s storage settings.
- Follow the prompts in the Recommendations tab.
Create more breathing room on Mac Monterey
Managing your Mac’s storage is vital to make room for the macOS Monterey download and installation, but that’s not the only reason it’s important. You also need to free up space, so Monterey can run smoothly. If your Mac is clogged up with junk files, it can start to run slowly and may even freeze up.
As you’ve read above, we’ve collected several best ways to free up space for Monterey, but we’ll kindly remind you of them here:
- Use Apple’s built-in tool to remove unneeded data.
- Clear cache, using Finder to delete cache folders.
- Empty trash, particularly if it’s filled with files.
- Remove unwanted apps you’ve downloaded from the web or the App Store.
- Clear old and unwanted files from your Downloads folder.
- Remove large and old files that you no longer need, including app installers, movies and TV episodes.
- Delete duplicate files using MacKeeper’s Duplicates Finder.
- Delete unneeded backups stored on your Mac.
While you can complete many of these tasks manually, you can save a lot of time and effort by using MacKeeper’s Safe Cleanup tool.
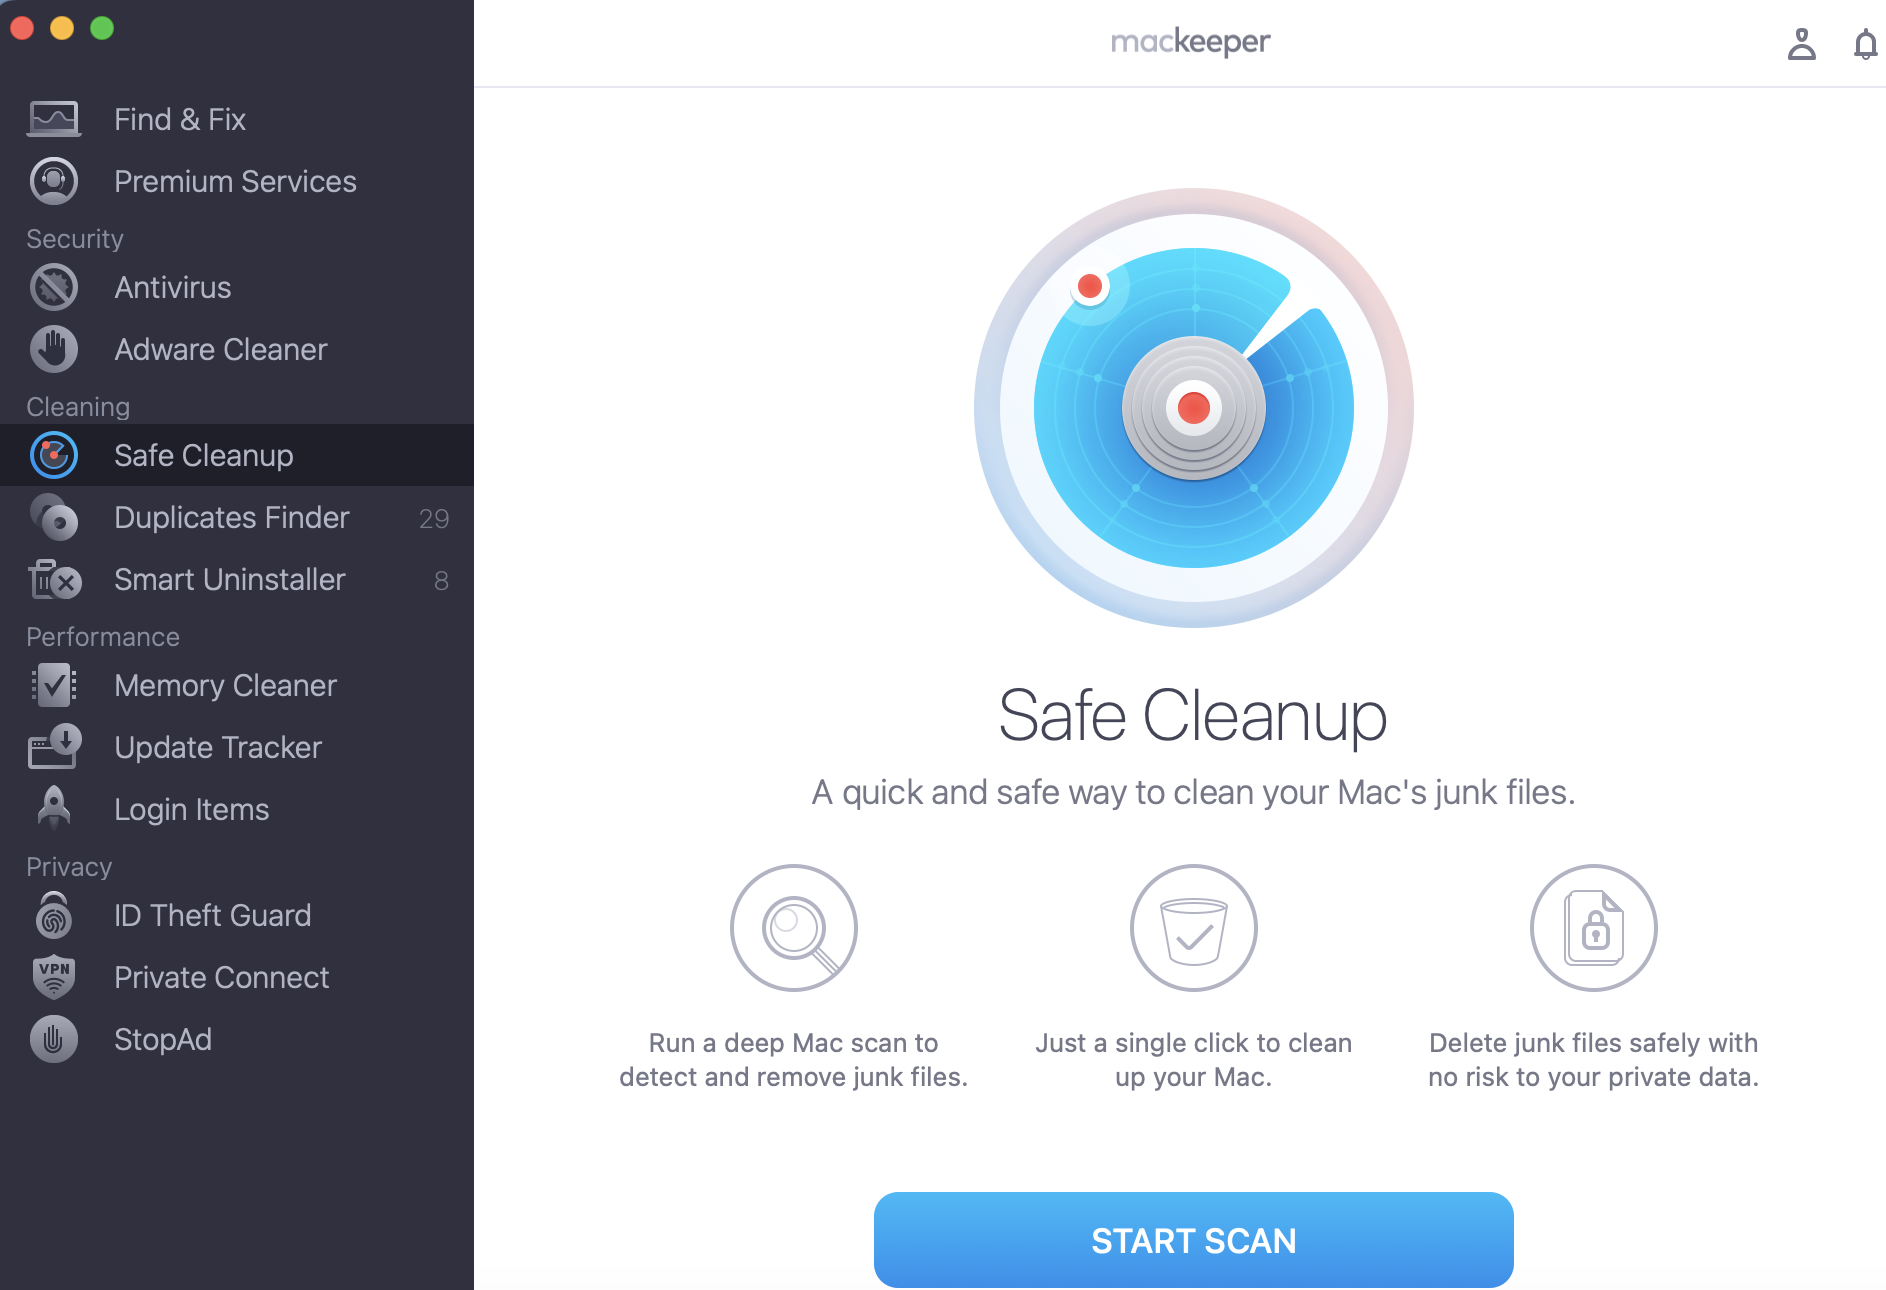
It does all the heavy lifting for you and gets things done in a fraction of the time, allowing you to focus on what’s important and reduce macOS Monterey problems. In just a few clicks, you can clear up much-needed disk capacity to install and run Monterey.


