Most Apple users have mastered the screenshot shortcut, but screen recording on macOS can be far more confusing. The situation becomes even messier as recordings accumulate, cluttering your storage. Fortunately, MacKeeper’s Duplicates Finder can quickly resolve this issue and help keep your Mac running smoothly. Click the button to download it today!
Screen recording on a Mac is absolutely possible, but there are a few important limitations to keep in mind. macOS offers a built-in tool for recording your screen—whether the entire display or just a selected area—but by default, it only captures video, not audio. It also lacks built-in editing features, so you can’t make changes to your recording afterward using the same tool.
To fully utilize your Mac’s screen recording capabilities, you’ll need extra software. Apple’s iMovie can help you edit your recordings, while third-party programs can enable you to capture both video and audio simultaneously. Fortunately, there are free options available.
If you’re looking for instructions on how to take a screenshot instead, explore our separate step-by-step guide.
How to screen record on Mac?
The simplest way to record your Mac’s screen is by using a keyboard shortcut, much like you would for taking a screenshot. While this method is quick and convenient, it’s fairly basic. For more advanced features, Apple’s QuickTime Player offers greater flexibility, and there are plenty of third-party apps tailored for comprehensive screen recording.
A note from our experts:
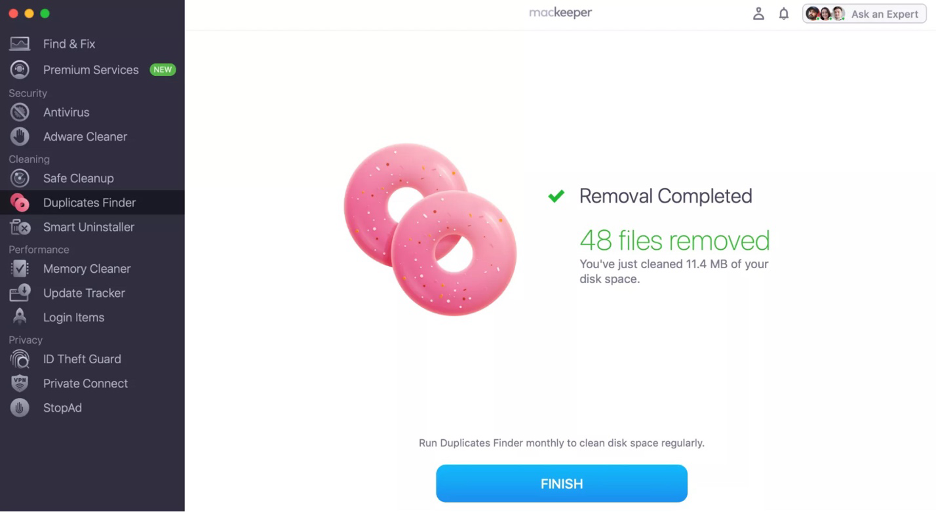
Screenshots and screen recordings can be very useful, but they can quickly accumulate and clutter your storage. To effortlessly clear out files you no longer need, MacKeeper’s Duplicates Finder is an excellent solution. Notarized by Apple, this MacKeeper tool not only optimizes your Mac’s performance but also helps keep it clean and organized.
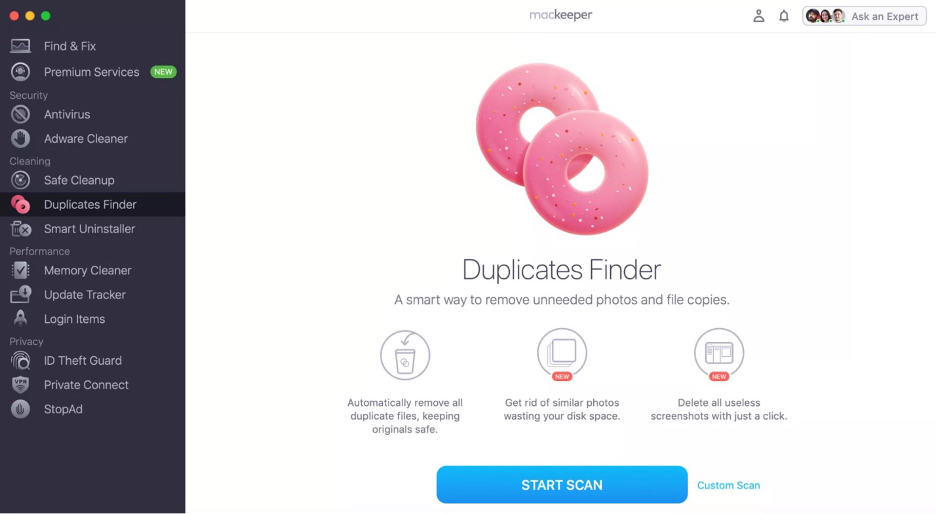
Here’s how to use MacKeeper’s Duplicates Finder on your Mac:
Select Duplicates Finder from the left-hand sidebar.
Click Start Scan.
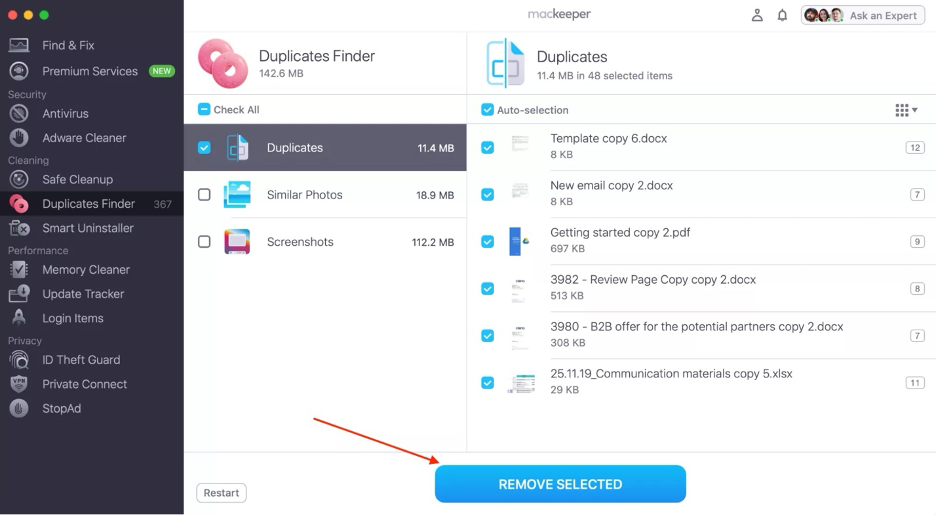
Choose one of the following folders: Duplicates, Similar Photos, or Screenshots.
Select all items you wish to delete.
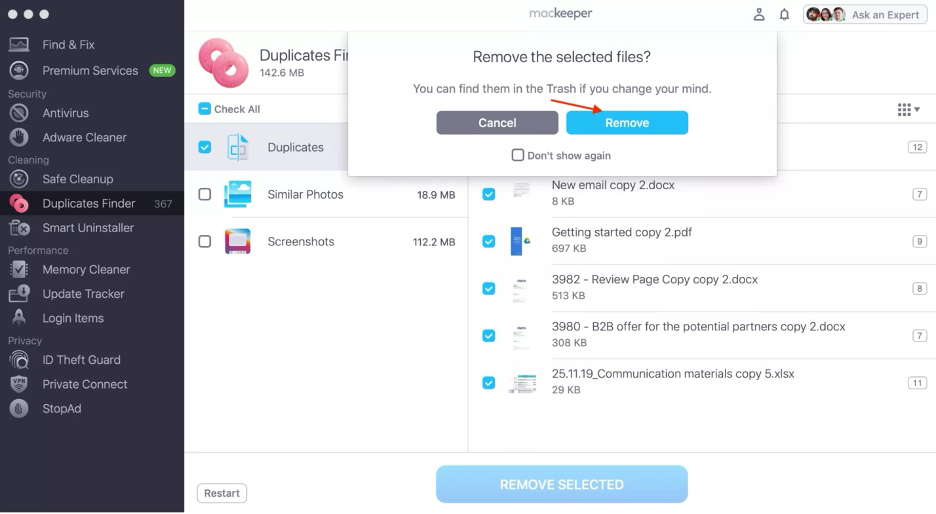
Click Remove Selected, then click Remove again.
Step 1. MacKeeper > Duplicate Finder > Start ScanStep 2. Choose files to delete > Click Remove SelectedStep 3. Click RemoveStep 4. Click Finish or repeat the process to clean other folders
1. Keyboard shortcut
Keyboard shortcuts are often the quickest way to get things done on a Mac—and screen recording is no exception. With just a simple key combination, you can instantly access the built-in macOS screen recording tool and take full advantage of its features.
However, there are some limitations we believe you should know before you begin. While you can record your voice through the microphone, the tool won’t capture audio from videos or music playing on your Mac. Additionally, the built-in tool doesn’t offer editing options.
Below, we explain how to record your Mac screen using a keyboard shortcut:
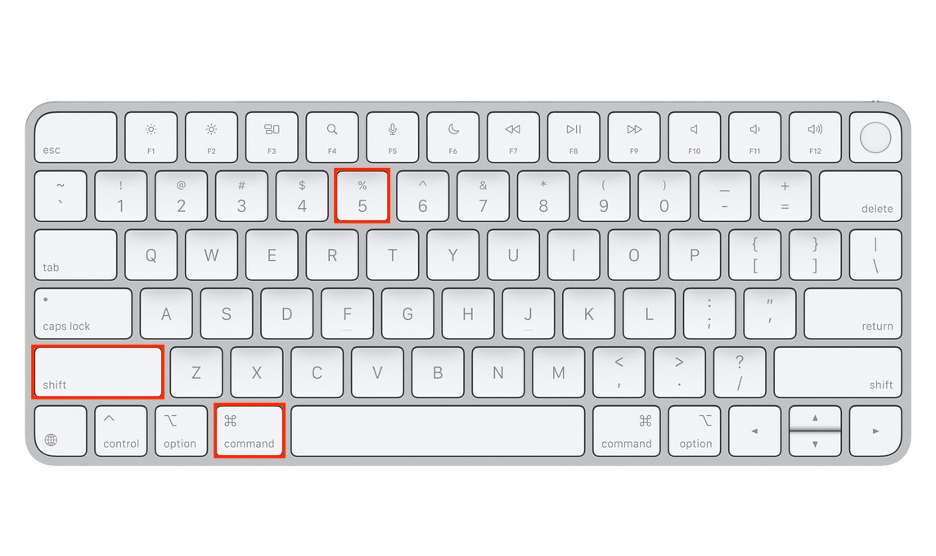
On your keyboard, press Command + Shift + 5 simultaneously.
Select whether you want to capture the entire screen or just a portion.
Go to Options to customize your recording, choose where you want to save it, or set a timer.
You can also choose a microphone to speak over the recording.
Click Record in the toolbar to start the recording.
Step 1. Press Command + Shift + 5Step 2. Customize your recording optionsStep 3. Click Record
2. Record screen via QuickTime Player
While we recommend using the keyboard shortcut as the fastest and simplest method, you can also access the macOS screen capture toolbar via Apple’s QuickTime Player to take a video. This approach also lets you customize your recording settings in Options, though audio capture remains unavailable by default.
QuickTime Player is more than just a media player. It also offers basic video editing capabilities. This means you can easily trim your screen recordings within the app, regardless of whether you created them with QuickTime Player or the keyboard shortcut.
Here’s how to record your screen using QuickTime Player:
Launch QuickTime Player.
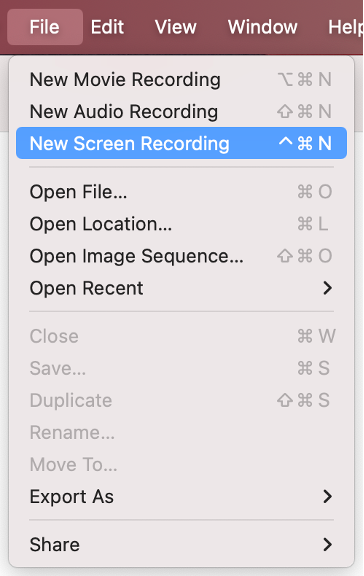
Go to File in the menu bar.
Select New Screen Recording from the dropdown menu.
Select what portion of the screen you want to record.
To customize your screen recording, click Options, which include a timer, a microphone, or where to save it.
Finally, click Record to start the recording.
Step 1. QuickTime Player > File > New Screen RecordingStep 2. Customize your recording optionsStep 3. Click Record
3. Use third-party app to screen recording on Mac
A wide variety of third-party apps are available for recording your Mac’s screen, including OBS Studio, Loom, Snagit, Camtasia, Movavi Screen Recorder, and Apowersoft Screen Recorder. Each app has its pros and cons, so we suggest researching your options to find the best fit for your needs, especially if you’re considering a paid solution.
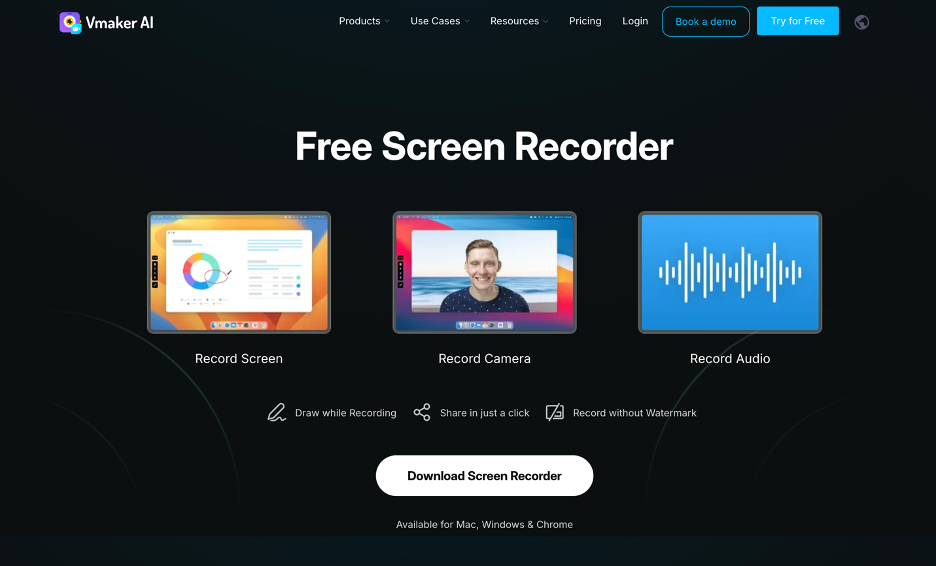
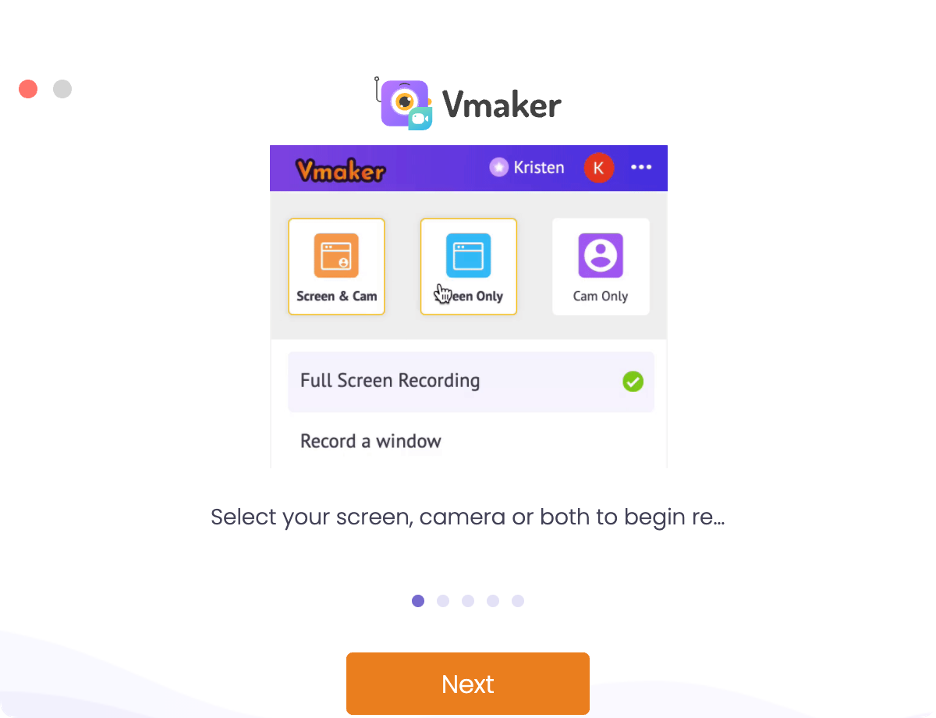
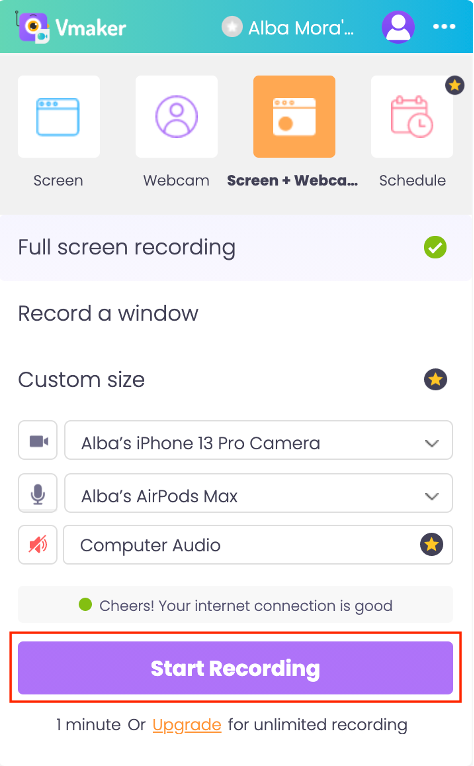
As an example, we’ll demonstrate how to screen record on your Mac using Vmaker, which is a user-friendly tool that allows internal audio recording and provides built-in editing capabilities.
Allow Vmaker to record your screen and access your microphone.
Customize your screen recording.
Click Start Recording.
Click the Stop icon on your left to end the recording.
Step 1. Go to Vmaker’s website and download Screen RecorderStep 2. Launch Vmaker and allow permissionsStep 3. Customize your recording > Click Start RecordingStep 4. Click the Stop icon to end the recording
How to stop screen recording on Mac?
Taking a screenshot on your Mac is straightforward. Just press Command + Shift + 3, and you’re done. Screen recording, on the other hand, requires you to manually start and stop the process, which can be more complicated than it seems at first glance.
Even seasoned users on our team sometimes accidentally leave a screen recording running. If this happens, we suggest looking for a blue dot over the Control Center icon in your Mac’s menu bar. That’s your visual cue that screen recording is still active (or that your screen is being observed).
To help you avoid confusion, here’s how to quickly stop a screen recording on your Mac:
Go to your Mac’s menu bar.
Look for a Stop icon.
Click on it to stop your screen recording.
Click the Stop icon to end your screen recording
All you need to know to screen record on Mac
Mastering screen recording on your Mac comes in handy for tasks such as preparing project presentations or crafting YouTube tutorials. The built-in macOS tool, accessible with the Command + Shift + 5 shortcut, makes it easy to get started. If you require advanced capabilities, consider using Apple’s QuickTime Player or a feature-rich third-party app.
To keep screenshots and screen recordings from cluttering your Mac and consuming valuable storage space, rely on a tool like MacKeeper’s Duplicates Finder. The best part is that Clario Tech’s MacKeeper offers additional benefits such as blocking malware threats and safeguarding your privacy with a built-in VPN.
We respect your privacy and
use cookies
for the best site experience.
Privacy Preferences Center
We use cookies along with other tools to give you the best possible experience while using the
MacKeeper website. Cookies are small text files that help the website load faster. The cookies we
use don’t contain any type of personal data meaning they never store information such as your
location, email address, or IP address.
Help us improve how you interact with our website by accepting the use of cookies. You can change
your privacy settings whenever you like.
Manage consent
All cookies
These cookies are strictly necessary for enabling basic website functionality (including page
navigation, form submission, language detection, post commenting), downloading and purchasing
software. The website might malfunction without these cookies.