The most common reason for issues with the macOS Sonoma update is a lack of disk storage space on your Mac. This can be frustrating, as we often keep important files we don’t want to delete on our MacBooks. Fortunately, there’s a quick and easy solution to increase MacBook storage without compromise—MacKeeper’s Safe Cleanup allows you to get rid of useless junk files that clog up your Mac without sacrificing any important files.
Apple’s latest macOS Sonoma has many great new features, including desktop widgets, video conferencing in FaceTime, and the ability to run any web page as an app using Safari. However, when trying to install the latest version of macOS, lots of people often end up with unexpected issues. If you’re one of those facing difficulties, keep reading, and we’ll explain how and why these errors can occur and how to fix them.
A note from our experts:
If you face a lack of storage while updating your Mac to Sonoma, start by clearing digital junk from your Mac. Try out MacKepper’s Safe Cleanup tool to automatically remove cache, log files, and others from your Mac.
Select Safe Cleanup from the side menu, and click Start Scan.
After scanning, MacKeeper will display how much storage can be saved by removing logs, caches, trash, language files, and mail attachments.
Select the files you’d like to delete, then click Clear Junk Files. They’ll then be removed from your Mac in seconds.
Step 1. Download MacKeeper > Safe Cleanup > Start ScanStep 2. Select Check All for a complete clean > Clean Junk Files
macOS Sonoma update error notifications and what they mean
There are four main common error notifications you can get with a failed installation of macOS Sonoma:
“An error occurred while installing the selected updates”
“The macOS installation couldn’t be completed”
“Checking for updates”
“There is not enough free space on the selected volume to upgrade the OS”
1. “An error occurred while installing the selected updates”
This error could be caused by an issue with Apple’s servers, affecting your download or the verification of your update to macOS Sonoma. It’s worth waiting an hour or so and trying again to resolve this issue, as by then any issues with Apple’s servers should be fixed. If the issue still persists, try downloading macOS Sonoma from the App Store, rather than from System Preferences.
2. “The macOS installation couldn’t be completed”
Though there are several reasons this error can appear, the first thing to try is restarting your device and retrying installing macOS Sonoma. If neither of these solutions works, it’s possible that you don’t have enough free storage space on your Mac. Failing this, your Mac, if it’s an older model, cannot be compatible with Sonoma. Check out our list of macOS versions for more information.
3. “Checking for updates”
Many Mac users have reported that when trying to install macOS Sonoma, their Mac gets stuck indefinitely on “checking for updates.” There are many reasons for this, but most of the time, it’s due to a bad or unstable internet connection. Try restarting your Mac and your router, or try using a wired Ethernet cable to connect your laptop. Using a wired connection will stabilize your internet connection.
4. “There is not enough free space on the selected volume to upgrade the OS”
Installing macOS Sonoma requires lots of free storage space, so if you’re seeing this error, it likely means you don’t have enough free disk space to install the latest update. Another reason for this error is that you’re in the process of downloading/installing other files (movies, music, or games), so go and free up RAM on Mac after seeing what preventing you from the macOS upgrade.
Reasons why you can't upgrade your Mac to Sonoma
The most common reasons why you may not be able to update to macOS Sonoma include:
Unstable internet connection
Not enough free space
Issue with Apple ID
Mac incompatible with the latest version of macOS
Issues with Apple’s servers
Mac HD’s insufficient storage
Unsupported startup disk format
Mac Sonoma bugs
Corrupted macOS installer
Third-party apps interfering with the installation process
Accidental power loss
SMC/NVRAM errors
Hardware issues
Now, let’s dive into each reason in more detail.
1. Internet connection problems
If your Mac doesn't update to Sonoma, it could be because your internet connection is unstable. If this is the case, your software update menu may be stuck on the “checking for updates” message. To overcome this issue, try using a wired internet connection and try again.
2. There is not enough free space on your boot disk
You require around 25 GB of free space to install macOS Sonoma, so a common reason you may be unable to upgrade is due to your disk being full. To resolve this issue, try to free up space using MacKeeper’s Duplicate Finder, which will scan your Mac to identify and delete any identical files to free up space on your Mac. Here’s how to use Duplicate Finder:
Select the Duplicates Finder option in the side menu, and then select Start Scan.
Tick the file types you’d like to delete, then select Remove Selected.
Step 1. Open MacKeeper > Duplicates Finder > Start ScanStep 2. Wait a few moments for MacKeeper to scan your deviceStep 3. Tick the duplicate files you want to delete > Remove Selected
3. Problems with your Apple ID
If you want to update to macOS Sonoma using System Preferences or the App Store, you’lll require a verified Apple ID. So, to install macOS Sonoma, you must make sure that you have an Apple ID, and that you’re logged in on your Mac.
4. macOS Sonoma isn’t supported on your Mac
One reason you may be unable to upgrade to macOS Sonoma is that your Mac may not be supported, because it’s an older model. Apple is only allowing newer devices to update to the latest software. You can check the list of Macs compatible with macOS Sonoma on Apple’s website. However, if your device is from 2016 or earlier, you won’t be able to install the update.
5. Problems with Apple’s servers
If you’ve got a new Mac with plenty of free storage space and a stable internet connection, and still can’t install macOS Sonoma, it’s possible that the issue has nothing to do with you. As installing macOS Sonoma requires you to download and verify the update with Apple, your update may fail if there are issues with Apple’s servers. Fortunately, you can easily check for any server issues on Apple’s website.
6. Insufficient storage space on Macintosh HD
One of the most common reasons installations of macOS Sonoma can fail is not enough storage space on your main drive. Apple recommends you have at least 25 GB of free space on your disk to install macOS Sonoma. Find out how to check your available disk space on Mac below:
Press command + spacebar and type Disk Utility into Spotlight Search, then hit Enter.
Select the drive labeled Macintosh HD from the side menu.
Disk Utility will then display how much free space you have.
Step 1. Command + Spacebar > type in Disk Utility > hit EnterStep 2. Select your disk drive > free space will be shown
7. Unsupported startup disk format
Another reason for your Mac not updating to macOS Sonoma is that your startup disk could be corrupted or require some first aid. Fortunately, it’s simple to fix startup disk format issues in Disk Utility, so find out how below:
Open Disk Utility by pressing command + spacebar. Then, type in Disk Utility and hit Enter.
Click on the disk called Macintosh HD in the side menu.
Click First Aid at the top of Disk Utility, then click Run. Wait a few minutes and your disk will be repaired.
Step 1. Command + Spacebar > type in Disk Utility > hit EnterStep 2. Select Macintosh HD > First Aid > click Run
8. MacOS Sonoma bugs
It’s possible that your Mac won’t update to macOS Sonoma due to bugs in the software that may be interfering with the update. The best way to get around this is to try to install the software in Safe Mode. The latter starts your Mac without opening any additional apps which could be interfering with the update.
9. Corrupted macOS installer
Your update to the new macOS could also be affected by a corrupted macOS installer. This can be caused by an intermittent download or an unstable internet connection. The best thing to try here is to try installing the update using the App Store, rather than using System Preferences, to see if that alleviates the error. Here’s how to download macOS Sonoma using the App Store:
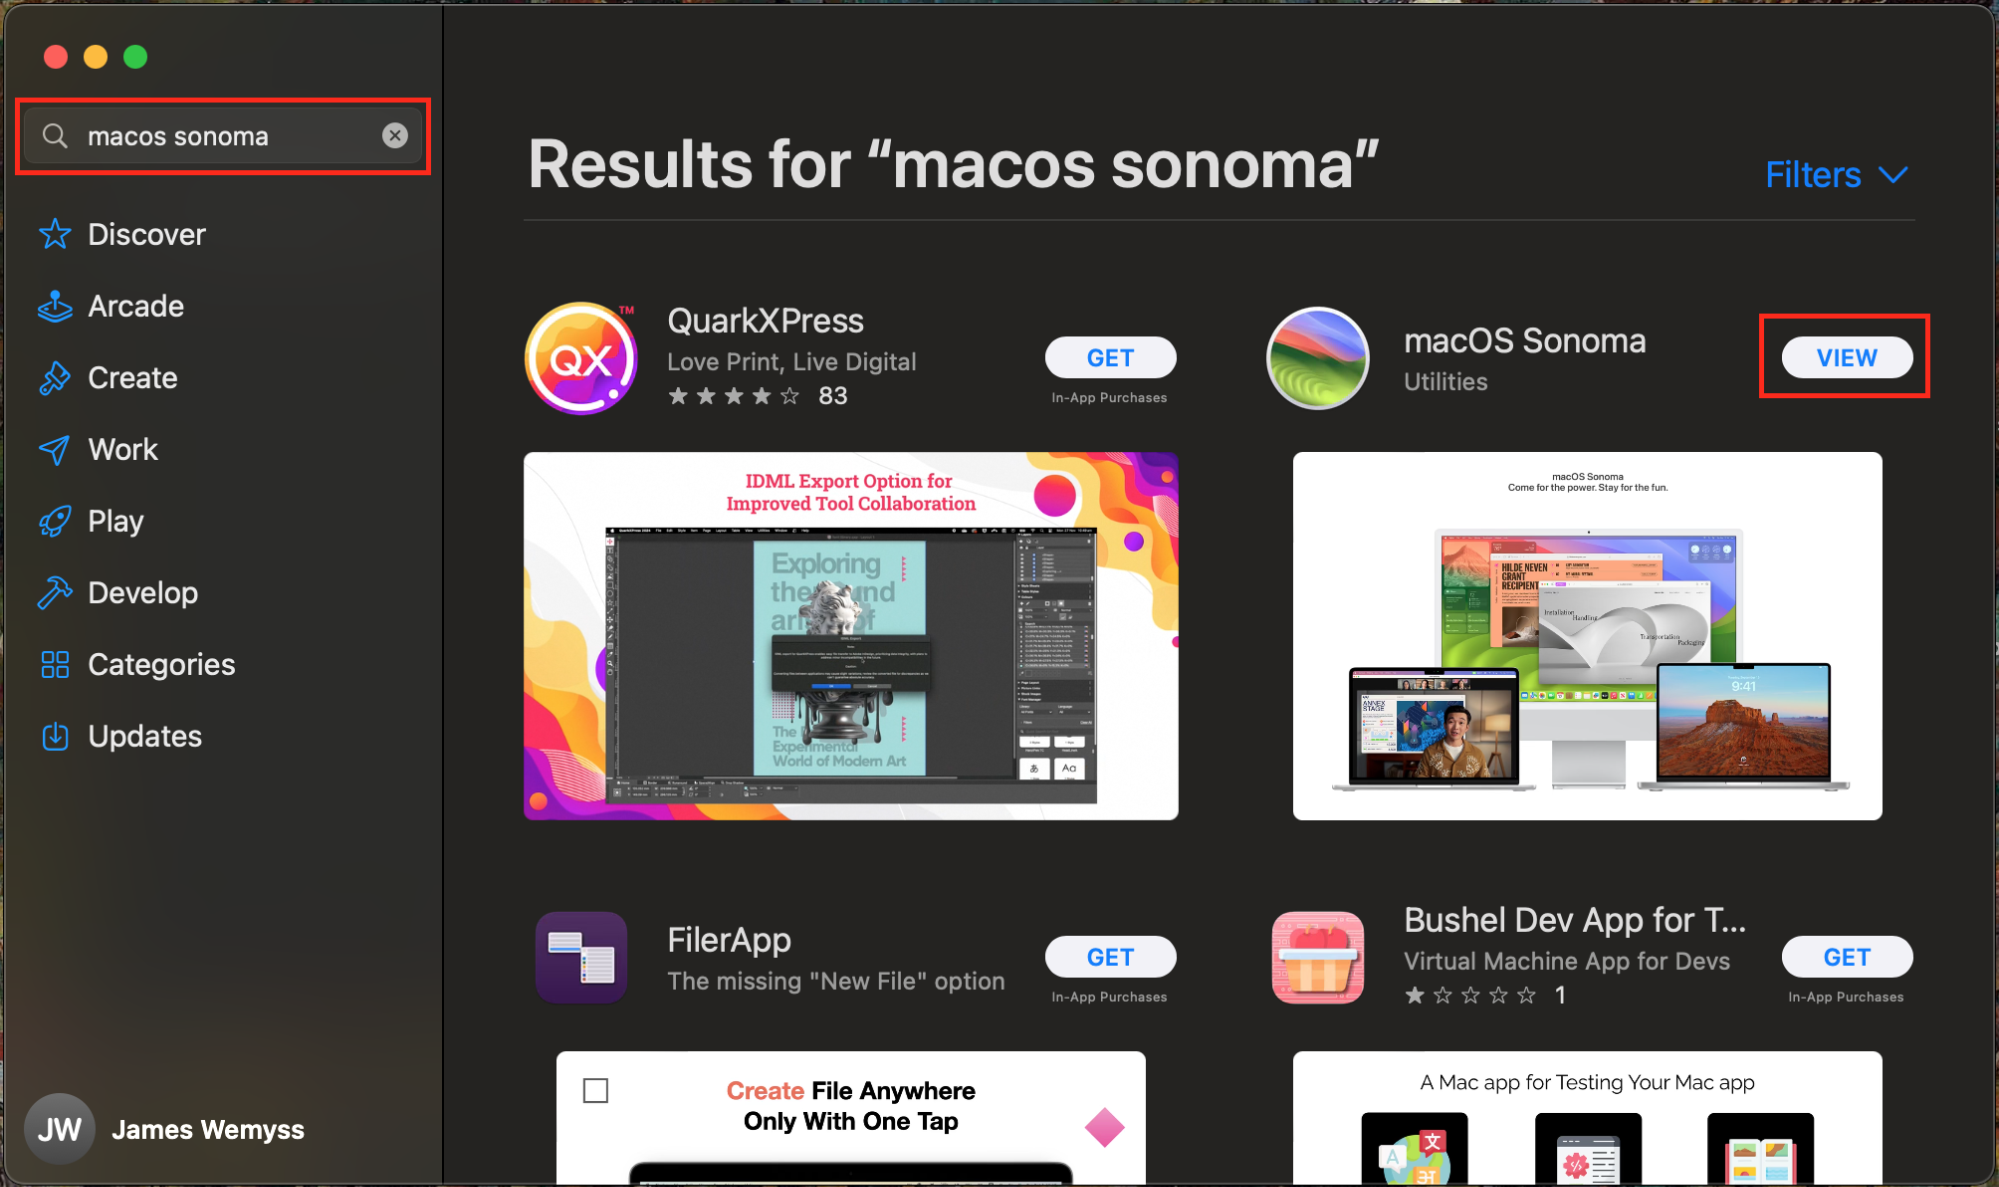
Open the App Store and type ‘macOS Sonoma’ into the search bar.
Click Get, and allow the App Store to download the latest macOS.
Open the macOS Sonoma installer from Launchpad.
Open the App Store > search ‘macOS Sonoma’ > click Get
10. Conflicts or interference from third-party applications
Occasionally, third-party applications can interfere with the installation of macOS Sonoma. This is especially true of apps that open as soon as you power on your Mac. It can be difficult to turn off apps from opening on startup, so we recommend using a tool like MacKeeper, which can automatically detect apps that open on startup and disable them from doing so. Find out how to use it below:
Your installation of macOS Sonoma requires a constant power connection to install. This is to avoid any interruptions to ensure the new operating system is installed cleanly. So if your Mac won't install Sonoma, be sure to keep your Mac plugged in while it’s updating.
12. SMC/NVRAM errors
NVRAM (short for non-volatile random access memory) is information stored about your Mac to keep track of simple things like the date and the time, and unlike other RAM, it doesn’t reset after restarting your Mac.
13. Hardware problems
The final reason that your Mac won't upgrade to Sonoma could be due to issues with your Mac’s hardware. These issues can be caused by physical damage to your Mac, such as water or fall damage. If your Mac has sustained physical damage, you should take your Mac to a technician who can investigate the damage.
What to do if macOS Sonoma doesn’t install on your Mac
If macOS Sonoma doesn't install on your Mac, try the following fixes first:
Restart your Mac.
Free up disk space.
Try to install macOS Sonoma in safe mode.
Use recovery mode to update to macOS Sonoma.
Though these are our go-to first places to troubleshoot, there are lots of methods you can try to install the latest macOS Sonoma update. Follow our complete guide below:
Prepare your Mac for the Sonoma update
Free up disk space on Mac
Restart Mac
Uninstall the installer and re-download
Install macOS Sonoma from Software Update
Reset PRAM and SMC
Install macOS Sonoma in Safe Mode
Update macOS via Recovery Mode
Turn Off FileVault or Firewall
Check and fix with Disk Utility
Clean install of macOS Sonoma
1. Prepare your Mac for the Sonoma update
To install macOS Sonoma effectively, the best practice is to be prepared and ensure your Mac meets the ideal conditions to update macOS. Stay tuned, and we’ll demonstrate how to ready your Mac for the latest macOS update.
1.1 Check if your MacBook model supports macOS Sonoma
As Sonoma is the latest and greatest version of macOS, Apple usually only offers updates to devices manufactured in the last six or so years. If you’re struggling to update to macOS Sonoma, your Mac may not be compatible with the latest version.
1.2 Make sure your Mac has a good and stable internet connection
As macOS Sonoma is a large download, and the installer requires online authentication, a good and stable internet connection is required. To improve your internet connection, try using a wired connection or try to reset your router.
1.3 Check the status of Apple Server
Before installing, check the status of Apple’s servers. Although Apple is a huge global company, outages can and do happen on occasion. Here’s how you can check if the Apple servers are working:
Open your web browser (i.e. Safari).
Go to https://www.apple.com/uk/support/systemstatus/.
Check the macOS Software Update section to see if the servers are still functioning.
Check the macOS Software Update section on Apple’s server status webpage
1.4 Make a system backup
Though it’s absolutely safe to update to the latest version of macOS Sonoma, if something were to happen to your Mac during the installation (such as losing power), your operating system could corrupt. For this reason, we recommend backing up your Mac before updating. Follow our guide on how to back up Mac with Time Machine.
2. Free up disk space on Mac
There are many great tools you can use to remove useless junk files which clog up your Mac, such as by using MacKeeper’s Safe Cleanup. Here’s how to use it:
Hit Start Scan, and MacKeeper will find all junk files on your Mac.
Choose the file types you want to delete (e.g. logs, caches) and choose Clean Junk Files. MacKeeper will remove them from your device in just a few moments.
3. Restart Mac
If your macOS Sonoma download gets stuck, or you’ve hit install and nothing happens, restarting can help to alleviate many issues. Here’s how to restart your Mac:
Be sure to save any important work.
Click the Apple logo in the top left corner of your screen.
Select Restart from the drop-down menu.
Click the Apple logo > Select Restart from the drop-down menu
4. Uninstall the installer and re-download
If your update didn’t work, you should try uninstalling the macOS installer, and then redownload it from the App Store. Meanwhile, the easiest way to uninstall any app from your Mac is to use third-party software such as MacKeeper’s Smart Uninstaller:
Select Start Scan, MacKeeper will then display all apps on your Mac
Use the list to tick the macOS Sonoma installer, and any other apps you want to delete
Click Remove Selected and MacKeeper will delete the macOS Sonoma installer.
Open MacKeeper > Smart Uninstaller > Applications > tick apps you want to delete
5. Install macOS Sonoma from Software Update
If you downloaded macOS Sonoma from the App Store, and your installation was unsuccessful, try downloading it using Software Update. Find out how you can install macOS Sonoma using Software Update:
Click the Apple icon in the top left corner of your screen.
Select About this Mac from the drop-down menu.
Click Software Update, and install macOS Sonoma from there.
Step 1. Apple icon > About this MacStep 2. Software Update > install macOS Sonoma
6. Reset PRAM and SMC
PRAM is a type of storage used on your Mac to store core details about your device, such as the date or time. It’s used to ensure that even without the internet, your Mac will remember key info about your device. On occasion, it can interfere with installing macOS Sonoma, so follow our guide to reset it if you’re having issues:
Turn off your Mac, and disconnect any USB accessories or storage.
Turn on your Mac again, and simultaneously hold down the Command, Option, P, and R keys for at least 20 seconds.
After 20 seconds, you can stop holding the keys down and allow your Mac to reboot normally.
7. Install macOS Sonoma in Safe Mode
Sometimes, other software can interfere with your Mac as it attempts to update to macOS Sonoma. A recommended solution is to install the update using Safe Mode.
For Intel-based Macs:
Shut down your Mac completely by selecting Shut Down from the Apple menu in the top left corner.
Press and hold the Shift key while turning on your Mac. Keep holding the Shift key until you see the login screen.
For Apple Silicon Macs:
Shut down your Mac completely by selecting Shut Down from the Apple menu in the top right corner of your display.
Hold the Power button until the Startup Options screen appears.
Press and hold the Shift key, then select ‘Continue in Safe Mode’. You can release the Shift key once you reach the login screen.
8. Update macOS via Recovery Mode
Should installing macOS Sonoma in Safe Mode not work, it’s definitely worth trying to install it in Recovery Mode. Read on to find out how to enter Recovery Mode below.
For Intel-based Macs:
Shut down your Mac.
If you are backing up from an external drive, ensure that it’s connected.
After turning your Mac back on, hold down the Command + R keys until you reach the recovery screen.
Select the drive/backup you want to boot into, and login.
For Apple Silicon Macs:
Save any important work and turn off your Mac.
Press and hold the power button down until you the startup options appear on your screen.
Click Options, then Continue, and log in to your Mac as usual.
9. Turn Off FileVault or Firewall
Your Mac’s built-in Firewall and FileVault features are useful in offering baseline security protection. Firewall prevents hackers from connecting to your Mac over the internet, and FileVault protects the files on your device in the event your laptop is stolen. However, Firewall or FileVault can occasionally interfere with the installation of macOS Sonoma, so it’s worthwhile trying to disable them temporarily:
Click the Apple icon in your toolbar.
Select System Preferences, and from here select Privacy & Security from the side menu.
Click the lock icon in the bottom left corner and enter your password.
To disable FileVault, click on the FileVault tab and then click Turn Off. Finally, click Turn off Encryption.
To disable the Firewall, go to the Firewall tab, and select Turn off Firewall.
Step 1. Apple icon > select System PreferencesStep 2. In System Preferences, select Security & PrivacyStep 3. Disable FileVault by going to FileVault > Turn off FileVaultStep 4. Disable Firewall by selecting Firewall > Turn off Firewall
10. Check and fix with Disk Utility
If you’re still having trouble updating to macOS Sonoma, the issue could be that your disk drive is in need of repair. Fortunately, Apple makes it really easy to automatically repair corrupted drives using Disk Utility’s First Aid feature. See below how you can use it:
Open Spotlight Search by pressing Command + Space.
Type Disk Utility into the search bar, and press Enter.
Select your Mac’s disk drive, and then click First Aid. Wait for a moment, and your Mac will repair any issues or corruptions on your disk.
Step 1. Press cmd + space at the same time > type Disk Utility > EnterStep 2. Find your main disk drive, and select First Aid. Then click Run
11. Clean install of macOS Sonoma
If all else fails, you might choose to perform a totally clean install of macOS Sonoma. To do this, you’ll need to create a bootable copy of macOS to a freshly formatted USB drive. Follow our comprehensive guide below to perform a clean install of macOS Sonoma:
Download a copy of the macOS Sonoma installer.
Use a USB drive with at least 16gb of storage, and plug it into your Mac. Rename the drive to be called MyVolume.
Open Terminal from Launchpad, and enter the following command: sudo /Applications/Install\ macOS\ Sonoma.app/Contents/Resources/createinstallmedia --volume /Volumes/MyVolume and then hit Enter.
Terminal will then ask you to enter your password. Type Y when Terminal asks you if you want to proceed, and hit Enter again.
When the prompt appears, allow Terminal to access the files on your USB drive. Once Terminal says the install media is available, you are ready to install it.
Shut down your Mac.
Turn on your Mac, and immediately hold down Command + R until you enter the Recovery menu.
Choose to boot from your USB drive, and allow the installer to run.
Conclusion
Well, that was a lot to take in—you deserve a slice of cake. You should hopefully now have a myriad of ways to troubleshoot any issues in installing macOS Sonoma. If you’re still having problems, download MacKeeper and enjoy our unrivalled Ask an Expert feature, which offers 24/7, 365 day tech support with our experts from around the globe. They can not only offer you bespoke support to aid you in your quest to install macOS Sonoma, but they can help you with all of your Mac-related questions or issues.
To get immediate expert help in MacKeeper, go to Premium Services and click Chat Now
FAQ about upgrading to macOS Sonoma
1. How to update unsupported Mac to Sonoma?
It is possible to update an unsupported Mac to macOS Sonoma using a patcher of the installation file. This can be quite advanced for some users, and it’s possible that older Macs may face issues using Sonoma, as they’re not officially supported by Apple.
2. Is my Mac too old to update to Sonoma?
If your Mac is over six years old, it’s likely that you won’t be able to update to macOS Sonoma. However, you can check out Apple’s list of supported Macs on their website to make sure.
3. Why can't I download macOS Sonoma?
Usually, if you can't download macOS Sonoma, it’s likely due to an unstable internet connection. Try to use a wired connection if possible, and if that still fails, install it at a friend’s house, using their internet instead.
4. Why can't macOS Sonoma be installed on Macintosh HD?
This is usually due to a lack of storage space on your device. You need around 25 GB of free space to install macOS Sonoma. Try to delete large files, like videos or games, to make room for the update. You can always back them up to an external drive and put them back on your Mac after updating to Sonoma.
We respect your privacy and
use cookies
for the best site experience.
Privacy Preferences Center
We use cookies along with other tools to give you the best possible experience while using the
MacKeeper website. Cookies are small text files that help the website load faster. The cookies we
use don’t contain any type of personal data meaning they never store information such as your
location, email address, or IP address.
Help us improve how you interact with our website by accepting the use of cookies. You can change
your privacy settings whenever you like.
Manage consent
All cookies
These cookies are strictly necessary for enabling basic website functionality (including page
navigation, form submission, language detection, post commenting), downloading and purchasing
software. The website might malfunction without these cookies.