The Duplicates Finder feature detects and removes unneeded file copies and gets rid of similar photos and screenshots. These unneeded file copies usually waste a lot of disk space. Duplicates Finder deletes them in a click so you get megabytes or even gigabytes of extra disk space back.
How to scan an entire Mac for duplicates
To search your Mac’s home folder for duplicates, do the following:
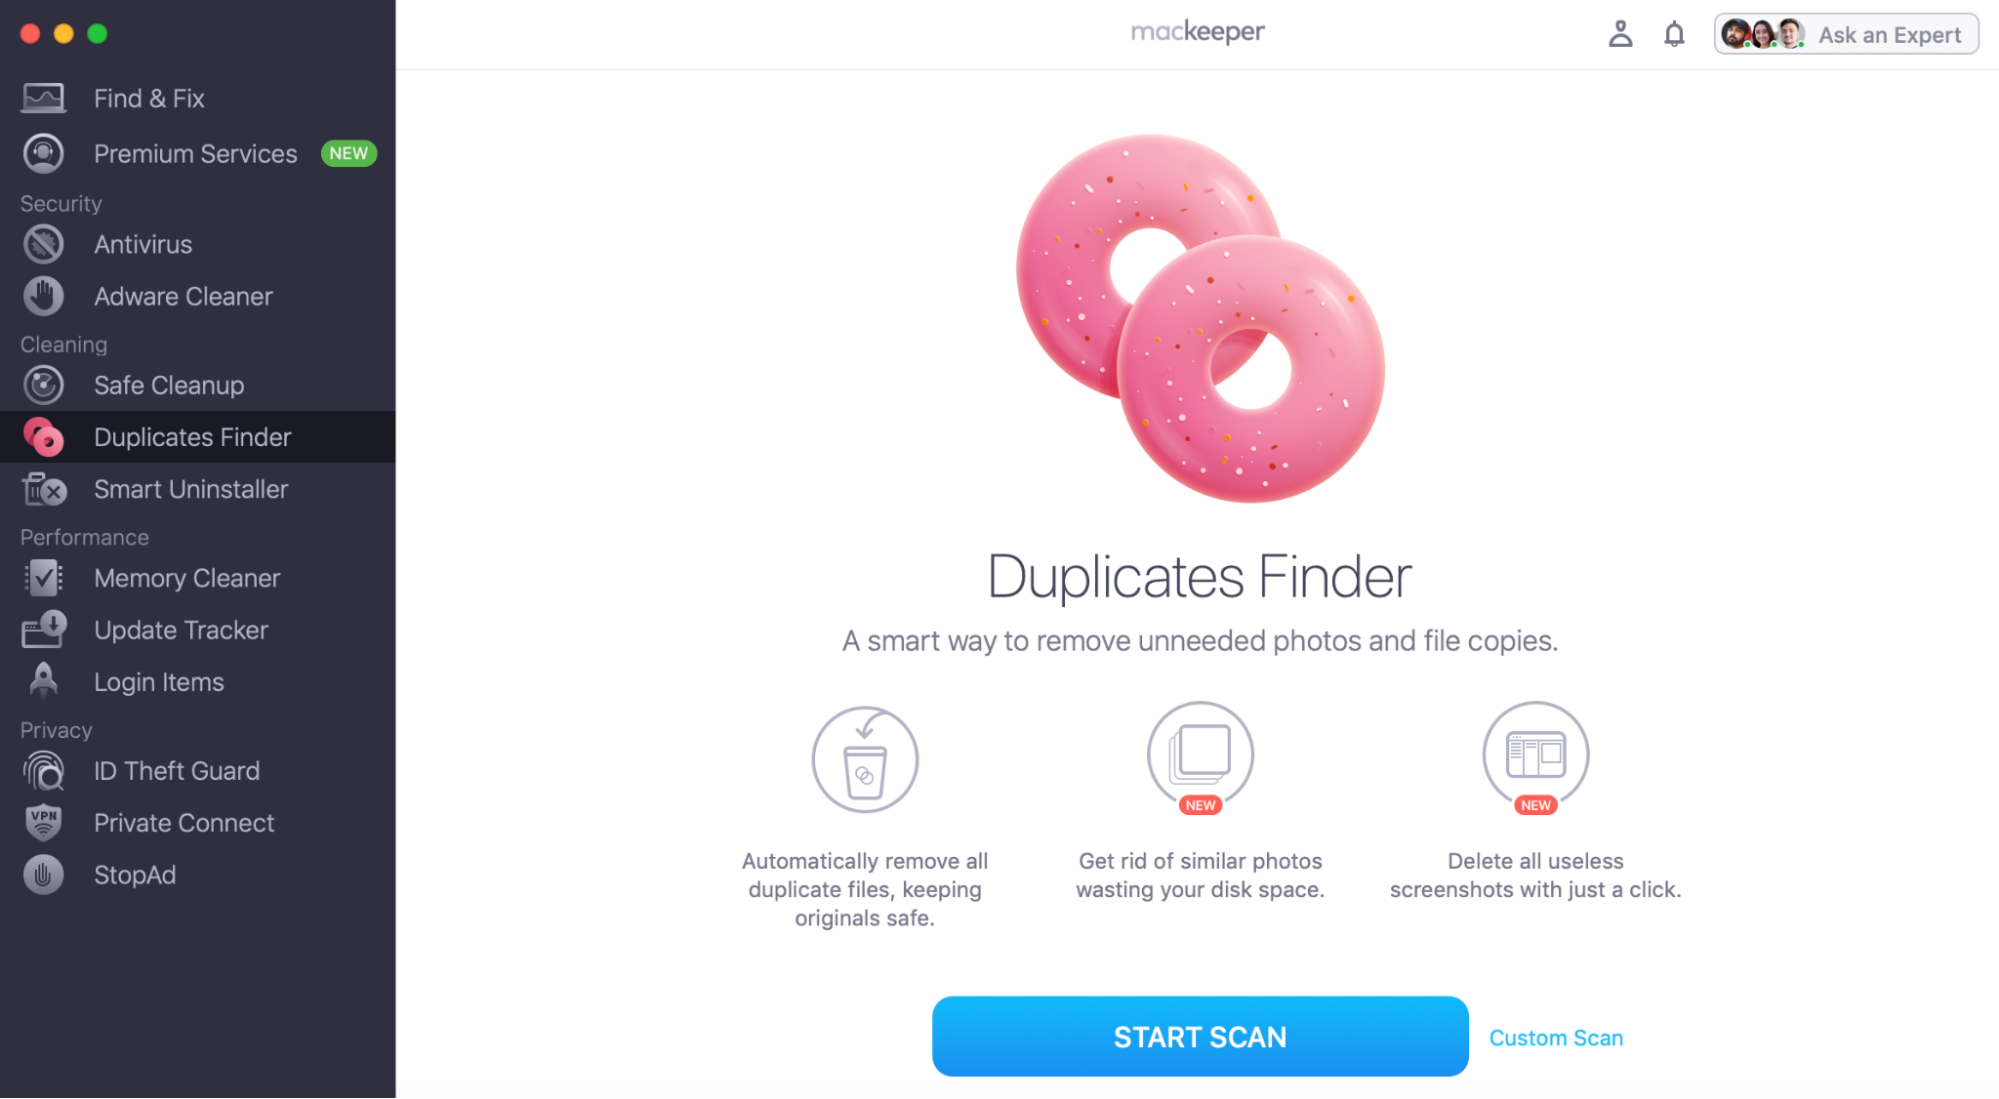
- Open MacKeeper, and select Duplicates Finder from the left sidebar
- Click the Start Scan button to check your user folders for file copies
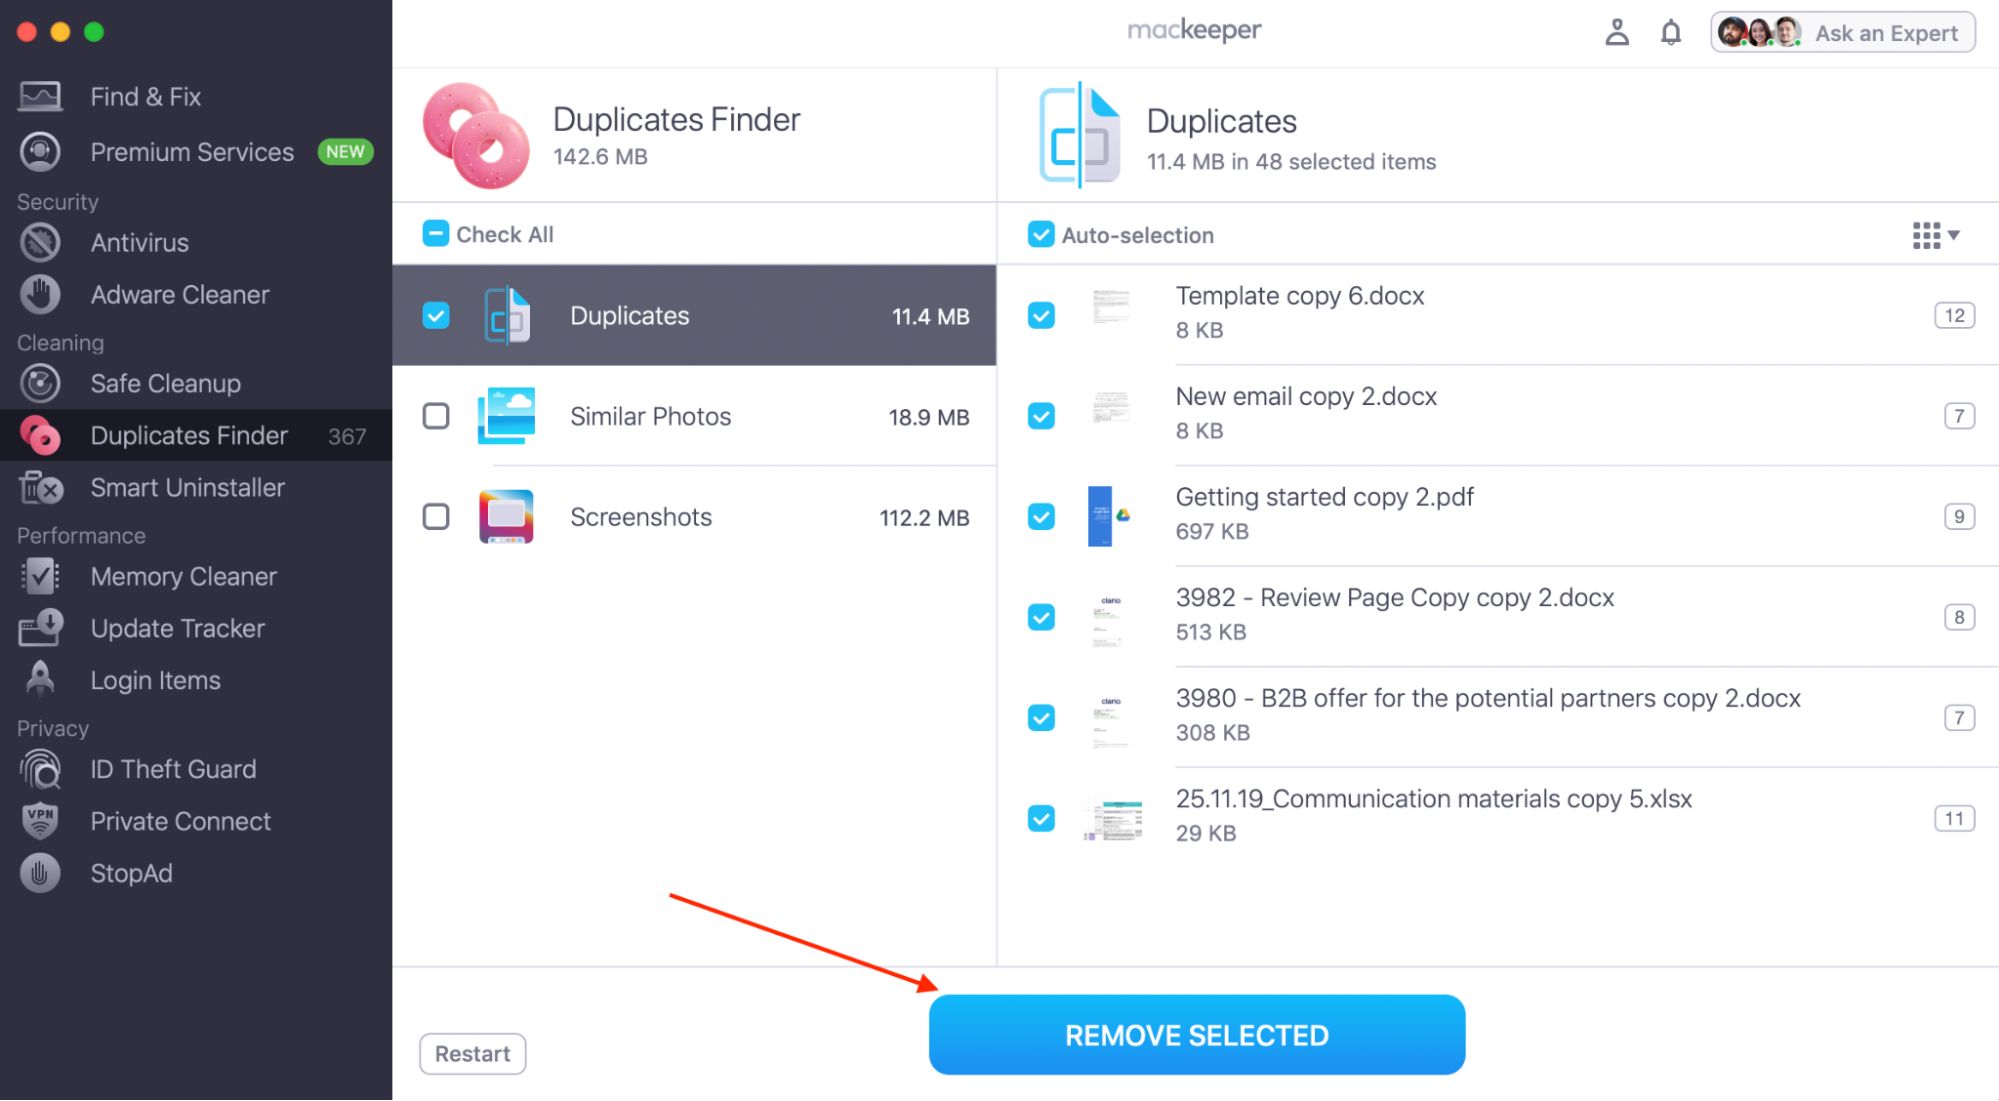
Now you should see 3 folders—Duplicates, Screenshots, Similar Photos
1. Click the Duplicates folder and select the items you don’t need anymore or tick the folder to select all items in it
2. Click Remove Selected to delete the selected items
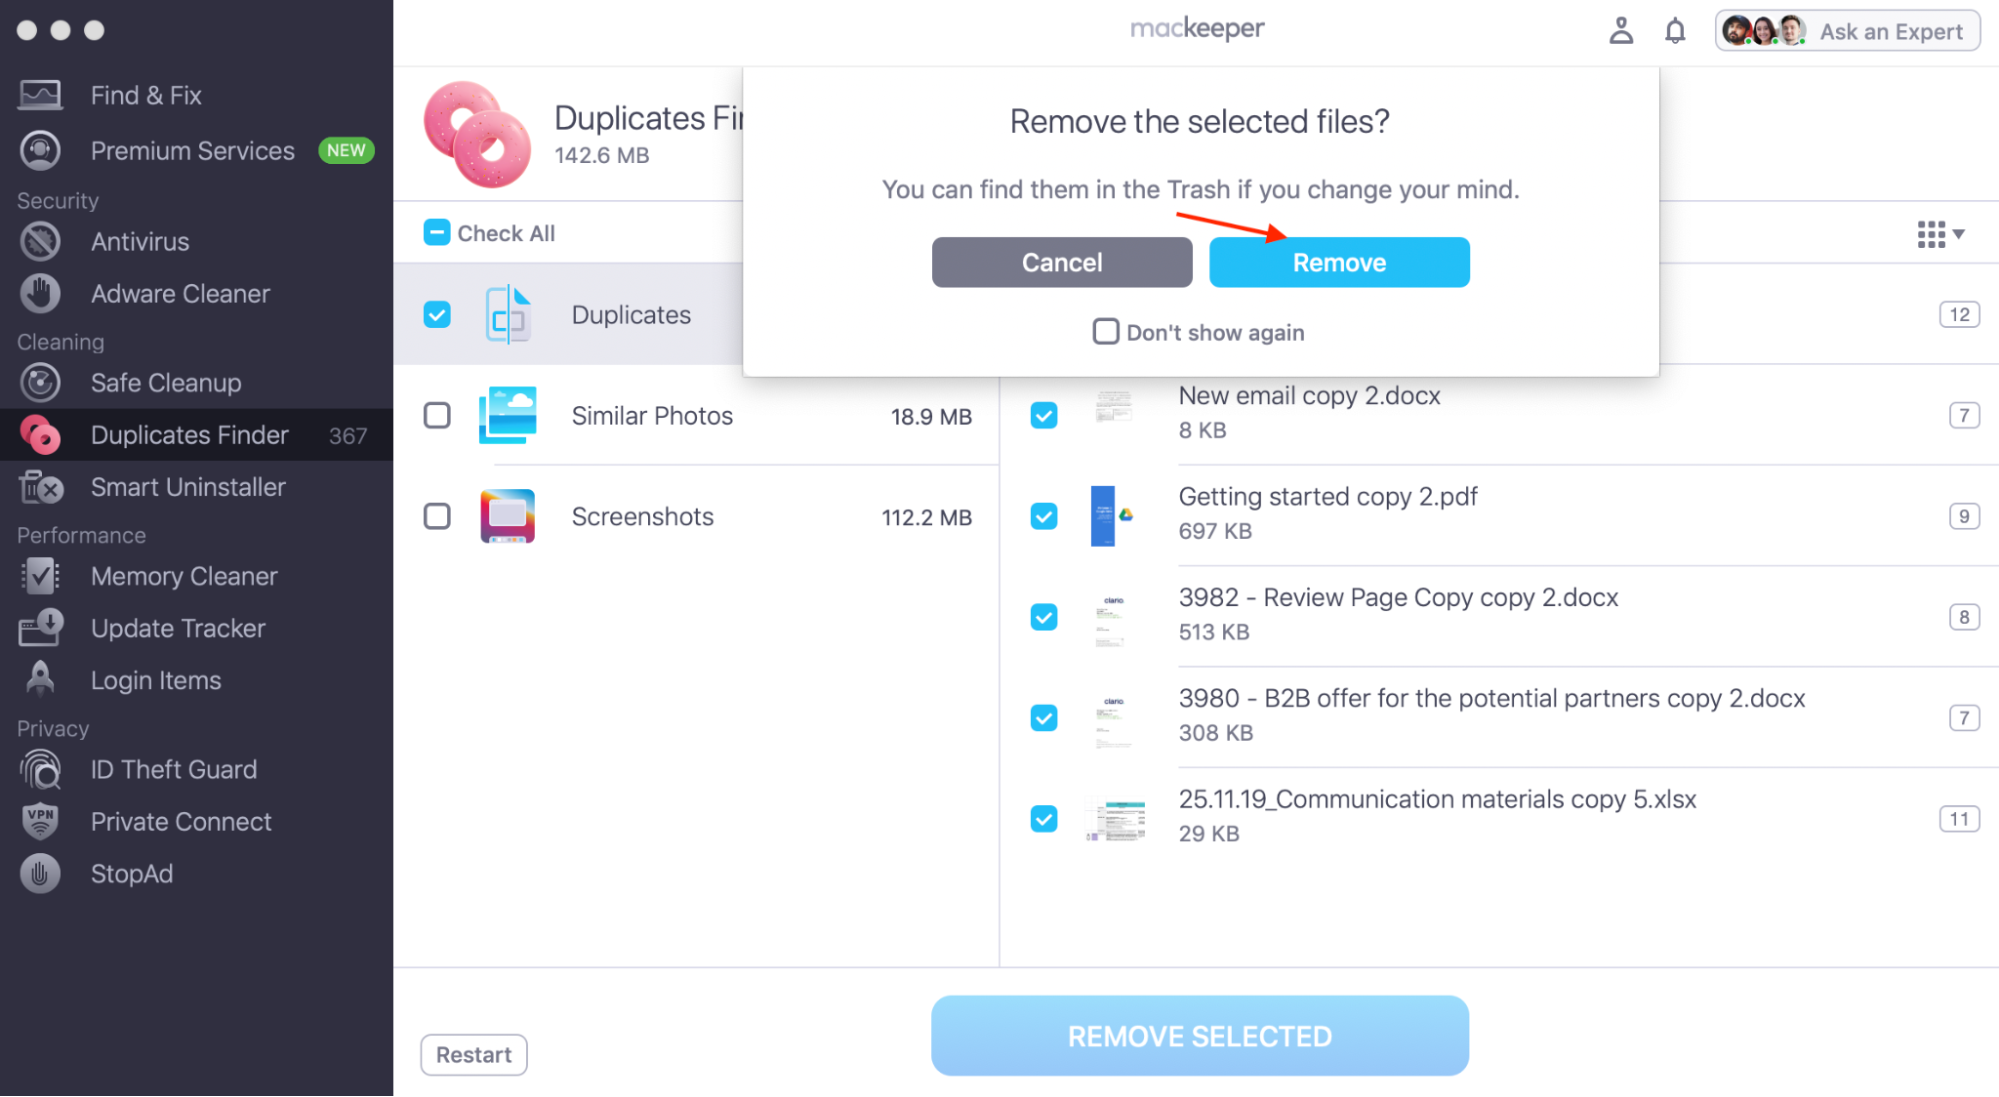
3. Confirm the removal by clicking Remove and Finish
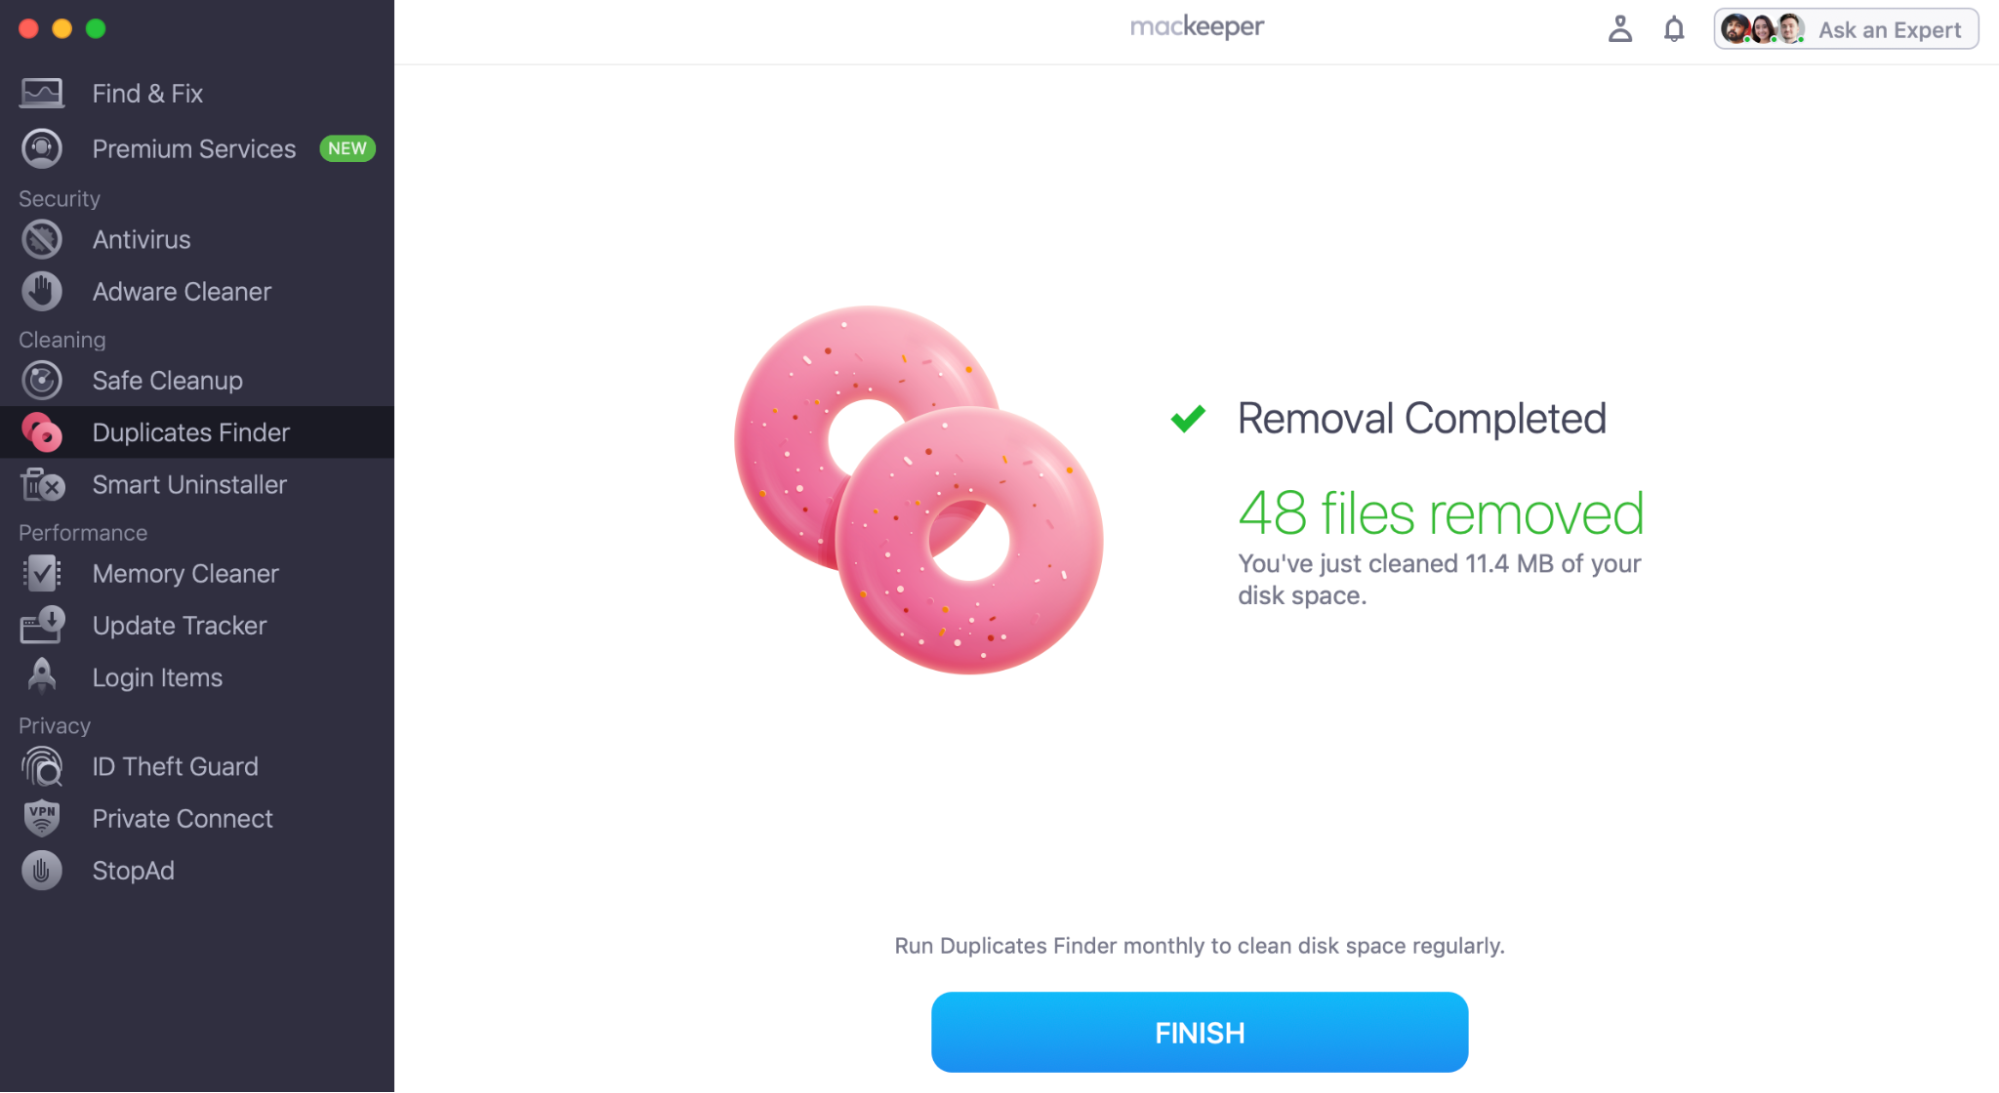
How to scan an entire Mac for similar photos and screenshots
MacKeeper helps find all similar-looking screenshots and images and sorts them into groups so you can compare them easily and select which images you want to keep and which ones to delete. To get rid of similar photos and screenshots, just follow these 5 easy steps:
1. Open MacKeeper, and select Duplicates Finder from the left sidebar
2. Click the Start Scan button to check your user folders for file copies
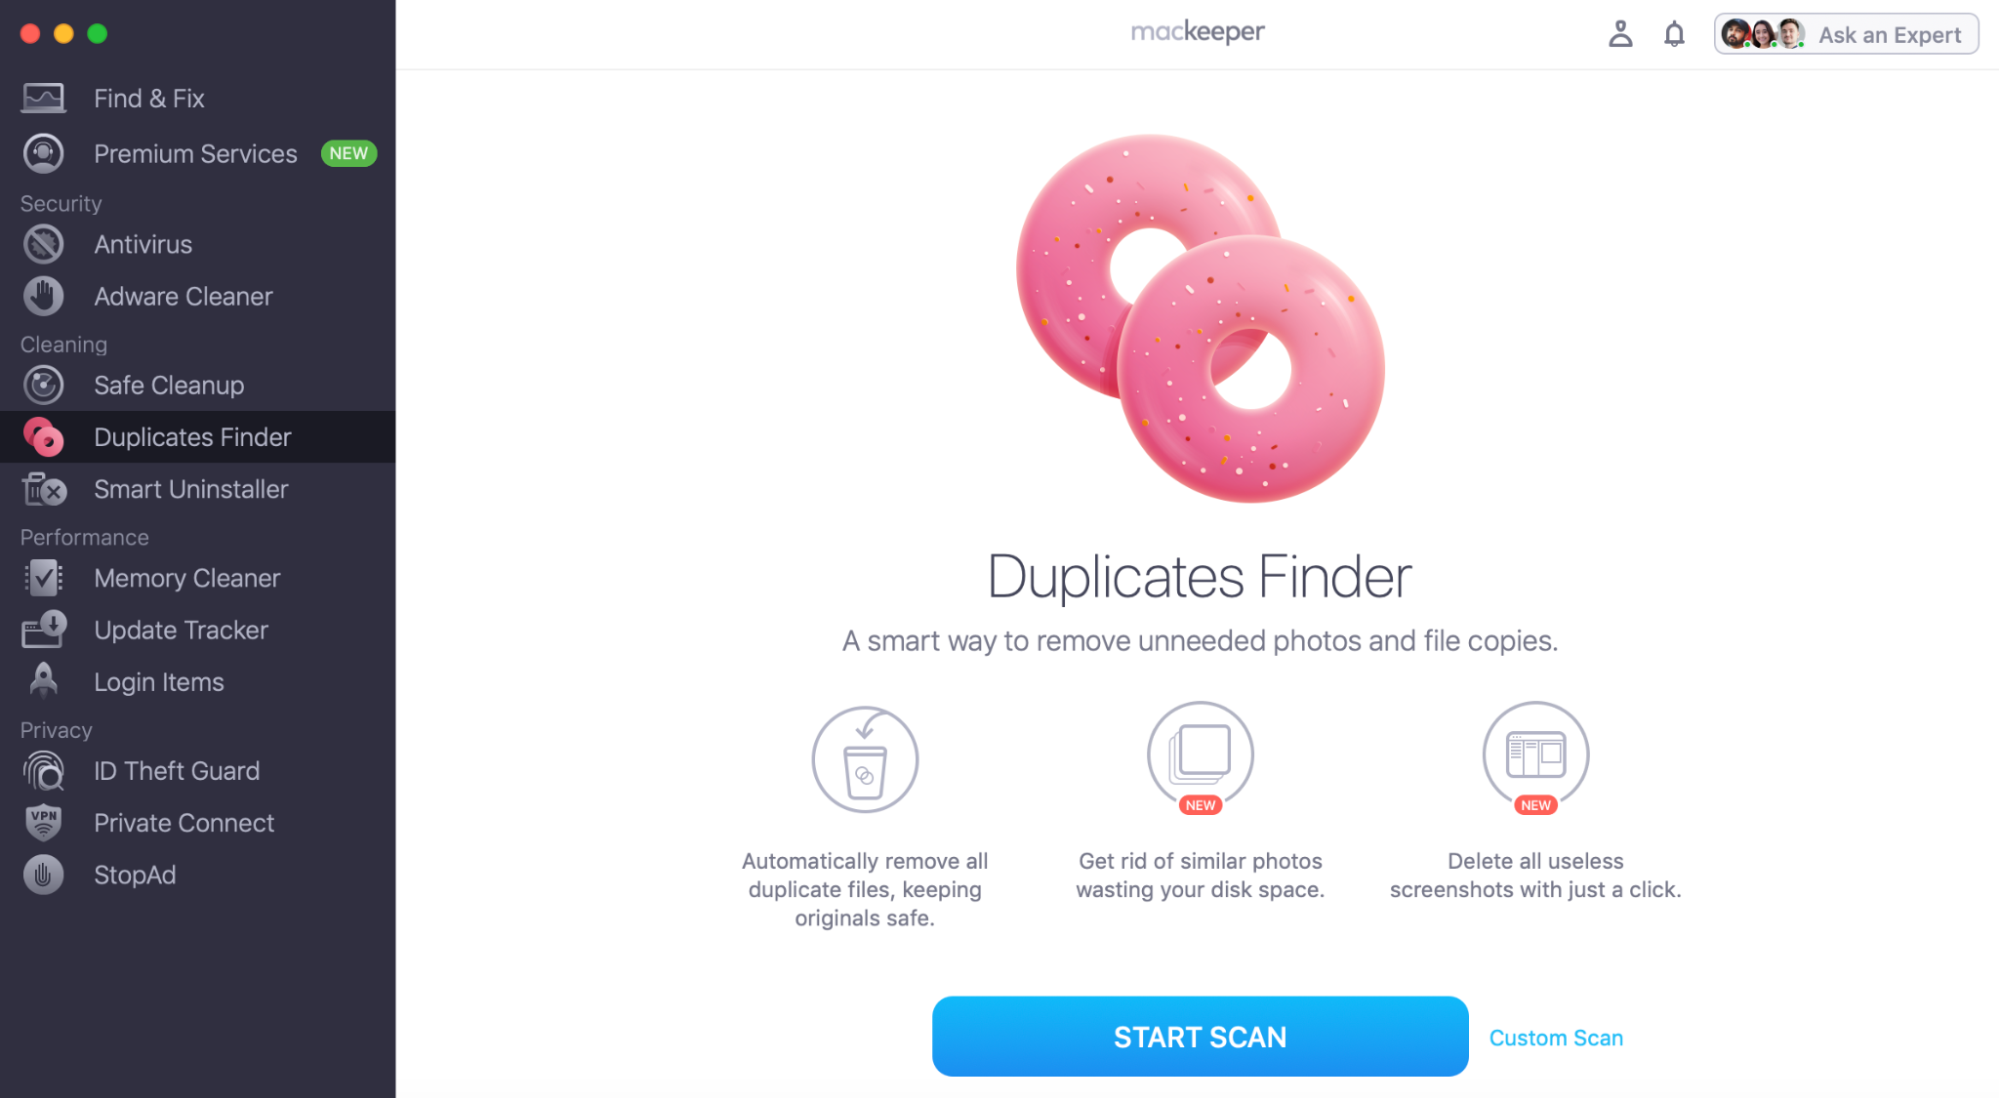
3. Click the Similar Photos or Screenshots folder and select the items you don’t need anymore or tick the folder to select all items in it
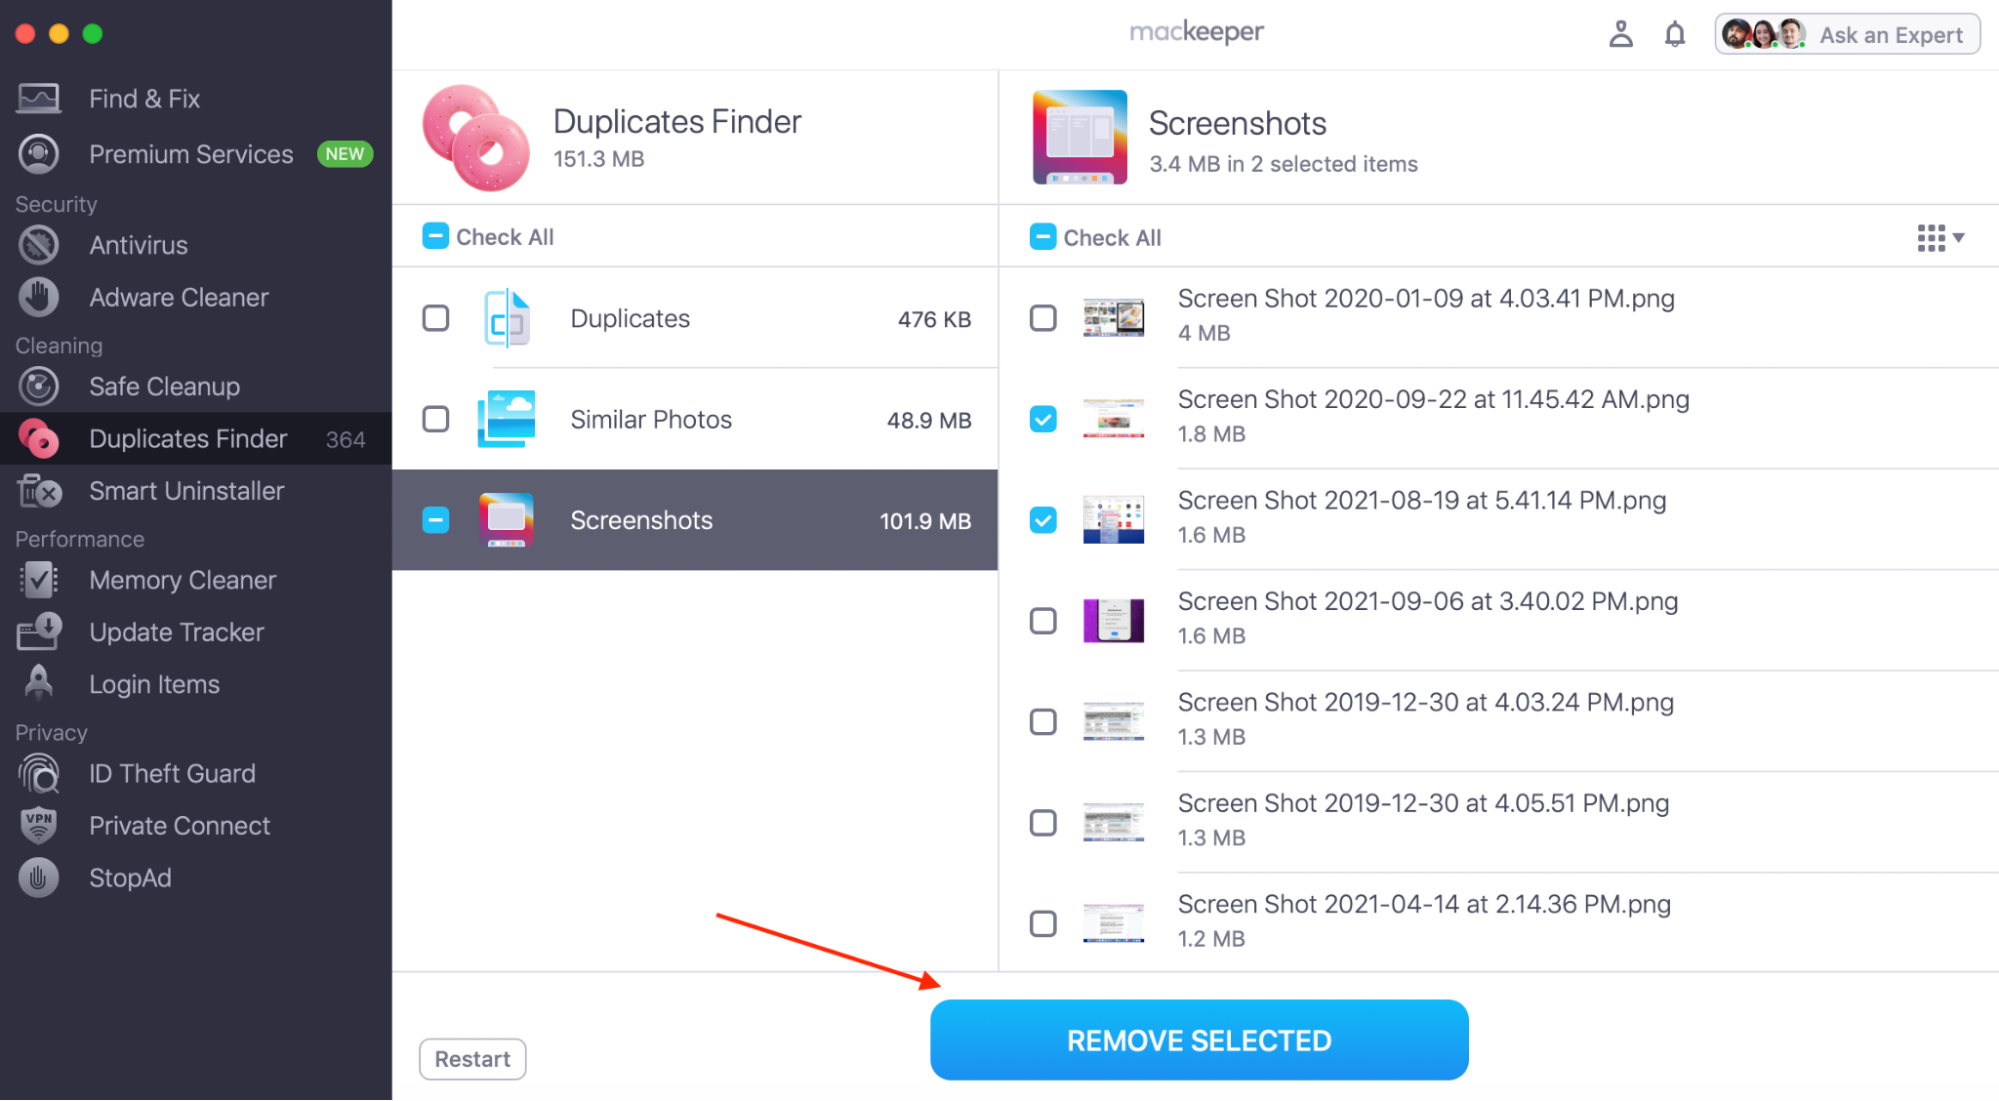
4. Click Remove Selected to delete the selected items
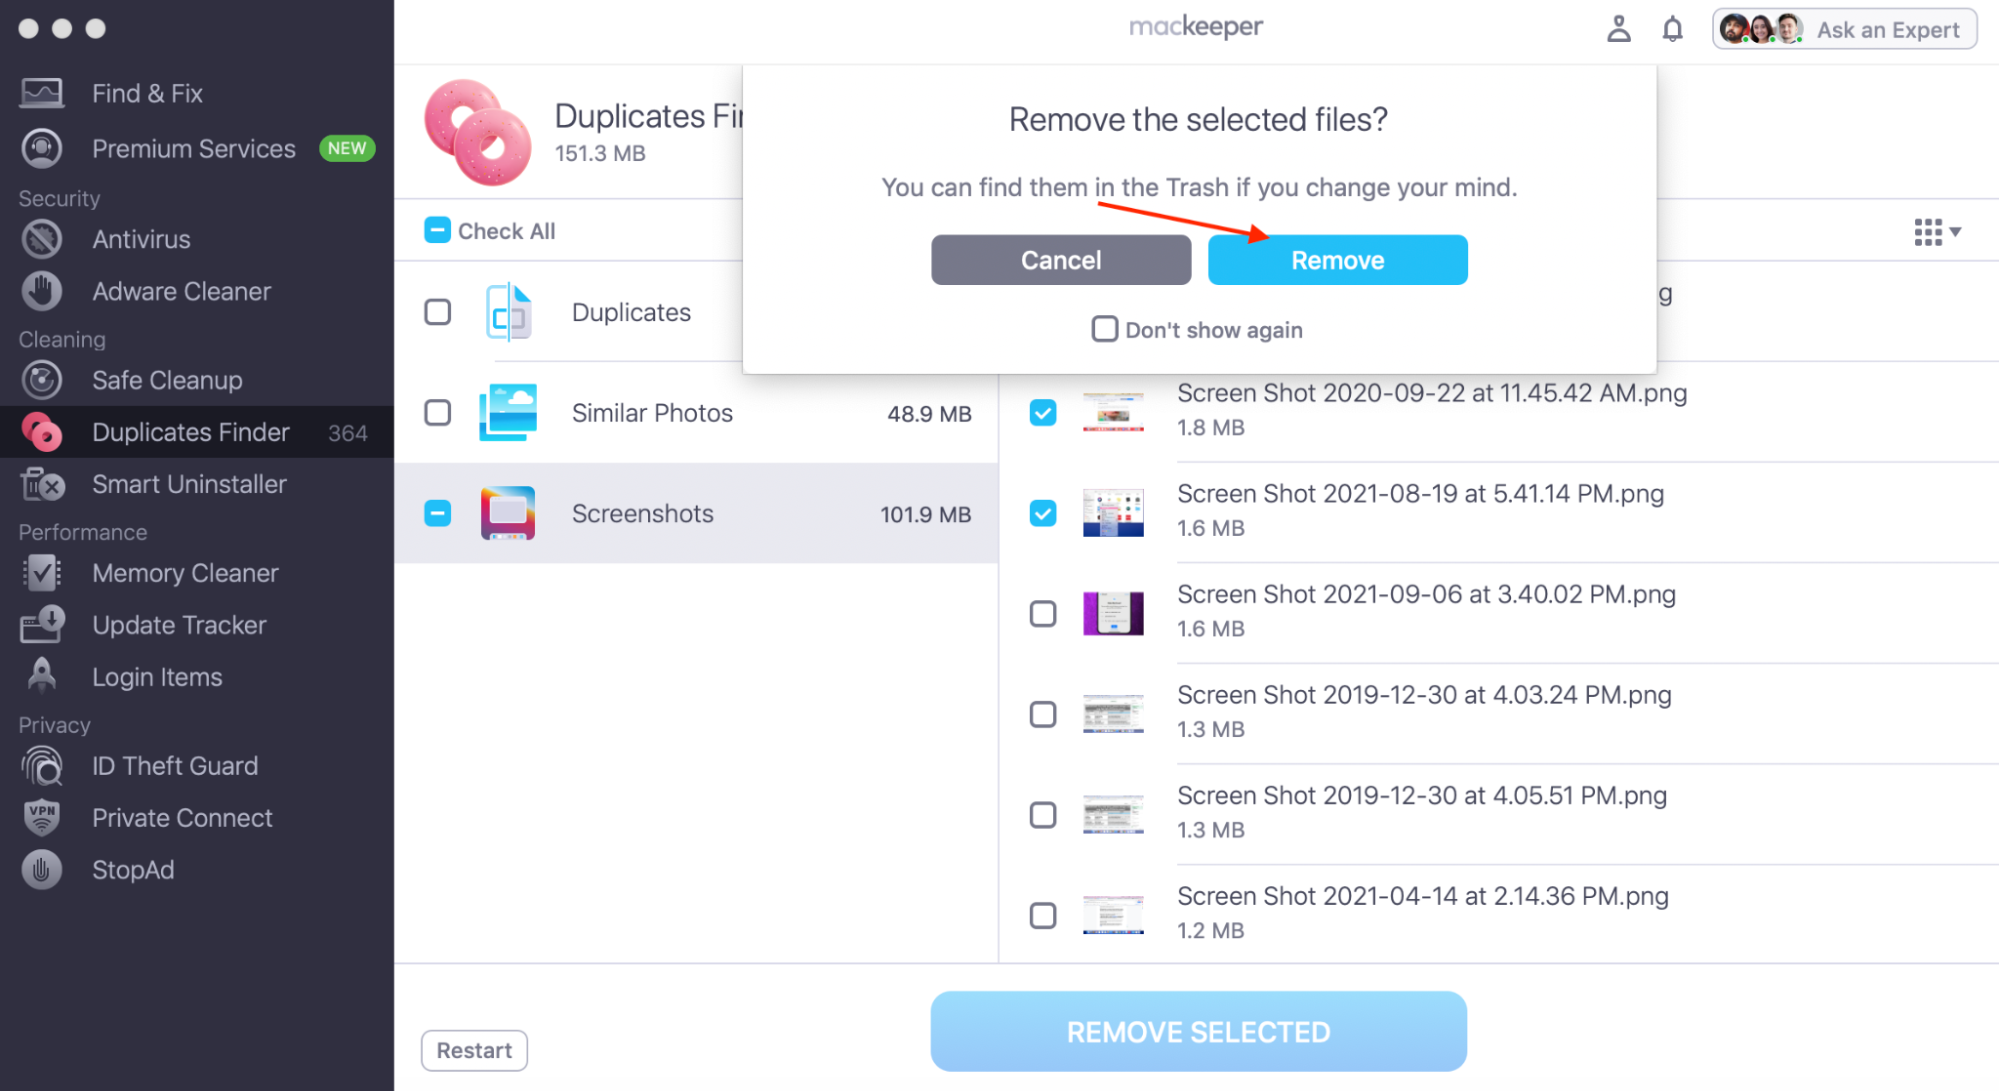
5. Confirm the removal by clicking Remove and Finish
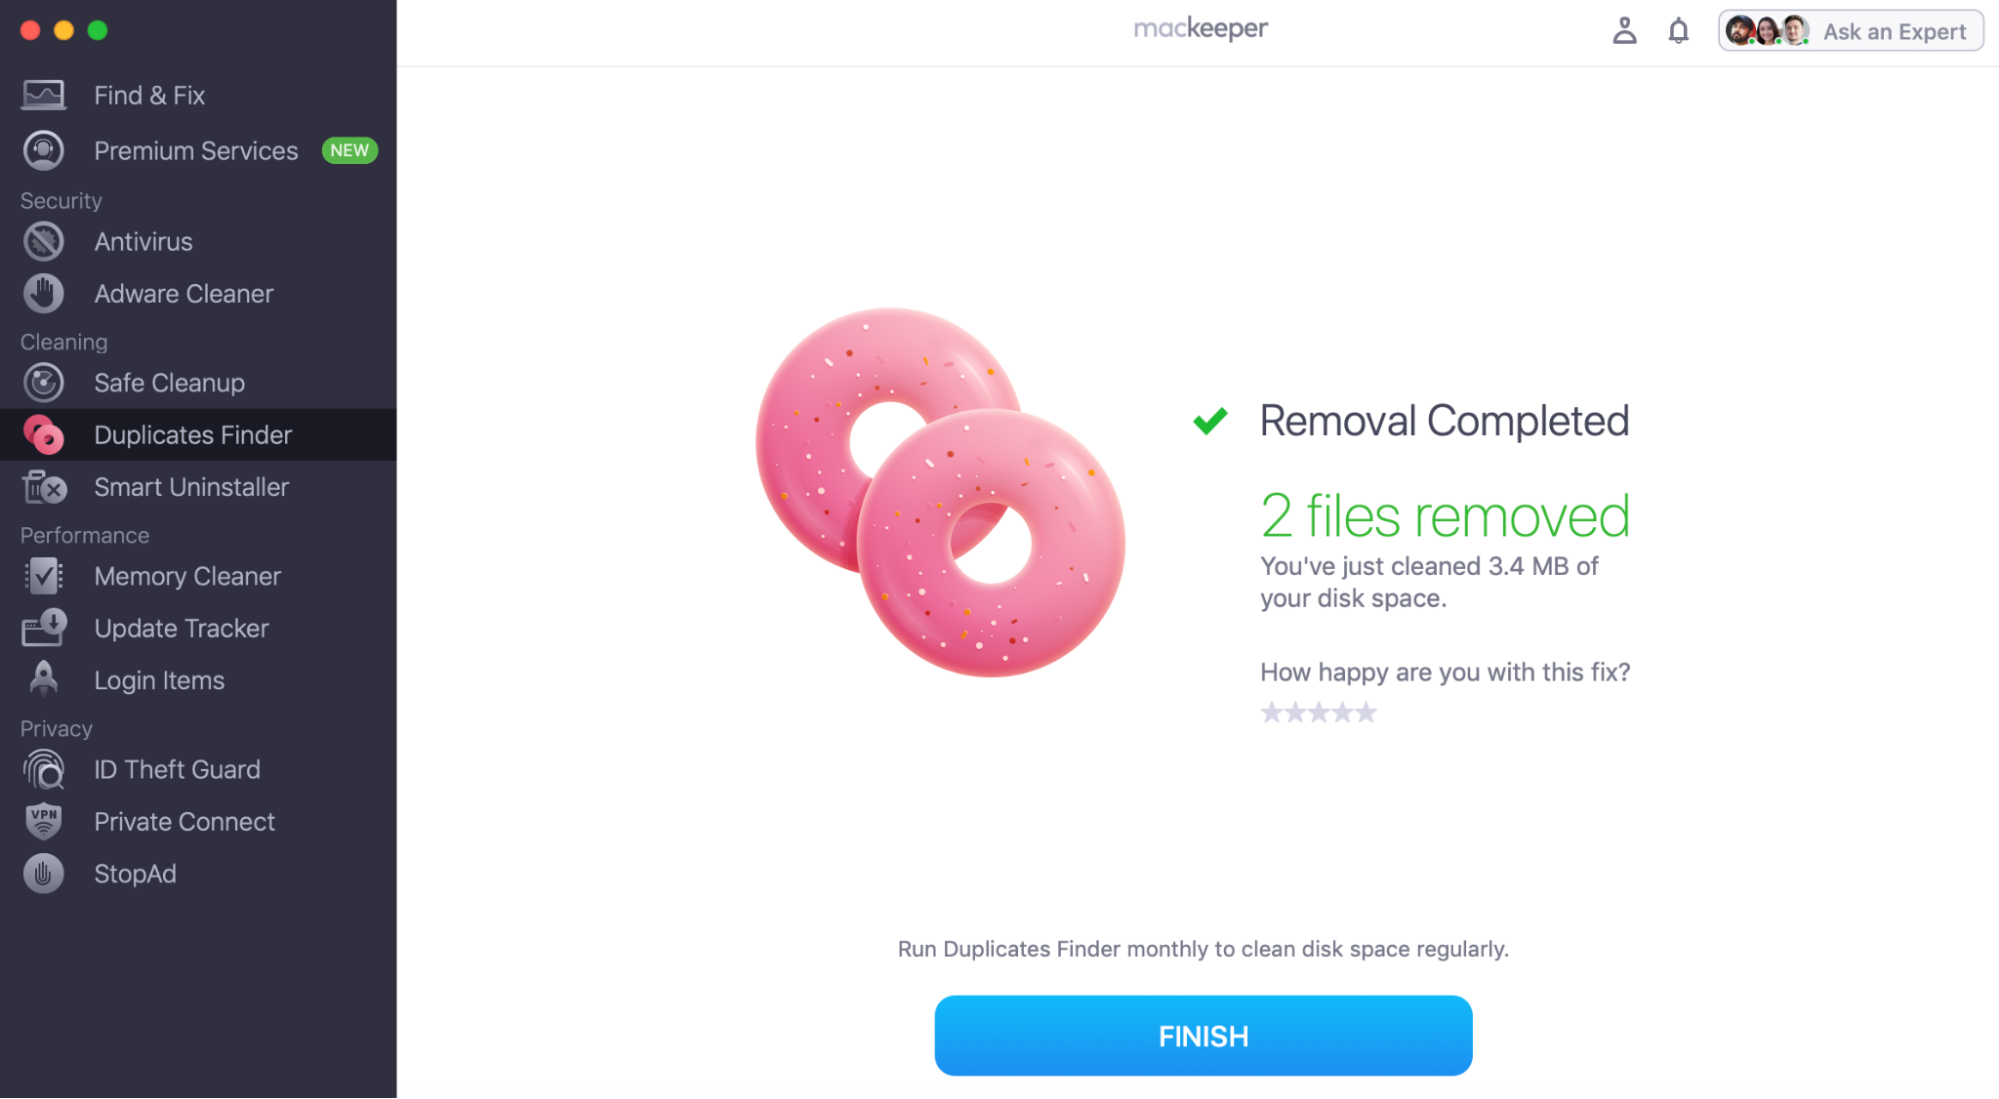
How to review duplicates finder results
MacKeeper is a duplicate cleaner that displays files with identical content, regardless of whether they have different names. Let’s take a closer look at the duplicates that might be found.
Left Panel
- Duplicates Finder contains 3 main folders—Duplicates, Similar Photos, and Screenshots.
- All duplicates, similar photos, and screenshots are sorted into file groups in the left panel. Each group contains the original file and all its copies/similar images.
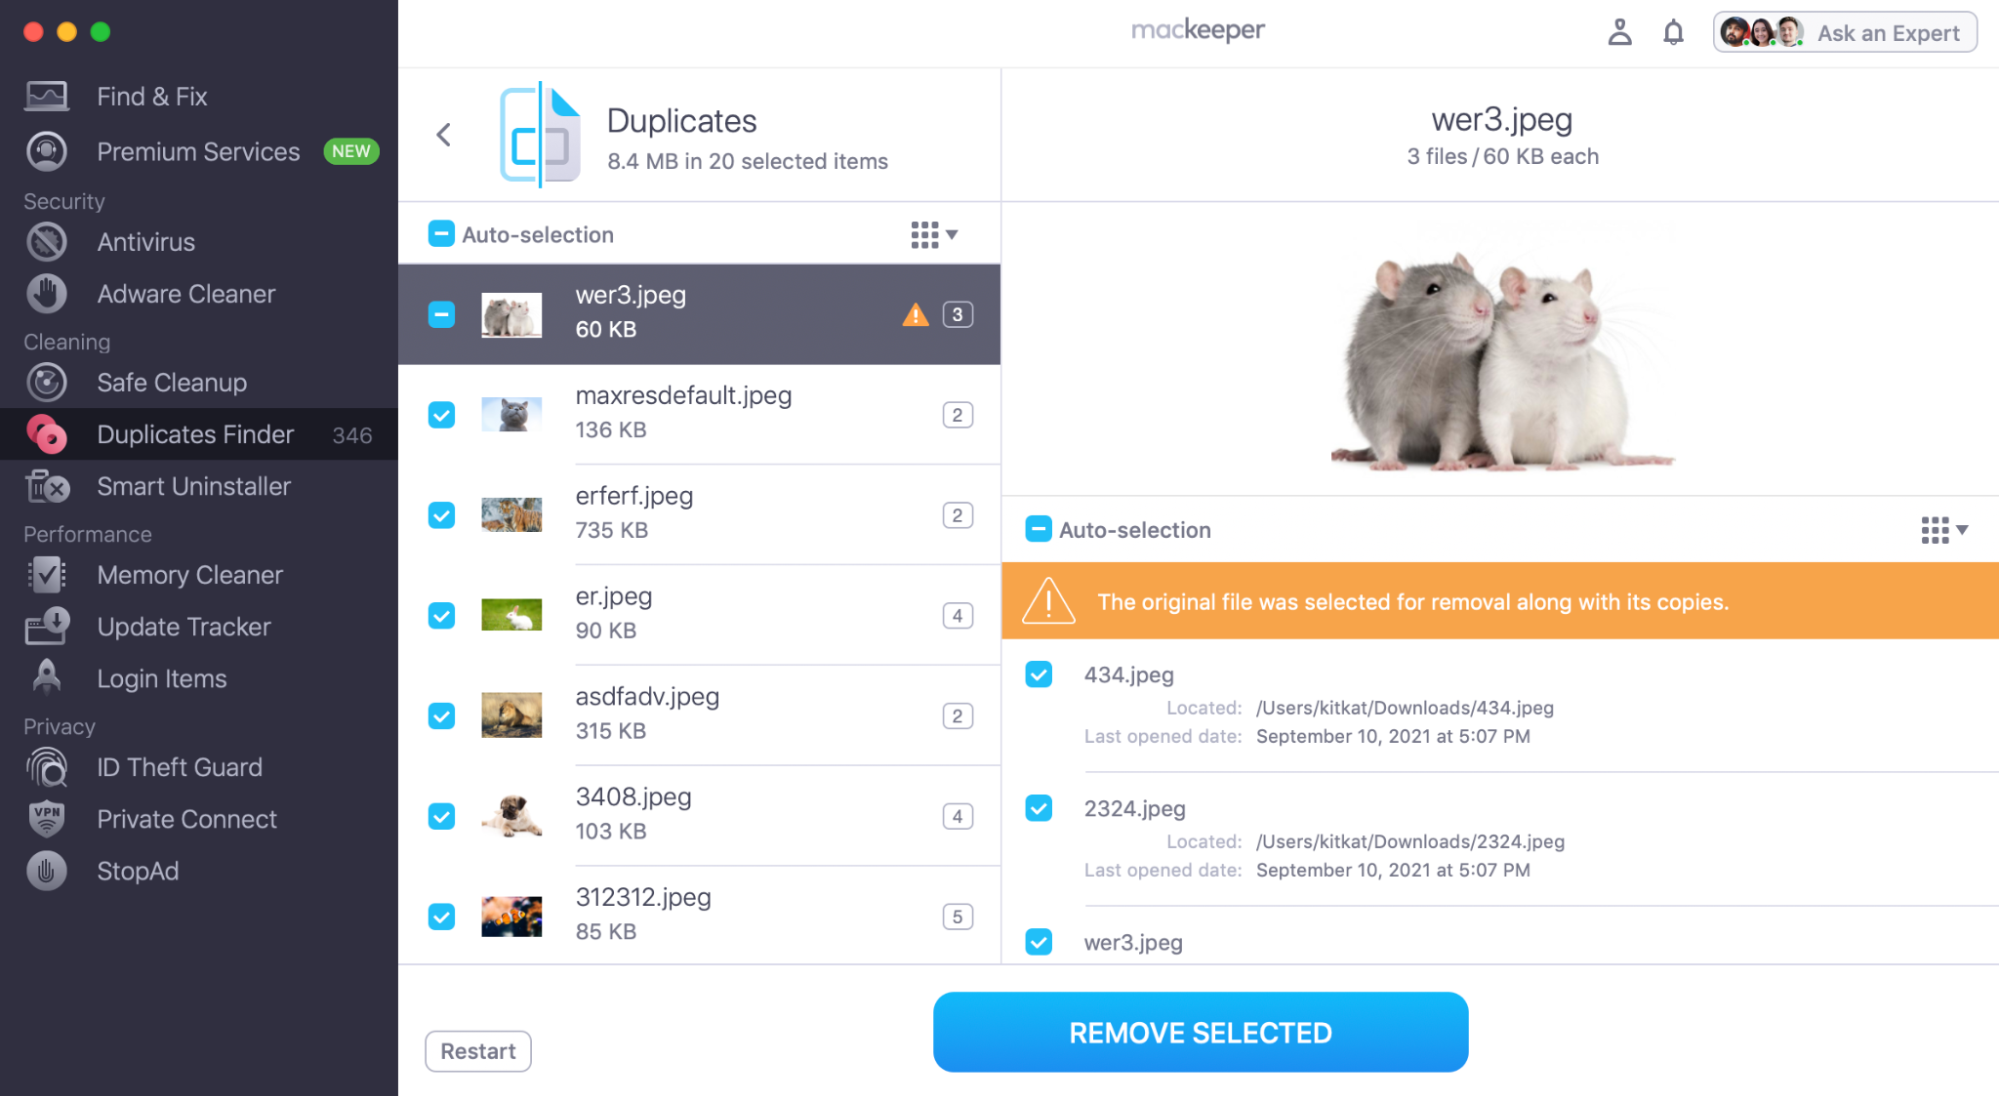
- By default, MacKeeper selects for removal all duplicates, similar photos, and screenshots found except the original file. If you want to decide for yourself which items to remove, please deselect the Auto-selection checkbox. This will uncheck all the listed items.
- Each file group in the left panel shows you the total size of the items found.
Right Panel
- The Right Panel shows the list of items found so you can have a quick overview of all the duplicates and their details.
- To manage the list easily, you can checkmark particular items or all of them by clicking Check All once.
- You can click the nine-dot icon to sort them by Name, Size, and Checked (this puts the checkmarked items first), as well as Ascending or Descending order. You can also select normal or large preview size.
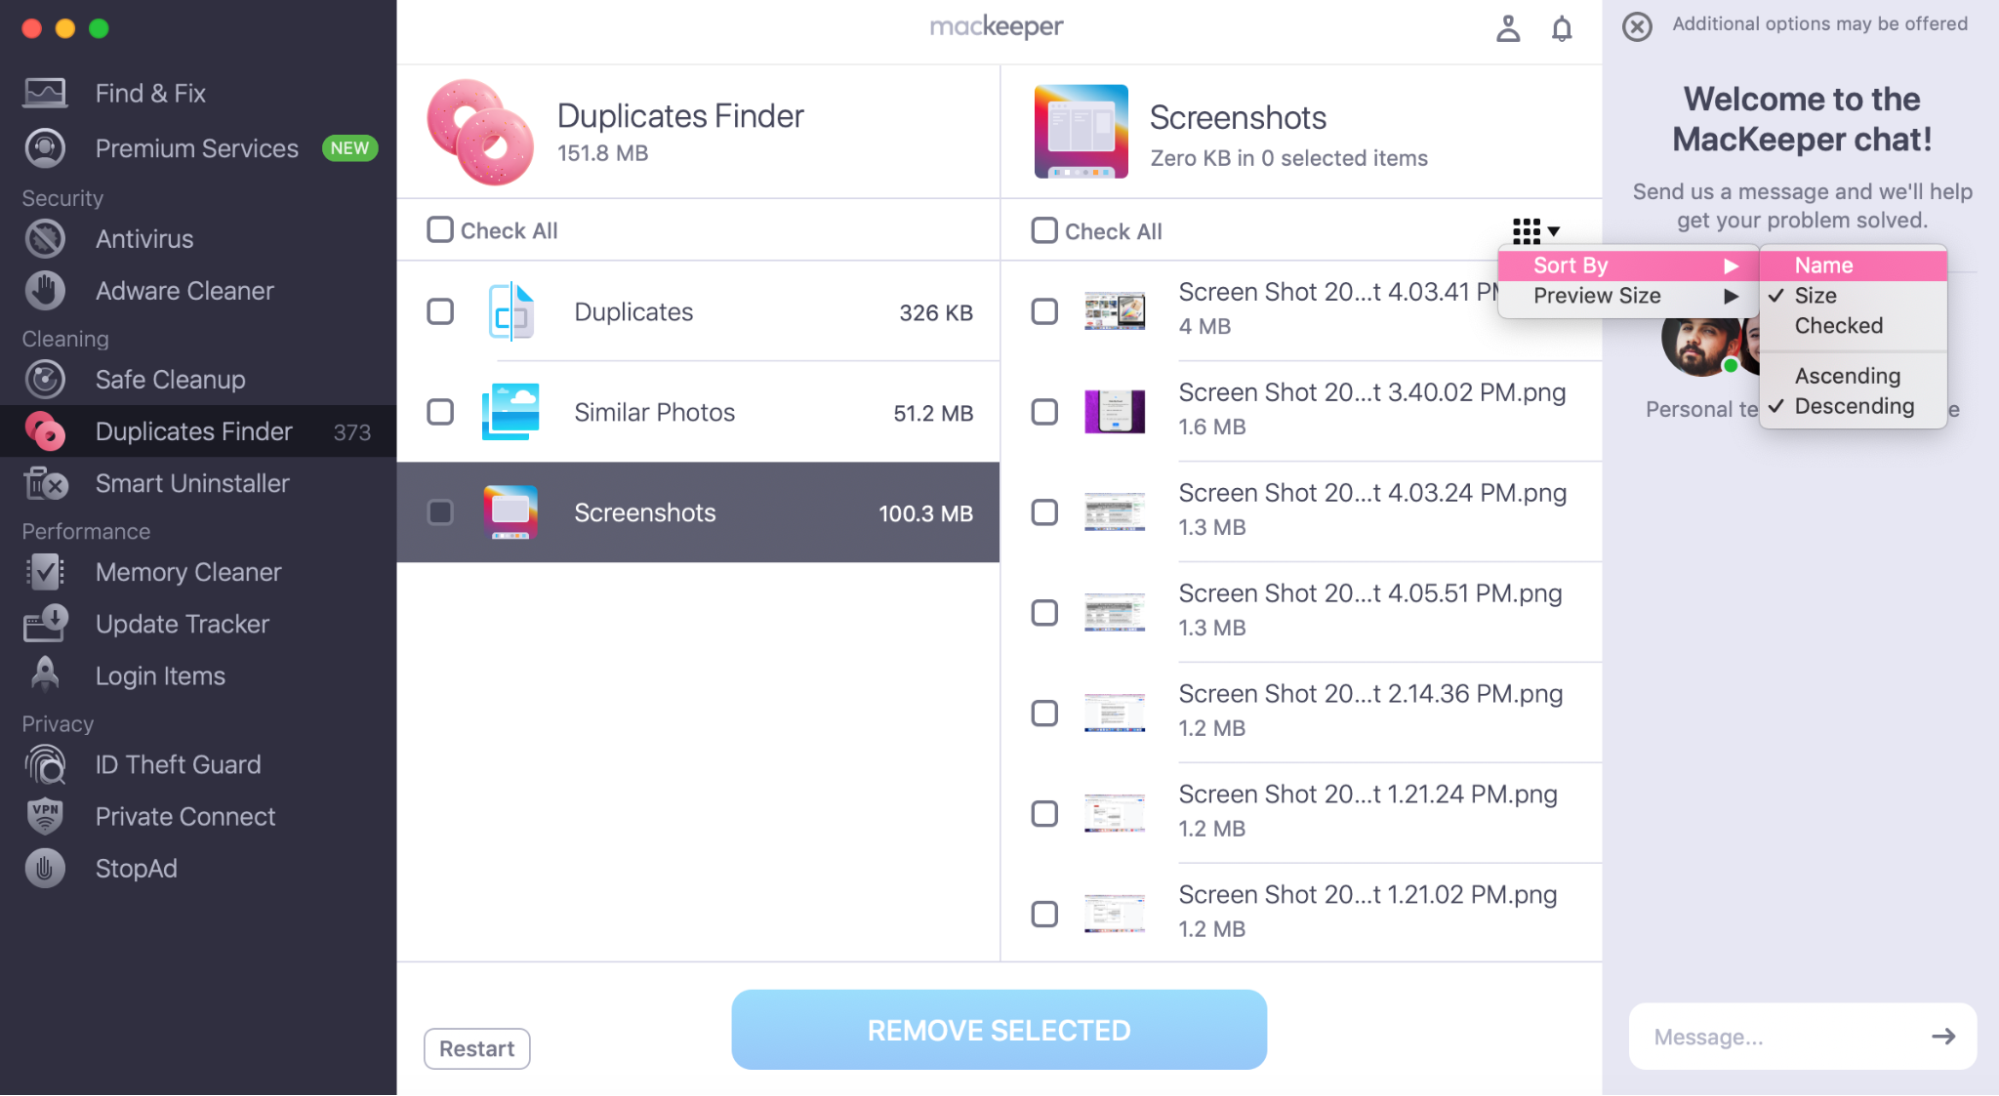
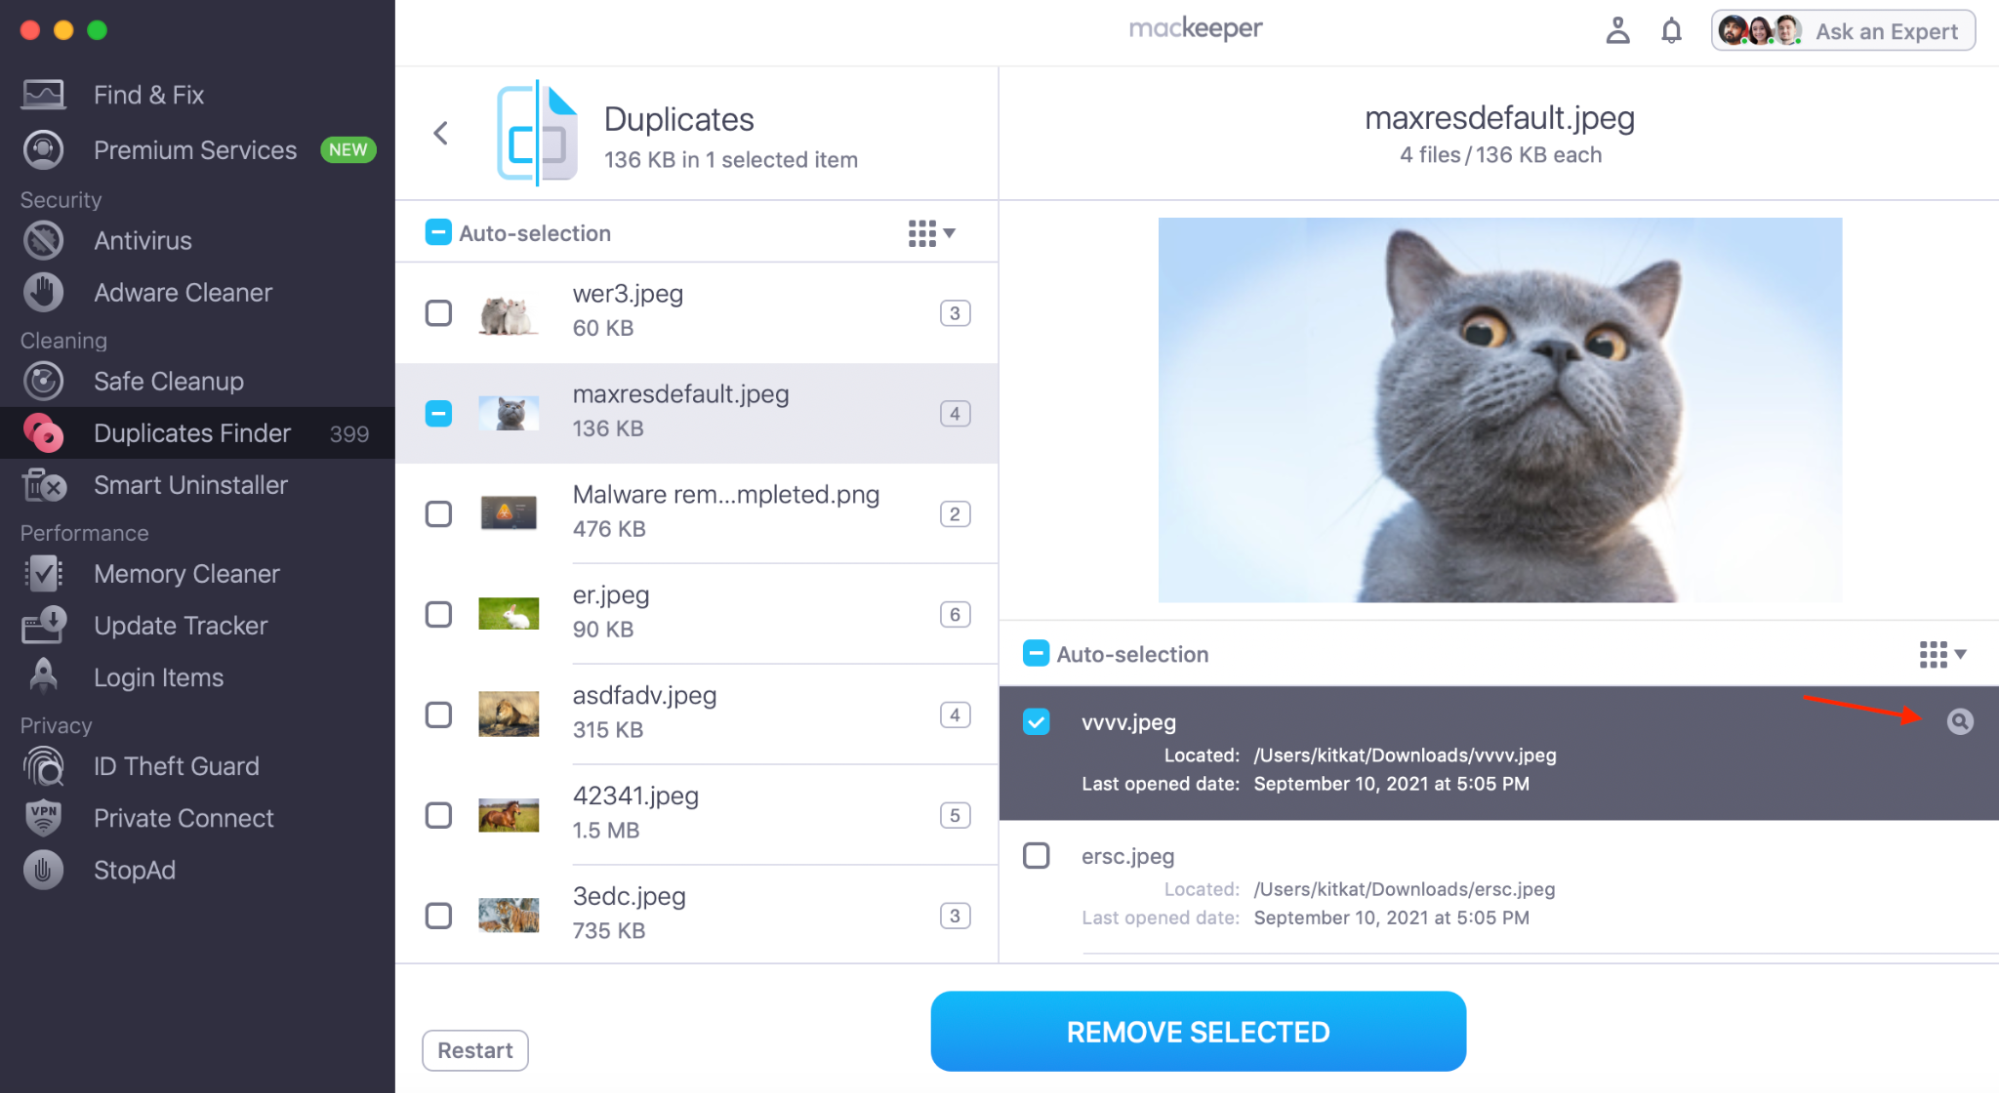
How to review which duplicates, screenshots, or similar photos to delete
- Click the file group in the left panel to open a full list of file duplicates, screenshots, or similar photos in the right panel. You’ll see the duplicates preview and the full list of all duplicates/ similar items below it.
- The preview helps you to understand which files are duplicated or which images are similar—just click on the item and then click the magnifying glass to zoom in on the document or picture found.
- To see the full list of a file’s duplicates, just click on it. Each file copy is listed with its location as well as the date it was last opened. To reveal this file copy in Finder—hover your mouse on it, and click the magnifying glass.
- To change the order of how duplicates are sorted, click the nine-dot button to the right, select Sort by, and choose the order you like. You can sort all detected items by Name, Last opened date, Checked (this puts the checkmarked items first), as well as either Ascending or Descending order.
- Once you’ve decided which file copies to delete, click Remove Selected. All selected items will be moved to the Trash.
- To start over, please click Start Scan again.
How to scan a specific Mac folder for duplicates
To search for duplicates in a selected folder, do the following:
1. Open Duplicates Finder, and click Custom Scan
2. Choose the folder you’d like to scan for duplicates
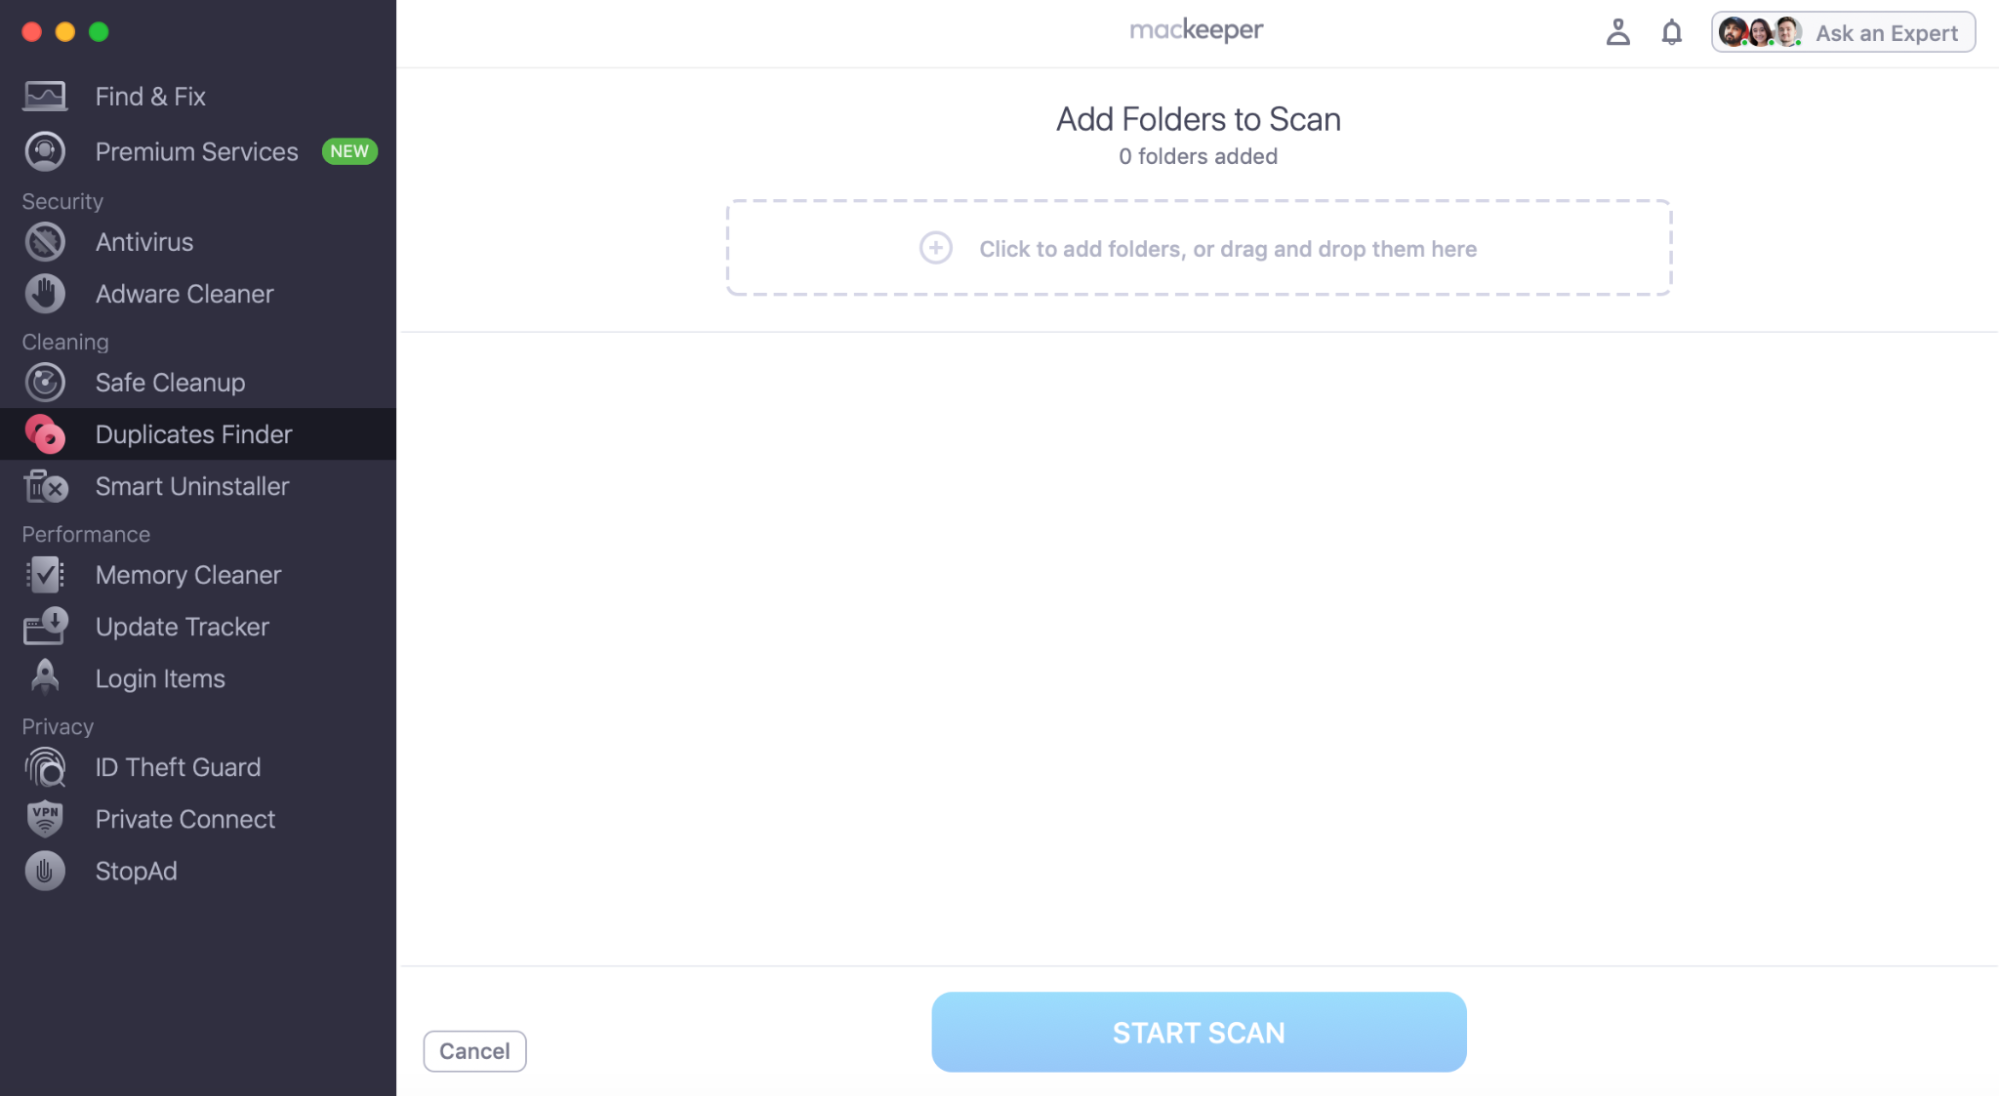
3. Click the + icon, select the folder, and hit Open
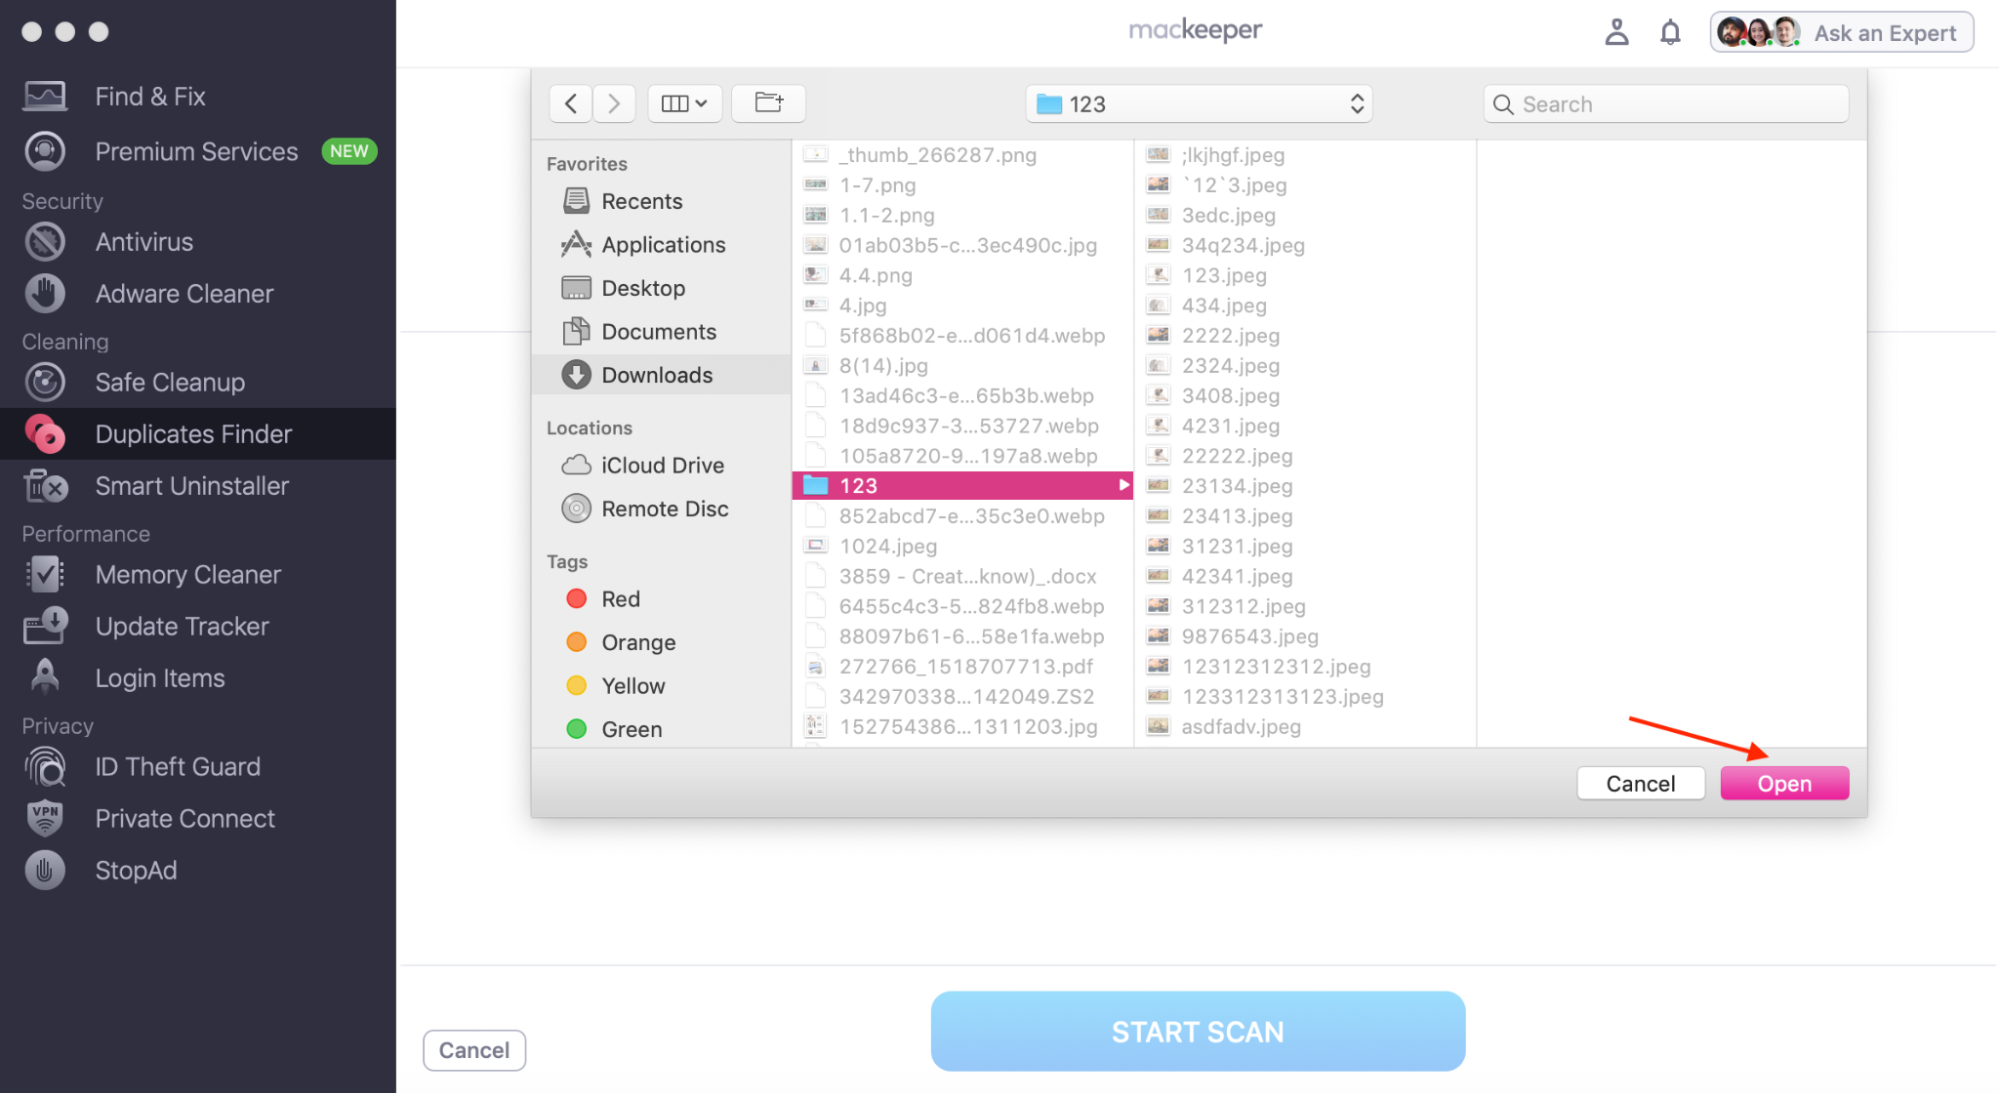
Alternatively, you can drag the folder into the MacKeeper window. You can add as many folders to the Custom Scan as you need.
4. Click the Start Scan button at the bottom; as soon as any duplicates are found, hit Remove Duplicates
5. The folder you’ve selected should now be free of all useless duplicate files.
Is Duplicates Finder safe?
Duplicates Finder is perfectly safe for Mac, because it only removes useless files. You can manually review and select which file copies to delete. Original files stay safe while you enjoy more disk space for the files you really need.
By default, MacKeeper selects all file copies to delete except the original file. MacKeeper will always notify you if you accidentally select the original file.
