


MacKeeper Antivirus helps protect your Mac from malware, viruses, Trojans, worms, and other security threats. It can scan your Mac for malicious files and monitor your system in real time, helping you stay protected before infected files can cause harm.
Set Up Antivirus
Enable MacKeeper Antivirus
To get started with Antivirus:
1. Open MacKeeper.
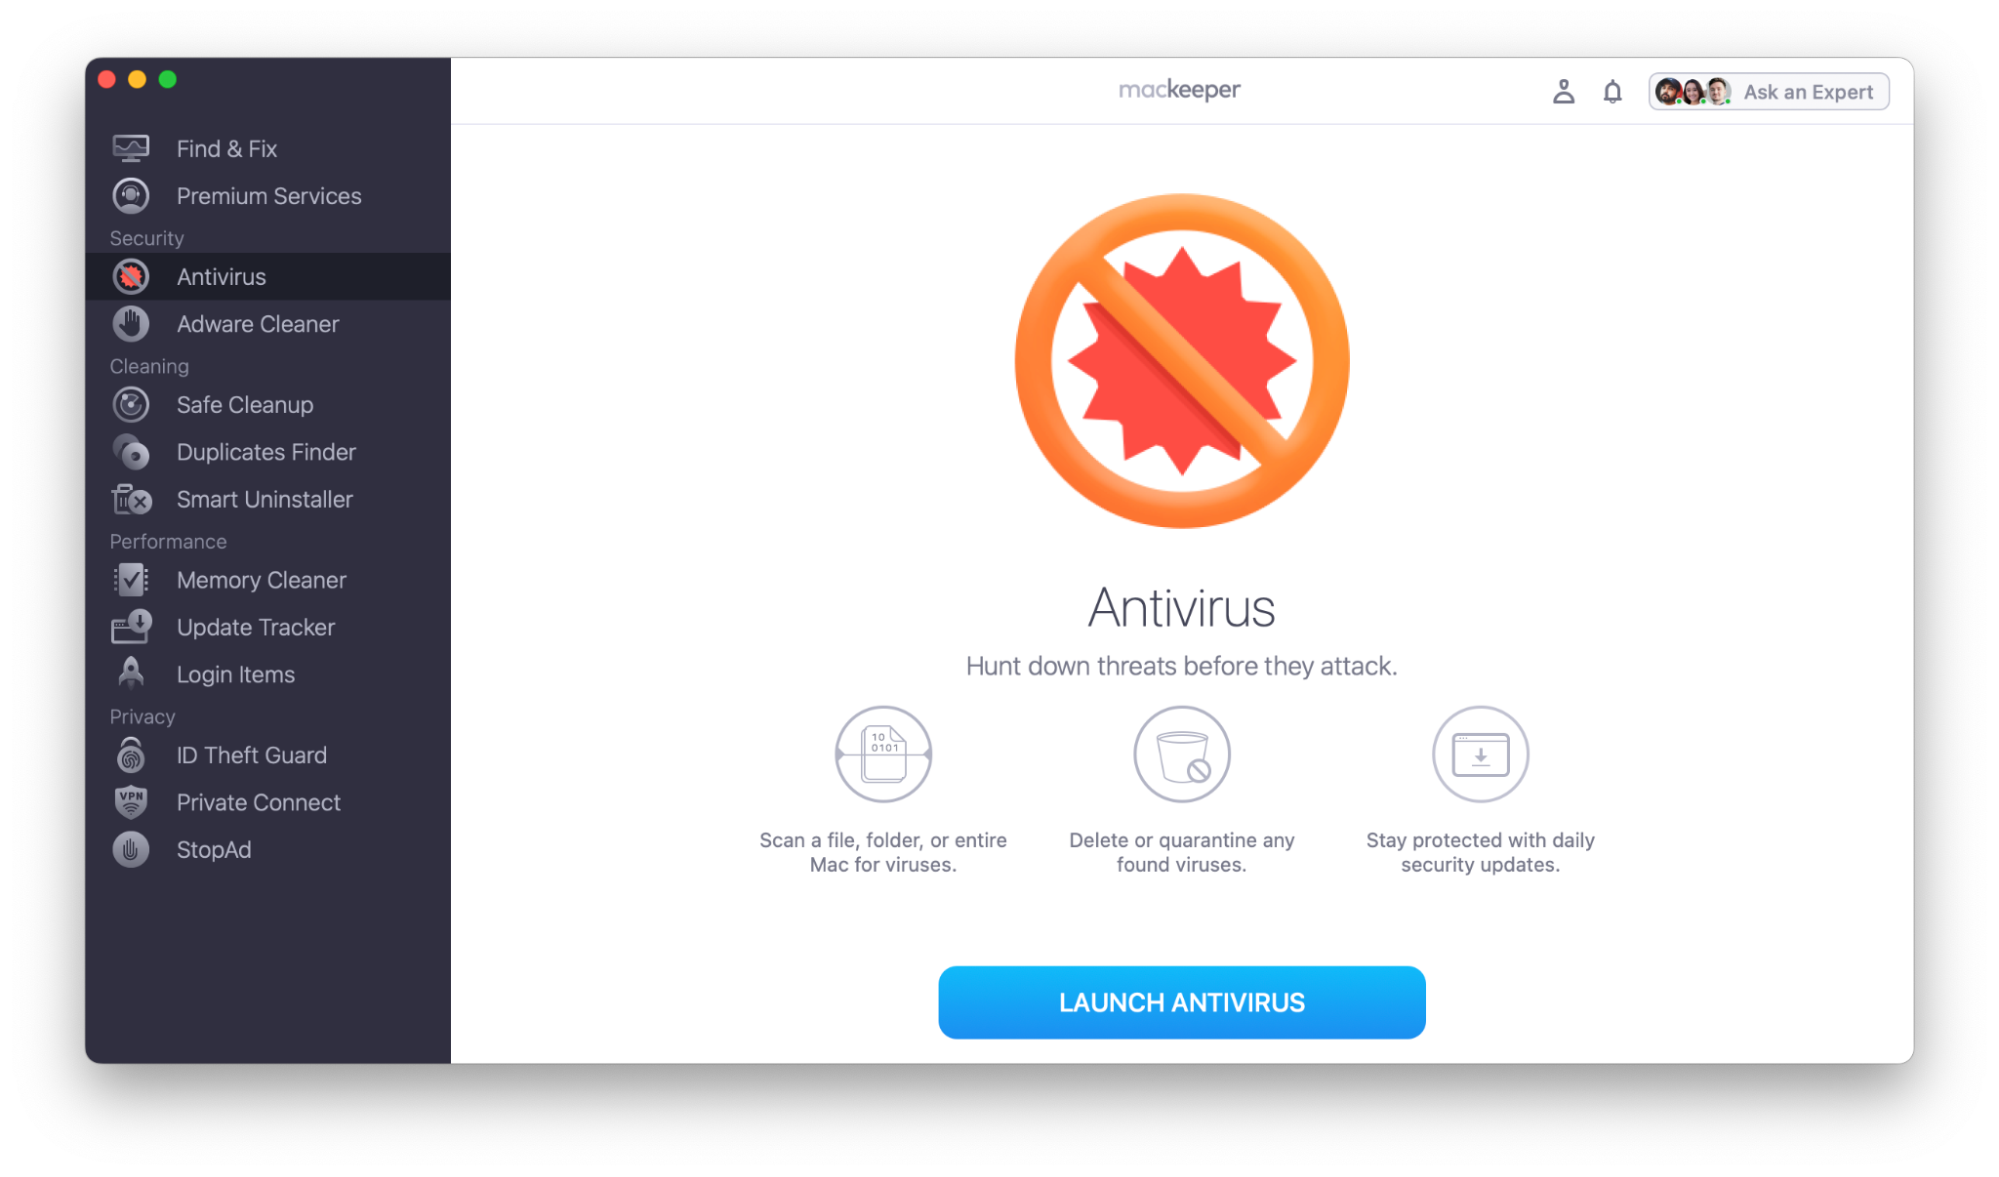
2. Select Antivirus from the left sidebar.
3. Click Launch Antivirus.
4. Wait while Antivirus is being enabled.

5. Click Next to continue and set up Real-Time Protection, or select Later if you'd like to do it later.
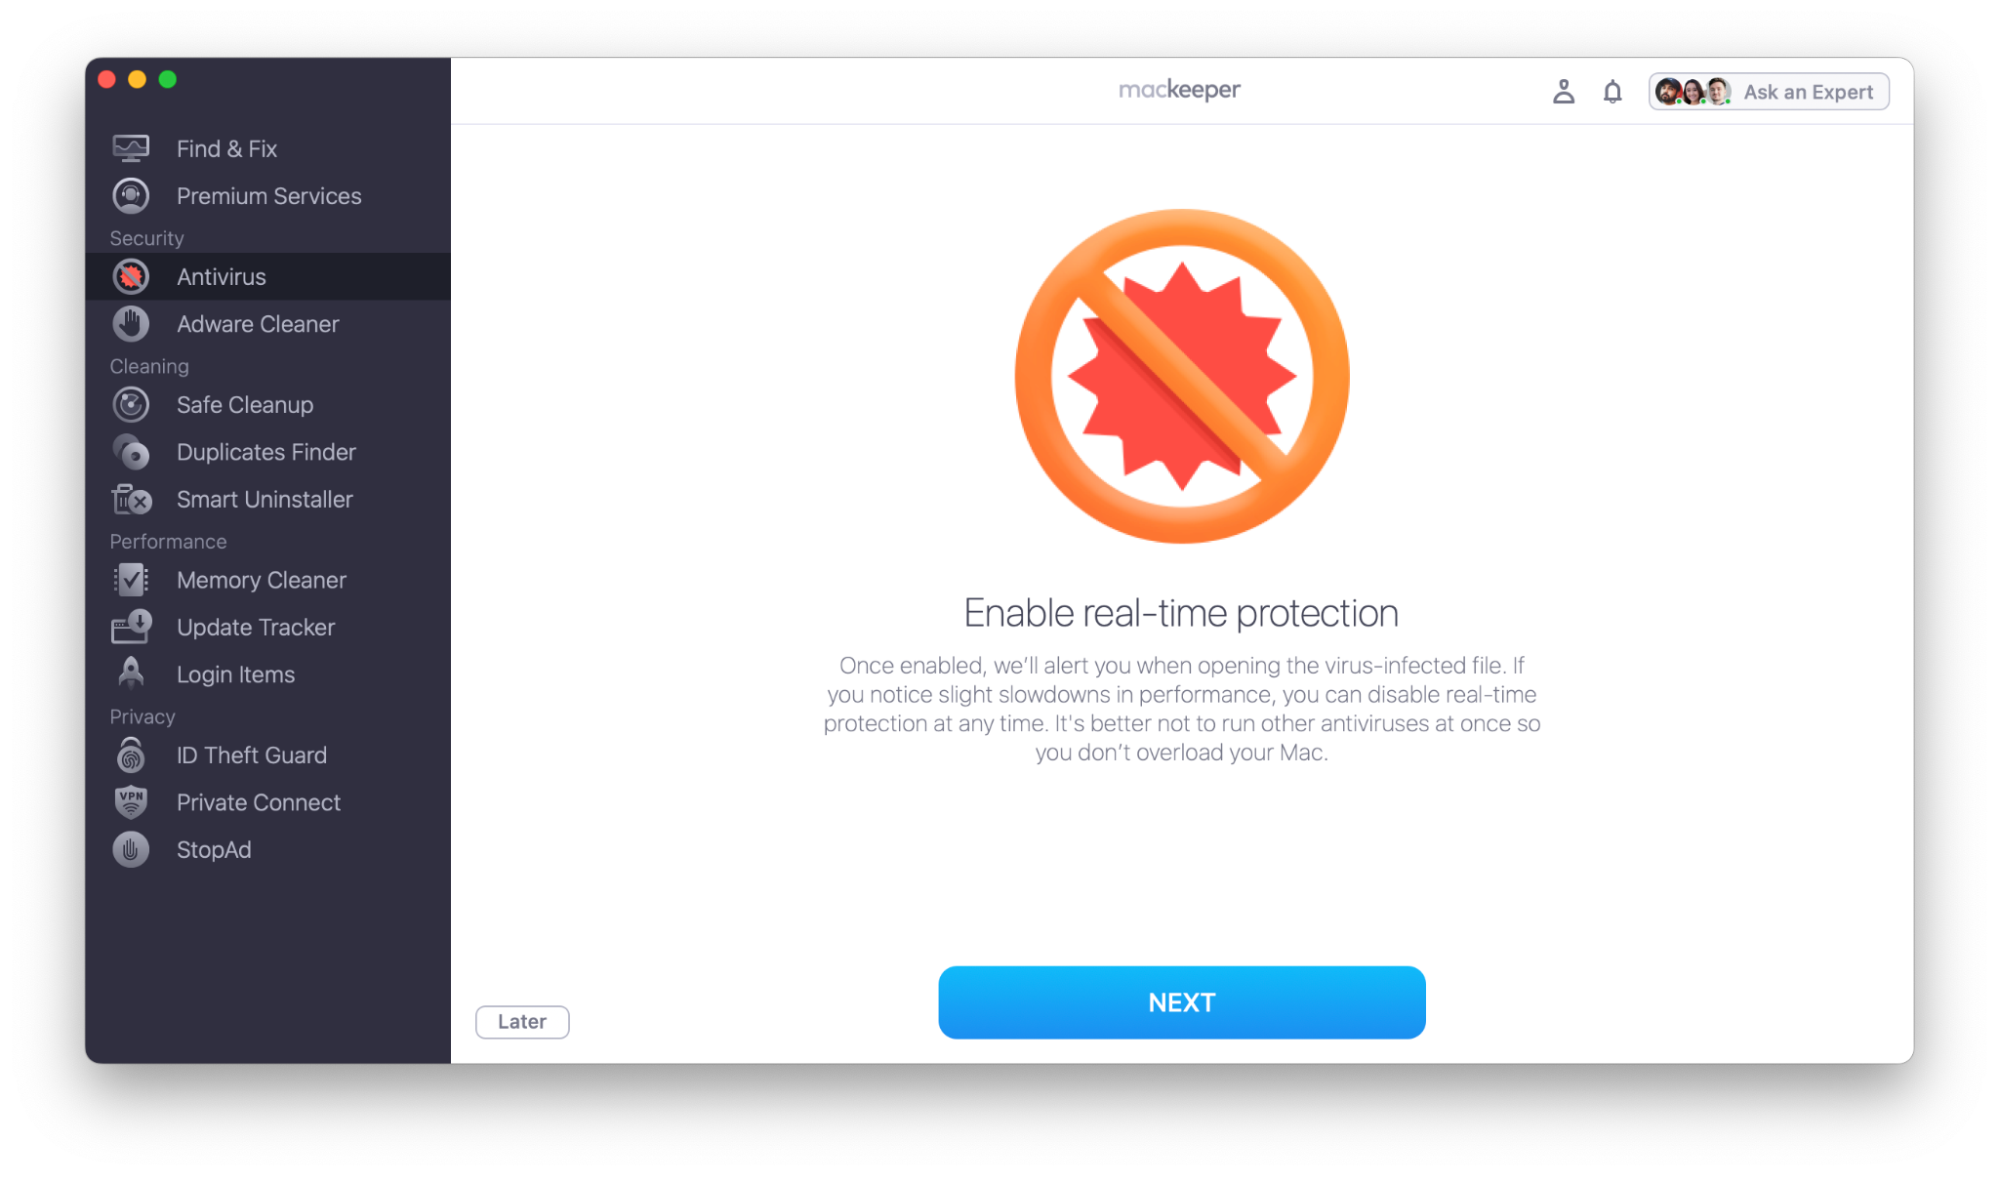
Before scanning your Mac, we strongly recommend enabling Real-Time Protection and granting Full Disk Access to ensure maximum protection.
Enable Real-Time Protection
Real-Time Protection automatically checks files as you open them and alerts you if malicious content is detected. This helps stop threats before they can infect your Mac.
To enable Real-Time Protection:
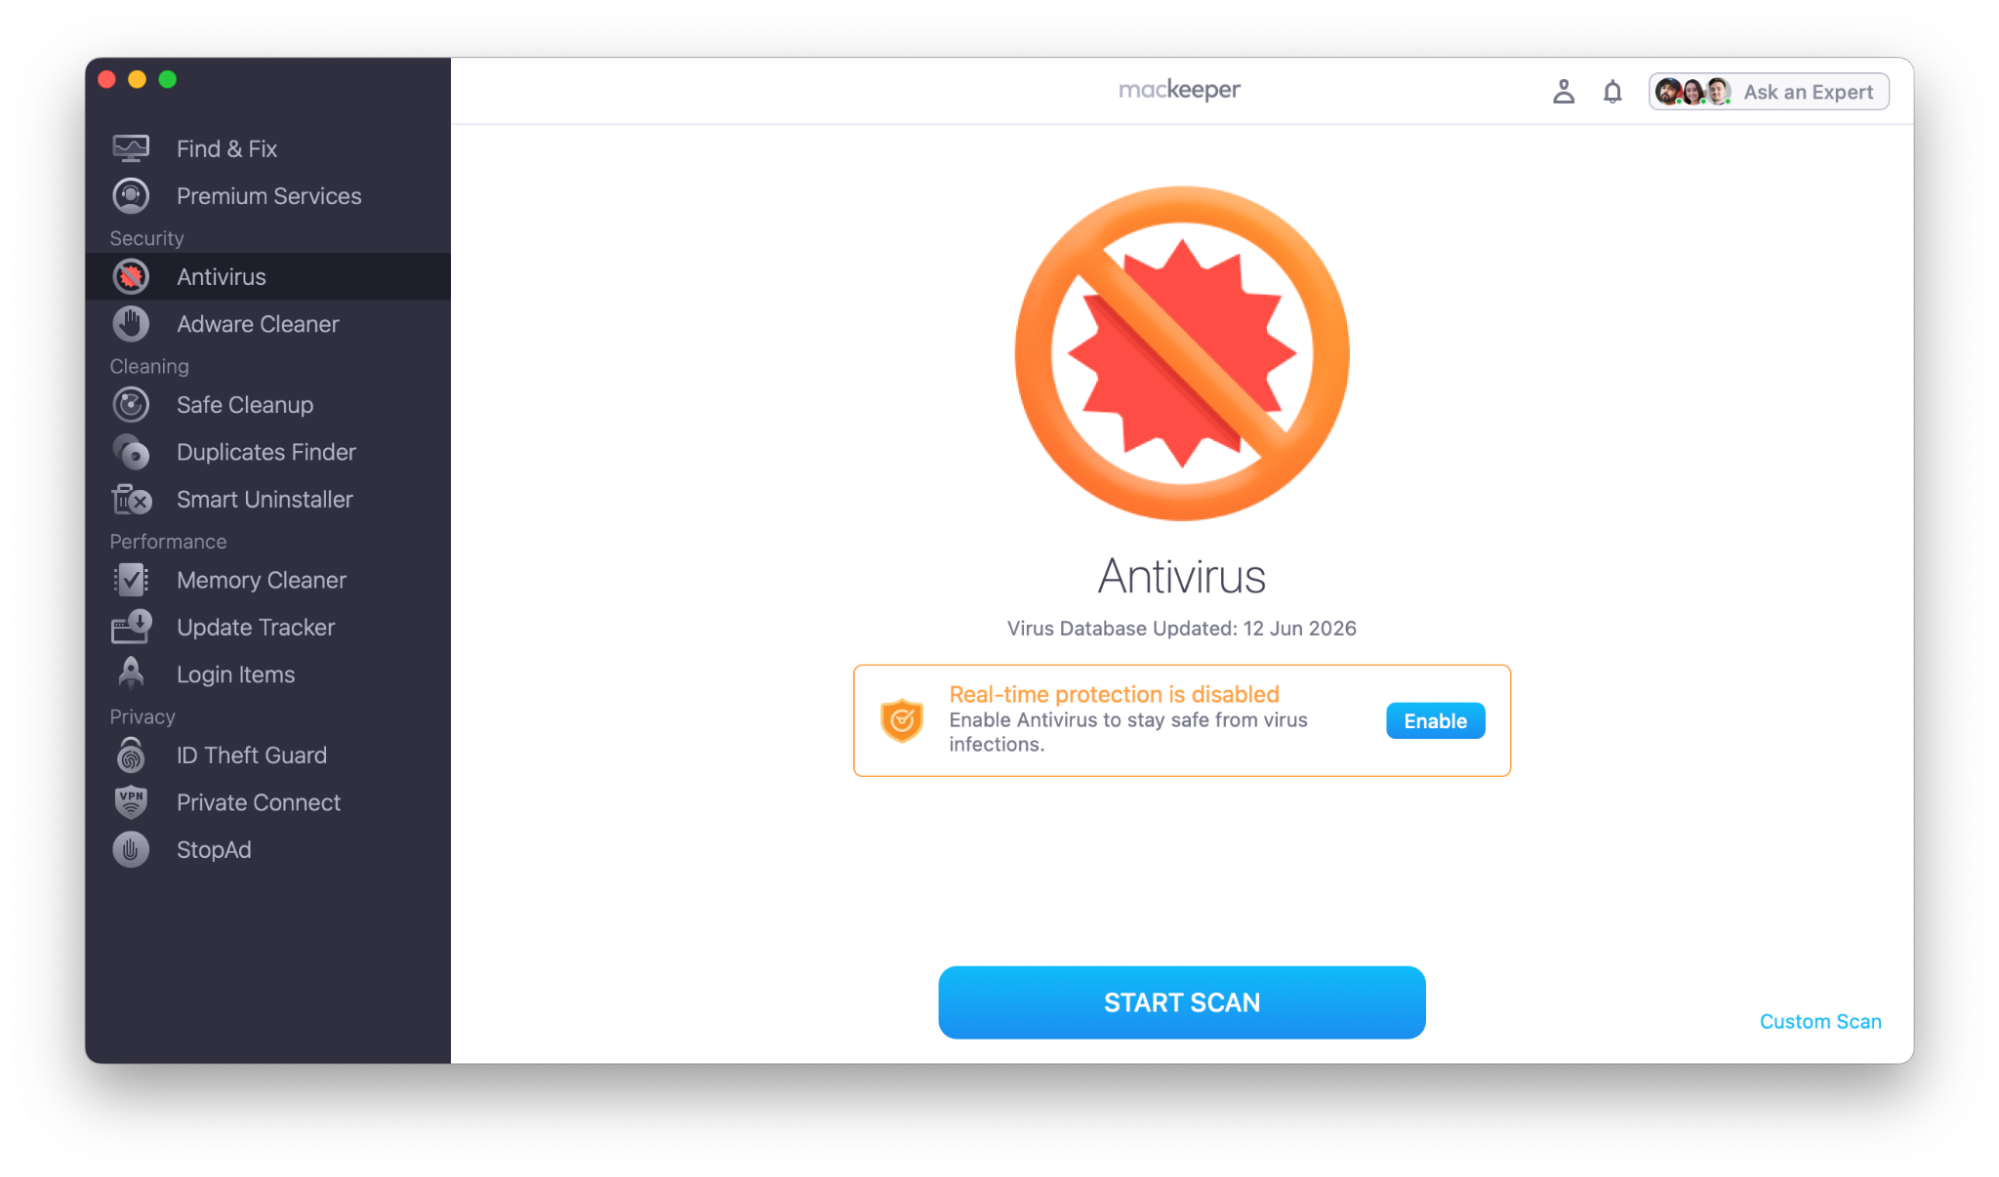
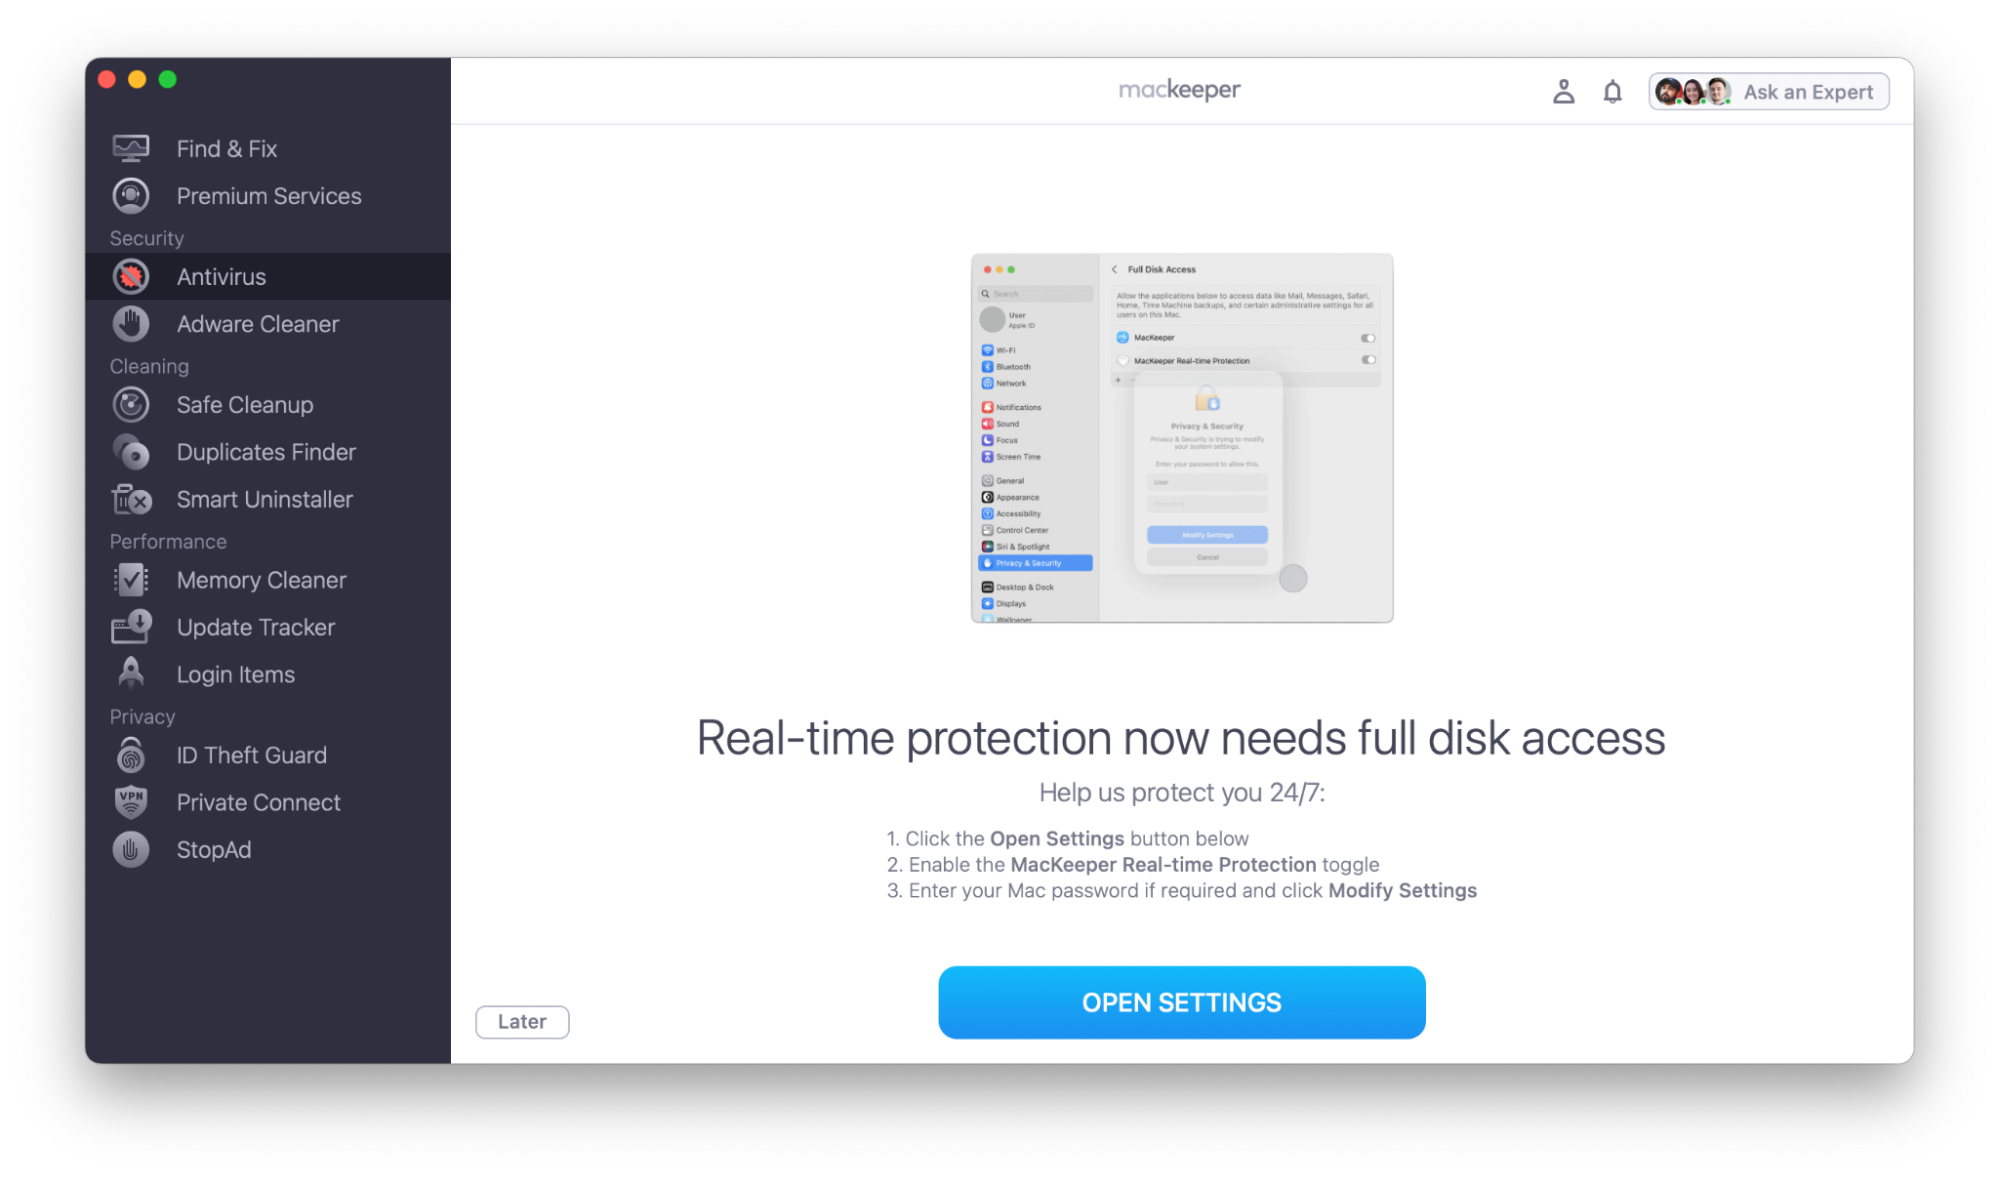
1. Open Antivirus and click Enable.
2. Click Open Settings.
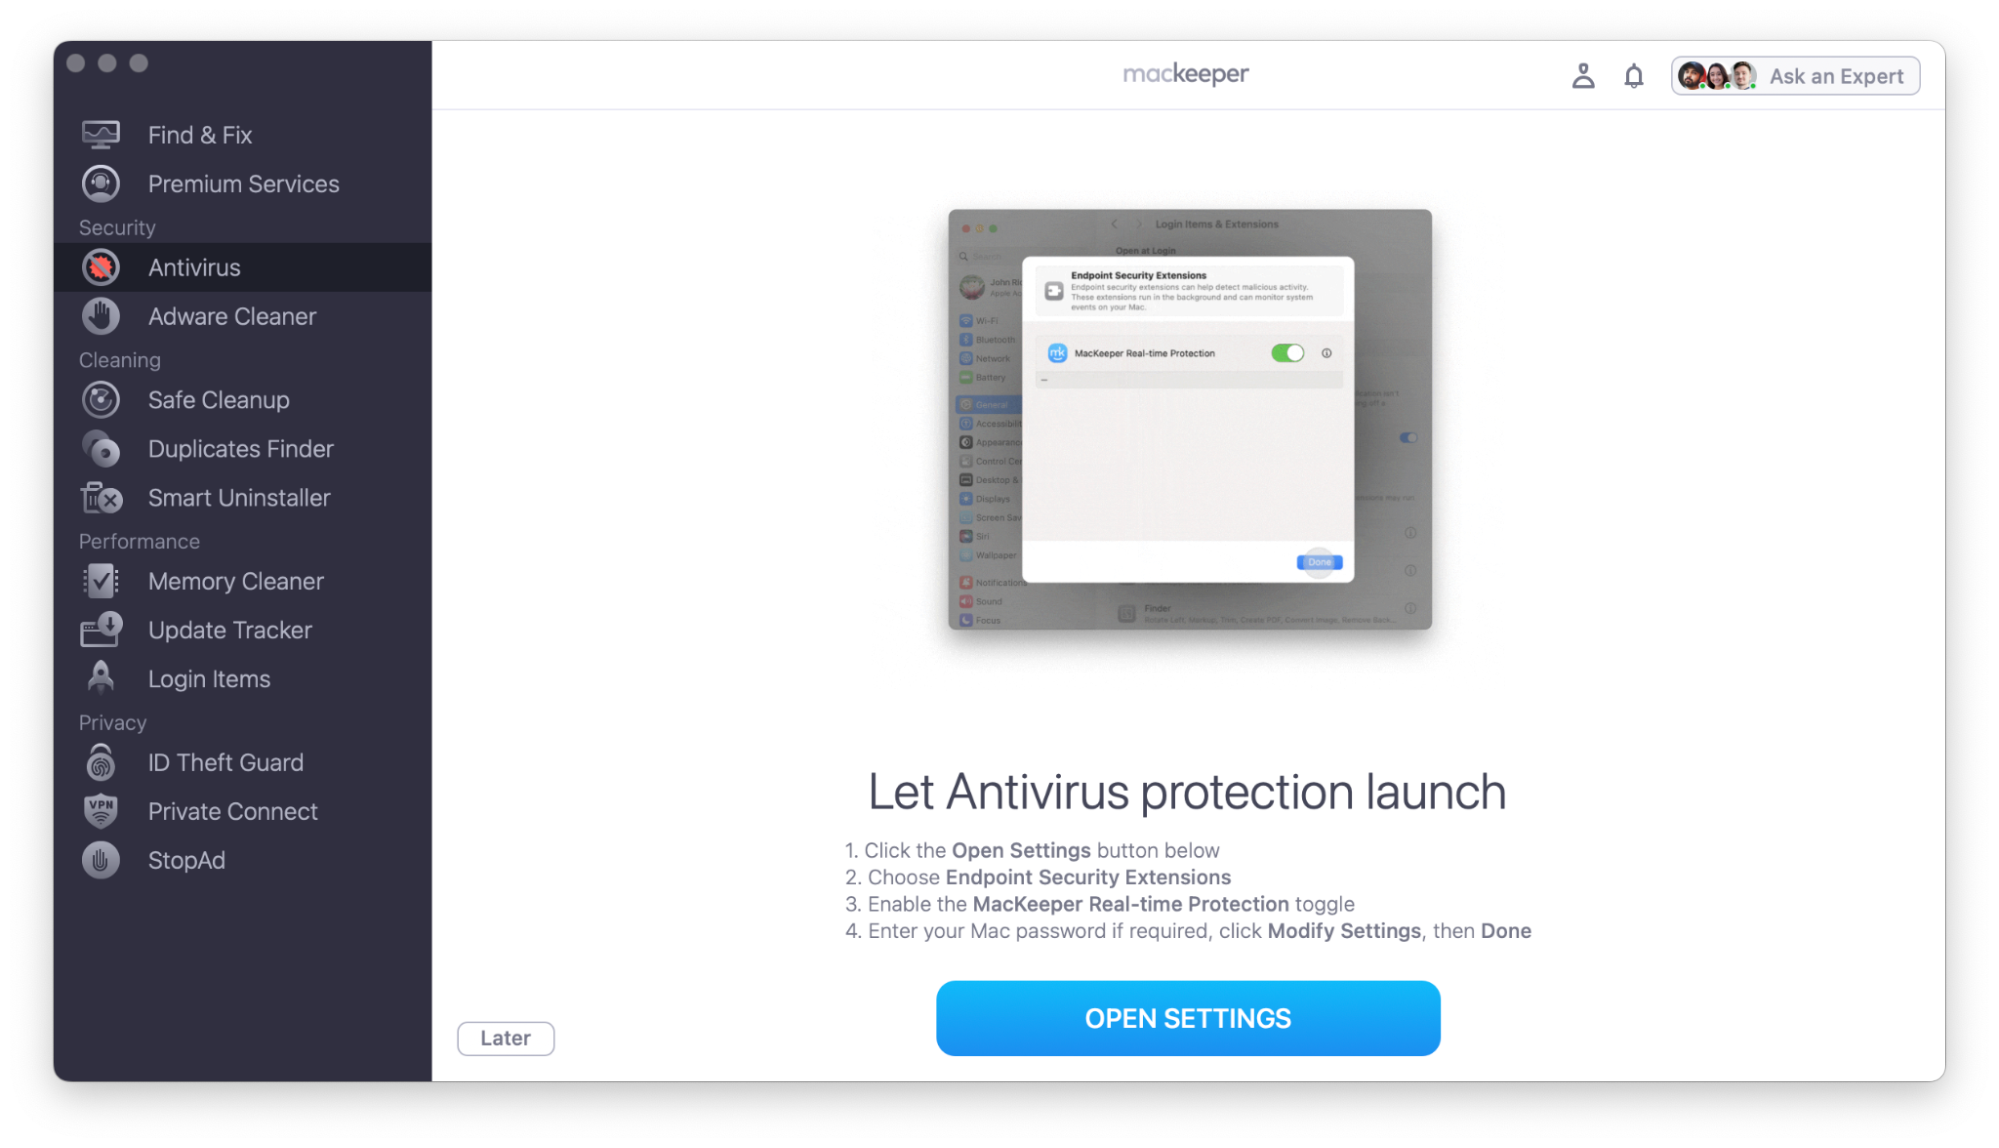
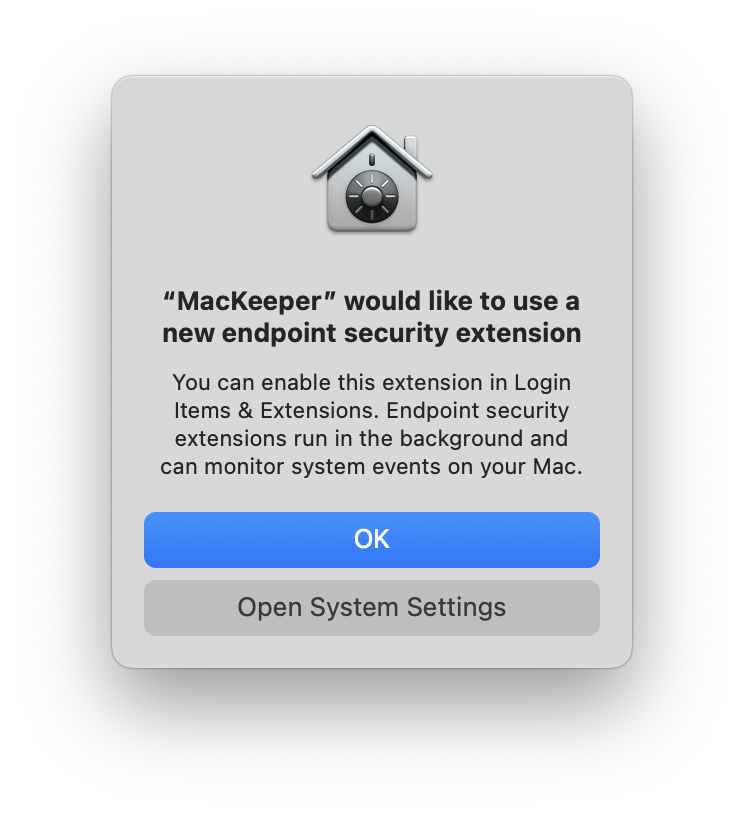
You may also see a macOS notification at this point. If it appears, you can click Open System Settings there instead.
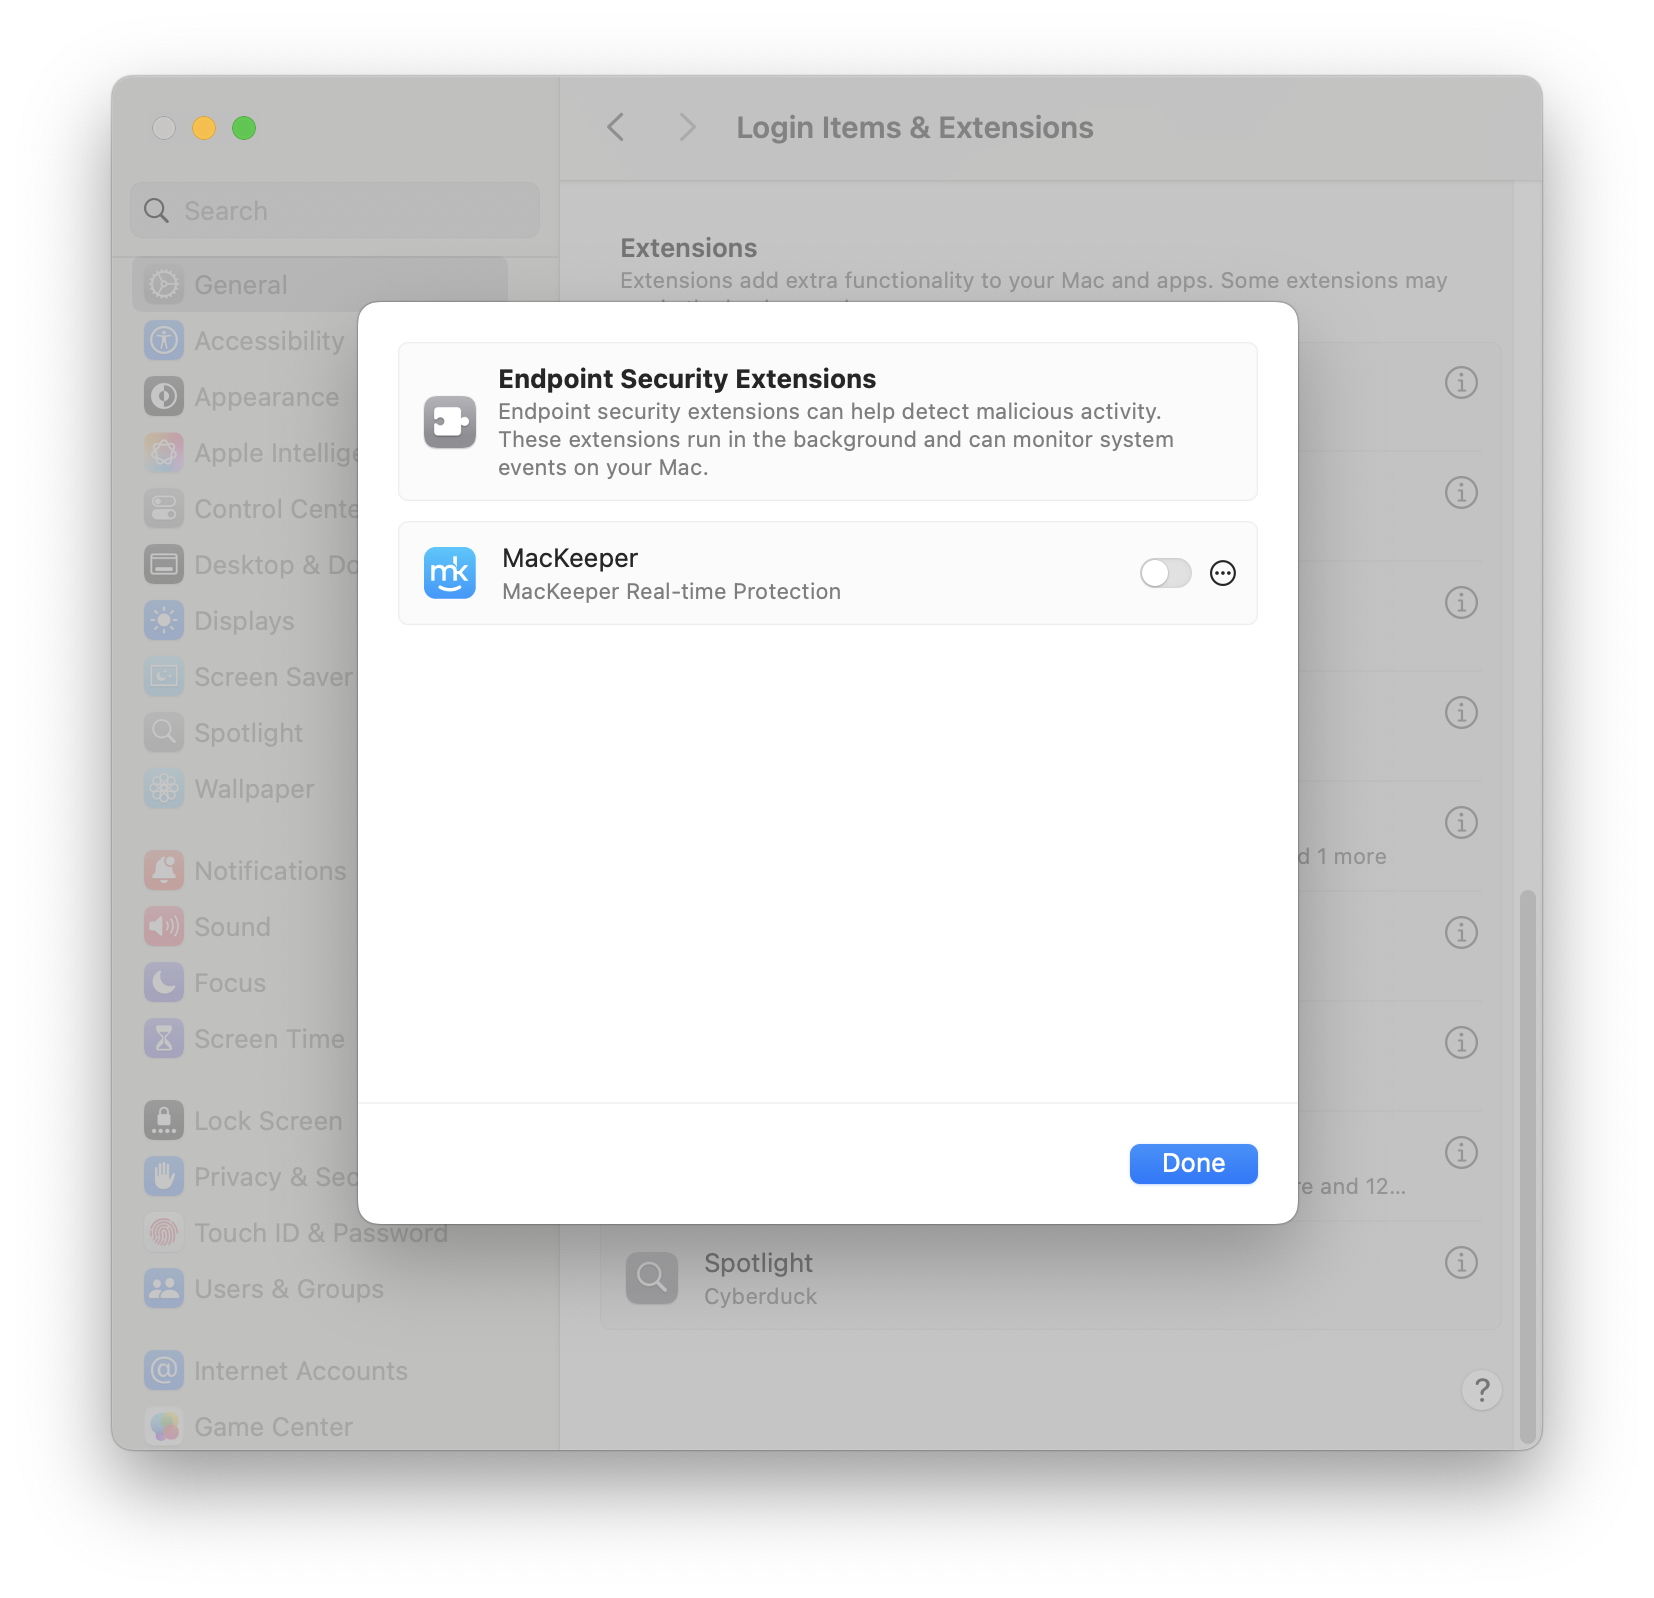
3. In the System Settings window, enable the MacKeeper Real-Time Protection toggle.
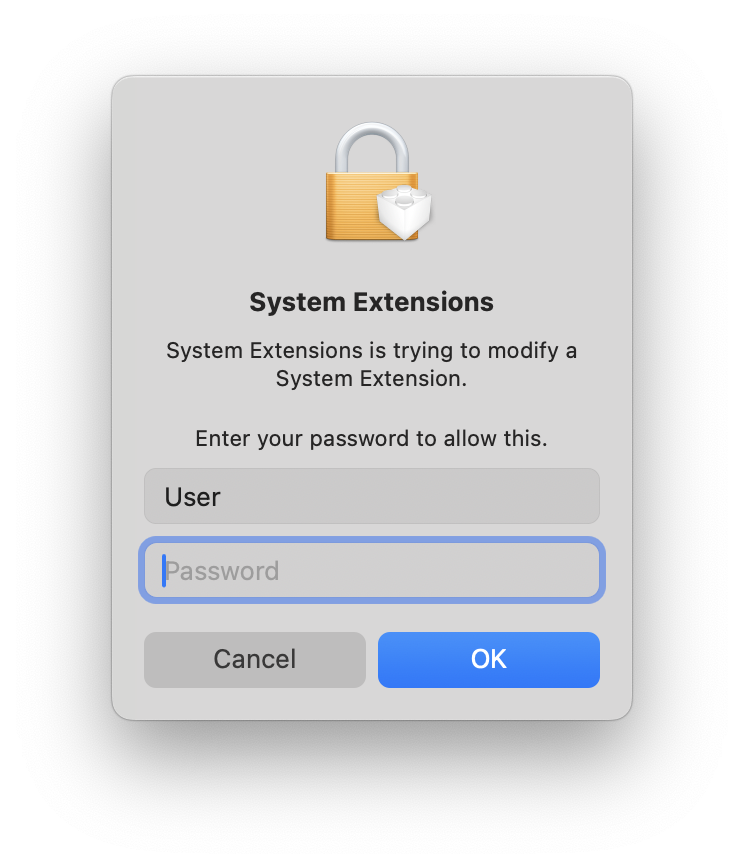
4. Enter your Mac password if prompted, then click OK.
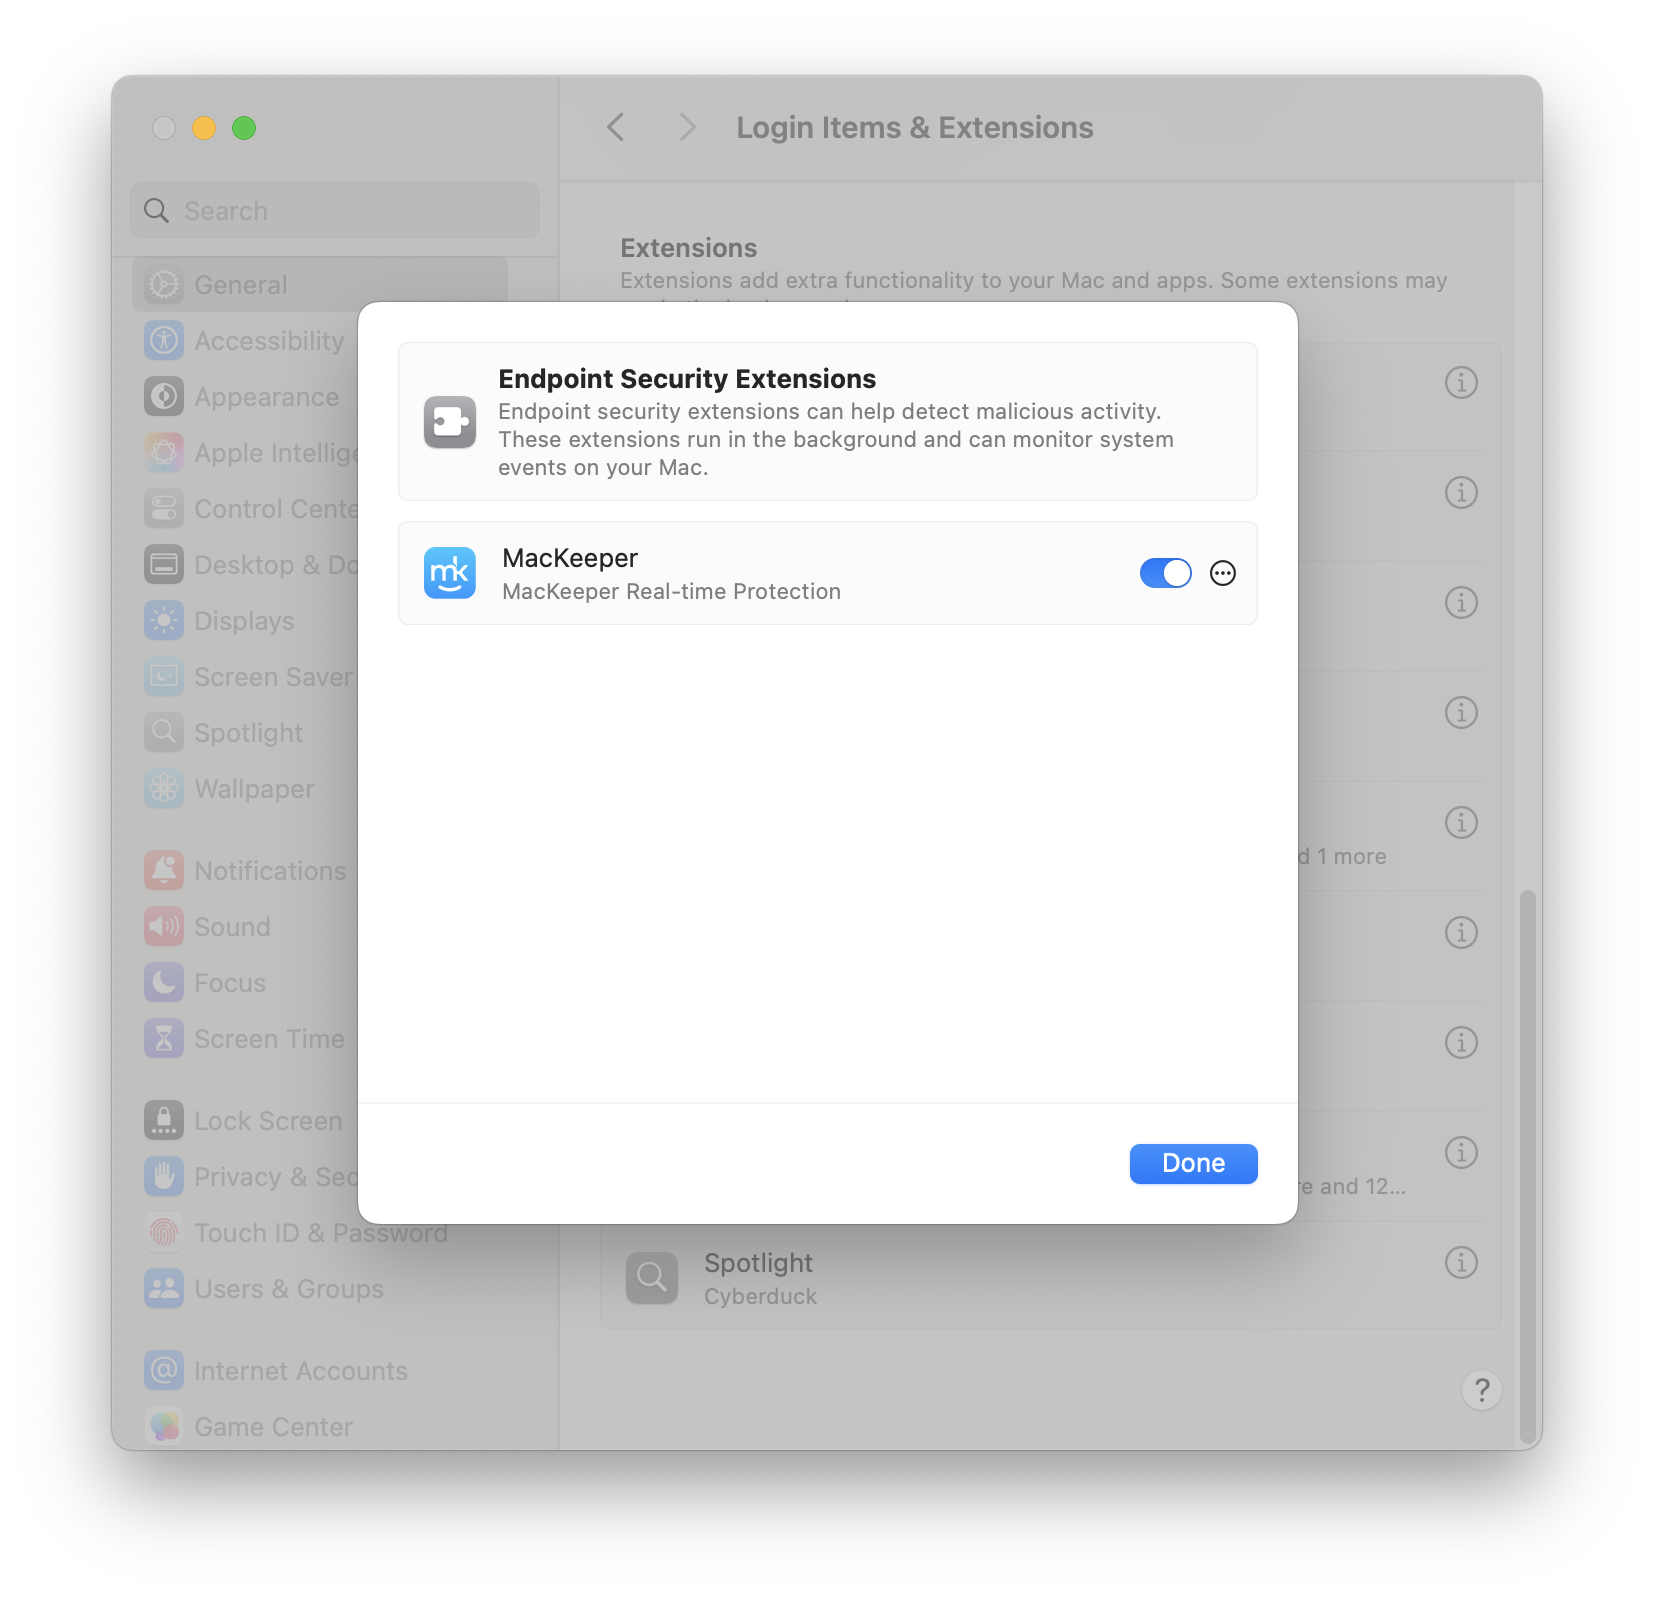
5. Click Done once the toggle has been enabled.
The required system extension is now active. To allow Real-Time Protection to work properly, you'll also need to grant Full Disk Access.
Allow Full Disk Access
MacKeeper Antivirus requires Full Disk Access to scan all areas of your Mac and detect threats wherever they may be located.
To grant Full Disk Access:
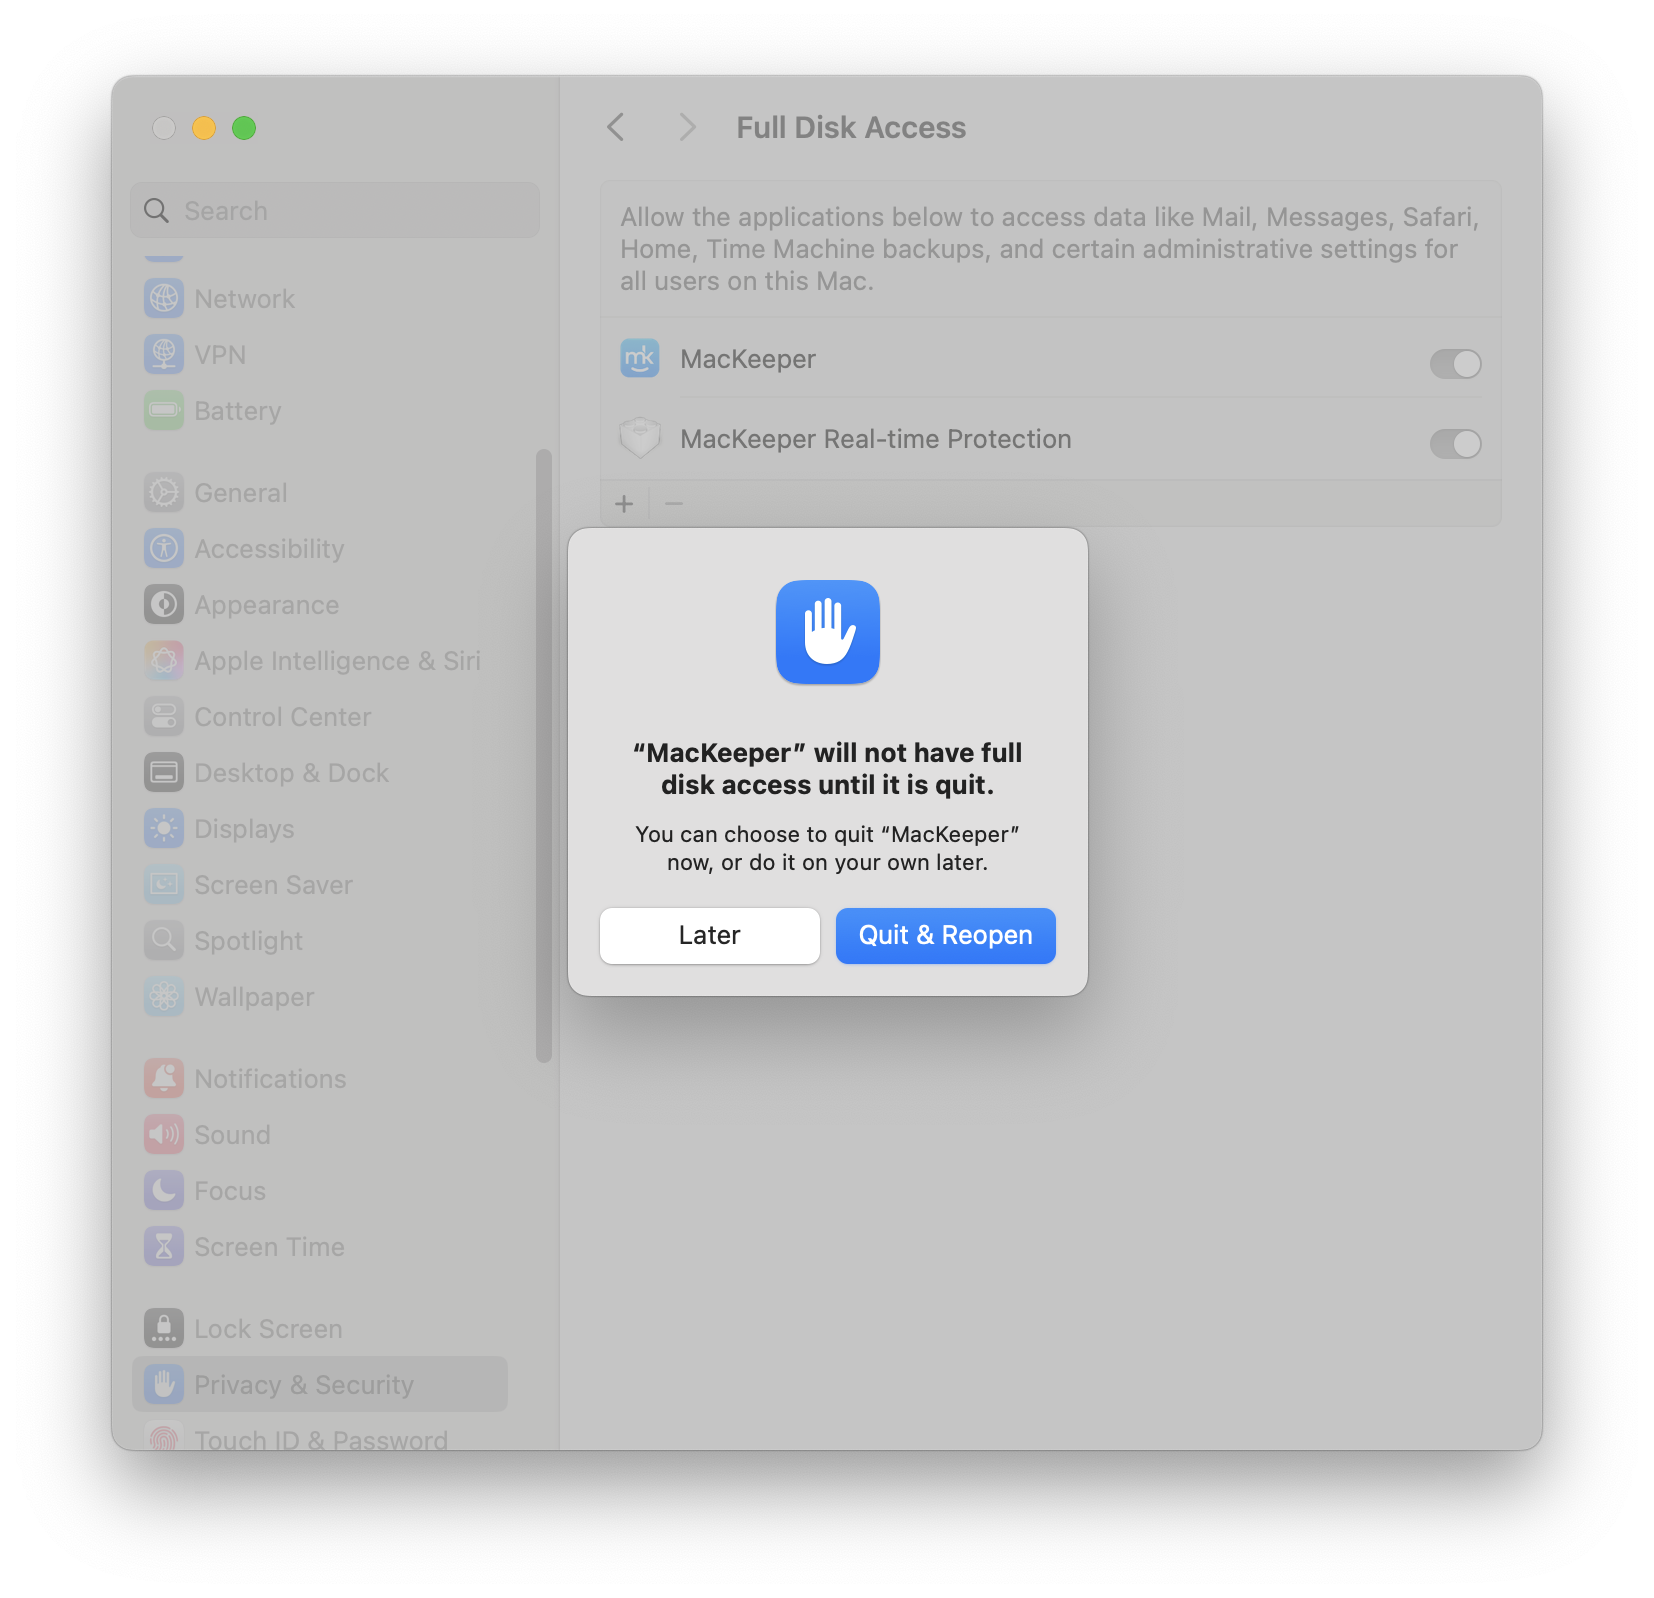
1. In the Antivirus window, click Open Settings.
2. Enable the MacKeeper Real-time Protection toggle.

3. Enable the MacKeeper toggle if it’s not enabled.
4. If prompted, click Quit & Relaunch to restart MacKeeper and apply the changes.
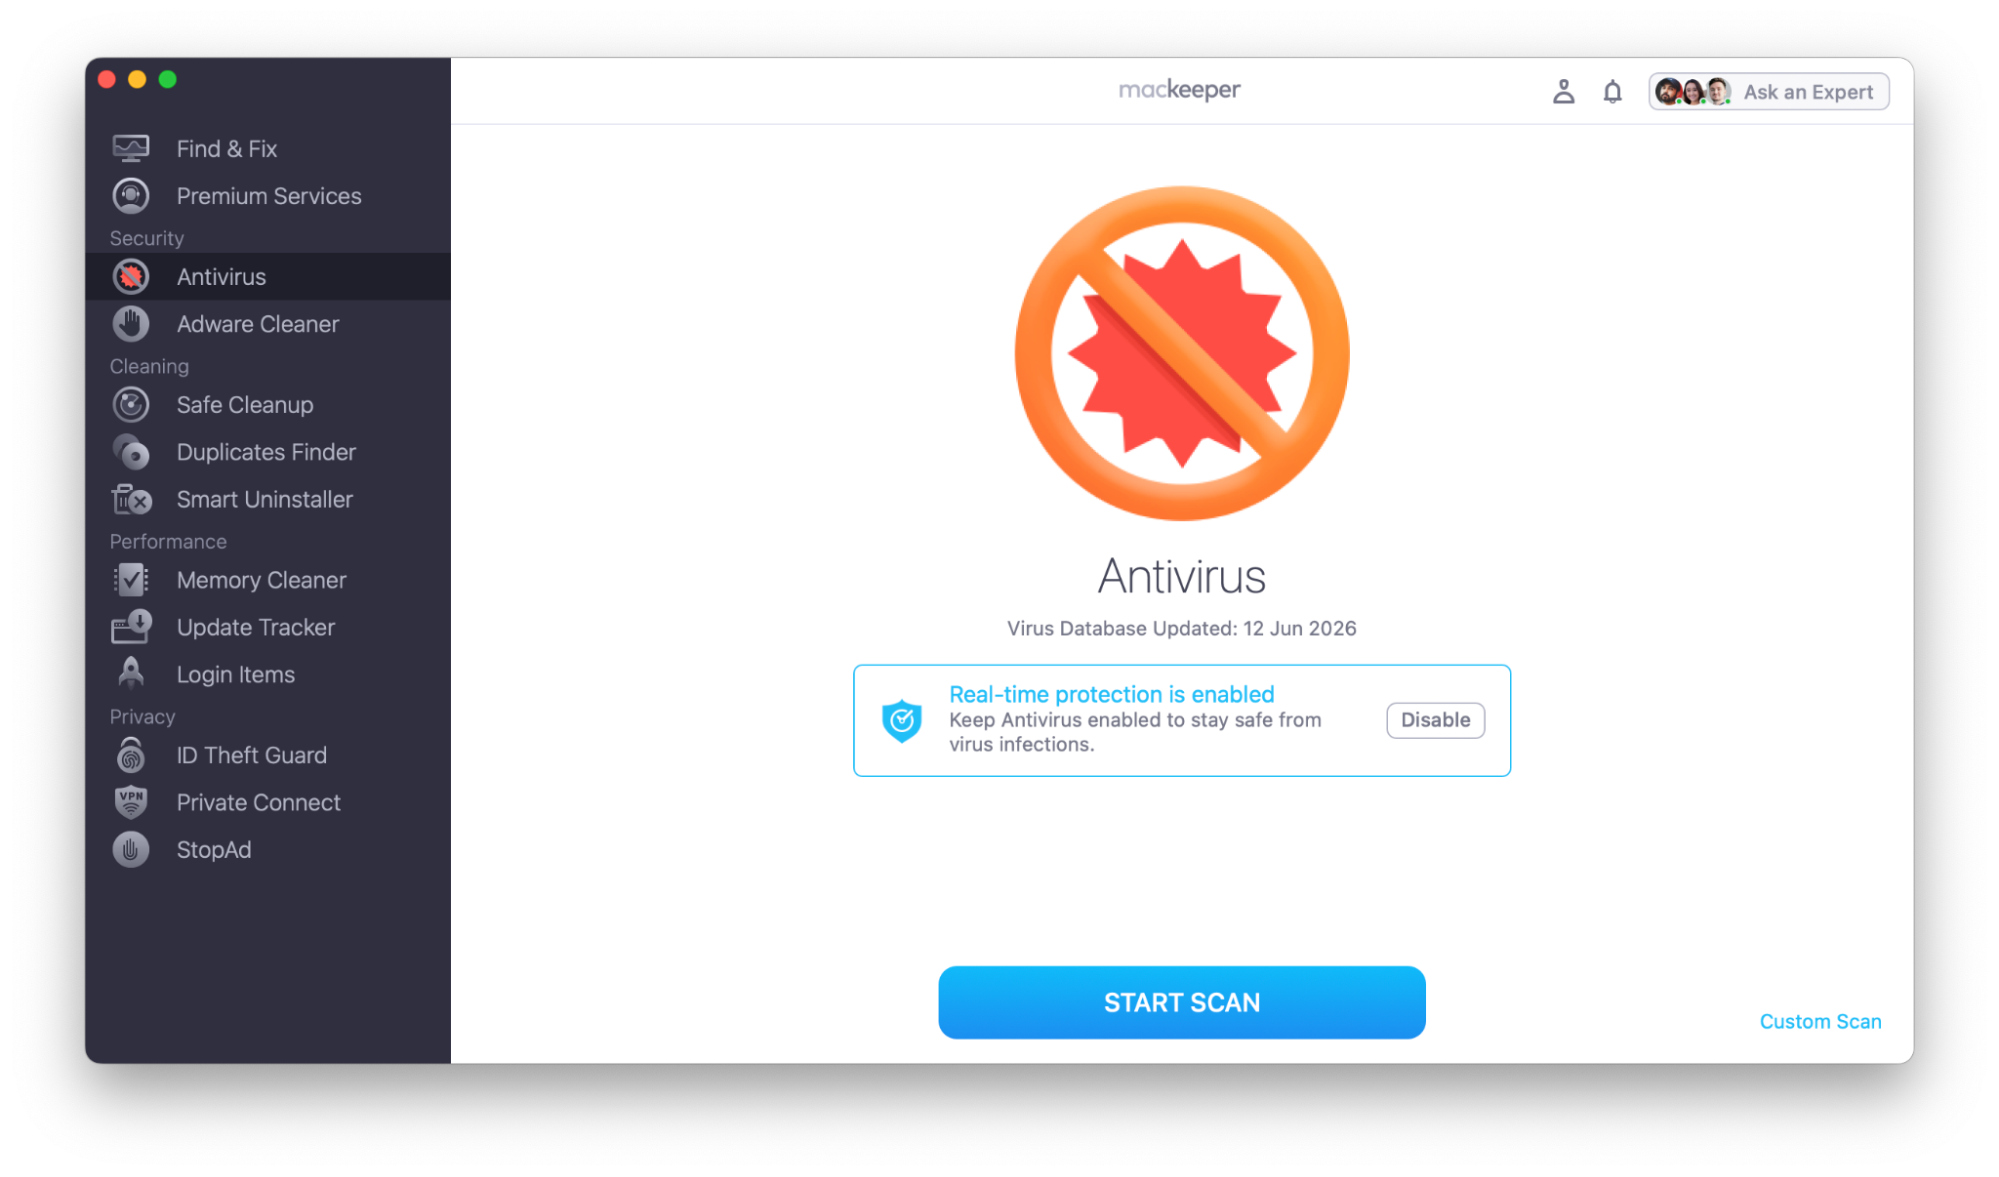
Done! Real-time protection is on, and MacKeeper will automatically check your files for malware.
Scan Your Entire Mac for Viruses
To perform a full malware scan:
1. Open MacKeeper Antivirus.
2. Click Start Scan.
By default, Antivirus scans your Home folder for malware and other threats. During the scan, you can view the file currently being checked and hover over it to see its full path.
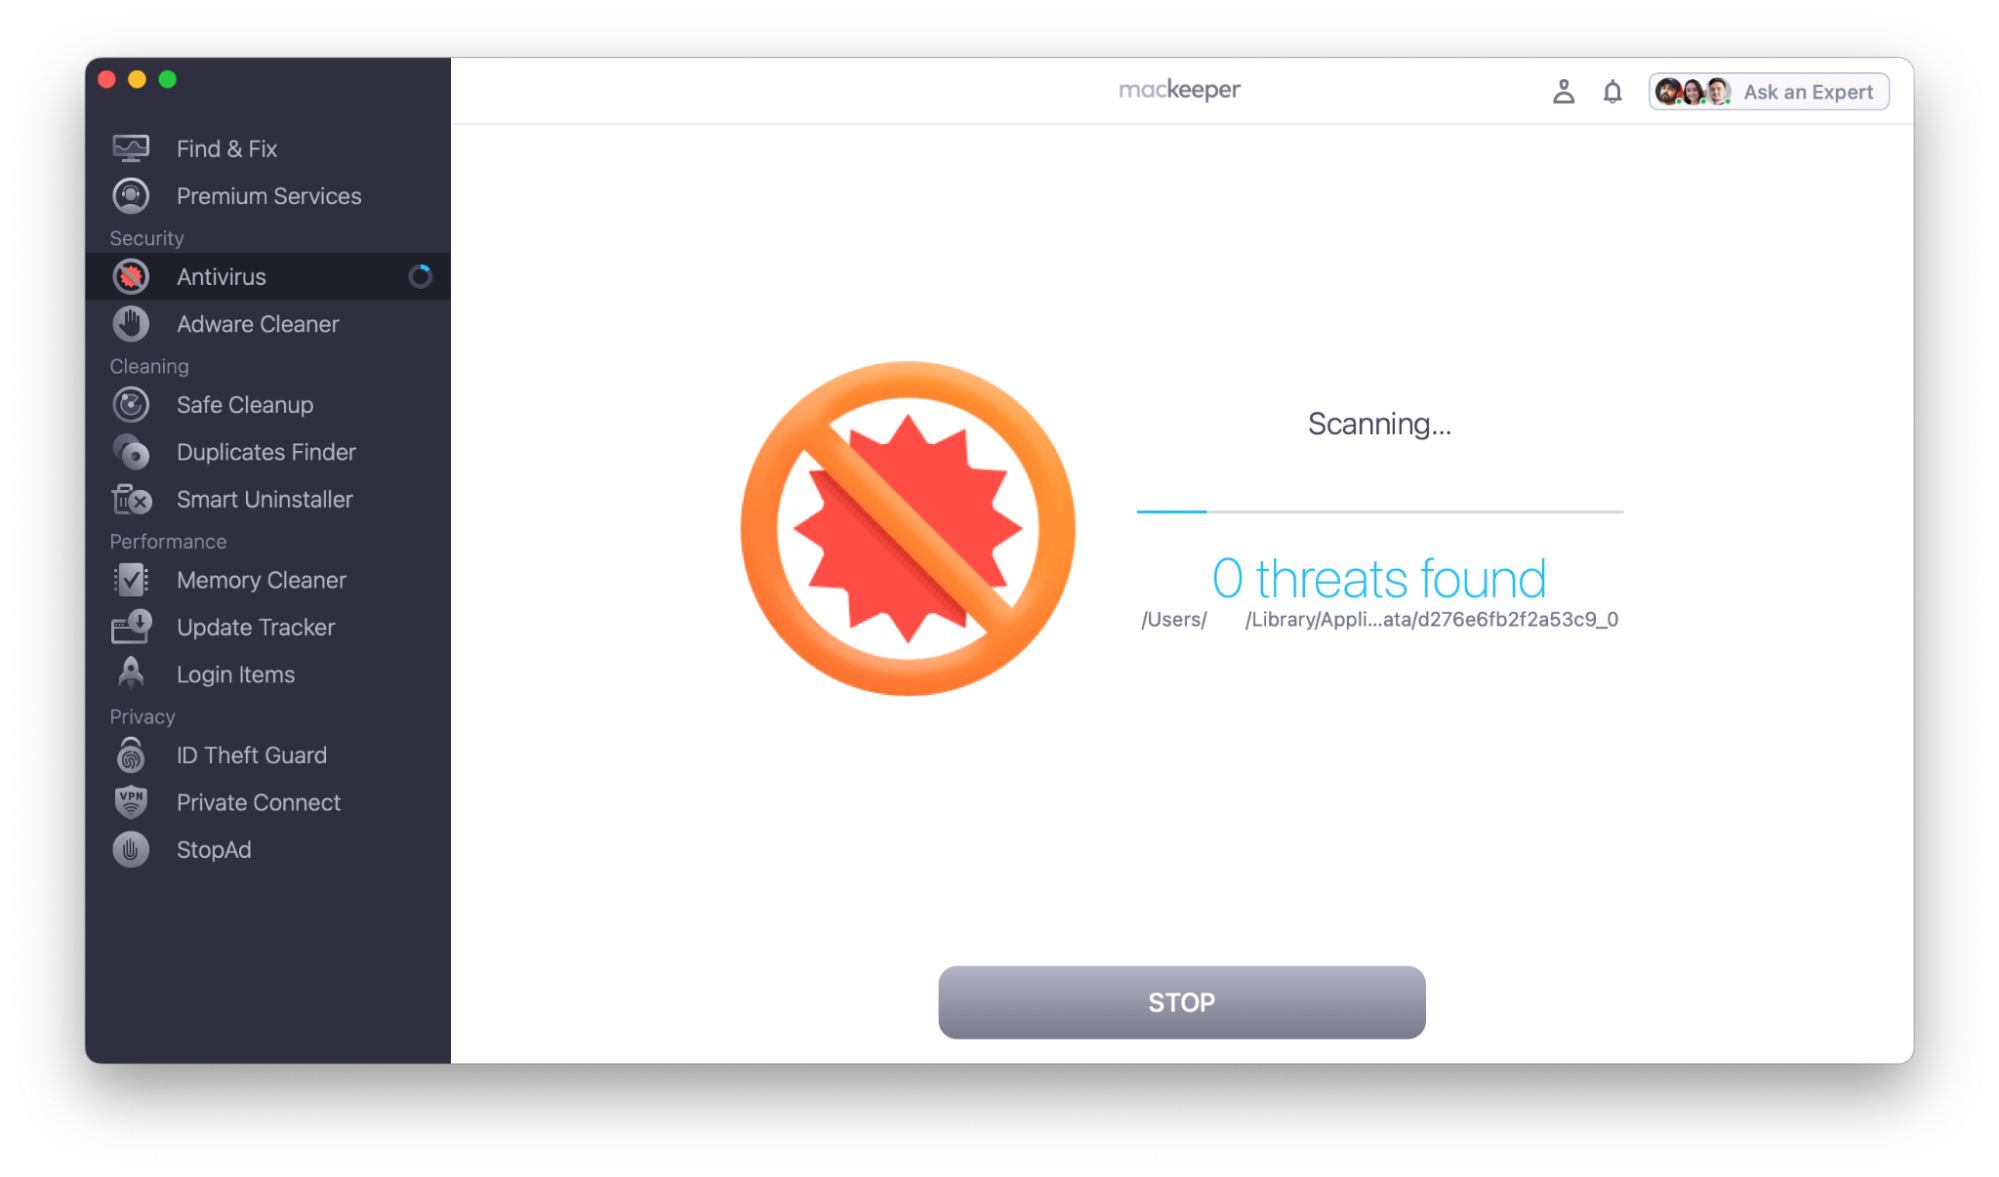
Scan duration depends on the number of files, their size, and your Mac's overall performance.
Scan a Specific File or Folder
A custom scan is useful when you've downloaded new files or connected an external drive.
To run a custom scan:
1. Open MacKeeper Antivirus.
2. Click Custom Scan in the bottom-right corner.
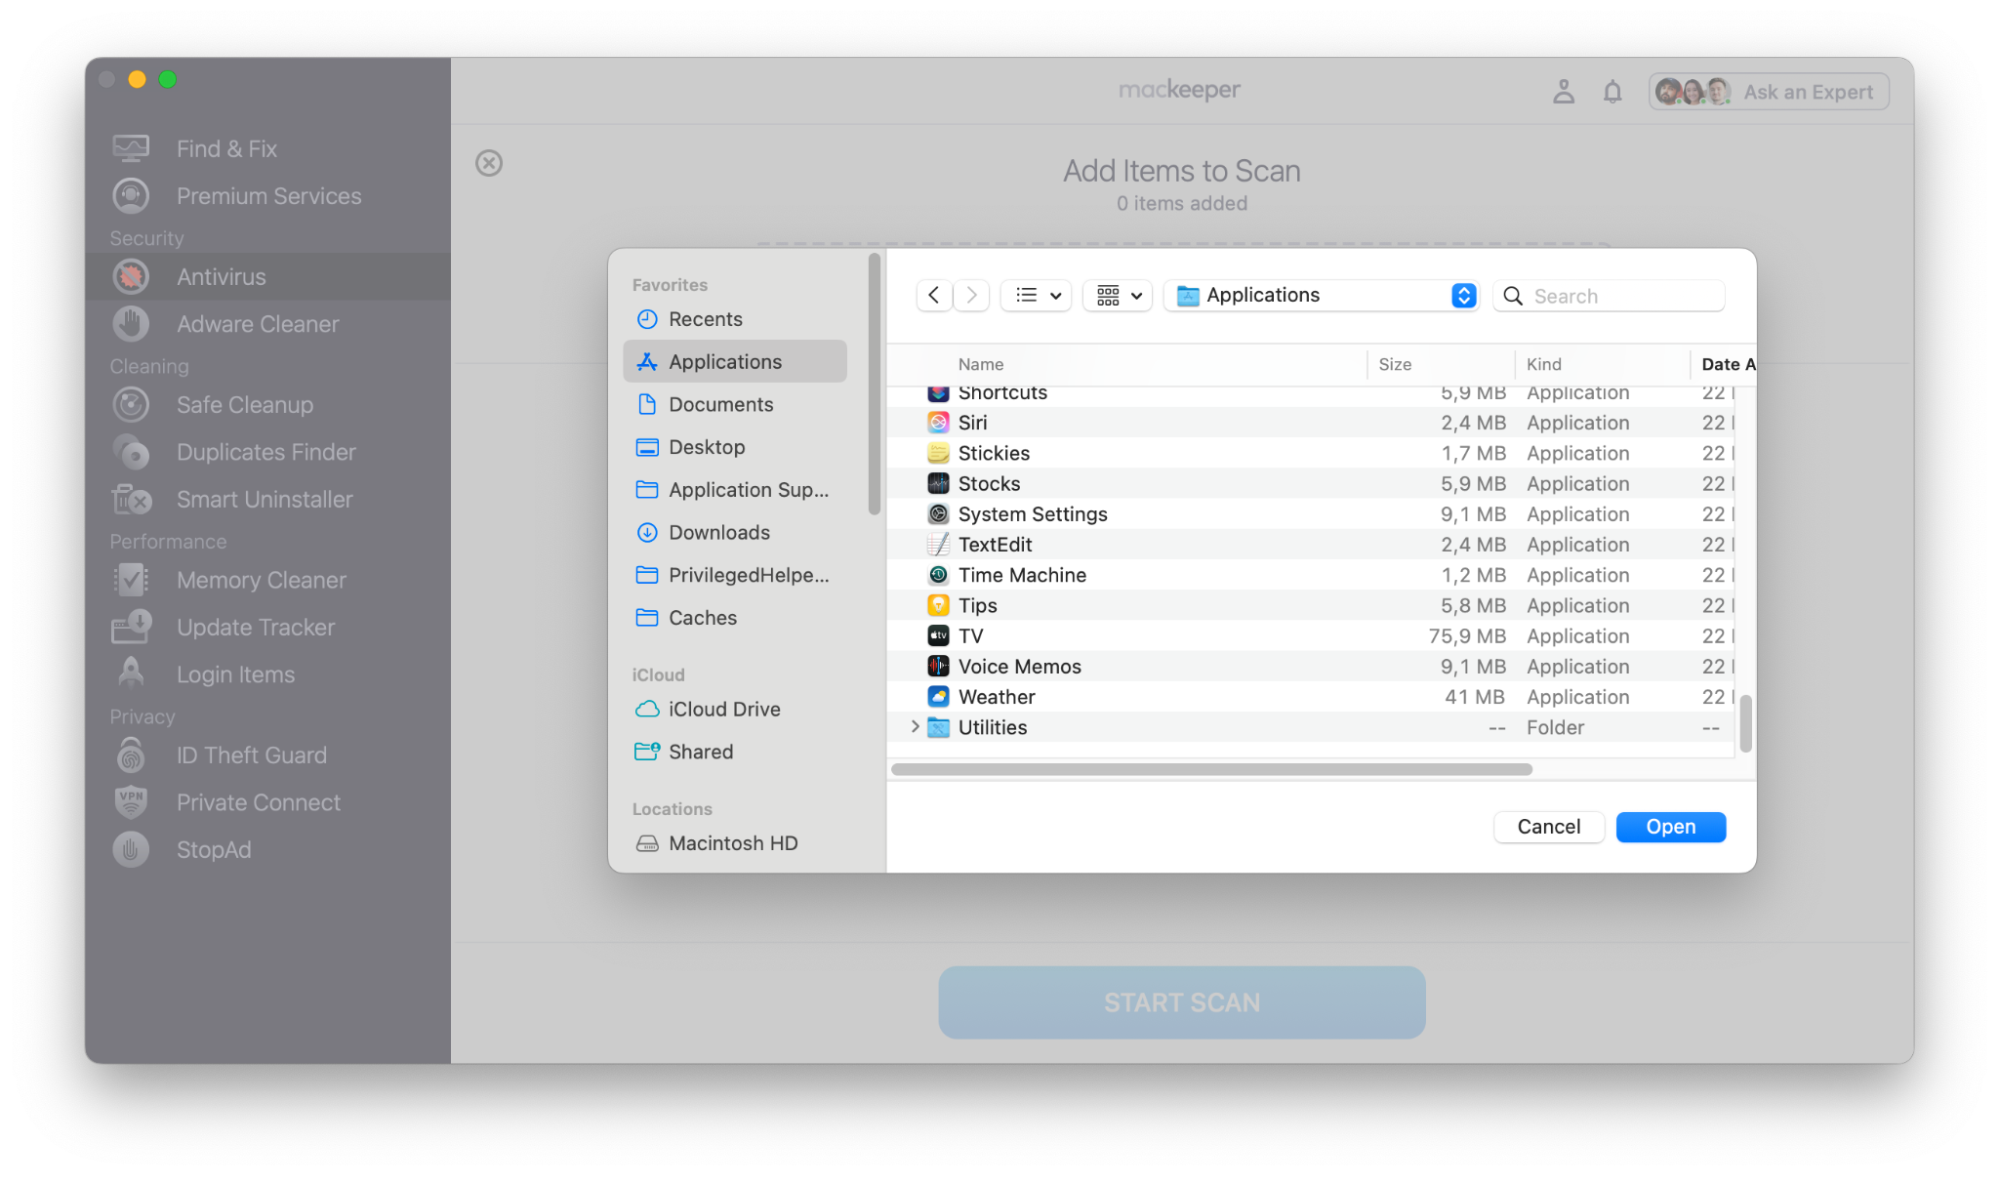
3. Click the + button, select the files or folders you want to scan, and click Open.
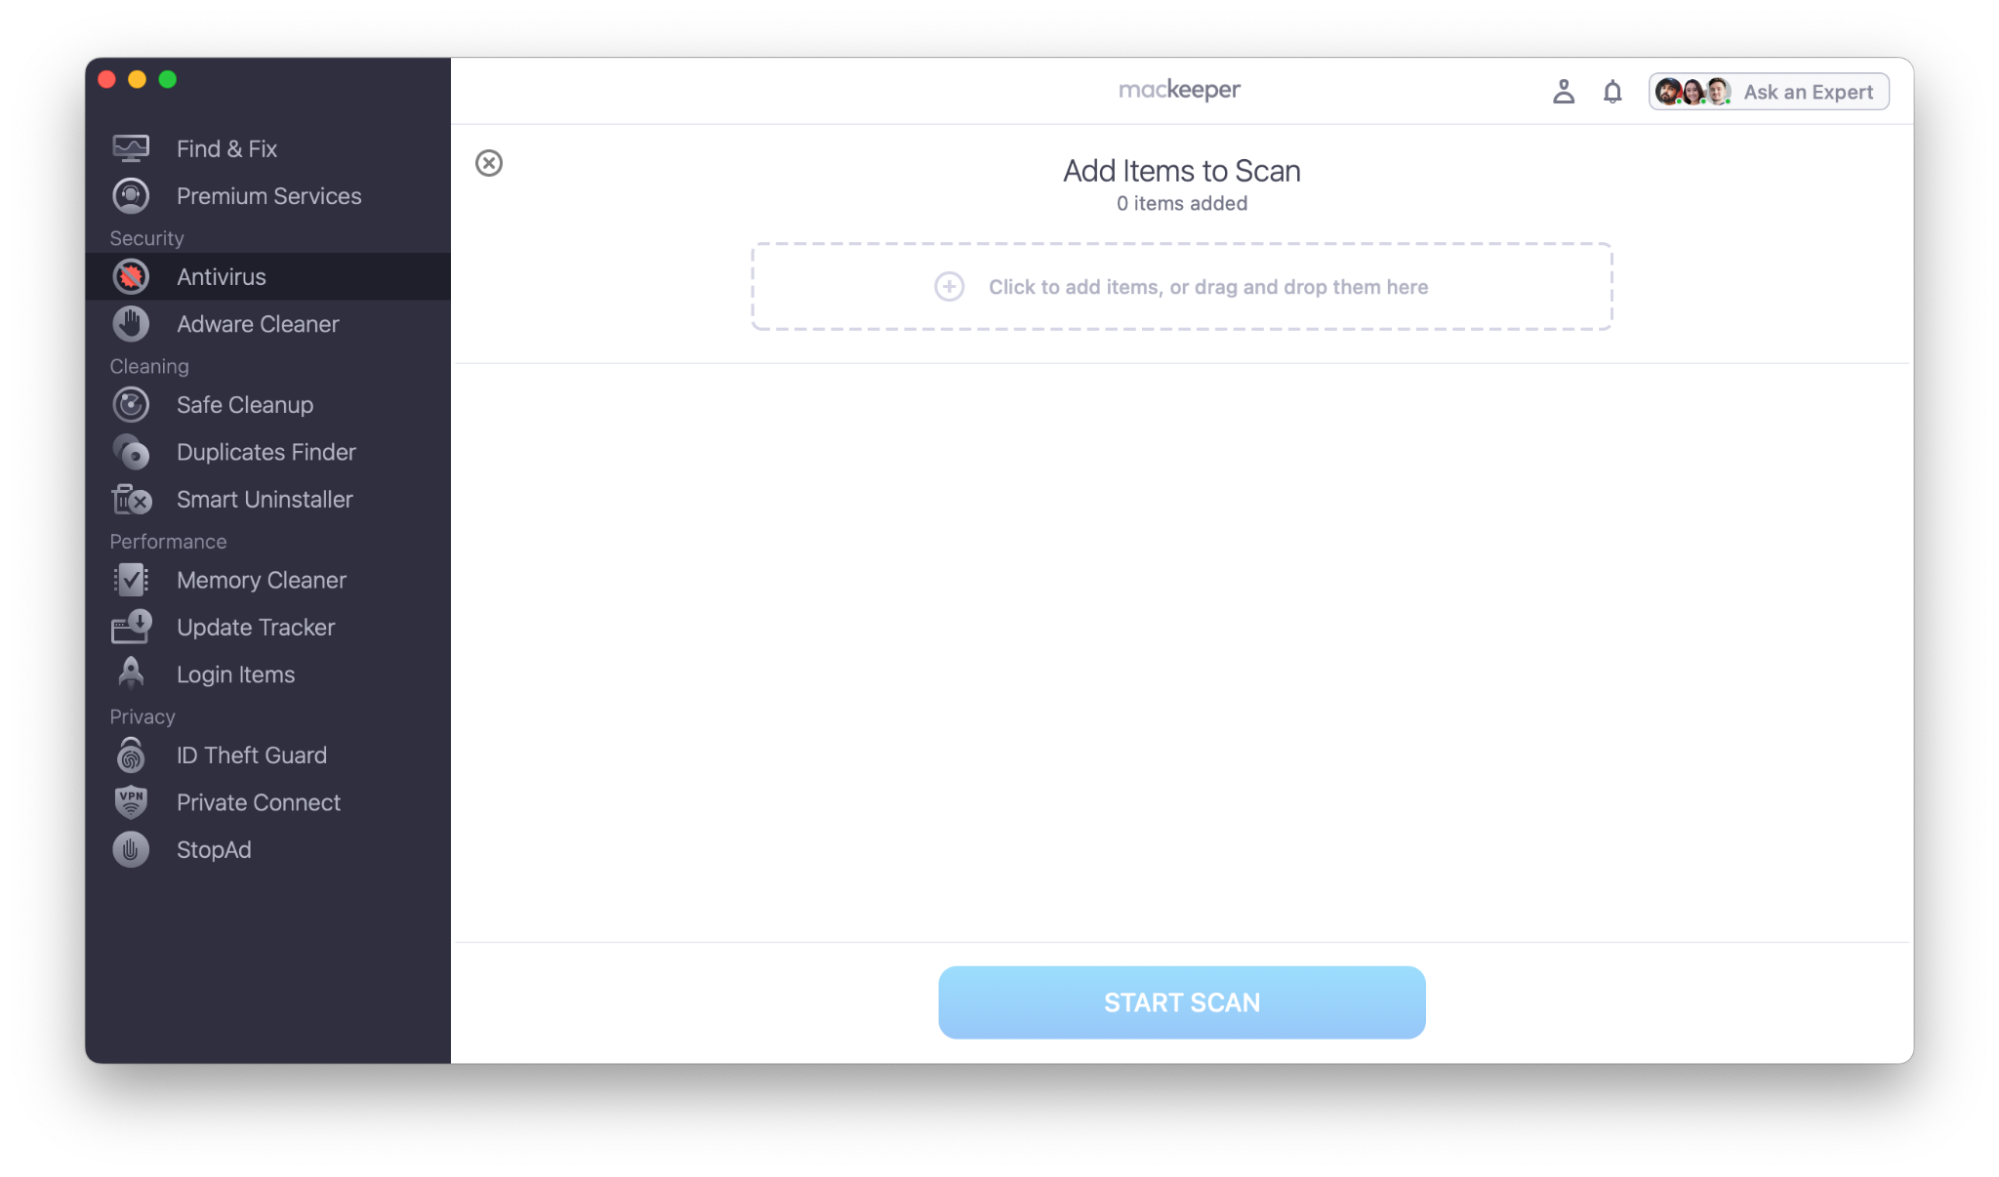
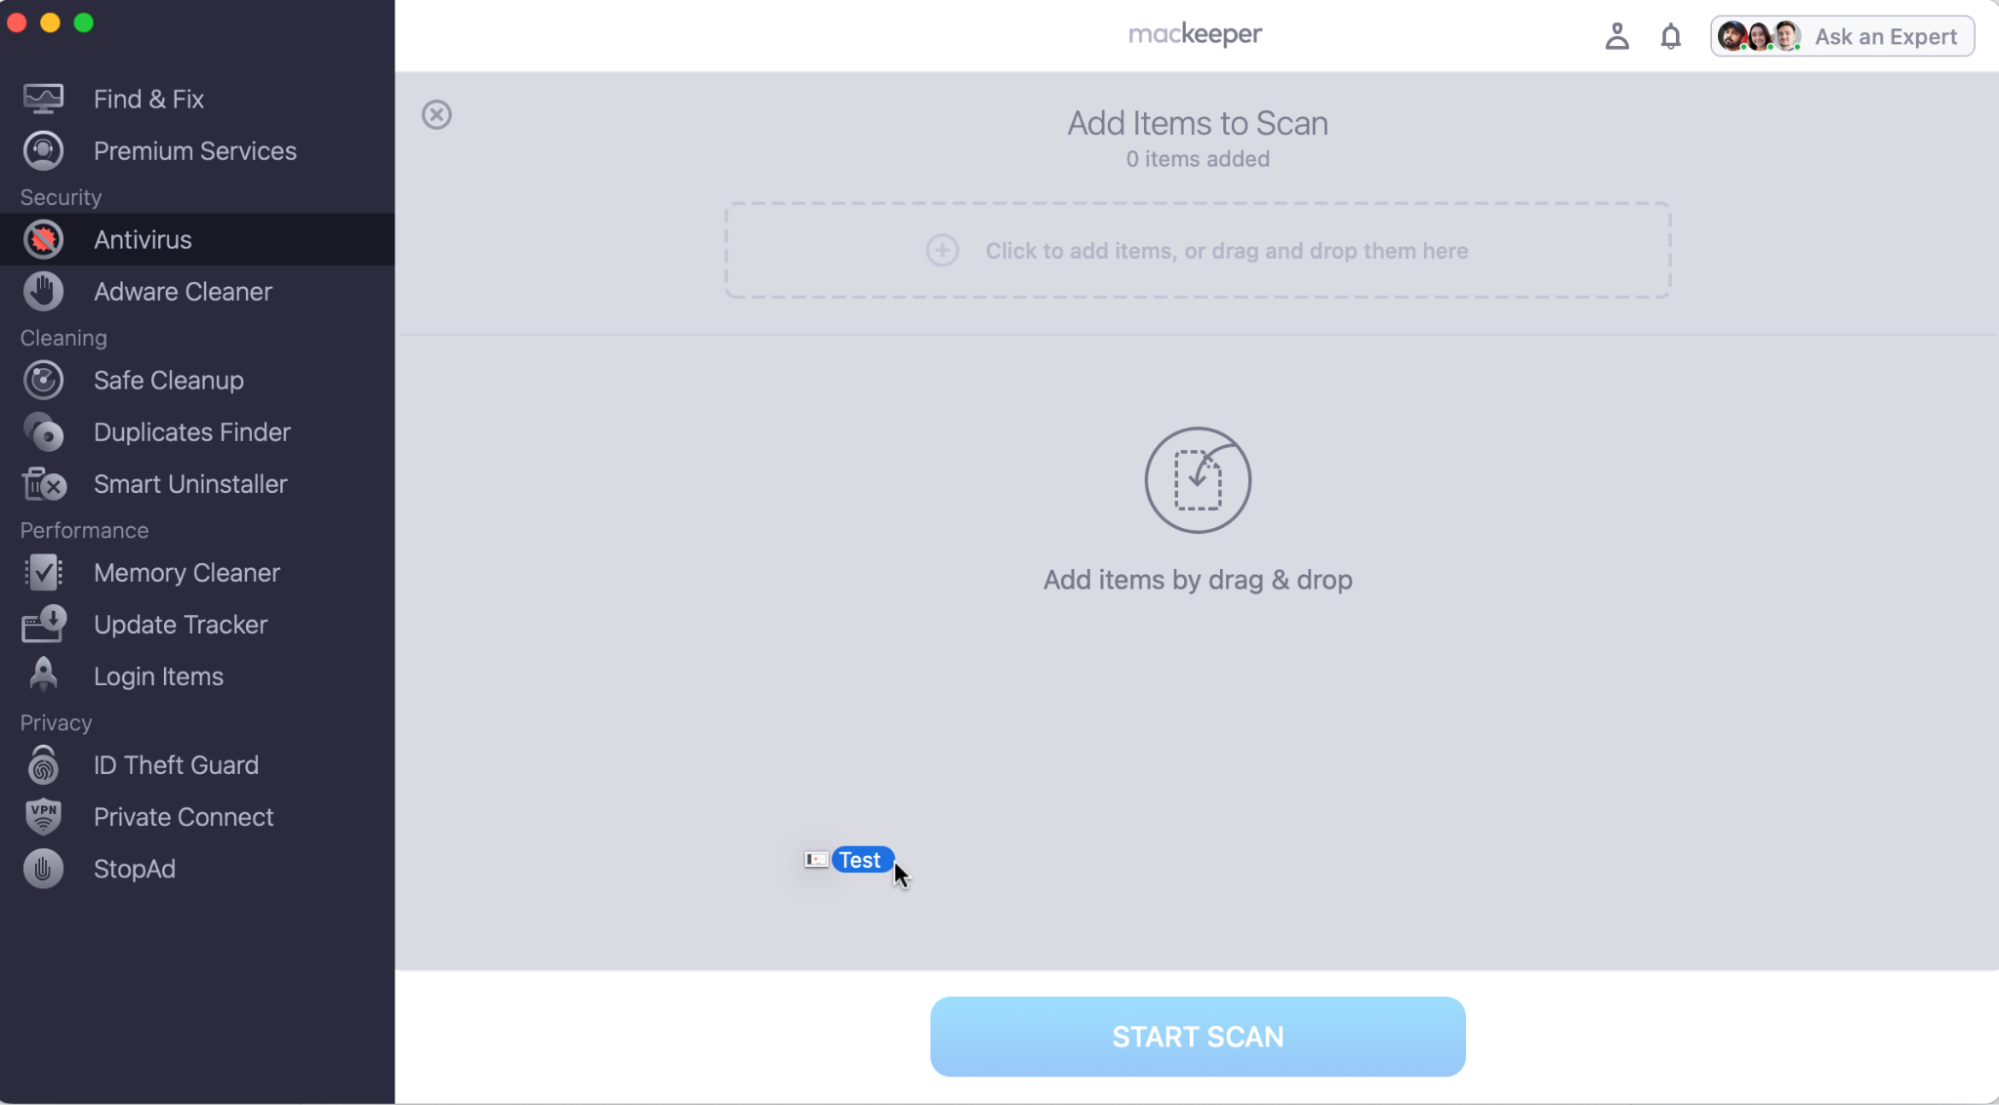
You can also drag and drop files or folders directly into the MacKeeper window.
To select multiple items, hold down the ⌘ (Command) key while selecting them.
To remove an item from the scan list, click the ✖ next to its name and confirm by clicking Remove.
4. Click Start Scan to begin scanning the selected items.
You can also scan files and folders directly from Finder:
1. Select a file or folder in Finder.
2. Control-click.
3. Choose Services > Scan for Viruses with MacKeeper.

What to Do If Viruses Are Found
When MacKeeper detects a malicious file, the action it takes depends on your Antivirus settings.
Default Option: Move to Quarantine

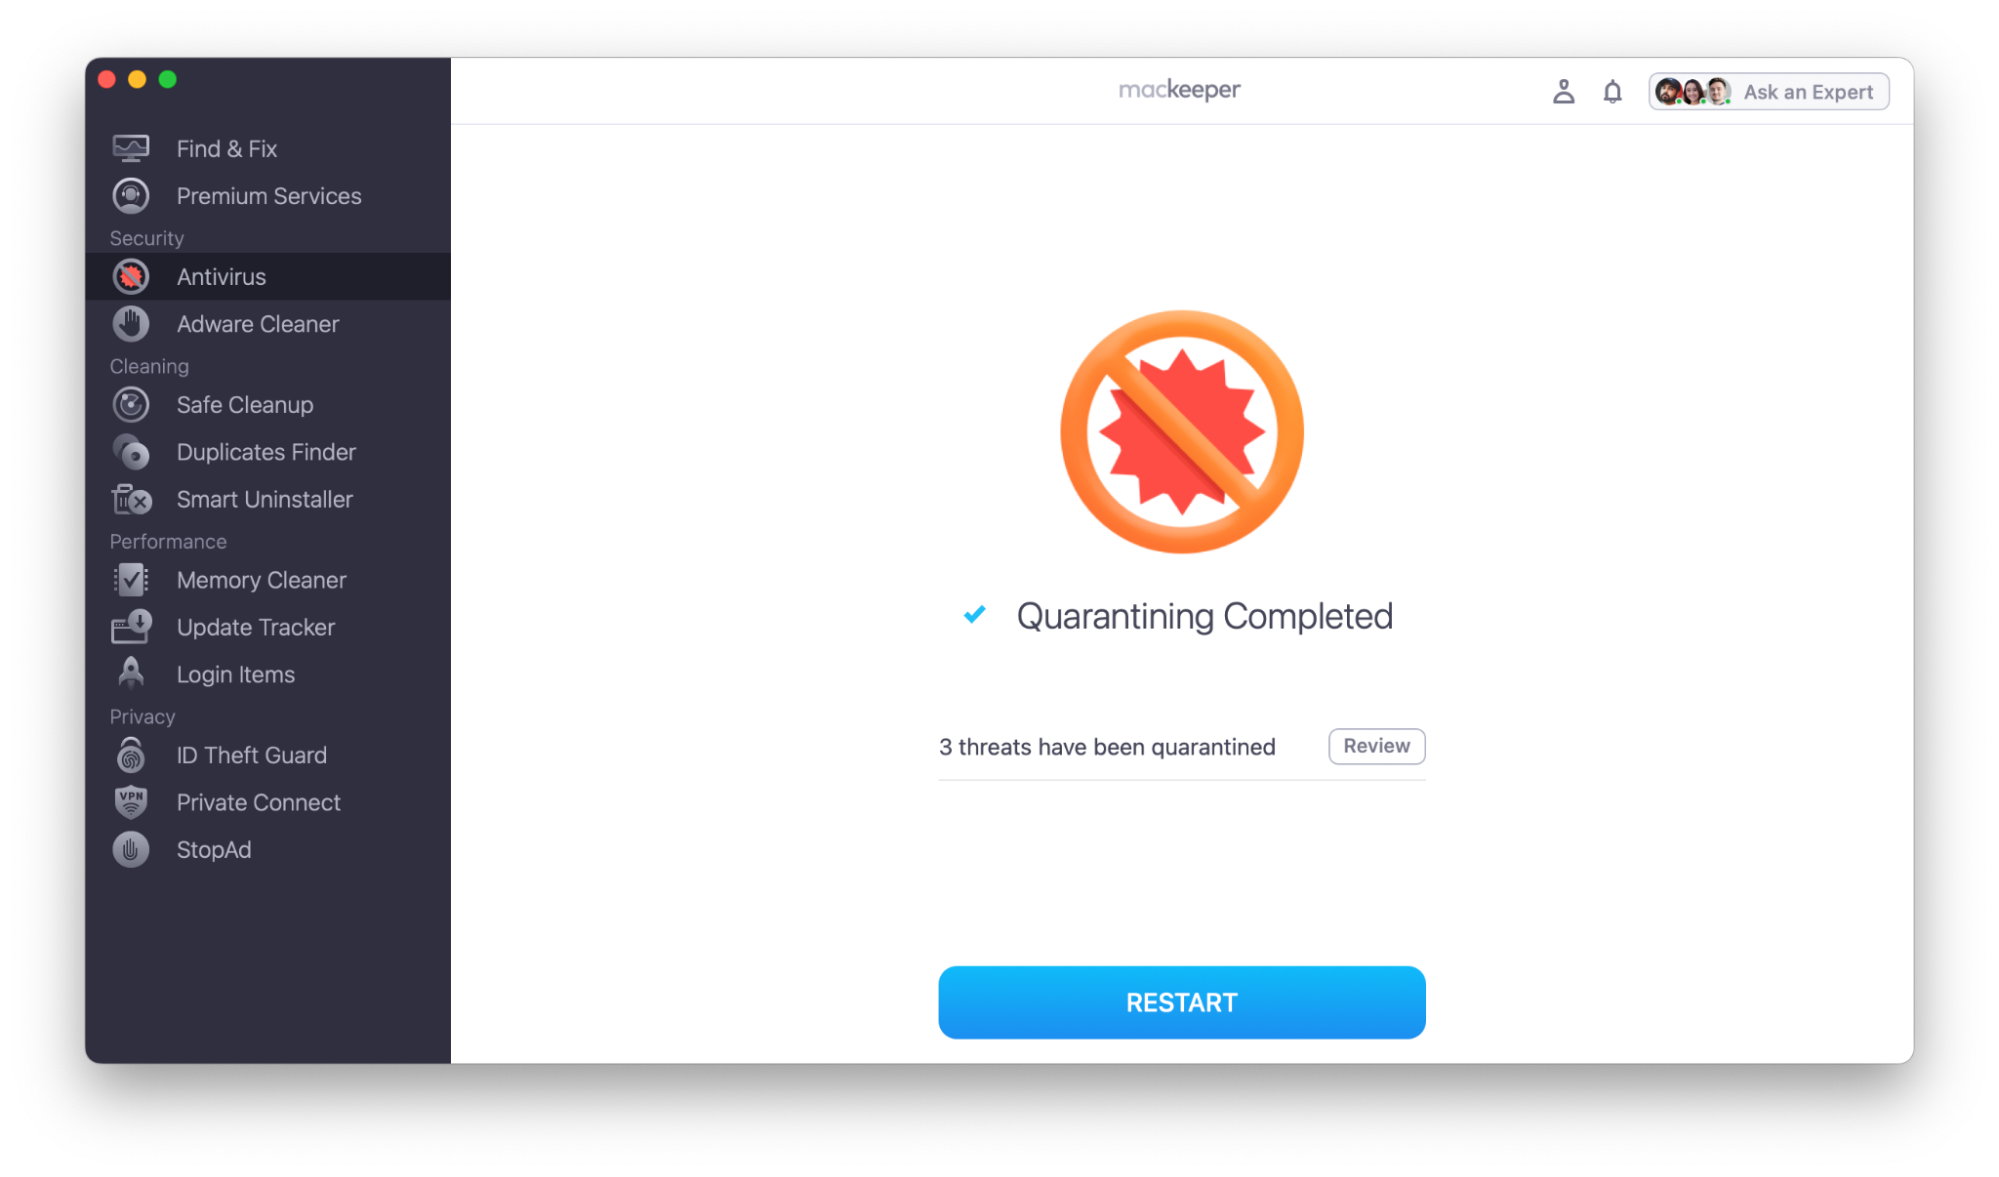
By default, MacKeeper automatically moves detected threats to Quarantine. This prevents the file from running or causing harm on your Mac while allowing you to review it later.
If a threat is detected during a scan or by Real-Time Protection, it is immediately moved to Quarantine and you are notified.
Manage Quarantined Items
You can review and manage quarantined files at any time:
1. Open MacKeeper Antivirus.
2. Go to the Quarantine section.
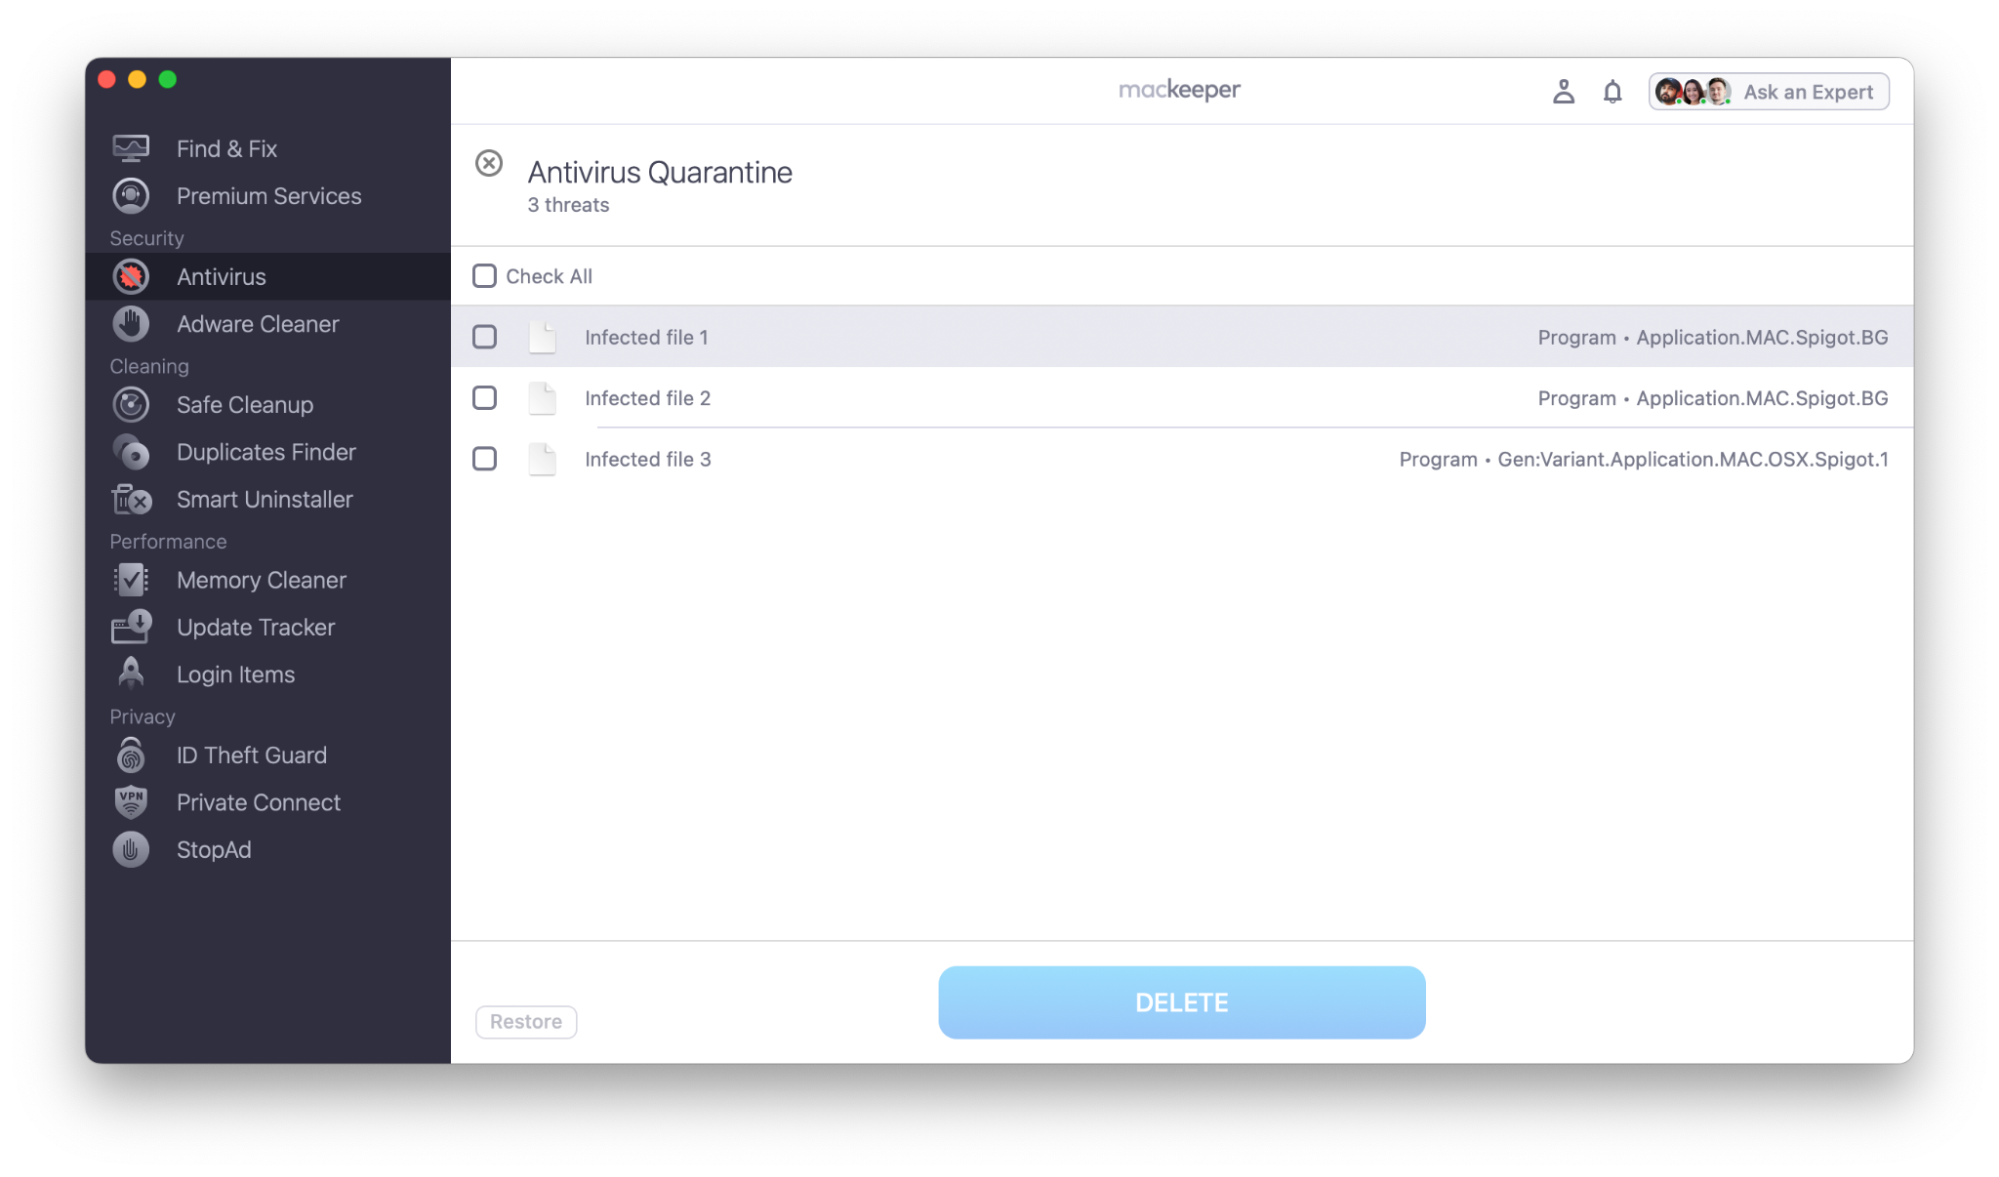
3. Review the list of detected items.
For each file in Quarantine, you can:
- Restore the file if you believe it is safe.
- Delete the file permanently from your Mac.
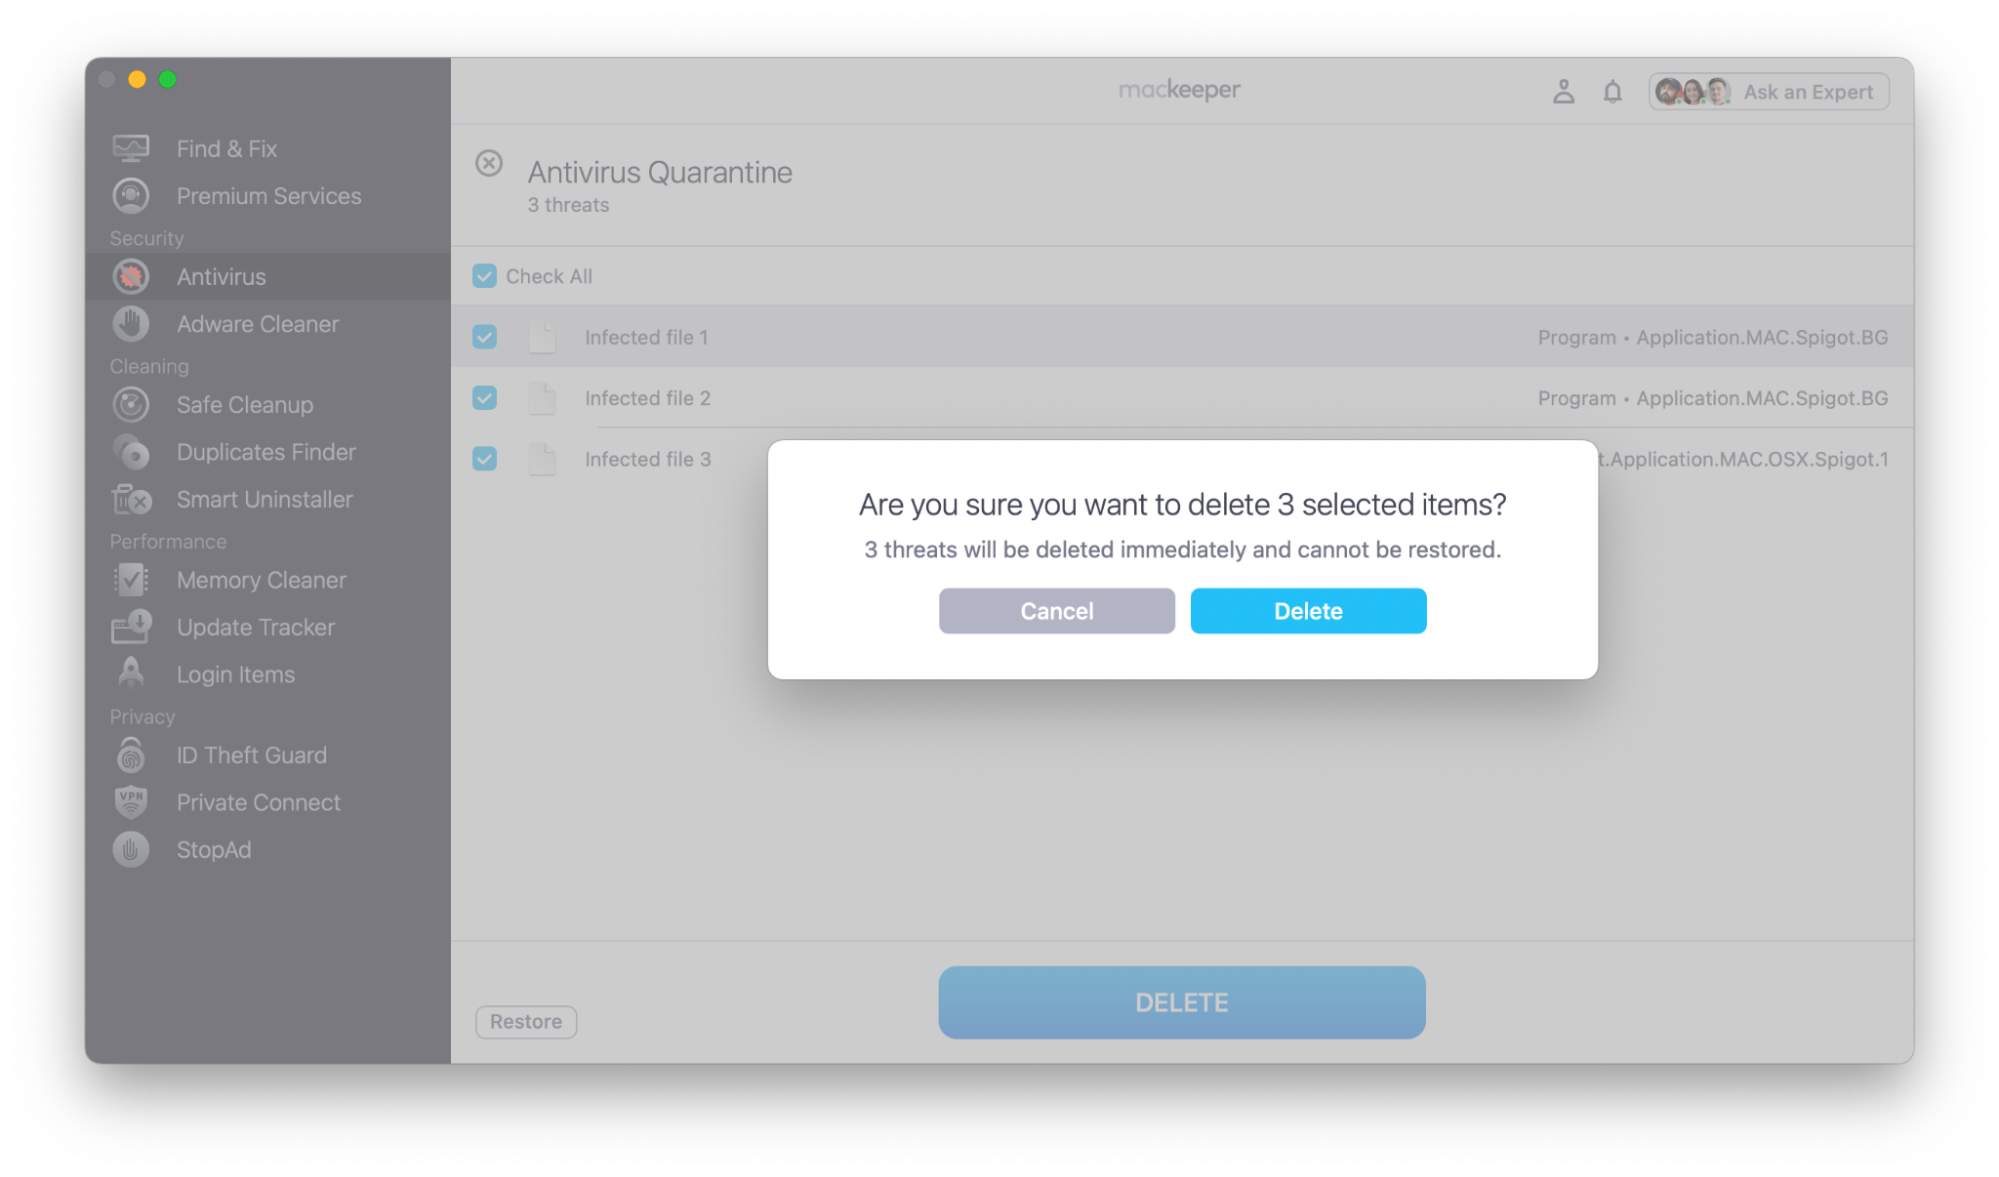

We recommend keeping files in Quarantine or deleting them unless you are completely sure they are not a threat.
Alternative Option: Notify
If you switch the setting to Notify, MacKeeper will not automatically move detected files to Quarantine.
Instead, detected items will appear in the Scan Results list, and you will receive a notification about potential threats.
In this mode, files are not blocked or quarantined automatically.
To switch to Notify mode:
1. Open MacKeeper.
2. Go to Settings from the MacKeeper menu (or use Command + , while MacKeeper is in focus).

3. Open the Antivirus tab.
4. Set Action for infected items found by MacKeeper to Notify.

Manage Detected Files in Notify Mode
When a threat is detected:
1. Open Scan Results.

2. Review the list of detected items. All items are selected by default, but you can deselect them individually if needed.
3. Click Delete to remove selected files.


Be cautious when handling detected files manually. If you are unsure whether a file is safe, it is recommended to delete it.


