In this article you will find the following:
There’s limited storage space on your Mac. That’s why it’s a good idea to delete files off on Mac you no longer need to keep making space for new ones. That might mean clearing out the downloads folder, deleting ancient documents and folders, or searching for hidden MacBook Air files that are still taking up space.
Before we start
Some things are easy to delete on a MacBook Pro, but others are more difficult to find. Plugins and browser extensions, for example, won’t be in your Applications folder. By running MacKeeper’s Smart Uninstaller, you can quickly find and delete from desktop. It’ll also take care of files left over by deleted apps.
- In MacKeeper, click Smart Uninstaller from the left-side menu
- Click Start scan, and wait for it to finish
- When it’s done, select what you want to delete
- Click Remove selected.
If that sounds useful, you can try MacKeeper for free, with no obligation to buy. Give it a try, and see what it can do for your Apple computer.
If you need to remove files from your Mac, you’ll find everything you need to know below, including how to:
- Bypass the Trash
- Delete many files that are in use
- Find the biggest files to remove
- Unlock and erase locked files.
The easiest ways to clear files on an Apple computer
There are several ways to delete files off on MacBook, including deleting from desktop, but all of them are incredibly quick and easy to do. No matter which app you’re using, you can use any of the following three methods to quickly delete all files off on Mac:
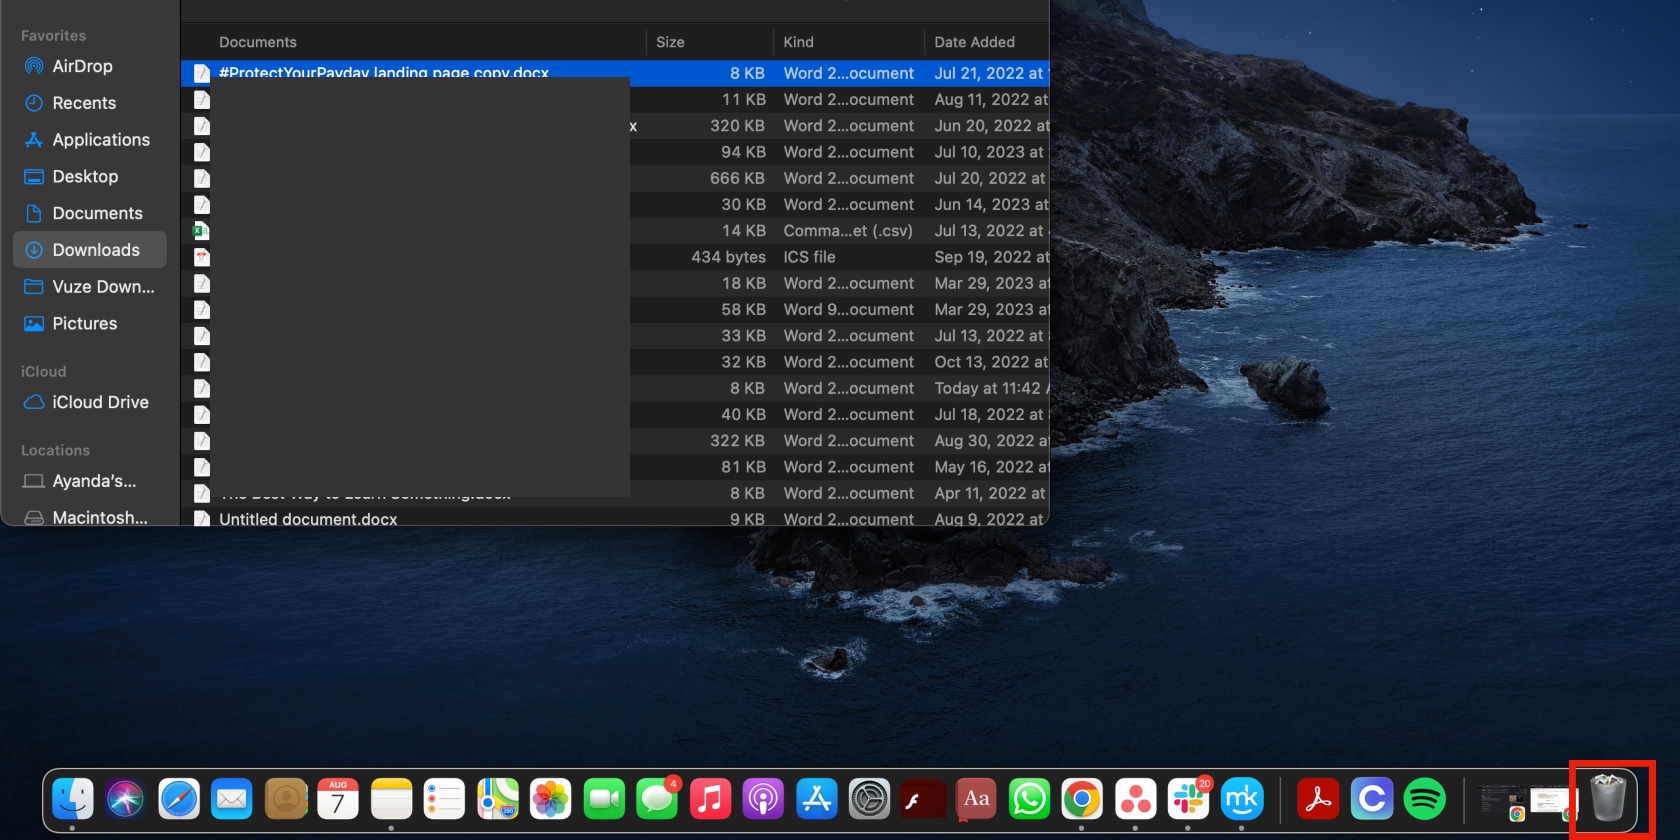
- Drag and drop a file onto the Trash icon on the Dock
- Control-click a file you want to remove, then choose Move to Trash
- Select a file and press Command (⌘) + Delete on the keyboard.
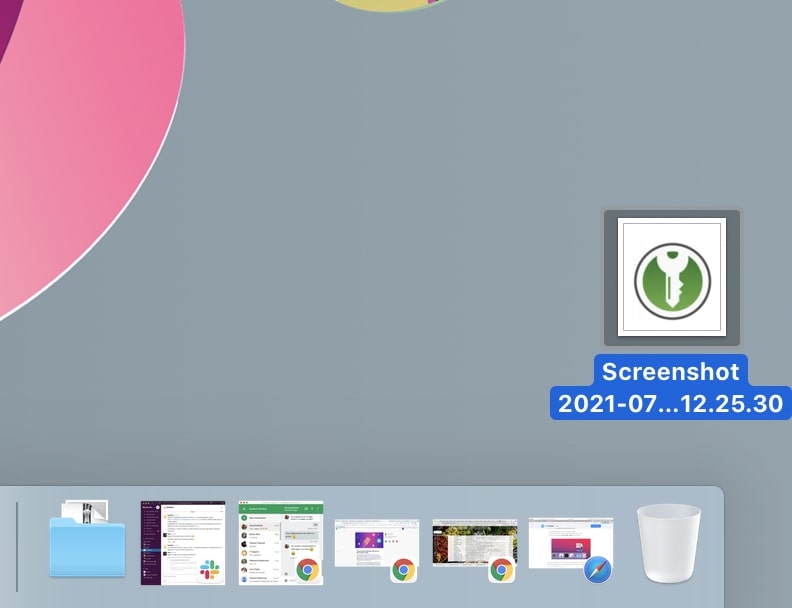
Using any of these three methods send your deleted file or folder to the Trash on your MacBook. That means it'll still occupy storage on your Mac. To completely delete a file, empty the Trash on your Mac.
Note from our team:
Many junk and miscellaneous files are hidden away in system folders. To clear other storage like this, you’ll need to find these folders, which can be made a lot easier with a junk cleaner for Mac.
How to erase Mac files without sending them to the Trash
If you want to save a bit of time, you can remove a Mac file without sending it to the Trash first. Of course, you should only do this if you're certain you want to delete something because you can't get it back from the Trash after.
After selecting it in Finder, use either of these methods to delete without moving to Trash:
- Hold the Option key and go to File > Delete Immediately from the menu bar
- Press Option + Command (⌘) + Delete.
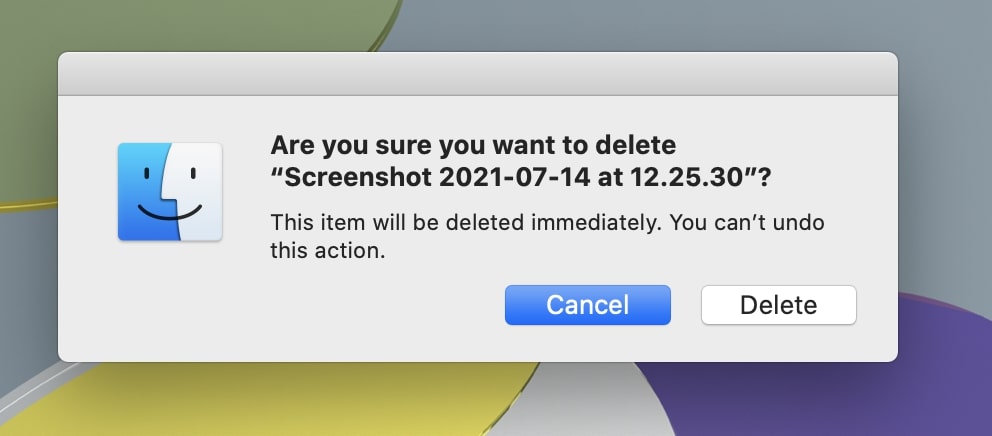
Whichever method you use, your Mac will ask to confirm that you want to erase your selected file in a popup window.
Delete a file shortcut on Mac
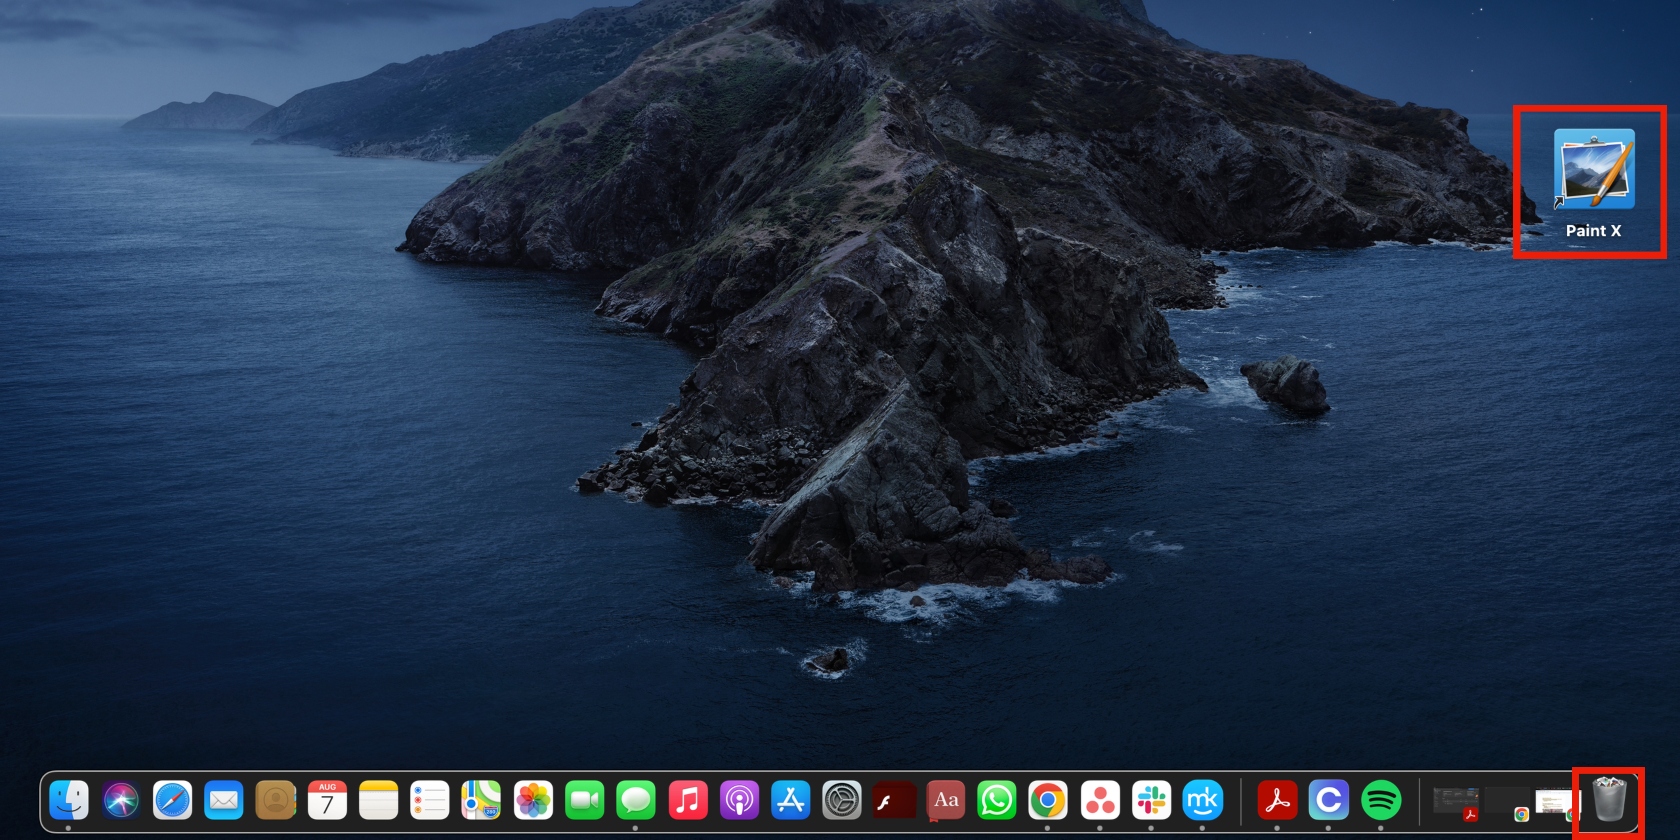
Shorcuts can take up a lot of space on your Mac. If you’re running low on memory, removing shortcuts is one of the solution to free up some much-needed space.
- Find the shortcut on your desktop
- Drag it to Trash.
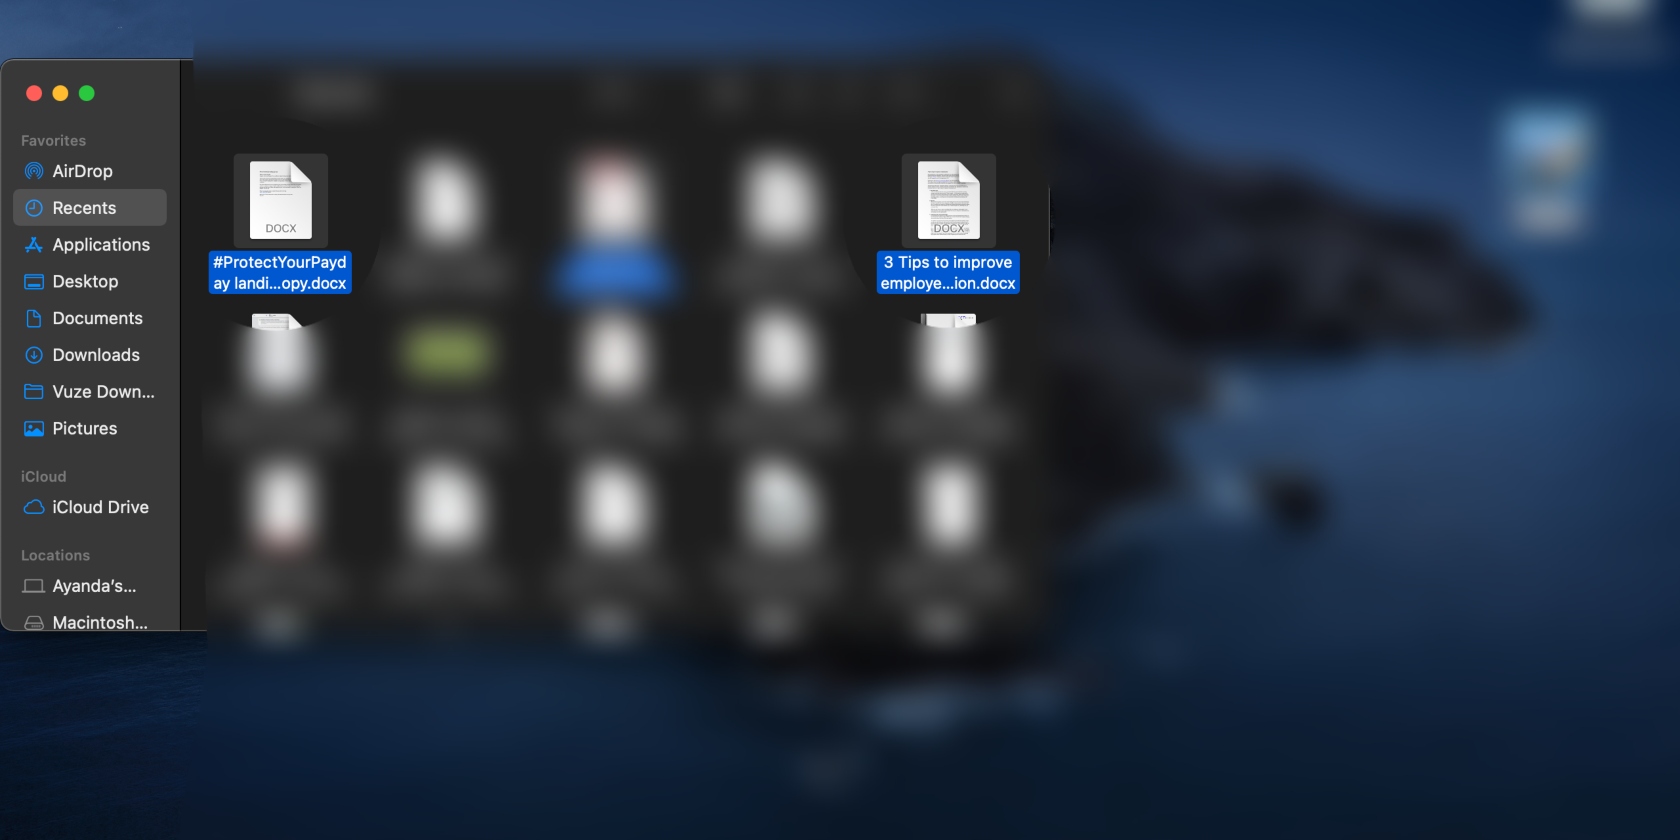
How to delete multiple files on Mac
If you need to get rid of multiple files at once, the quickest method is to delete mass files on Mac.
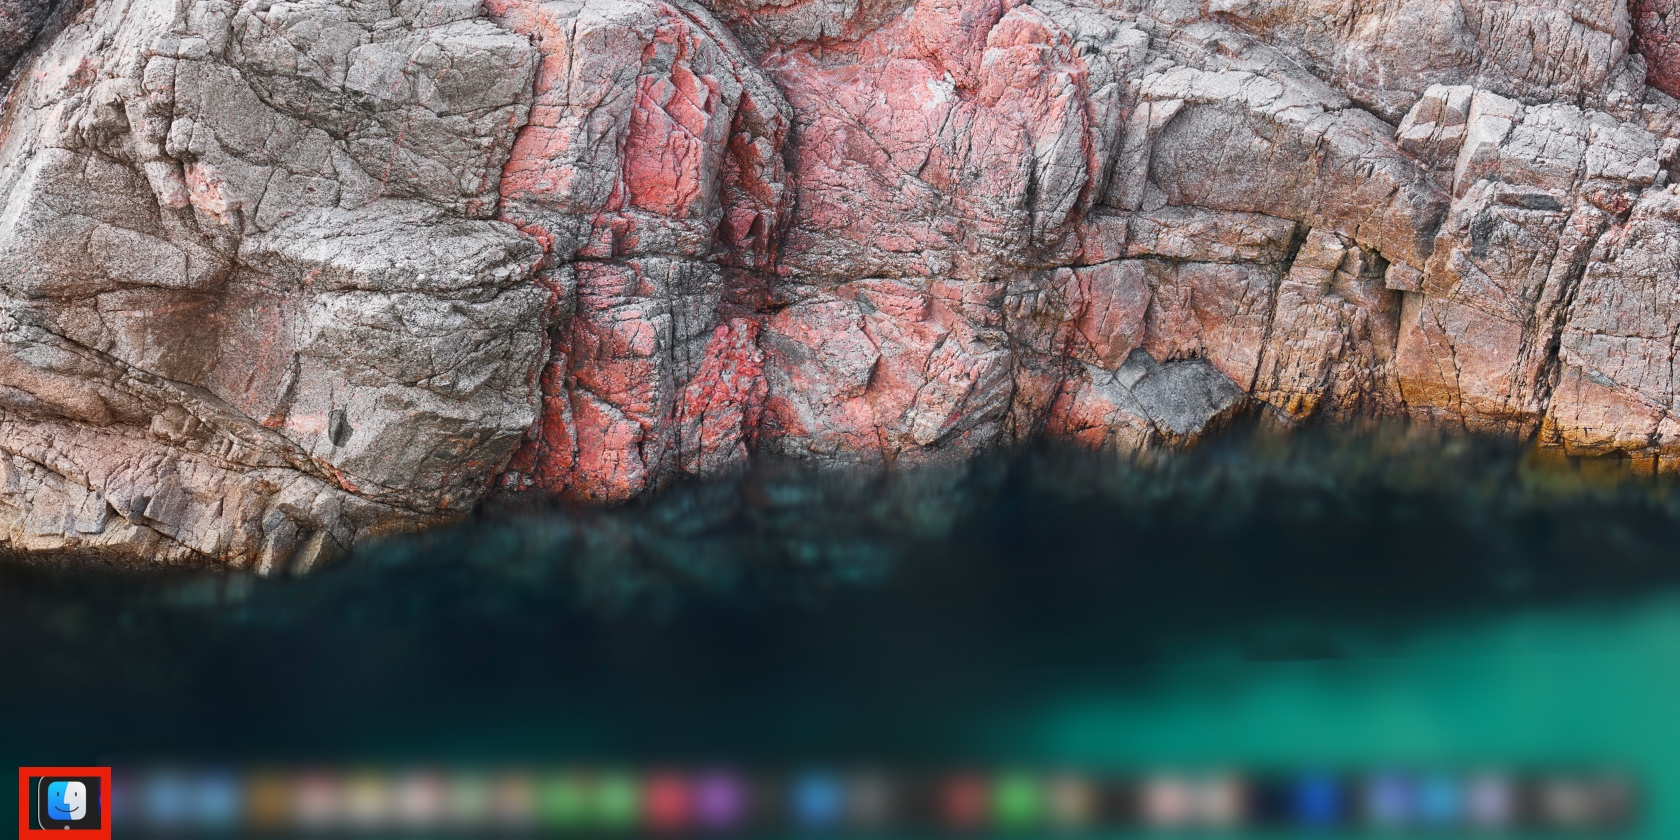
- Open Finder
- Select the files you want to delete in Finder by holding down the Command key and selecting each file
- Drag the selected files to Trash.
How to find and delete the biggest files on a Mac
The easiest way to create more free storage on your Mac is to find and erase the biggest unnecessary files.
Follow these steps to do that:
- Click the Apple logo and select About This Mac
- Go to the Storage tab and click Manage
- Select Documents in the sidebar
- Use the Large Files tab to see the largest unnecessary files on your Apple computer. Or click File Browser to see all the file and folder sizes on your Mac
- Select a file and click Delete to get rid of it. This doesn't send that file to the Trash.

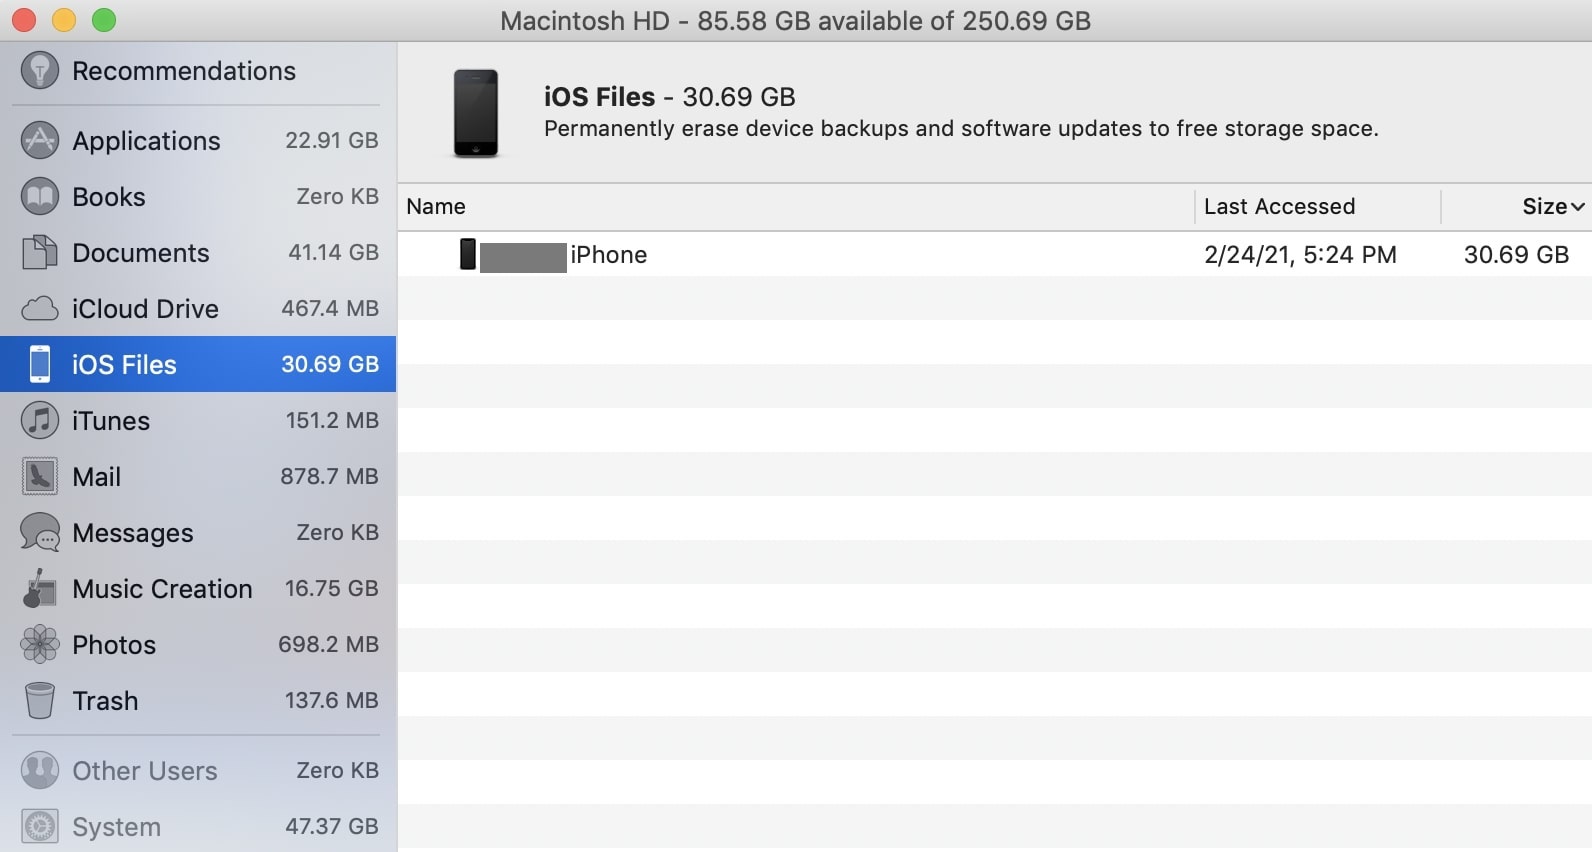
How to delete iOS files on a Mac
Old iOS and iPadOS backups may take up a considerable amount of storage on your Mac, which is particularly unnecessary if you don’t own those devices anymore or if you back up your iPhone or iPad using iCloud instead.
To find and erase old iPhone and iPad backups:
- Click the Apple logo and select About This Mac
- Go to the Storage tab and click Manage
- Select iOS Files in the sidebar
- Select the iOS or iPadOS backup you don’t need anymore
- Click Delete.
How to delete locked files on a Mac
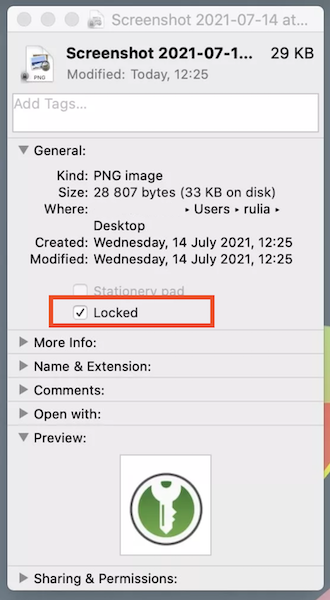
When dragging a locked file to the Trash you’ll need to confirm this action by clicking Continue in an additional popup window.
Alternatively, if you’re logged in as an Apple computer administrator, you can unlock the file before deleting it:
- Select the locked file in Finder
- Control-click and choose Get Info, or press Command (⌘) + I
- Untick the checkbox next to Locked.
How to delete hidden files on a Mac
You might have hidden junk files or app leftovers cluttering your Mac’s hard drive. These files are inherently harder to delete from your Mac because it takes longer to find them.
To locate hidden files on your Mac:
- In Finder, click your computer's hard drive (under Locations)
- Next, open your Macintosh HD folder
- Press and hold down CMD + Shift + . (period).
This will show the ghost files. Do this in Applications, Documents, and Desktop folders as well. Once you’ve found hidden files, you can immediately delete them as you would any other files on your Apple computer.
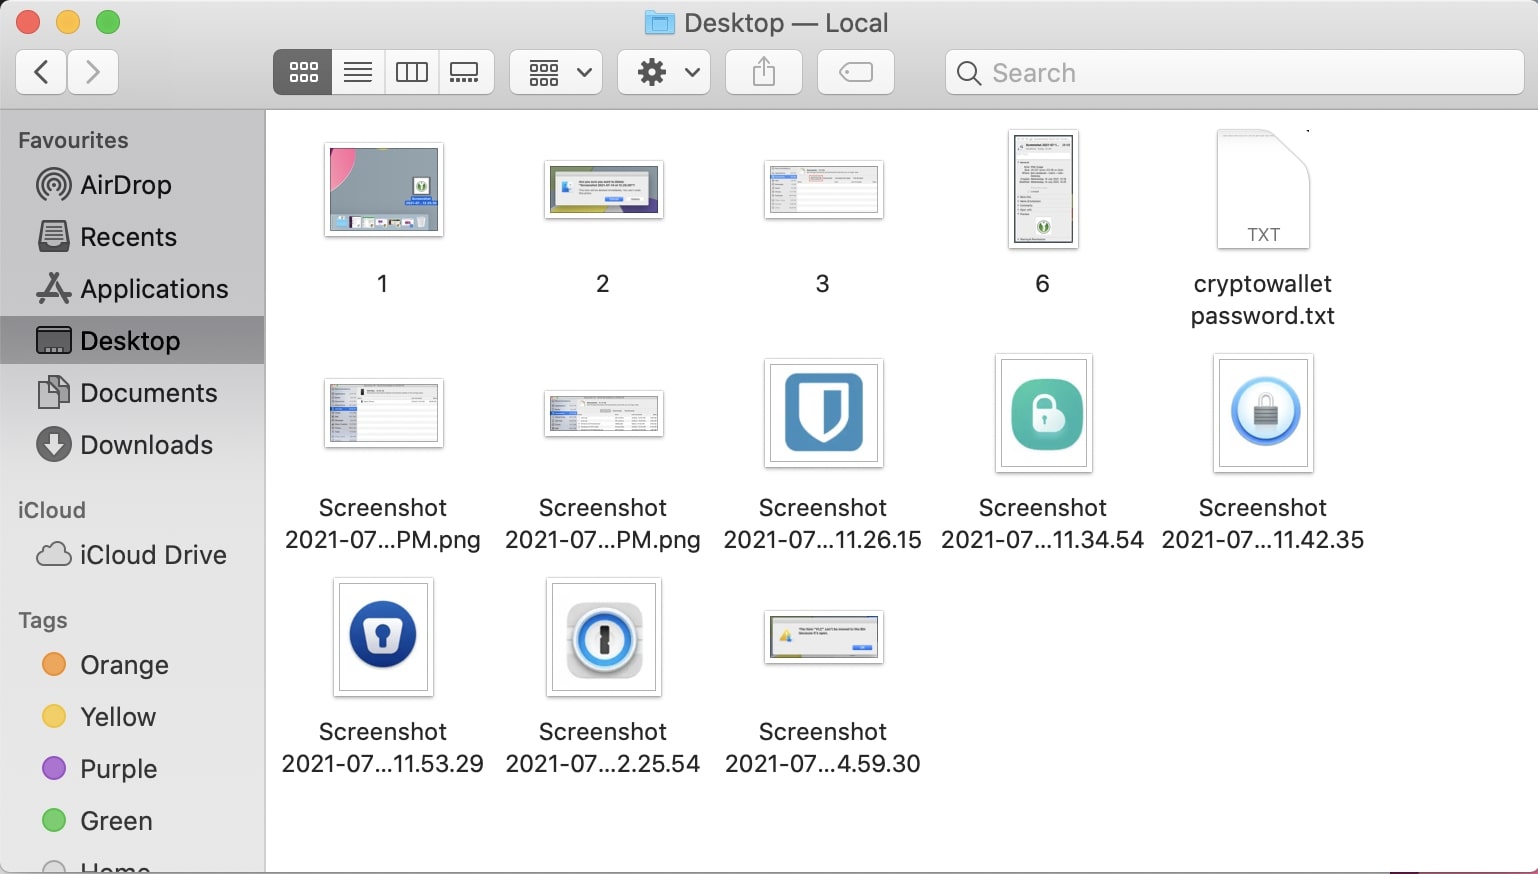
Besides, check out our guide on locating and dealing with hidden files on your Mac to learn more ways to find them.
How to delete all files that are in use or stuck
Have you ever been stopped from deleting an app or a document because your MacBook says it’s open? This is a common issue, but it’s not the only reason you might be unable to delete several files on Mac.
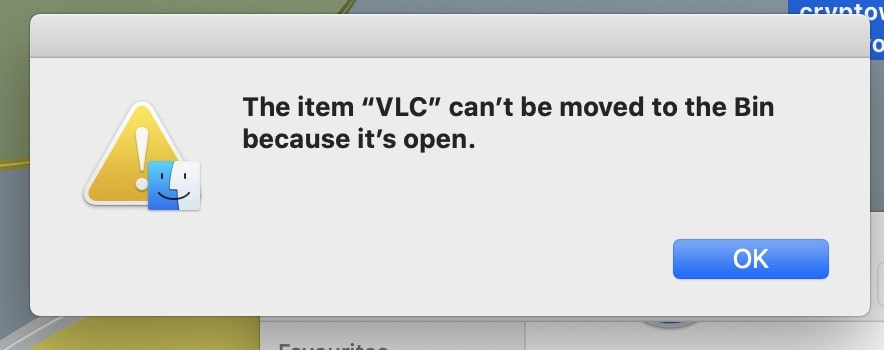
Some files spit out warning messages and alerts every time you try to get rid of them. This can happen for a variety of different reasons, like if the file is:
- Locked
- Corrupted
- Currently in use
- Protected by macOS.
If you can’t delete a file on your Mac for any reason, use these troubleshooting tips and try deleting it again after each one:
- Close every app and file on your Mac
- Restart your Apple computer by going to Apple > Restart in the menu bar
- Boot your Mac into Safe Mode by holding Shift while powering it on
- Log in to an administrator’s account
- Boot into Recovery Mode by holding Command (⌘) + R while your Mac powers on, then open Disk Utility and run First Aid on your startup disk
- Disable SIP by booting into Recovery Mode, selecting Utility > Terminal from the menu bar, and running the following command: csrutil disable. After deleting all files, enable SIP again using csrutil enable.
If you're trying to delete an installed program, you can possibly use a specialized app cleaner for Mac to delete it permanently.
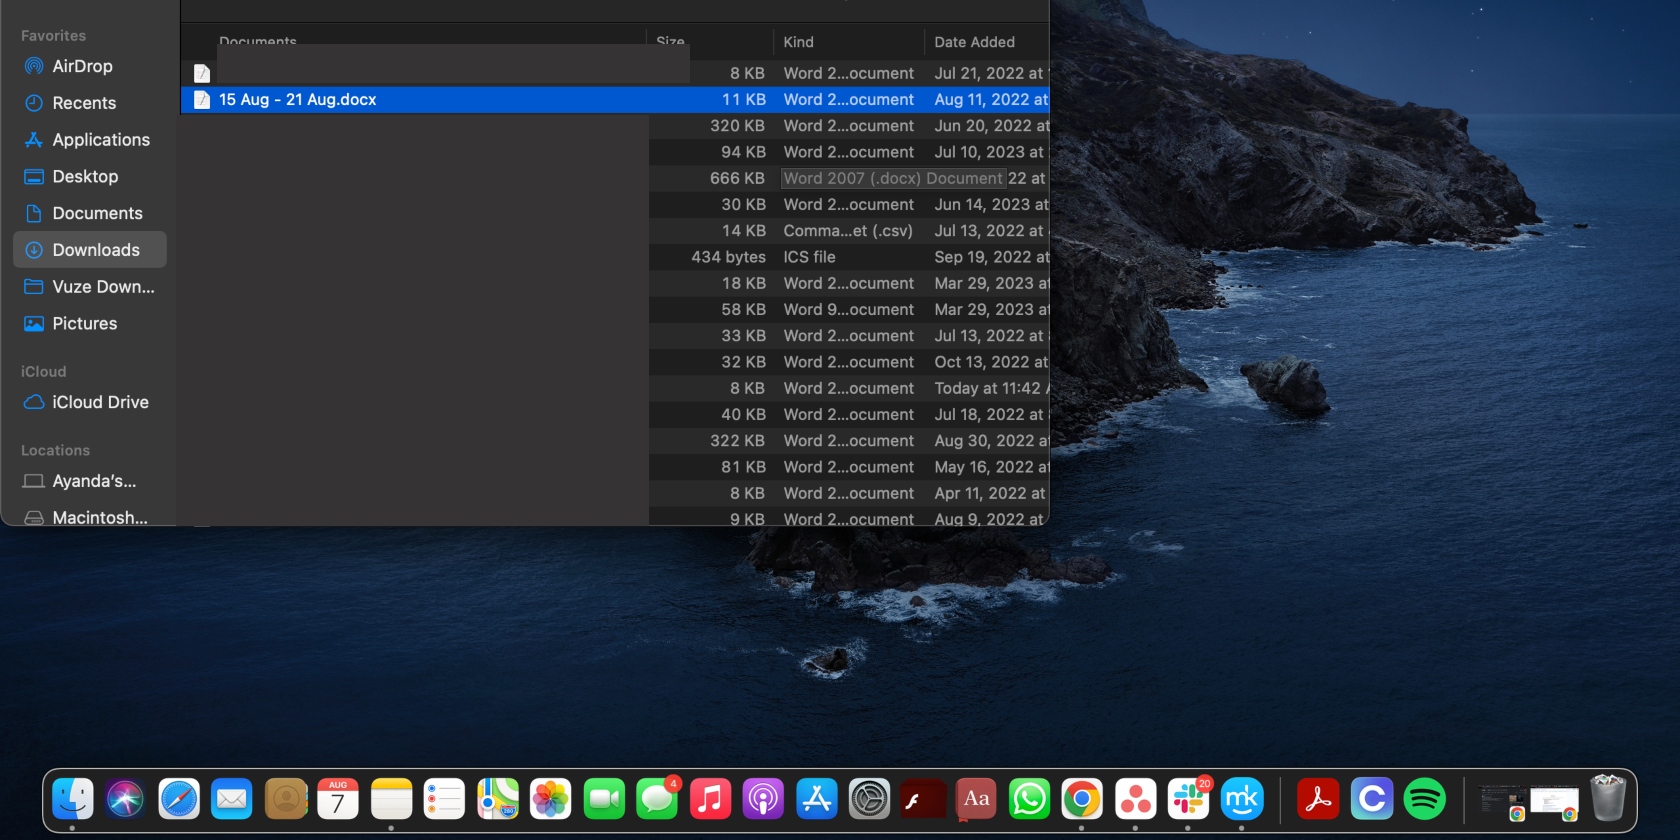
How to delete Word documents on Mac
Are old Word documents clogging up your computer? If you no longer need them, delete them at the click of a button.
- Find the Word document you want to delete in the relevant folder in Finder
- Select the item and drag it to Trash.
How to delete photos on Mac
Photos with your ex. Unflattering photos. Memeories you’d much rather forget. Unless you religiously clear out the photos app, you may be due for a declutter. Follow the steps below to delete photos on a Mac.
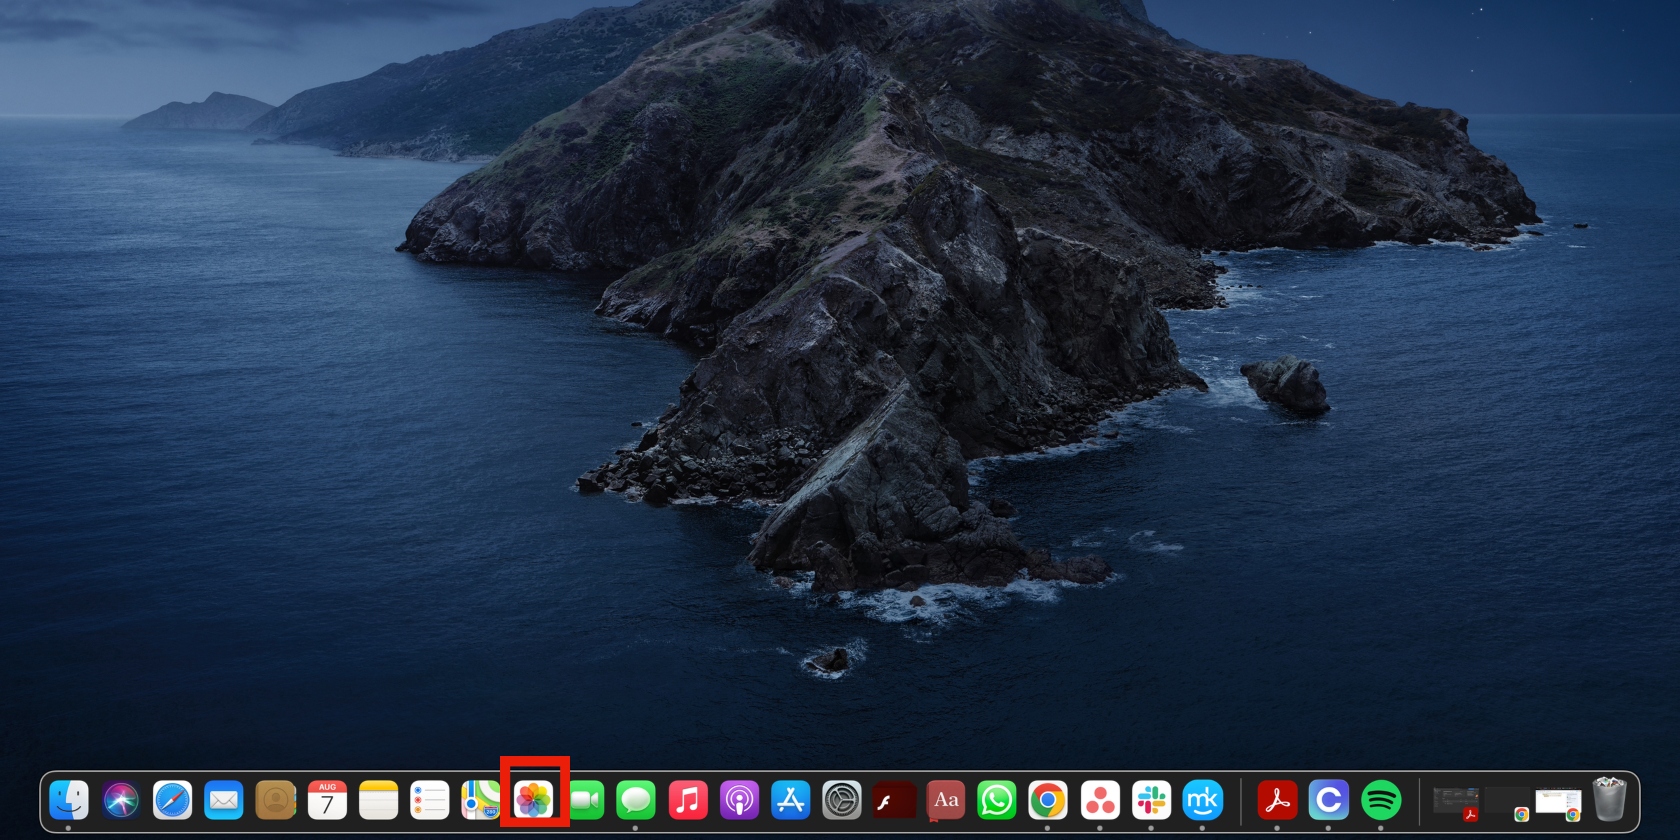
- Open the Photos app
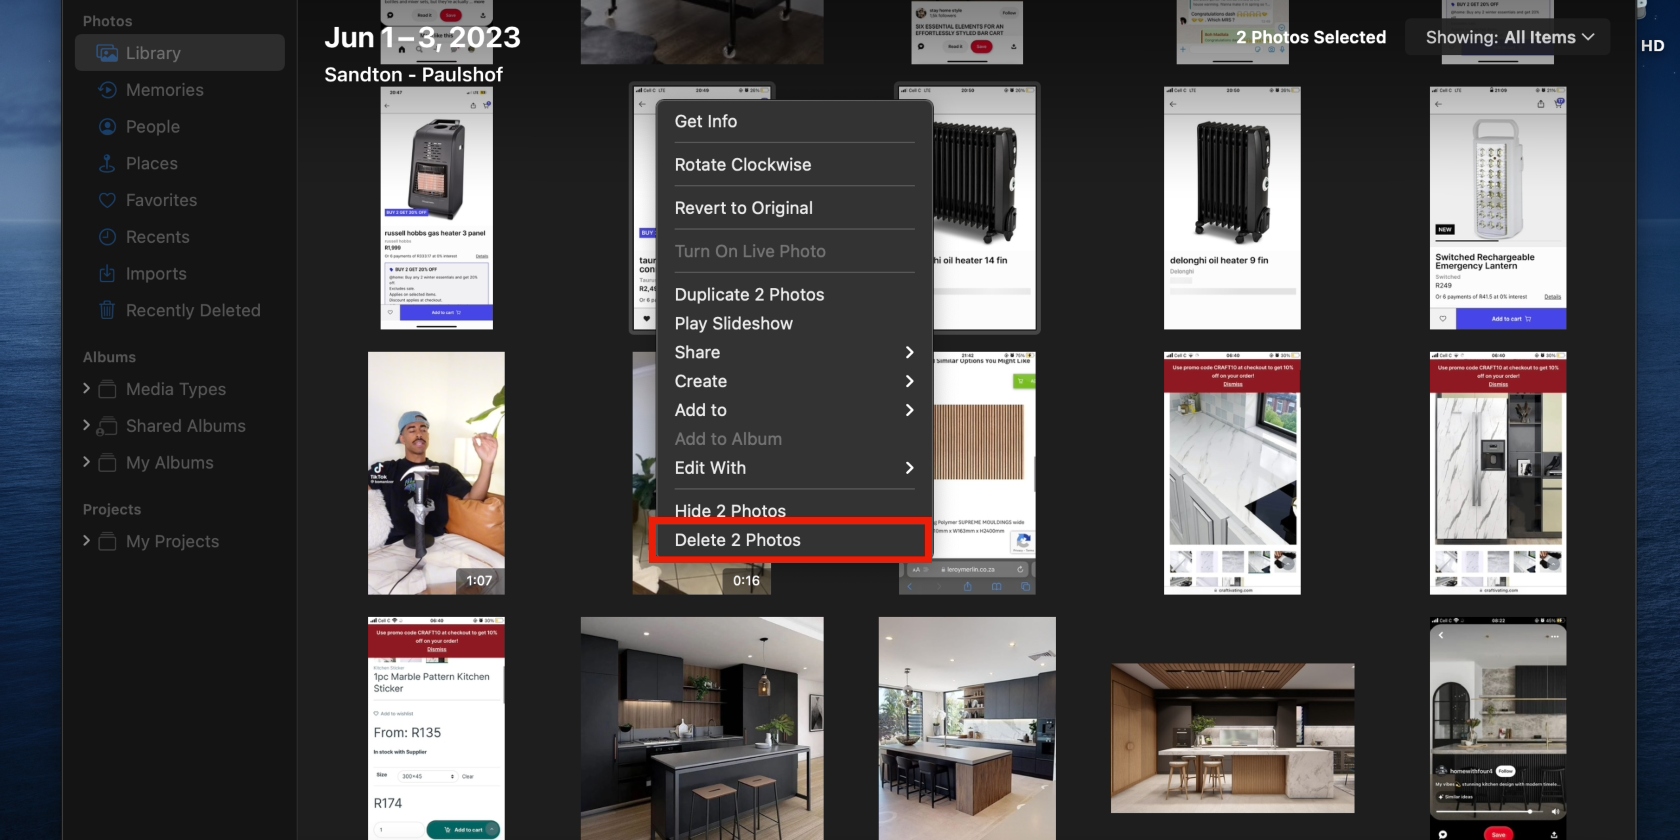
- Right-click on the photo or photos you want to clear and select the Delete Photo or Delete Photos option.
For more details, learn how to delete photos on Mac.
Delete downloads on Mac
Most of the clutter on your Mac can usually be attributed to unnecessary downloads you don’t use. When you delete files off Mac, don’t neglect to delete downloads on Mac that aren't needed anymore—like app installers and PDFs. Here’s how:
- Open Finder
- Select the Downloads folder and drag the unwanted items to the Trash.
How to restore deleted files on a Mac
Wondering whether it’s possible to recover deleted stuff on a MacBook? The answer is usually yes!
Most of the deletion methods we’ve covered in our post will send all deleted files to the Trash. This is great because there are lots of ways to restore different deleted files from the Trash. But even if you already emptied the Trash, data recovery specialists might still be able to help you recover deleted files anyway.
Meantime, if you again decide to delete the file after restoration (you used it and don’t need anymore), our experts highly recommend you to use MacKeeper’s Smart Uninstaller as the efficient way to delete the data safely, and with all the leftovers.
Read more:


